Quick Answer
Apply Glamour Glitch Magic Press Nails by prepping your natural nails, selecting the right size, using the included adhesive, and pressing firmly for 30 seconds per nail. This method gives you a salon-quality look that lasts up to 10 days.
Why Prep Matters More Than You Think
The biggest reason press-on nails pop off early is poor prep. Oils, lotion, or dust on your nail bed stop the adhesive from bonding. Even if you wash your hands, natural oils return quickly. That's why the Glamour Glitch set includes a mini nail file and manicure stick—they help you create a clean, slightly rough surface for the glue to grip.
Skipping the buffing step is the most common mistake. A light buff removes shine without damaging your nail plate. Think of it as sanding before painting: the adhesive needs texture to hold.
Size Selection: One Size Does Not Fit All
Glamour Glitch nails come in a range of sizes, but not every nail in the pack will fit your fingers perfectly. The trick is to match the width of your natural nail, not the length. A nail that is too wide will lift at the sides and catch on hair or clothing. A nail that is too small leaves gaps where moisture and dirt get in, weakening the bond.
Try each nail on before applying adhesive. If you are between sizes, go with the slightly smaller one—you can always add a tiny drop of glue to fill the gap. The square shape of Glamour Glitch means the corners are more prone to lifting, so a snug fit is extra important.
Step-by-Step Application Guide
- Step 1: Prep Your Nails: Wash your hands with soap and water to remove surface oils. Use the white side of the included nail file to trim or file your natural nails to your desired length and shape. Push back cuticles gently with the manicure stick. Lightly buff the entire nail bed with the enclosed white mini buffer—just enough to remove the shine, not to thin the nail. Wipe away dust with a dry tissue. Do not use lotion or cuticle oil before applying. Even a trace of oil will weaken the adhesive.
- Step 2: Select and Test Fit: Lay out all ten Glamour Glitch nails in order from thumb to pinky. Test each nail on its corresponding natural nail without removing the adhesive backing. The nail should cover your nail from sidewall to sidewall without overhanging or leaving gaps. If a nail is too wide, file the sides gently with the coarse side of the file. Mark the correct nail with a small sticker or place them in order on a table so you do not mix them up after testing.
- Step 3: Apply Adhesive: Peel the protective backing from the adhesive tab on the Glamour Glitch nail. Center the nail over your natural nail, starting at the cuticle line. Press the nail down firmly from the cuticle toward the tip, squeezing out any air bubbles. Hold firm pressure for 30 seconds, especially on the sides and tip. Do not slide the nail around once it touches your nail—this introduces air pockets. Place it exactly where you want it on the first try.
- Step 4: Seal and Wait: After applying all ten nails, avoid water or heavy use for at least one hour. Do not tap or test the nails by prying at the edges. The adhesive needs time to cure fully. For extra hold, you can apply a thin layer of clear top coat over the seam where the press-on meets your natural nail. Do not shower, wash dishes, or swim for the first hour. Heat and moisture during the cure period are the fastest way to lose a nail.
Product Details
-
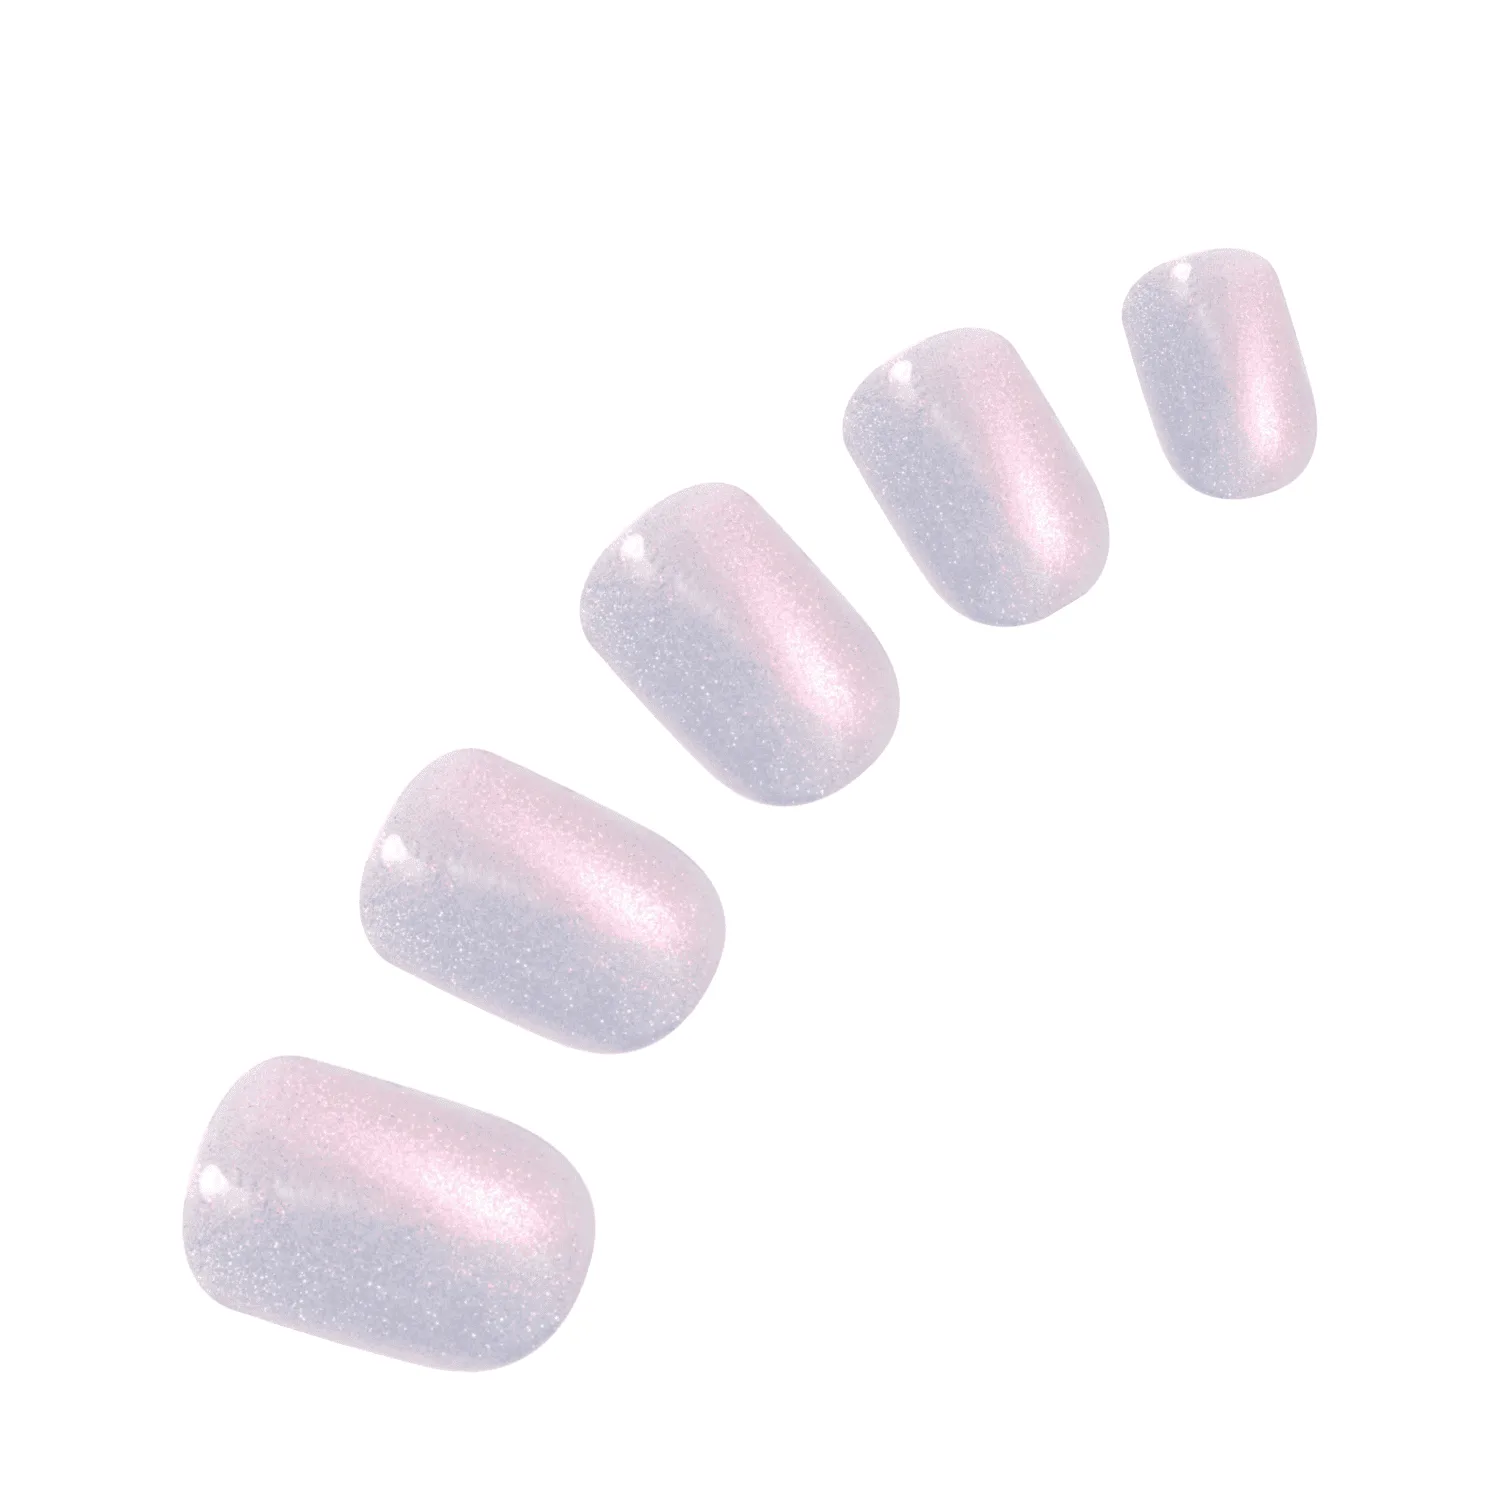
Glamour Glitch: Medium length, square shape, glossy finish with iridescent blue/pink and shimmery magnetic effects. Includes enhanced super-strong adhesive for up to 10 days of wear. The square shape and glossy finish mean proper sizing and prep are critical to prevent corner lifting and keep the iridescent effect looking seamless.
Glamour Glitch