Quick answer
Apply glossy top coat in one thin, floating layer over fully cured color, cap the free edge, and cure it completely under a UV or LED lamp. Keep the brush strokes light and avoid flooding the cuticle; a thin, even layer cures clearer and shinier than a thick one. If the surface looks dull after curing, the layer was too thick or under-cured.
A gel manicure only looks salon-finished when the top coat cures smooth and clear. Most dull, streaky results come from too much product, uncured color underneath, or a lamp that never fully sets the top layer. The fix is a repeatable application order: prep the surface, apply thin, cure fully, and check the shine before you touch anything.
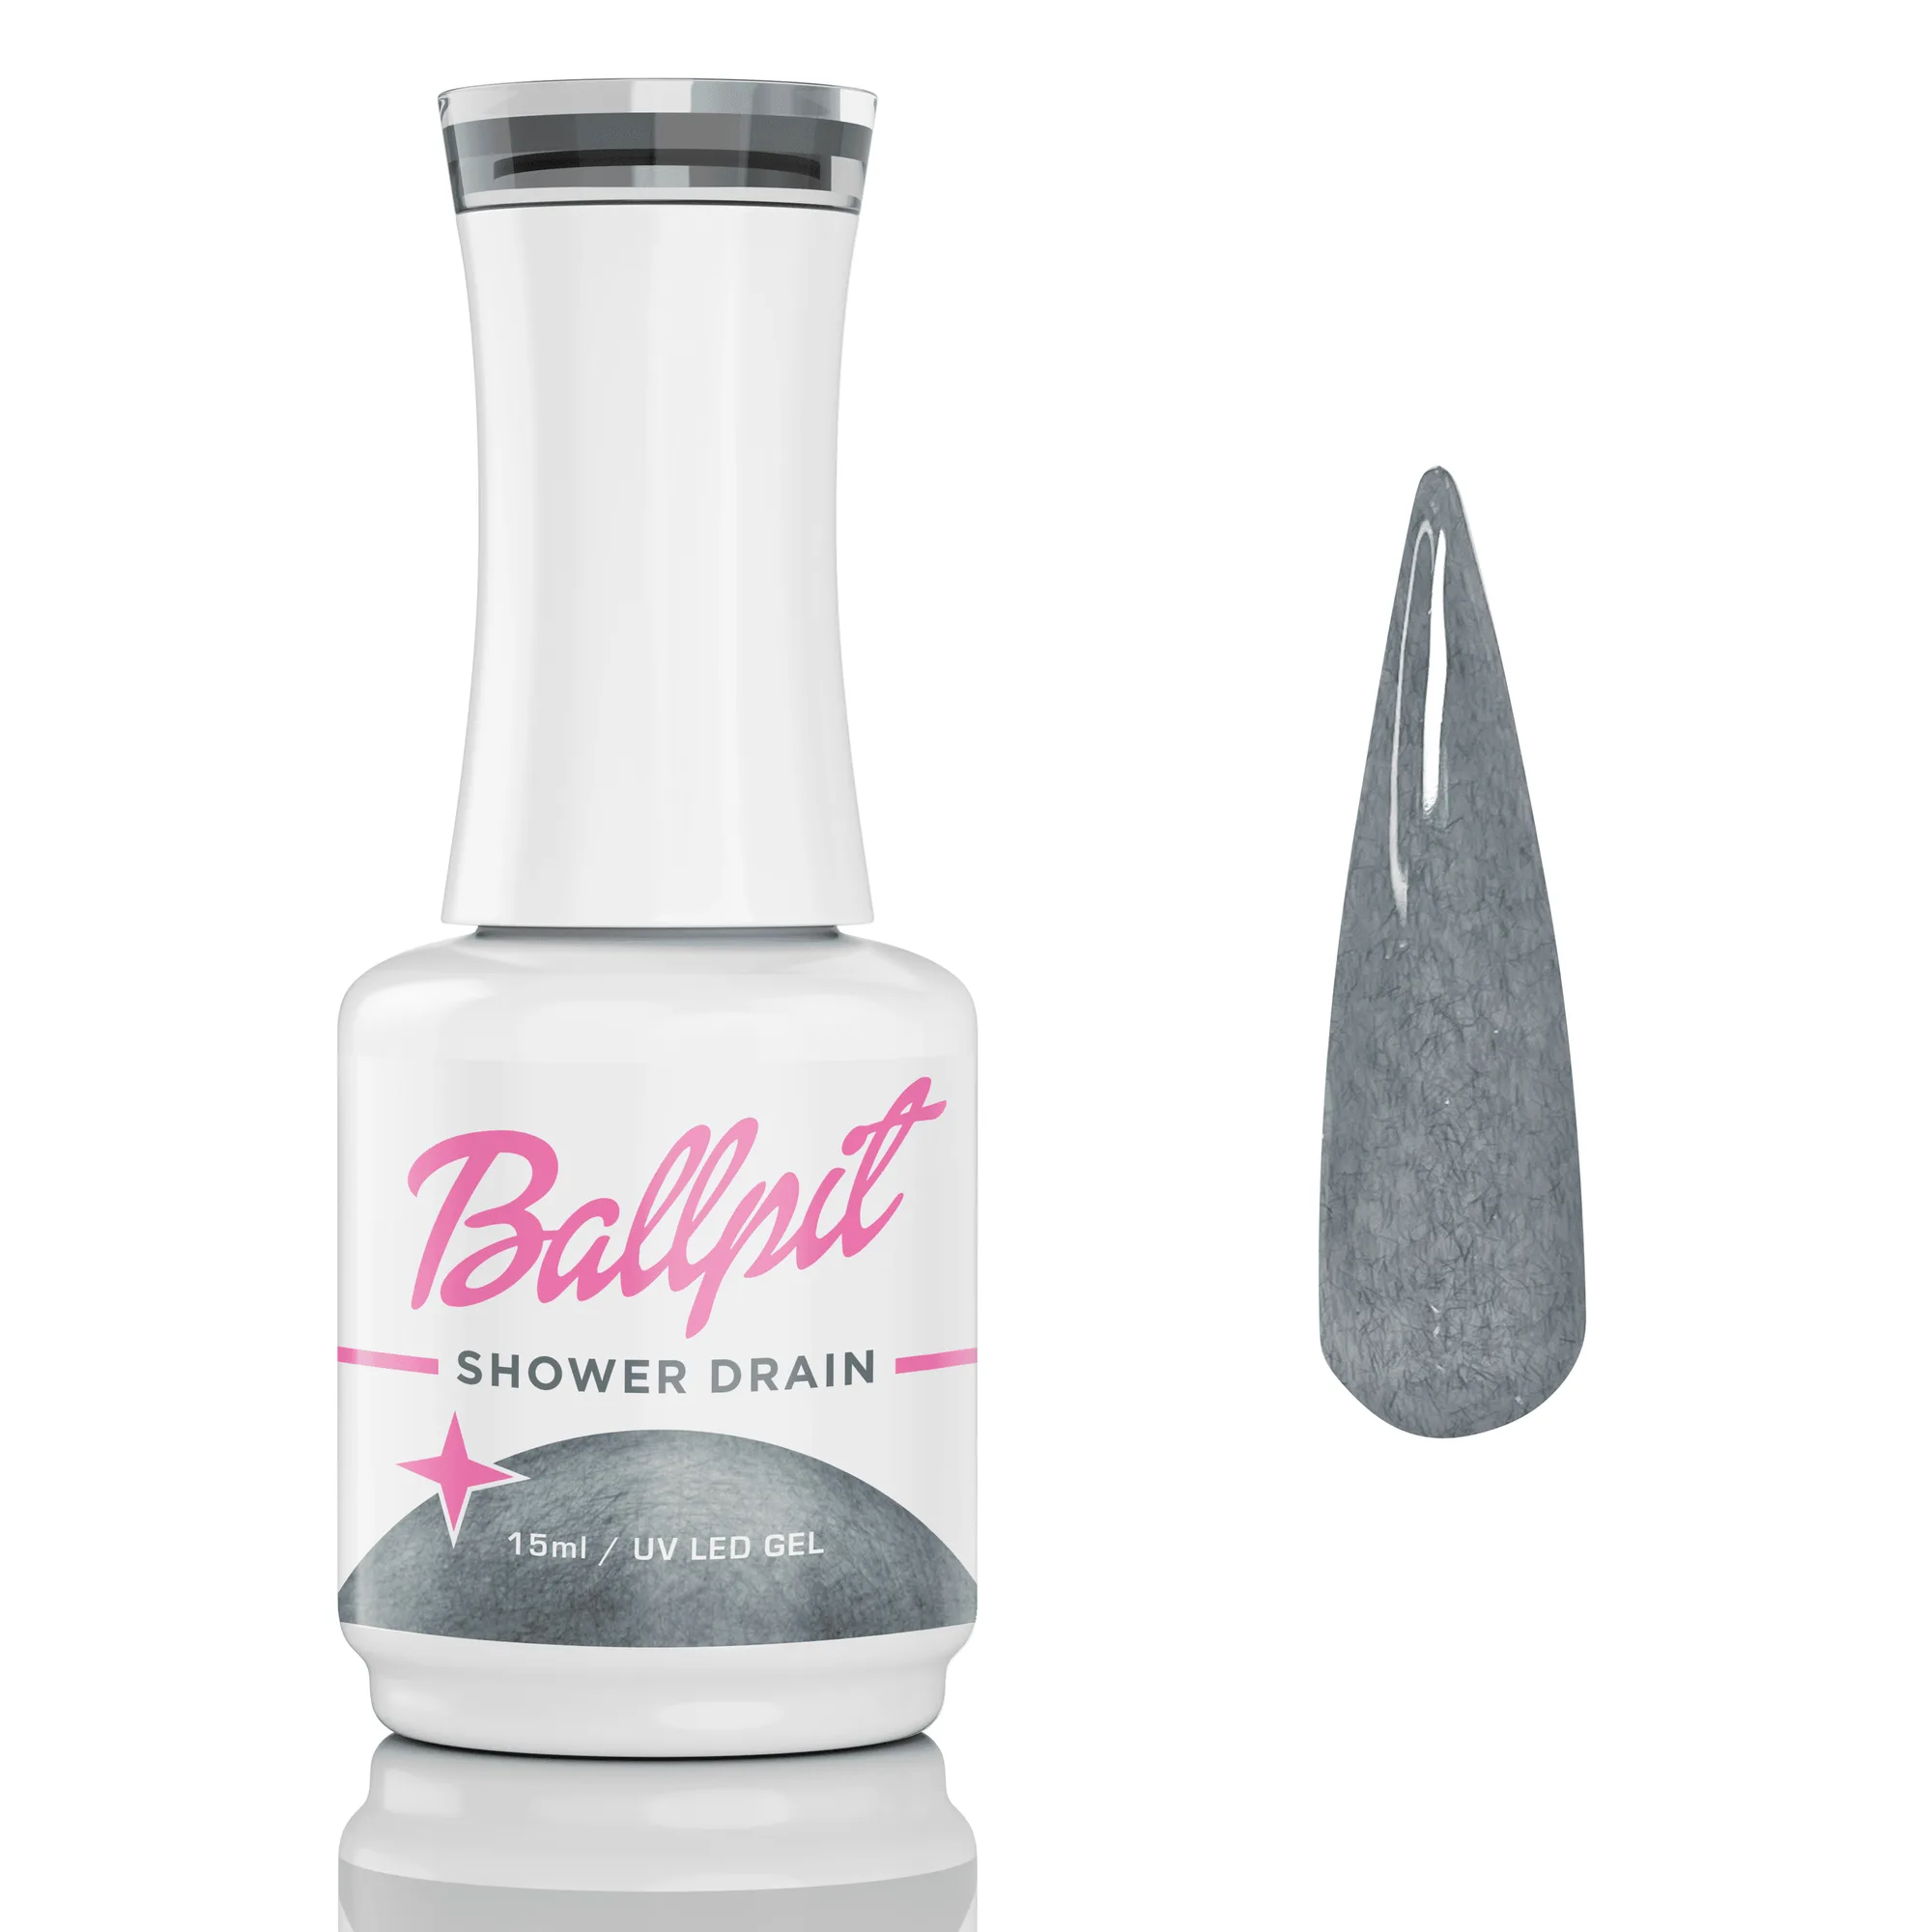
This guide walks through the full process for a high shine gel manicure at home, using soak-off gels from Ballpit Nails as examples. You will also find checkpoints for the mistakes that cause streaks, bubbles, and cloudy finishes, plus simple ways to keep the gloss intact for longer.
Prep the nail and the color layer first
Glossy top coat cannot rescue a bumpy or tacky color layer. Shape and buff the natural nail lightly, push back the cuticle, and remove dust before you start. If you use a base coat, cure it fully, then apply color in thin layers and cure each one. A thick color layer traps solvent and can leave the top coat looking cloudy even when the top coat itself is fine.
Before top coat, check that the color is completely cured and dry to the touch. Any uncured gel will smear when the top coat brush passes over it. If you are working with a creamy, high-pigment formula, two thin coats usually cover better than one heavy coat, and thin coats cure more evenly under the lamp.
- Wipe the nail with a lint-free pad to remove dust and oils before top coat.
- Keep the color layer thin at the free edge so the top coat can wrap it cleanly.
Load the brush correctly to avoid streaks
Streaks usually come from a dry brush dragging through tacky gel. Wipe one side of the brush against the bottle neck, then pick up a small bead on the other side. You want enough product to glide, not enough to flood. Start at the cuticle area, float the brush slightly above the nail, and push the bead toward the tip in one smooth pass.
Do not press the bristles flat into the nail. Pressing creates ridges that show up as streaks after curing. If the top coat starts to feel stringy or thick, stop and use a fresh bead rather than trying to stretch the same one across the whole nail.
- Use a light, floating stroke rather than a pressing stroke.
- Work one nail at a time so the top coat does not start to self-level before you cure it.
Cap the free edge and keep the cuticle clean
After covering the nail plate, run the brush along the free edge to seal it. This cap is what prevents the top coat from lifting at the tip and keeps the shine wrapped around the edge. Keep the layer thin at the tip; a heavy cap can pool underneath and feel bulky.
Leave a small margin at the cuticle and sidewalls. Flooding the cuticle creates a thick ridge that can lift within a day or two, and it often looks less glossy because the gel pools unevenly. If you do touch the skin, clean it with a brush or orange stick before curing.
- Cap the free edge with the same thin layer, not an extra blob.
- Check both sidewalls for pooling before the nail goes into the lamp.
Cure fully and check the shine
Place the hand into a UV or LED lamp and cure according to the lamp and gel instructions. Do not pull the hand out early to check; partially cured top coat can wrinkle or dull. After curing, let the nails cool for a moment. Some soak-off top coats have a slight tacky layer that is normal for the formula, so check the product instructions before you wipe.
If the surface looks dull, hazy, or uneven after curing, the most common causes are an under-cured layer or too much product. A second thin coat over a fully cured first coat can restore shine, but only if the first layer is completely set. If the finish feels soft or dents easily, cure it longer rather than adding more top coat.
- Cure all four fingers, then the thumb separately if it does not fit flat under the lamp.
- Do not touch or test the shine until the nail has cooled for a few seconds.
Protect the gloss after the manicure
Newly cured top coat is more vulnerable in the first hour, so avoid hot water, cleaning products, and heavy typing right after your manicure. Wear gloves for dishes and cleaning, and use cuticle oil on the skin around the nail rather than on the glossy surface. Oil on the top coat can leave a film that looks like dullness.
If the shine fades after several days, it is usually wear rather than a bad application. A thin refresh layer of top coat over a clean, lightly buffed surface can bring the gloss back without removing the whole manicure.
- Keep cuticle oil on the skin, not on the top coat surface.
- Refresh with a thin top coat layer instead of a thick one when shine fades.
Glossy top coat steps and checkpoints
- Prep and cure the color layer: Shape, buff, and cleanse the nail, then apply thin color coats and cure each one fully. Check that the color is dry to the touch before moving on. Mistake to avoid: starting top coat over a tacky or thick color layer, which causes smearing and cloudiness.
- Load a small bead and float it on: Wipe one side of the brush, pick up a small bead, and float the brush above the nail from cuticle to tip in one pass. Do not press the bristles into the surface. Checkpoint: the layer should look wet and even, not flooded or ridged.
- Cap the free edge: Run the brush along the tip to seal the edge with the same thin layer. Keep the cap light so it does not pool underneath. Mistake to avoid: a heavy cap that creates a bulky tip and lifts early.
- Keep the cuticle margin clean: Leave a small gap at the cuticle and sidewalls. Clean any gel that touches the skin with a brush or orange stick before curing. Checkpoint: no pooling at the cuticle, which is a common cause of lifting and uneven shine.
- Cure fully under UV or LED: Cure according to the lamp and gel instructions, keeping the hand flat and still. Cure the thumb separately if it does not sit flat in the lamp. Mistake to avoid: pulling the hand out early to check, which can wrinkle or dull the top coat.
- Check the shine after cooling: Let the nails cool for a few seconds, then look at the surface under good light. If it is dull or soft, cure longer or add one thin second layer over a fully cured first layer. Checkpoint: a clear, even gloss with no hazy patches or dents.
Gel details that affect top coat results
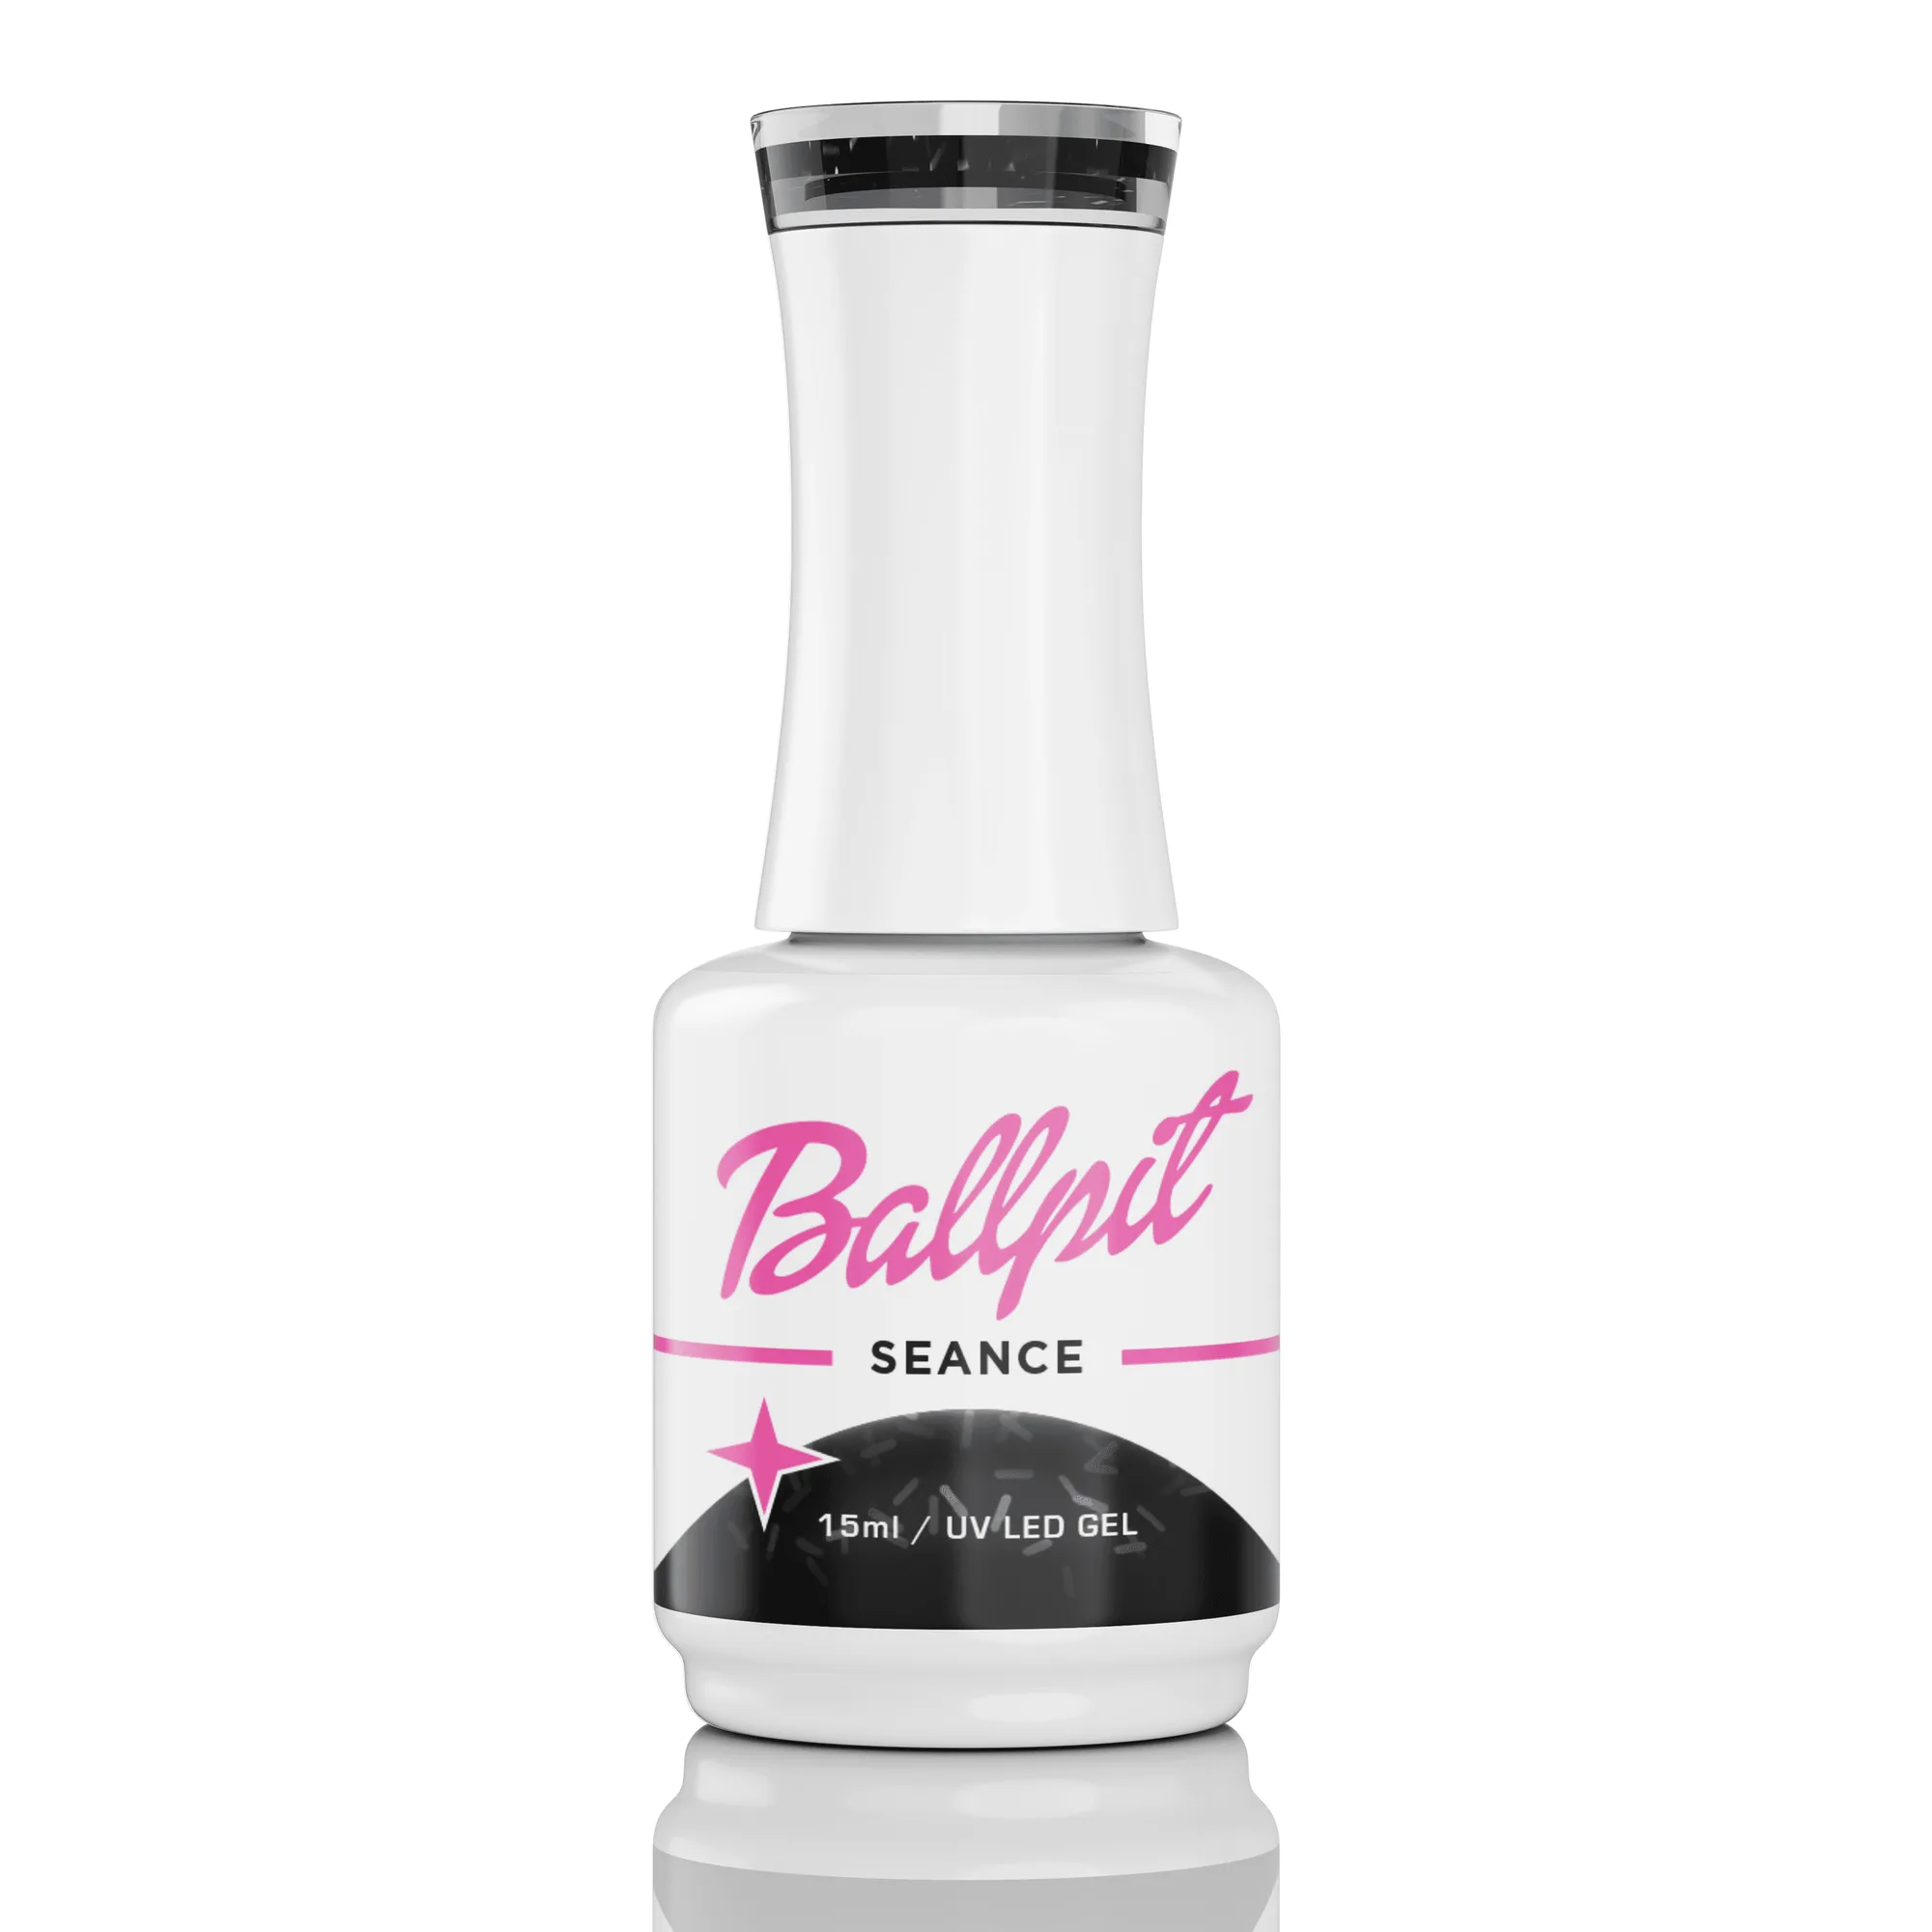
- Seance - Gel Polish: Seance Gel Polish is a soak-off gel polish designed for use with UV or LED curing lamps, in a 15ml bottle. Because it cures under UV or LED, the color layer must be fully set before top coat so the brush does not drag and streak.
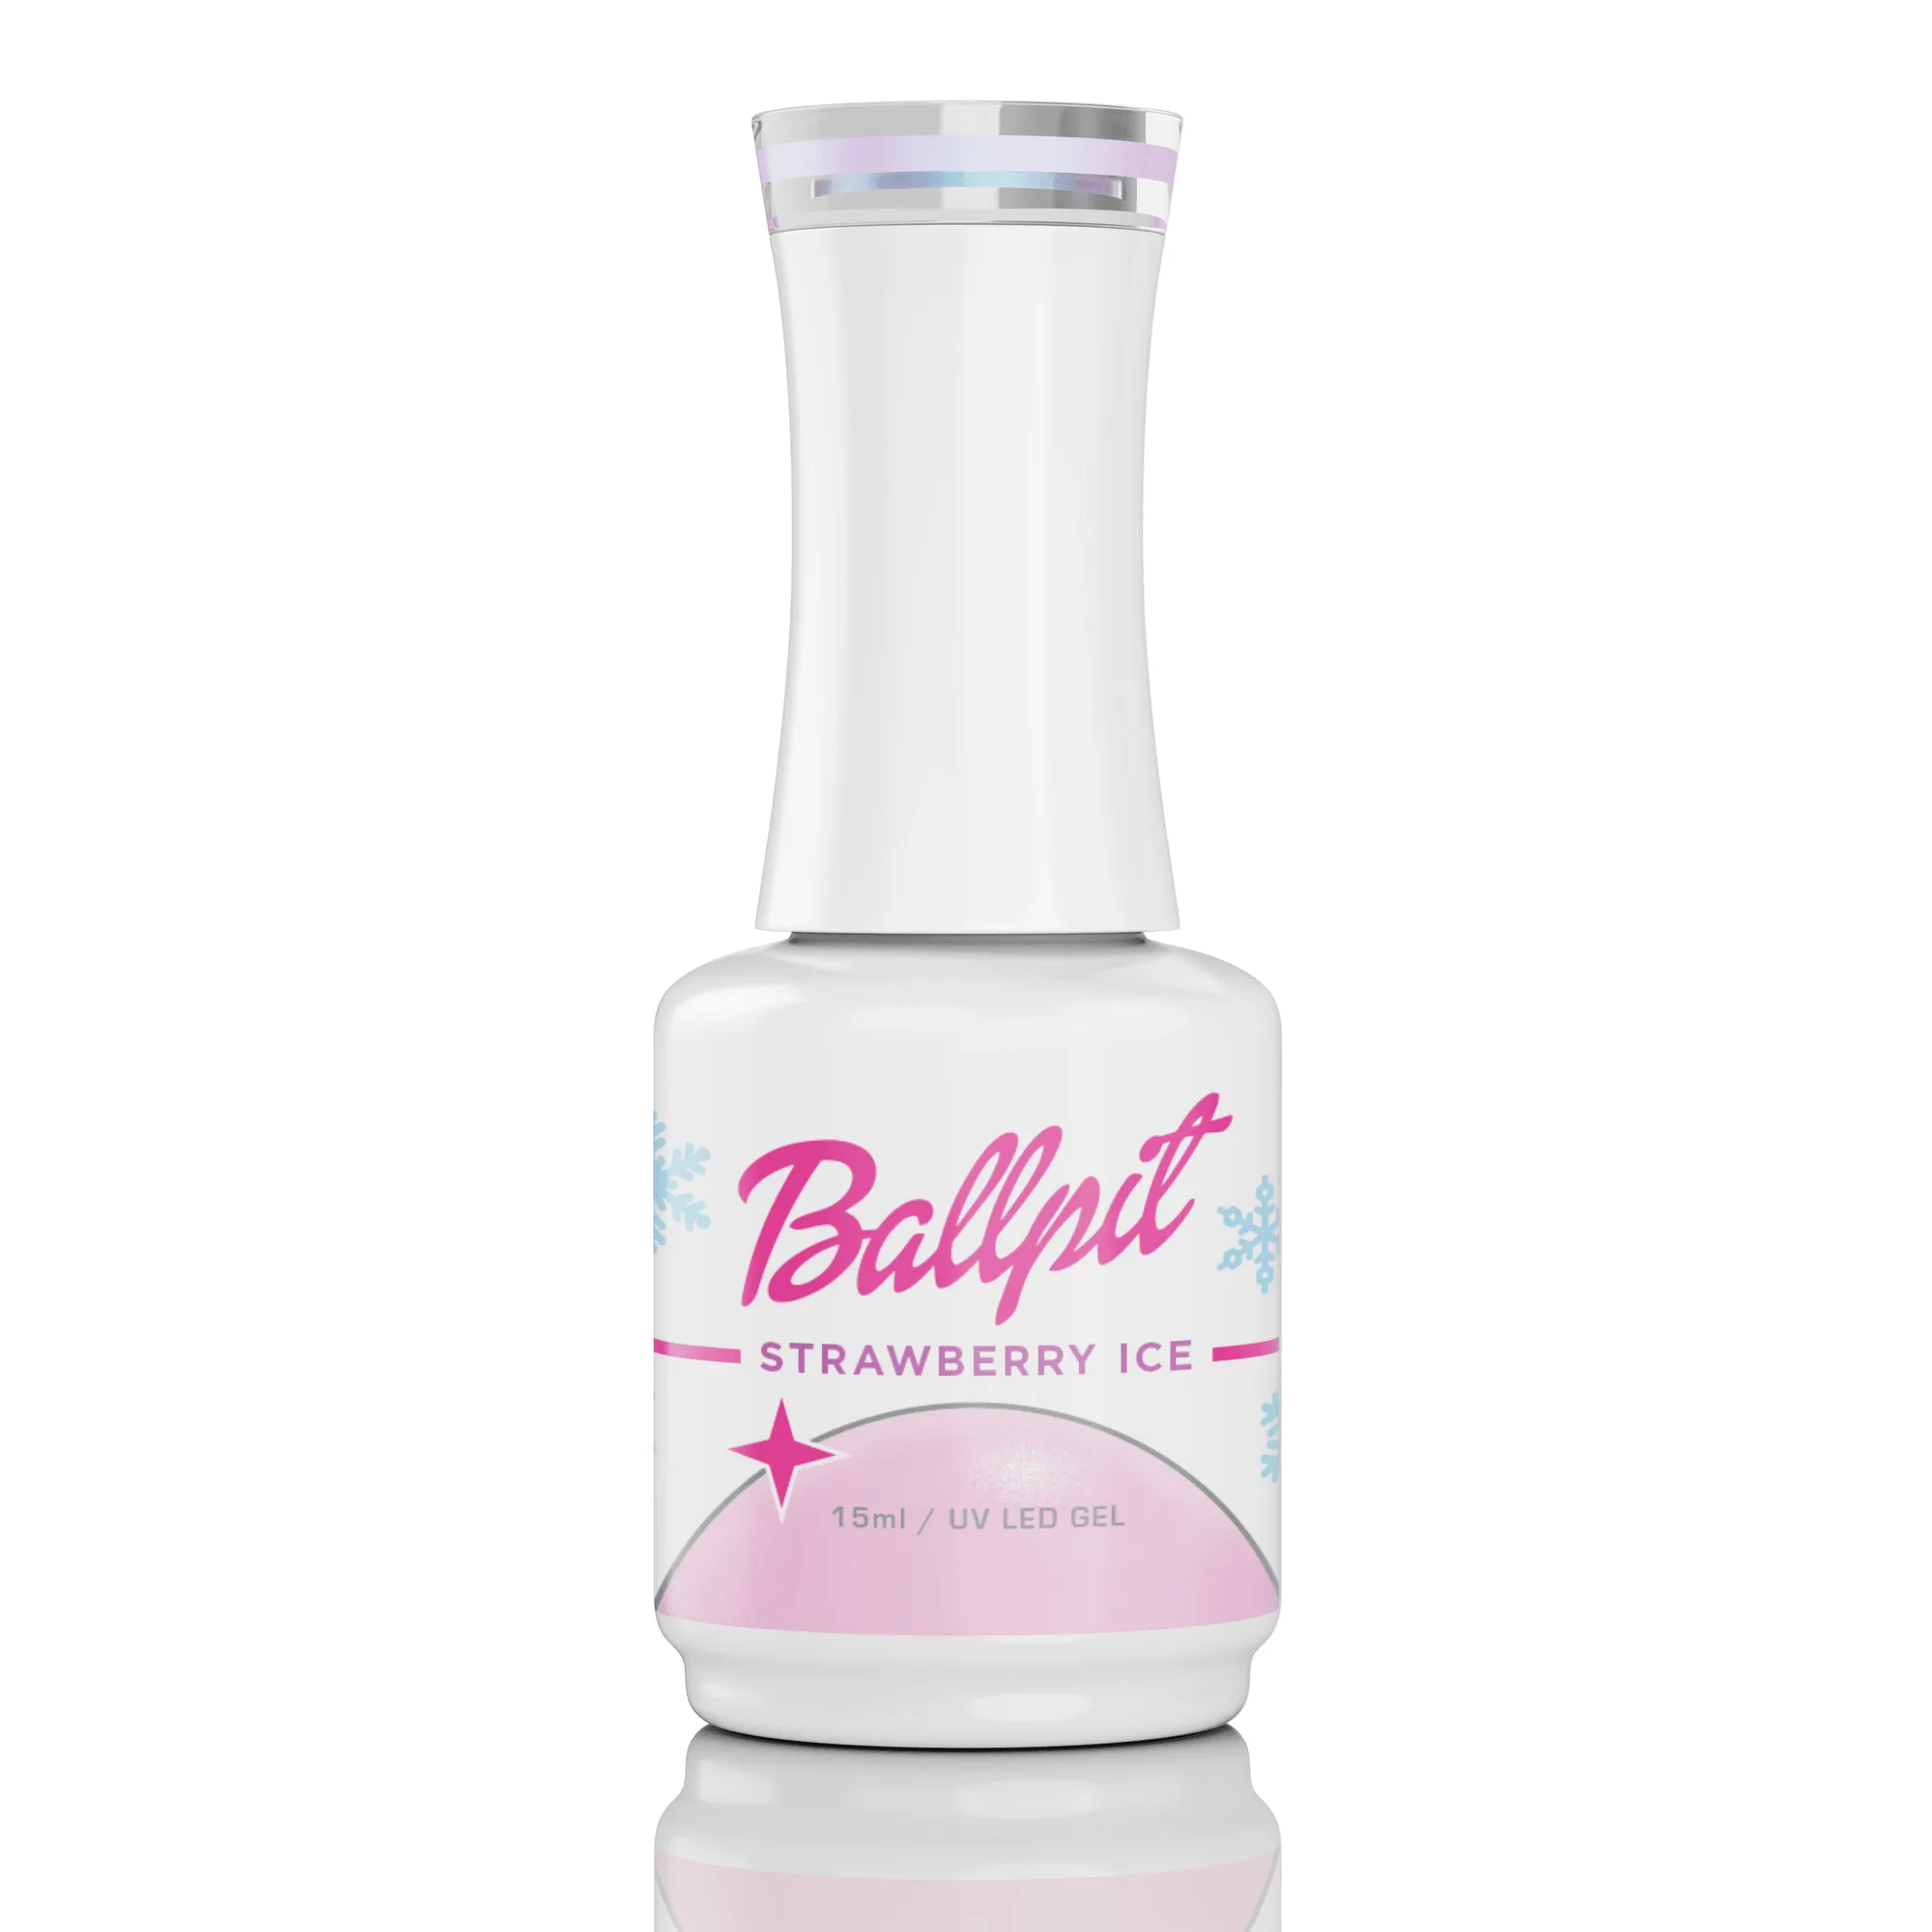
- Strawberry Ice - Gel Polish: Strawberry Ice is a 15ml UV/LED soak-off gel with a classic creamy formula, extreme pigment, and anti-spread properties, in a sunny pink with a frosted clear base. High-pigment, anti-spread gels can be applied in thin coats, which helps keep the color layer smooth under a glossy top coat.
- Winter Sunset - Winter Crystal sculpting gel: Winter Sunset is a 5g UV/LED Winter Crystal sculpting gel with a classic creamy formula, extreme pigment, and anti-spread properties. Sculpting gel is thicker than polish, so any structure work should be fully cured and leveled before top coat to avoid a lumpy finish.
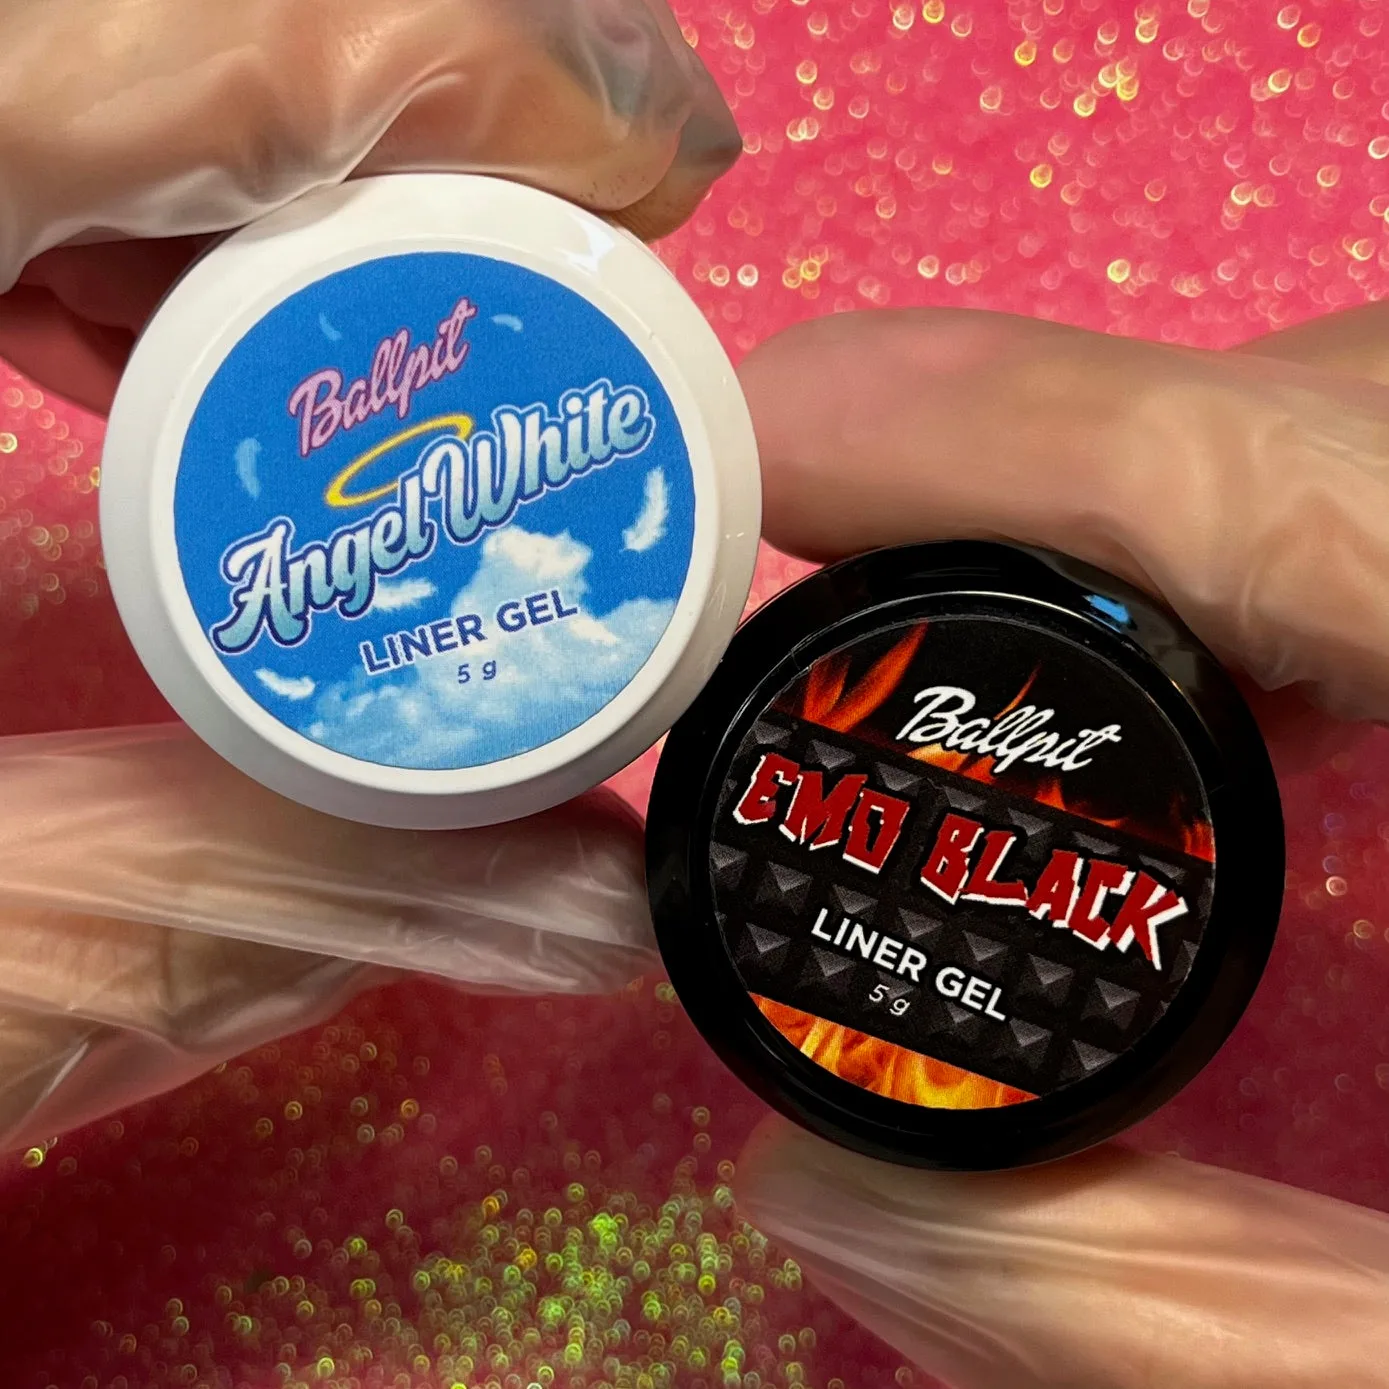
- Emo Black and Angel White liner gel bundle: The Emo Black and Angel White liner gel bundle includes two 5g UV/LED soak-off liner gels in contrasting shades, in a liner format for detailed gel work. Liner gels are for detail work, so keep them off the main top coat layer unless you are intentionally adding art under the gloss.
A salon-shine gel manicure comes down to thin layers, full curing, and a clean cuticle margin. Follow the steps above, keep the top coat layer light, and check the shine after the nail cools. With a little practice, the gloss becomes the easiest part of the set.