Quick Answer
To apply instant gel nail wraps without bubbles, prep nails thoroughly, warm the wrap slightly, and smooth from center to edges before curing with an LED lamp.
Why Bubbles Happen and How to Prevent Them
Bubbles usually form when moisture, dust, or oil is trapped under the wrap, or when the wrap is applied too cold. A clean, dry nail plate and a gentle warm-up of the wrap before application are your best defenses.
Semi-cured gel wraps are flexible but not forgiving—rushing the placement can trap air. Take your time with each nail for a flawless result.
Step-by-Step Bubble-Free Application
- Prep Your Nails Completely: Remove old polish, push back cuticles, and lightly buff the nail surface. Wipe with alcohol or a dehydrator to remove all oils and dust. Even a trace of cuticle oil can cause lifting or bubbles—don't skip the dehydrator step.
- Warm the Wrap Before Application: Hold the wrap near a lamp or body heat for 10–15 seconds. This softens the semi-cured gel and makes it more pliable, reducing the chance of creases or air pockets. Cold wraps are stiff and more likely to trap air—warming is a simple but crucial step.
- Apply from Center Outward: Peel the wrap from the backing and place the center of the wrap on the middle of your nail. Gently press outward toward the edges and tip, smoothing as you go. Starting at the center pushes air toward the edges instead of trapping it in the middle.
- Smooth with a Cuticle Pusher or Orange Stick: Use a rubber-tipped cuticle pusher or an orange stick wrapped in cotton to press the wrap firmly against the nail. Work from the center to the sides and tip, removing any tiny bubbles. A soft tool prevents scratches and gives you better control than your fingers alone.
- Cure Under an LED Lamp Immediately: Once the wrap is smooth and bubble-free, cure it under an LED lamp for the time recommended by the wrap brand (typically 30–60 seconds). Do not move the nail during curing. Curing right after smoothing locks the wrap in place—waiting can allow dust or air to sneak in.
- File and Seal the Free Edge: After curing, gently file the tip of the nail in one direction to remove any excess wrap. Apply a top coat or the wrap's own sealant over the edge to prevent lifting. Sealing the free edge is the final barrier against moisture and air getting under the wrap.
Product Facts
-
Instant Gel Manicure- Lilia's Wave, Semi-Cured Gel Nail Wrap: LED lamp is required for application and is sold separately. Lilia's Wave features a high-gloss finish with Nude, Black, and White tones and mesmerizing swirls. The glossy, flexible design of this wrap makes it ideal for practicing bubble-free application—any trapped air is visible and can be smoothed out before curing.
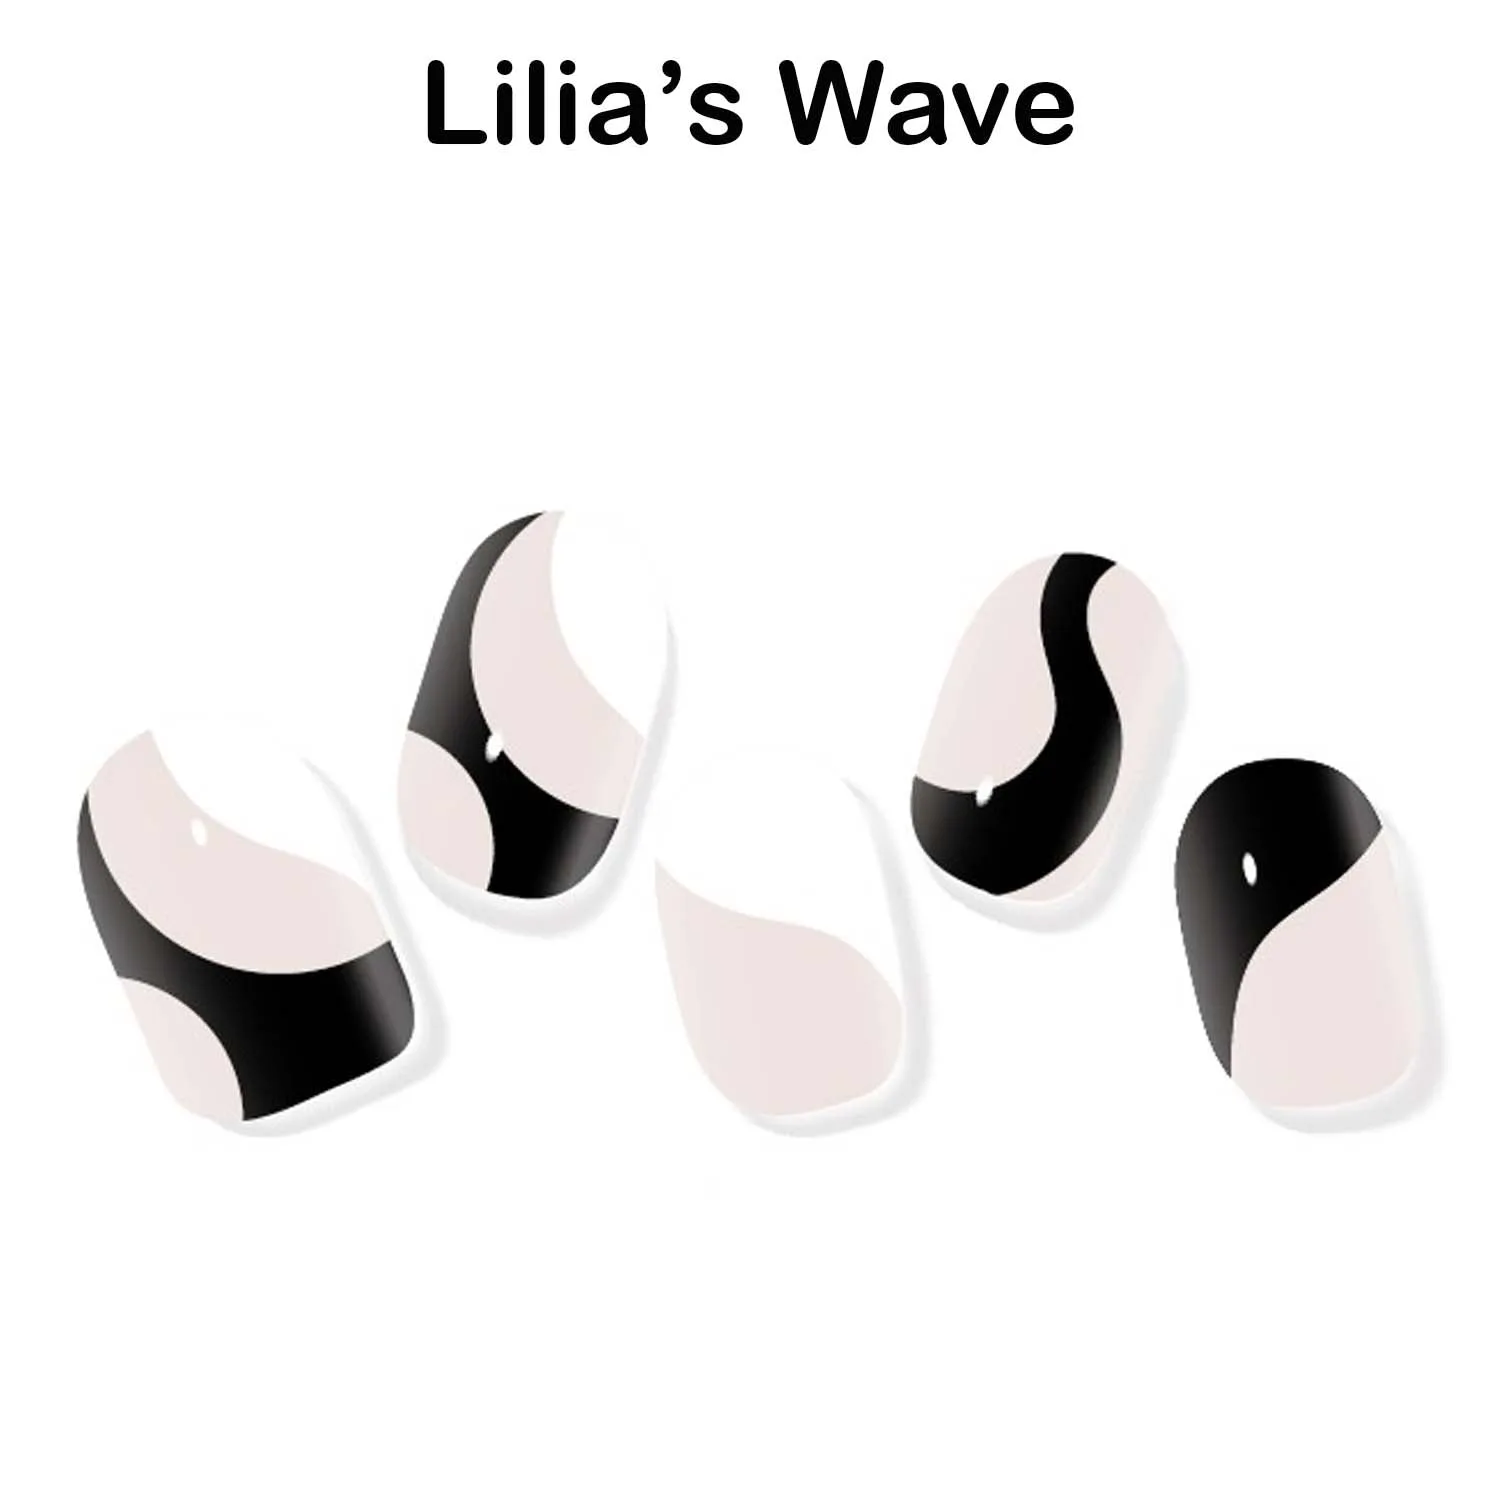
Instant Gel Manicure- Lilia's Wave, Semi-Cured Gel Nail Wrap
-
Instant Gel Manicure- Ocean Agate, Semi-Cured Gel Nail Wrap: LED lamp is required for application and is sold separately. Ocean Agate offers delicate light gold cateye details for a shimmering look. The shimmer and cateye effect can hide minor imperfections, but proper application ensures the pattern stays centered and bubble-free for a polished finish.
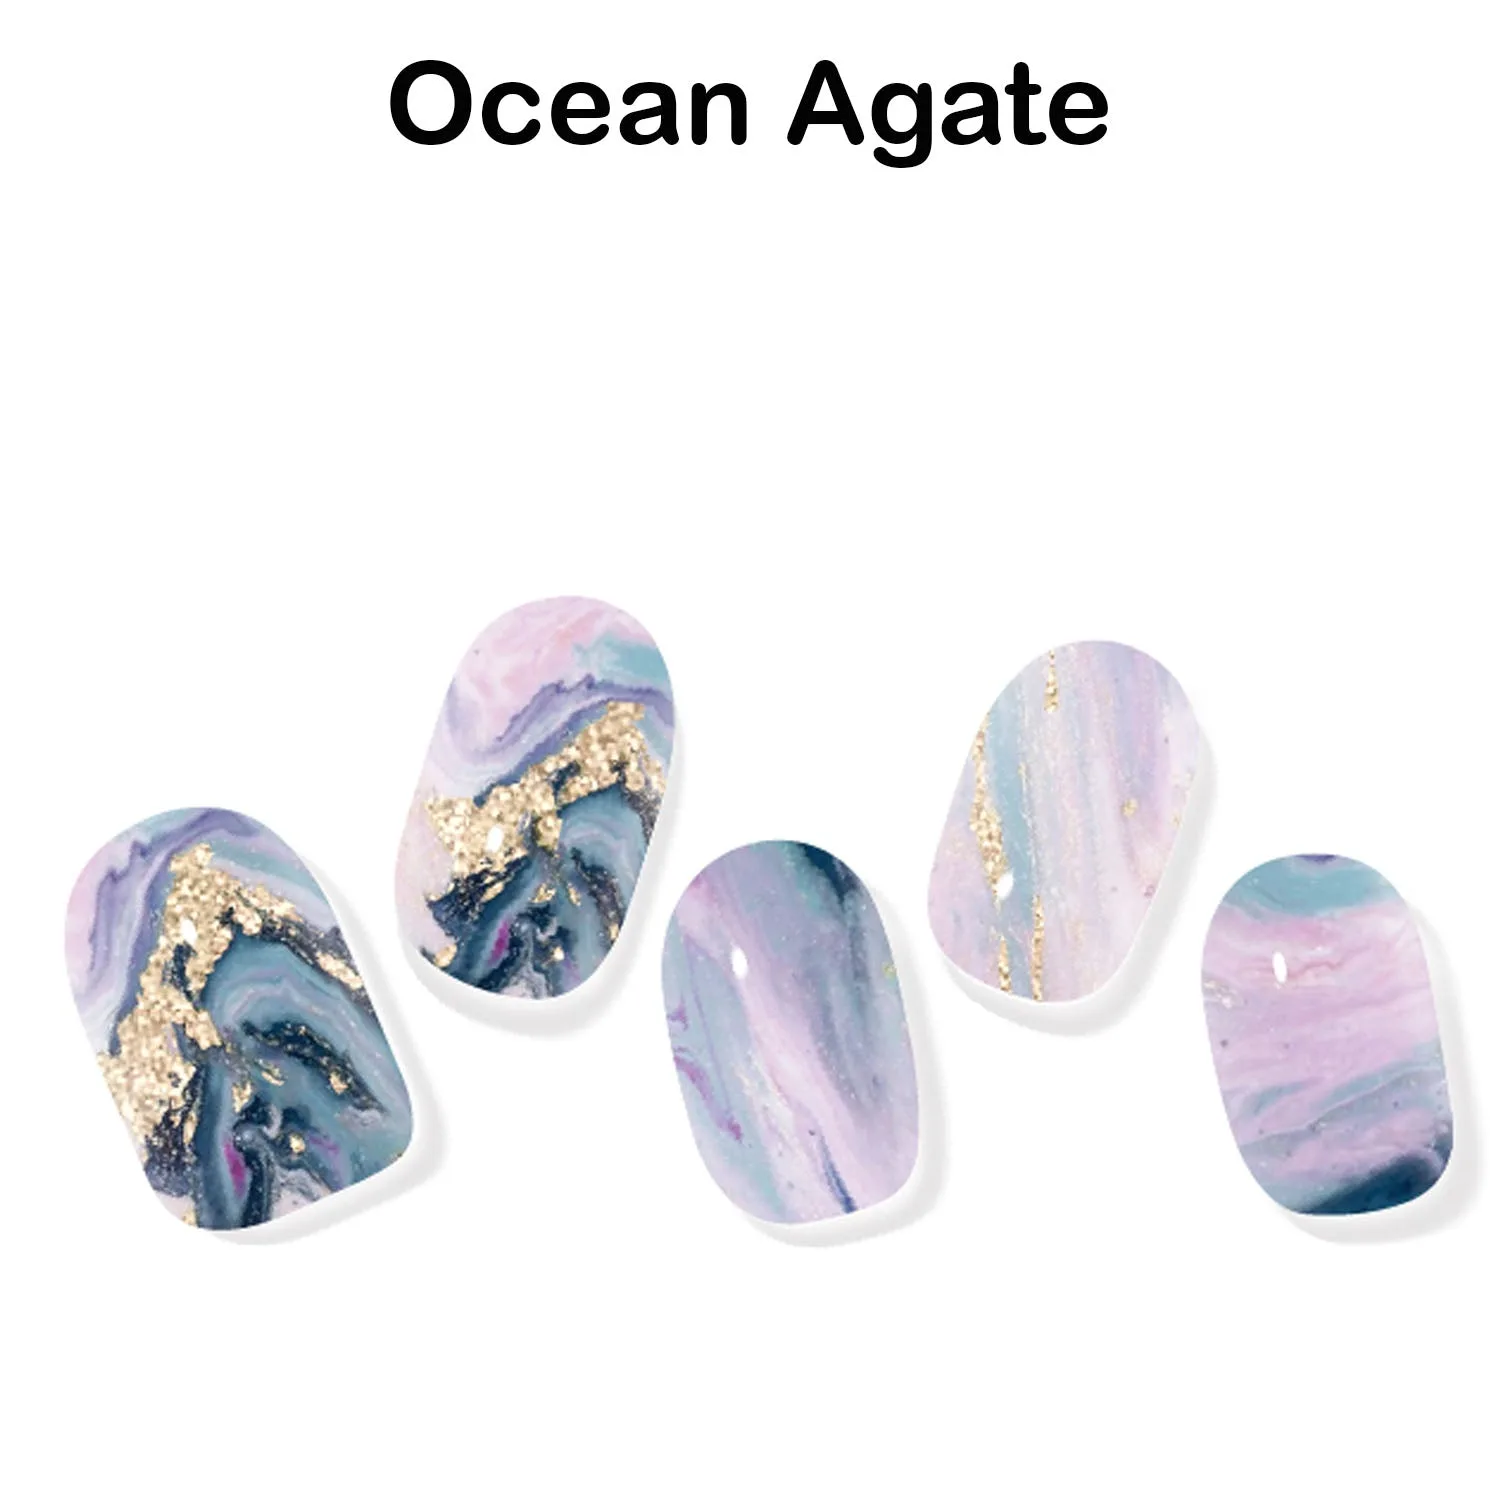
Instant Gel Manicure- Ocean Agate, Semi-Cured Gel Nail Wrap