Quick answer
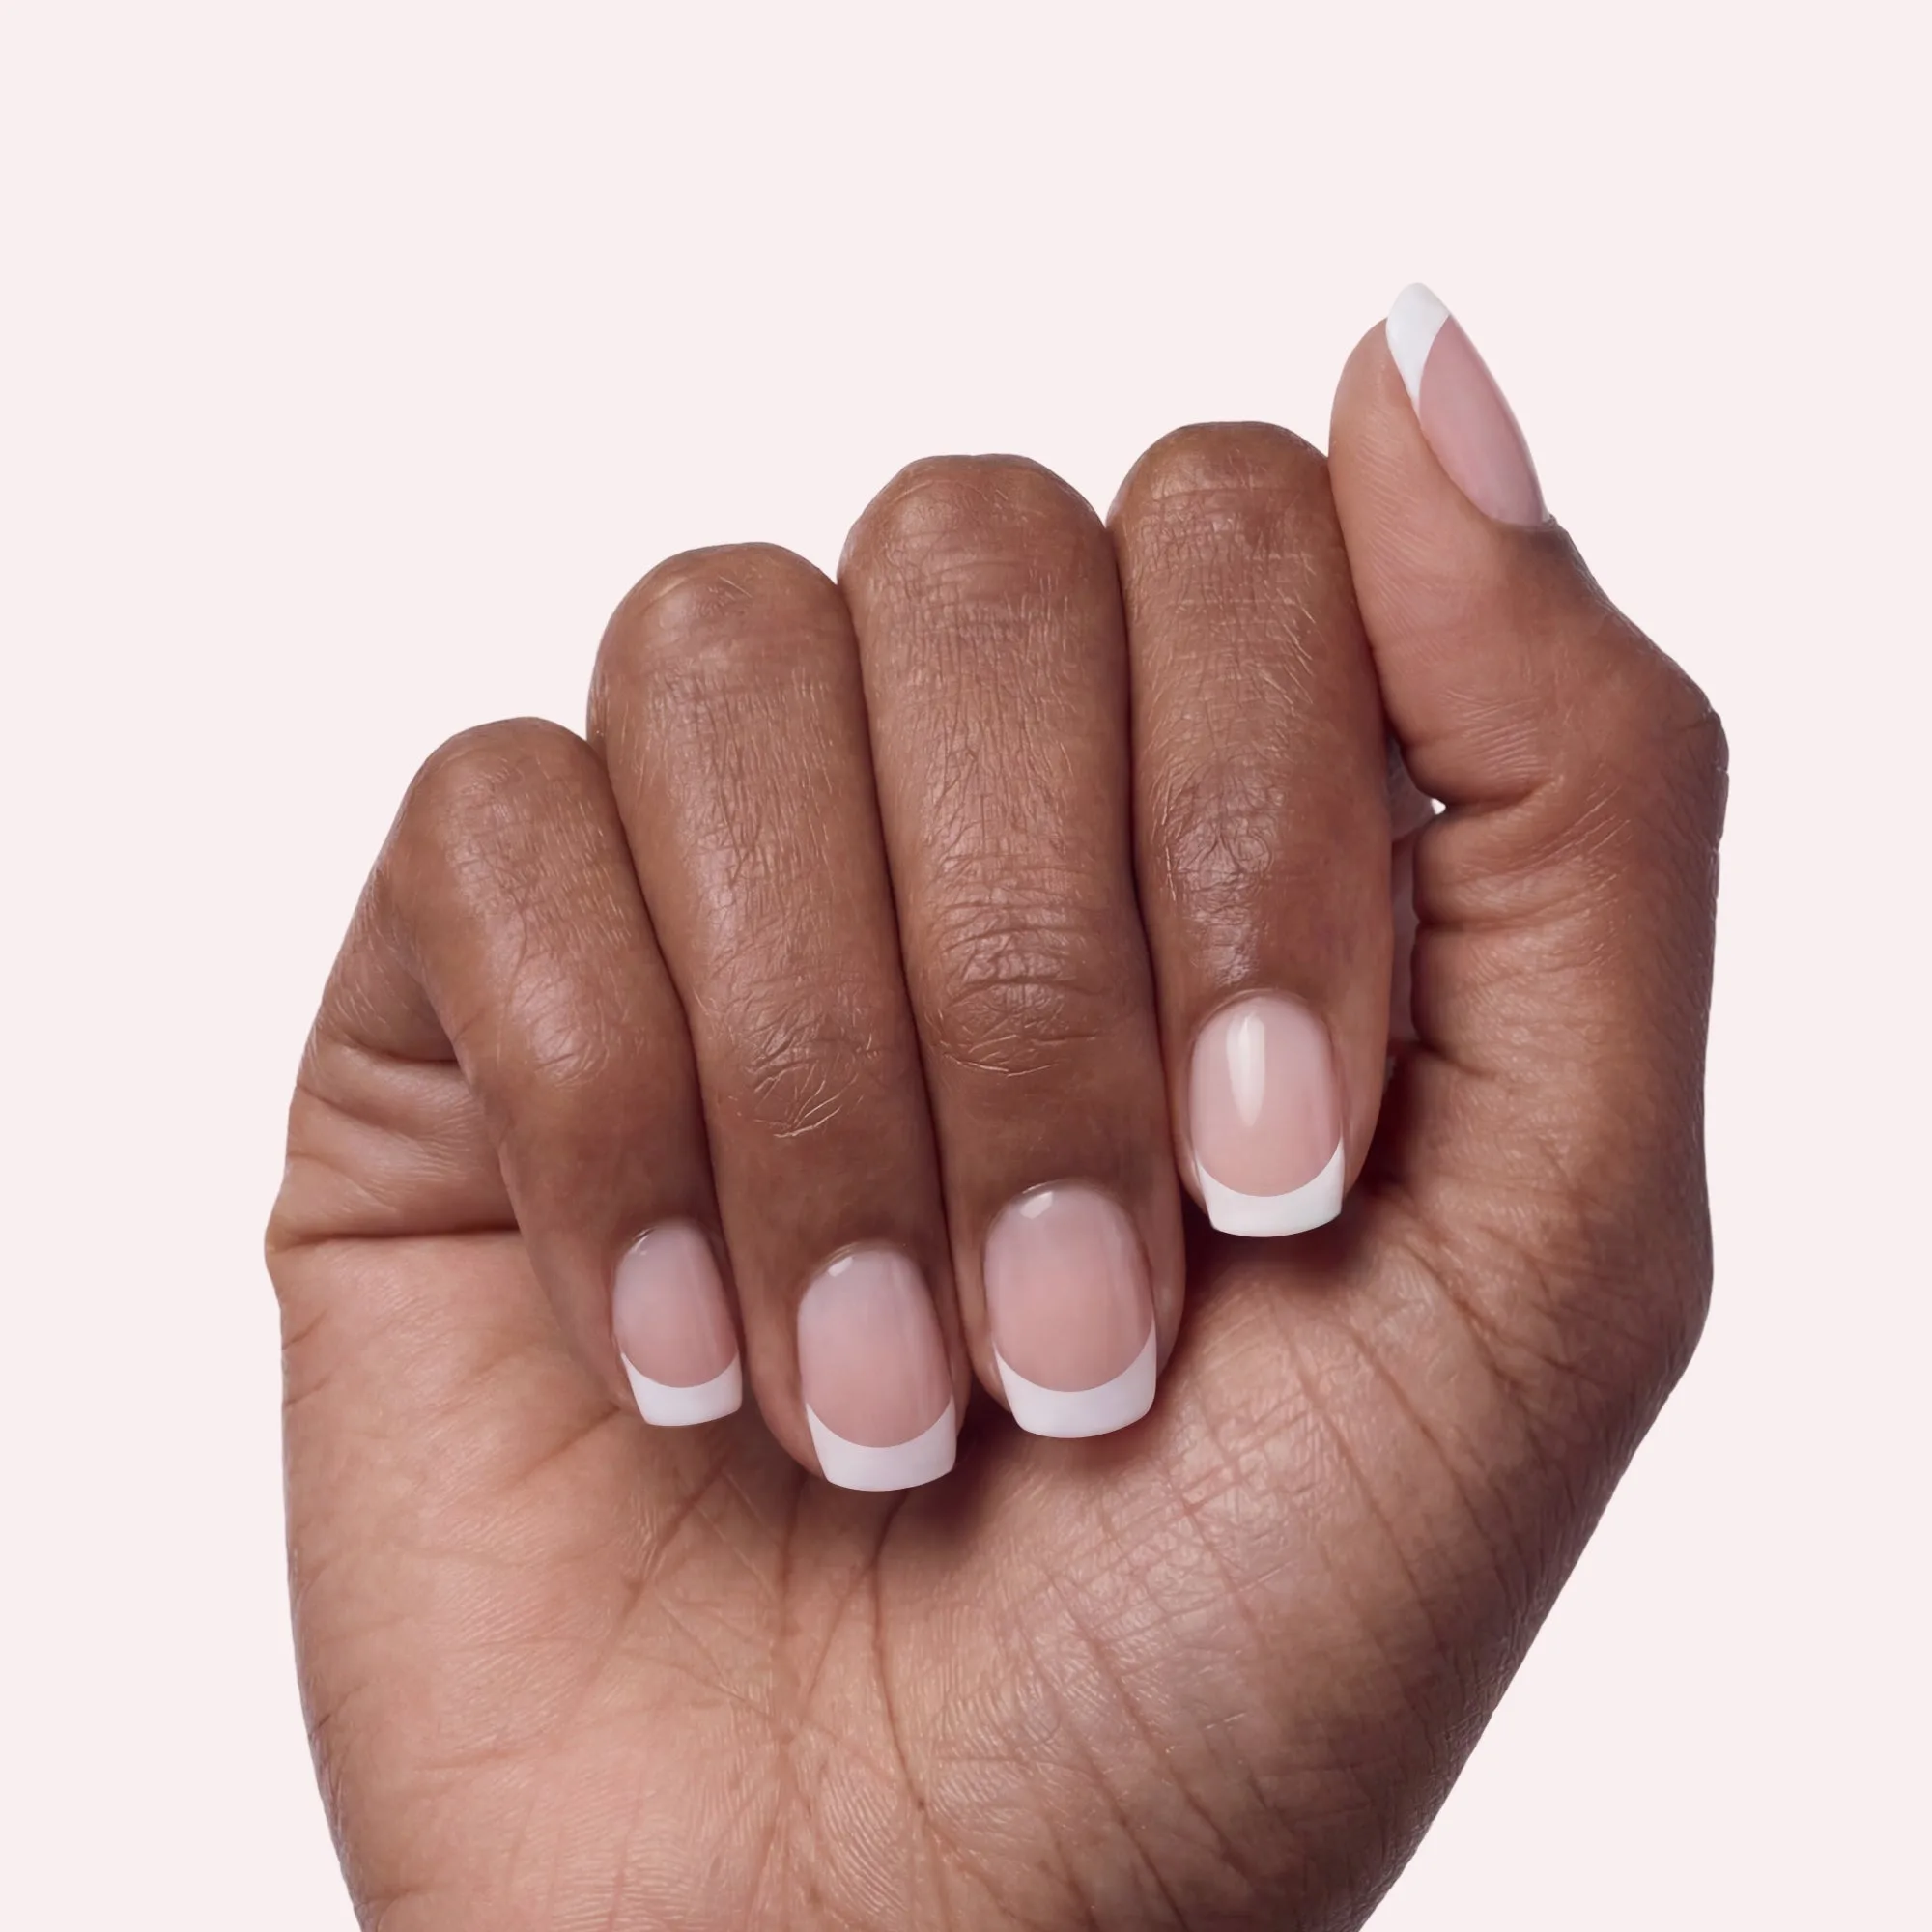
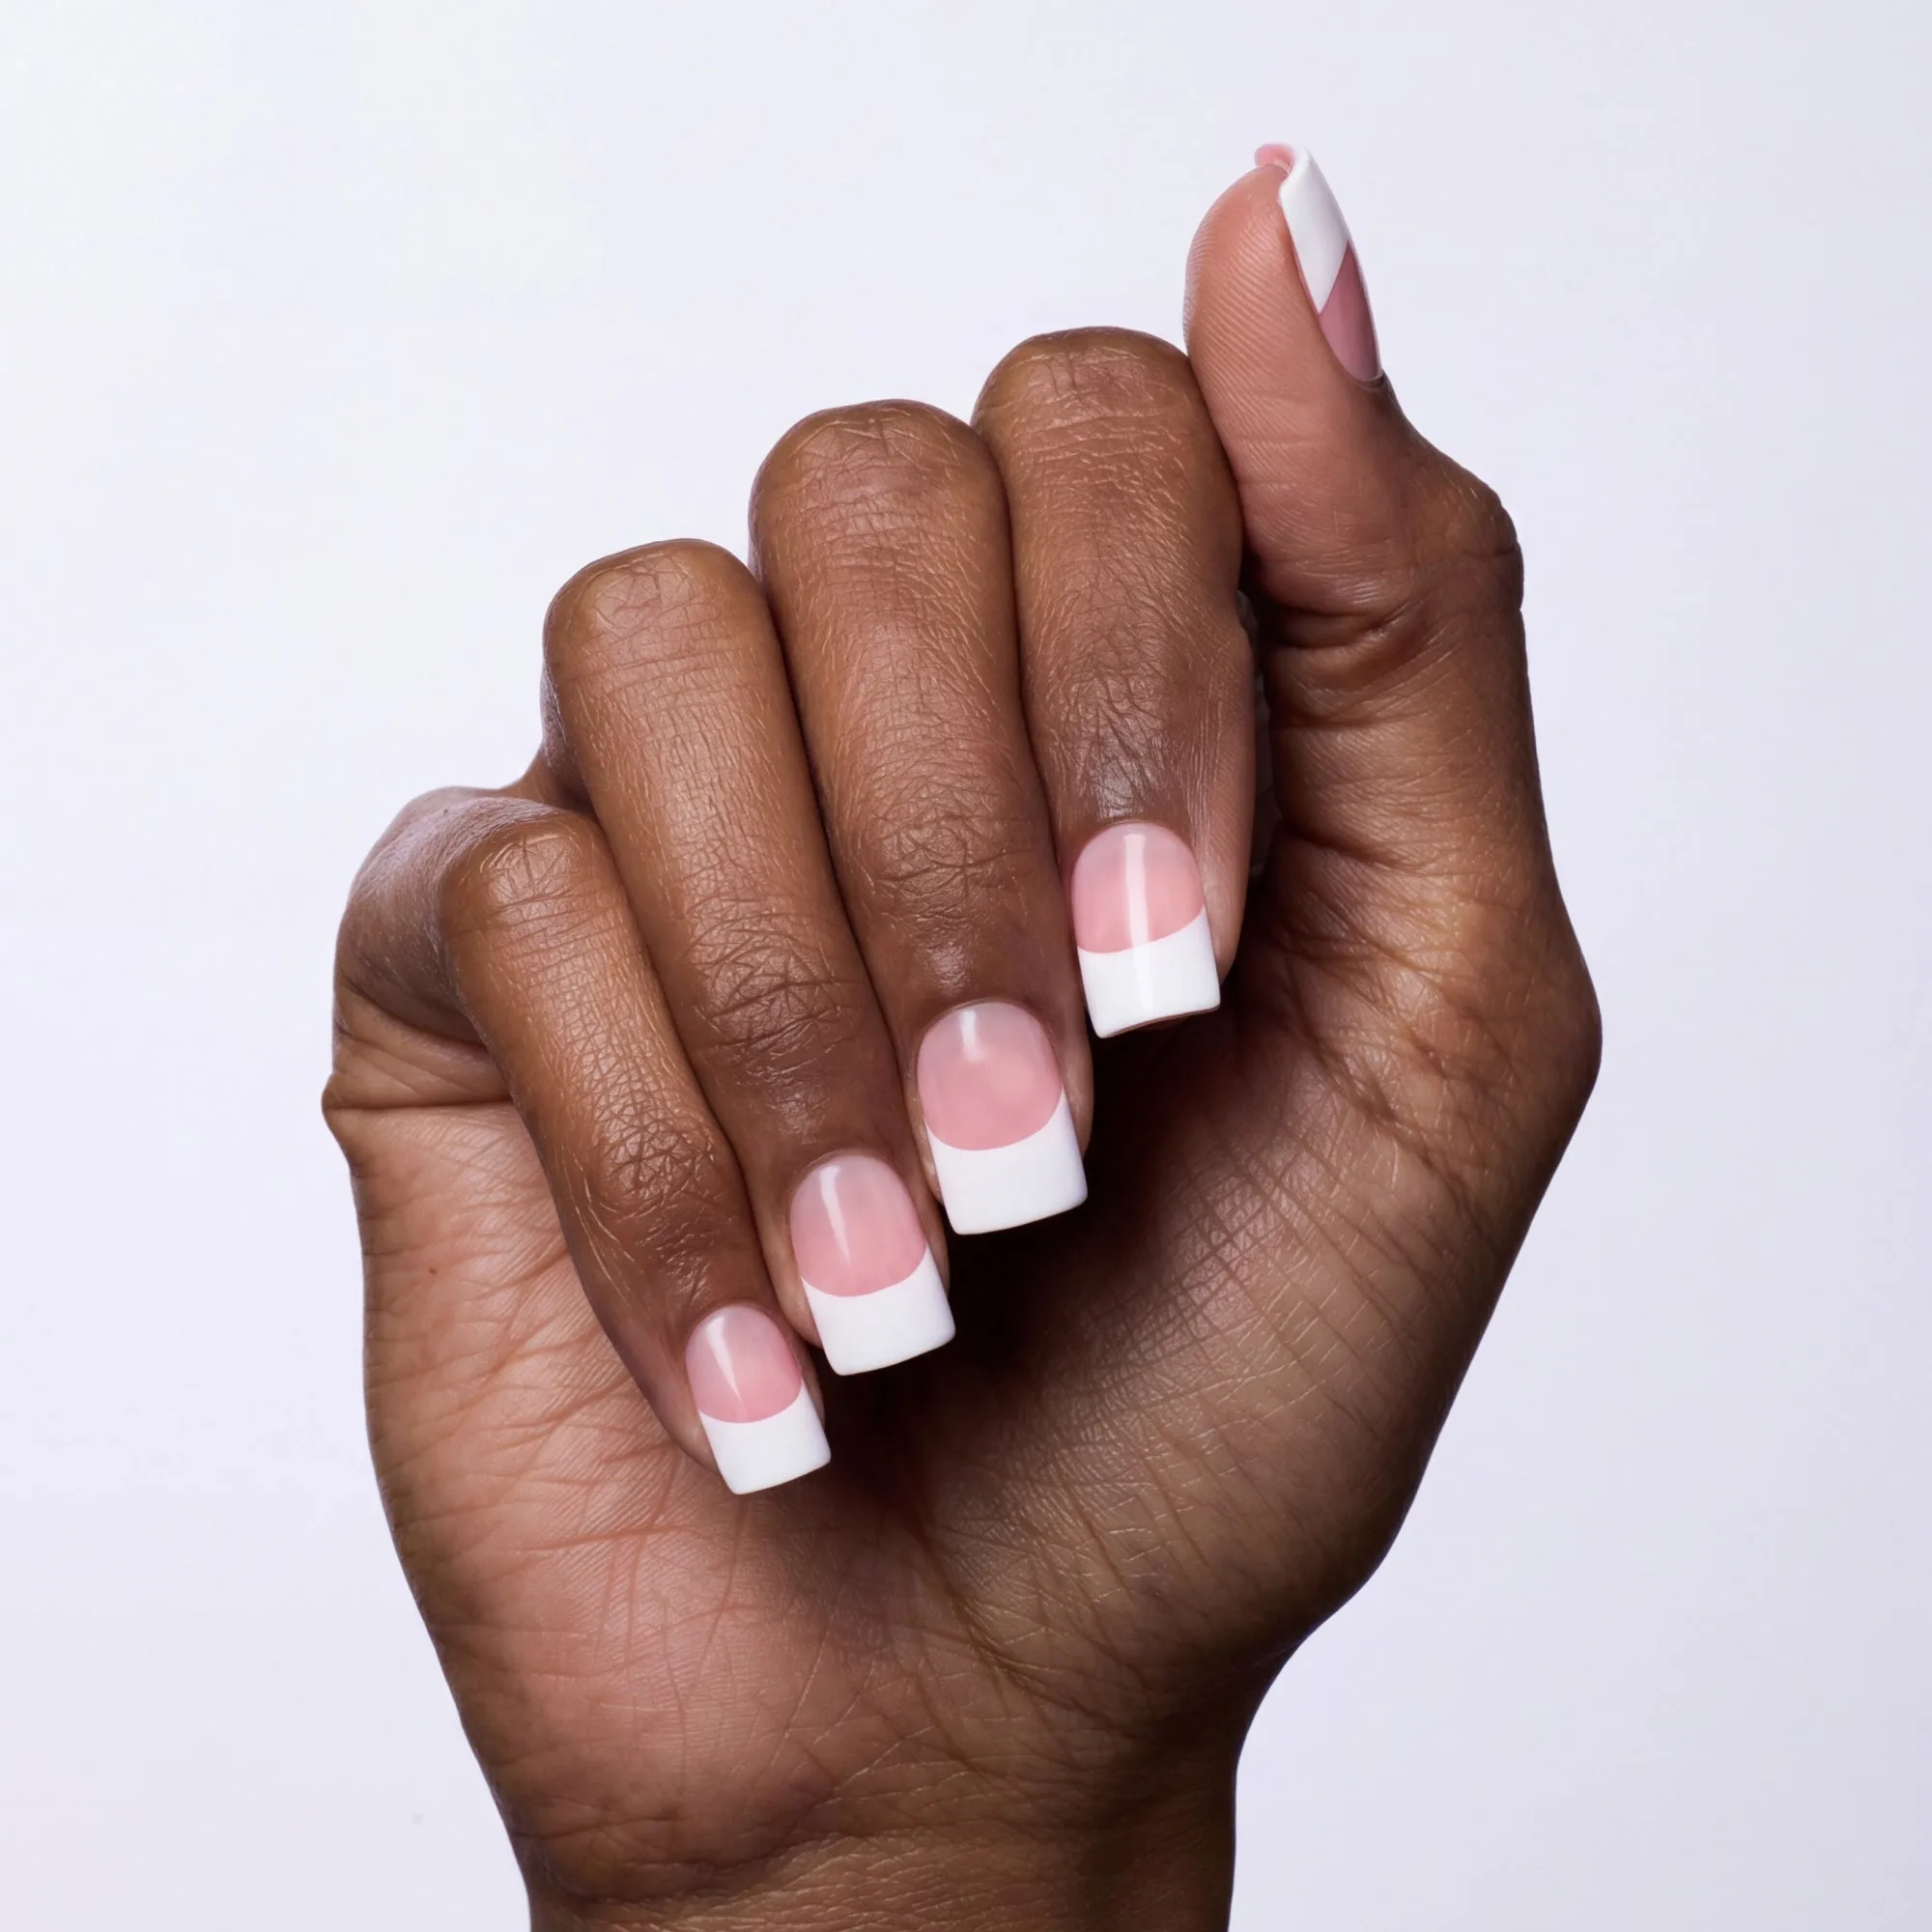
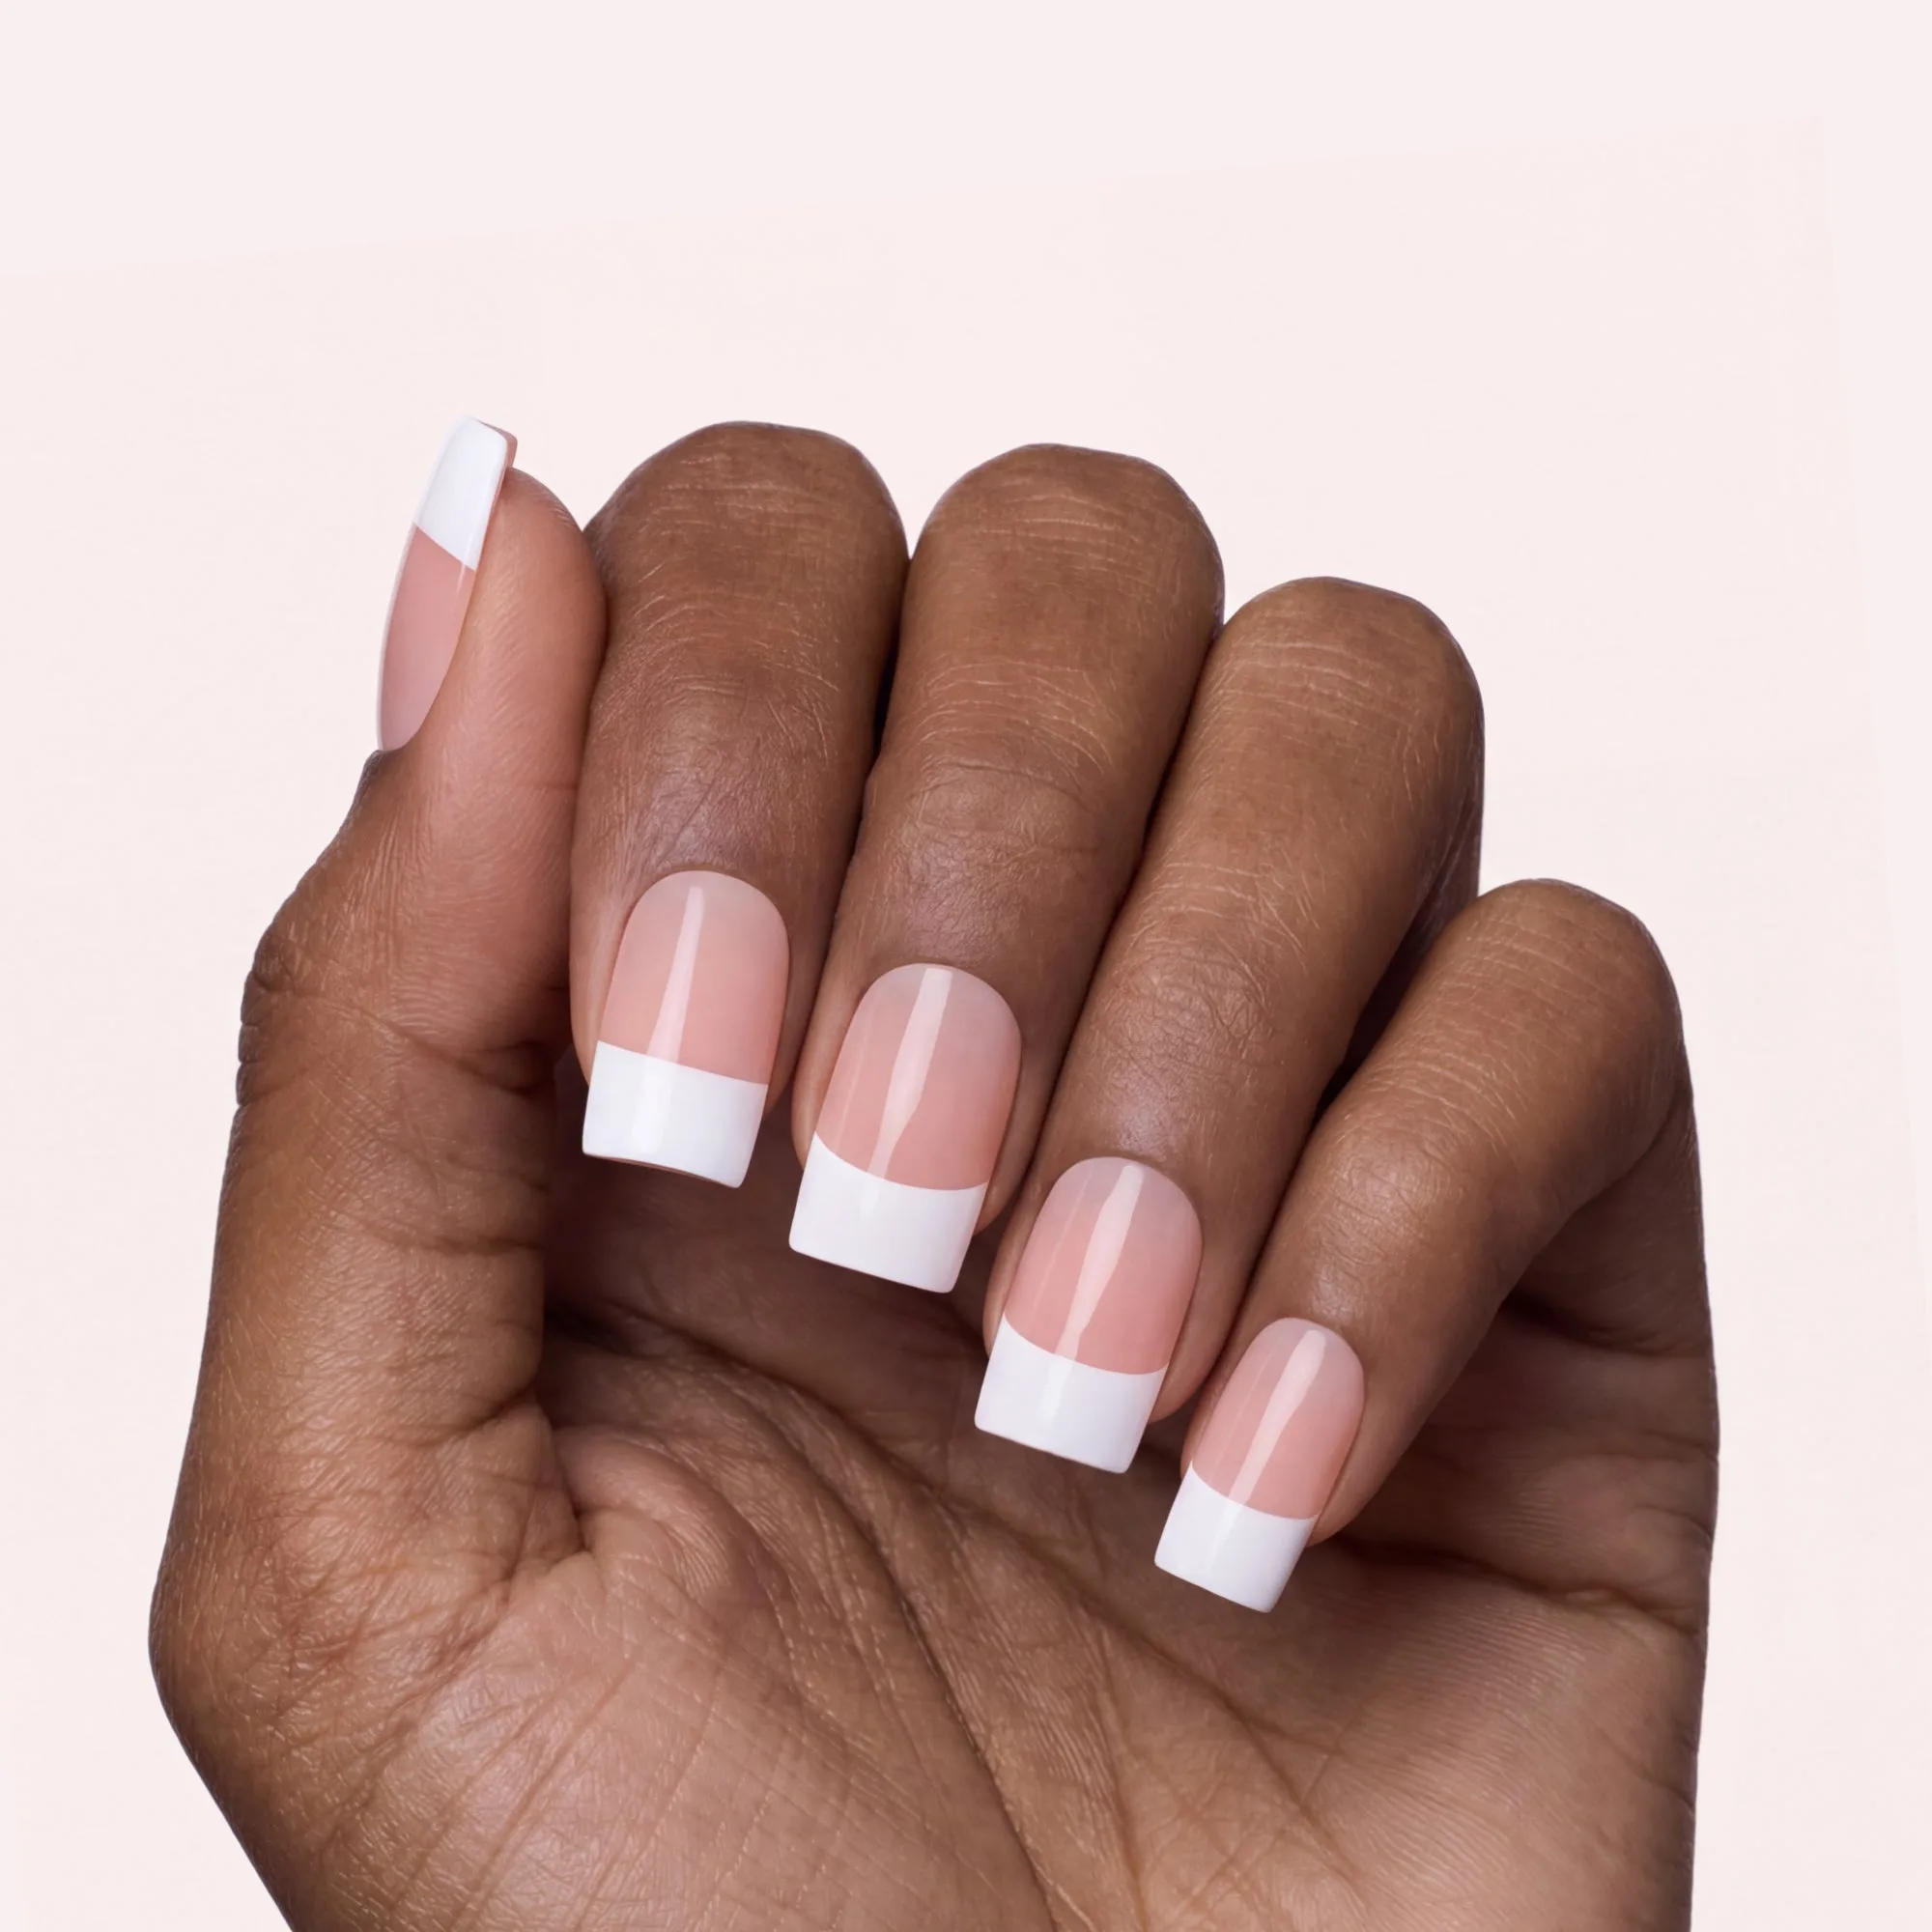
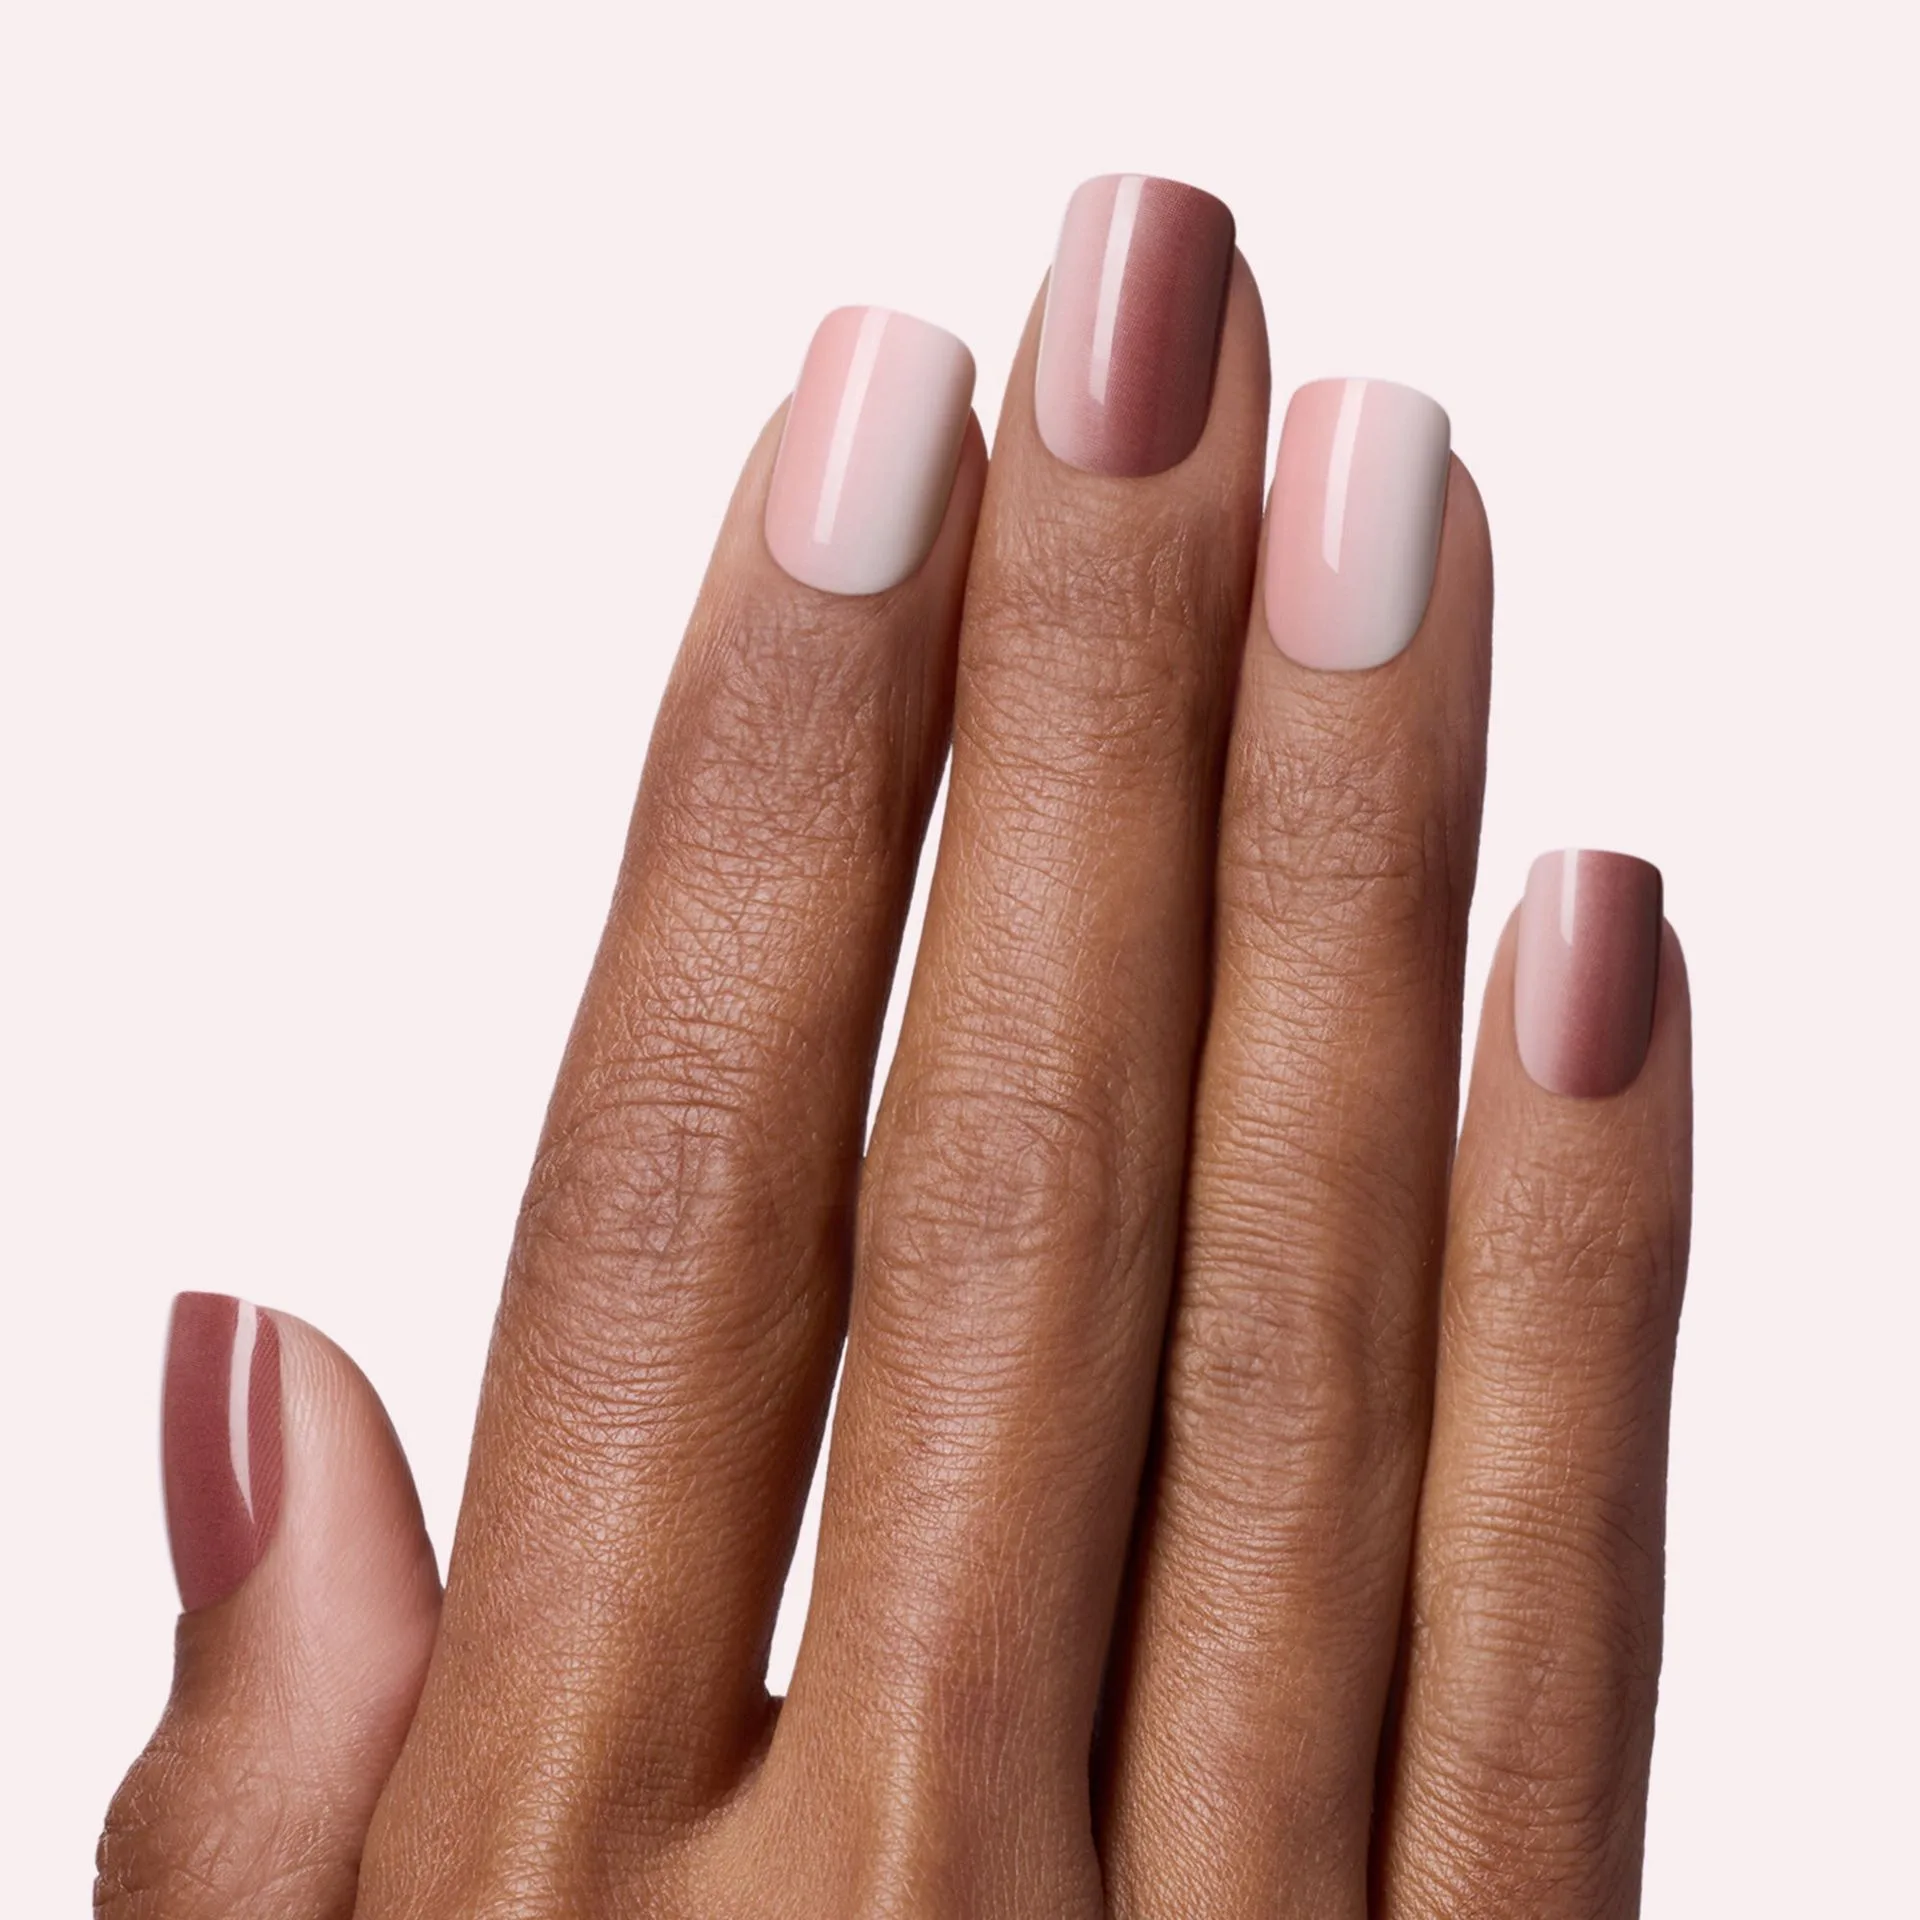
Start with clean, dry nails and thoroughly remove all oils using the prep pad. Apply the Magic Press nail at a 45-degree angle from the cuticle, press firmly for 10 seconds, and avoid water for at least one hour. For a salon-quality finish, choose a shade like Pastel Mirage or Classic Coffin - Medium.
Why Prep Matters More Than You Think
The single biggest mistake people make when applying press-on nails is skipping or rushing the prep step. Oils, lotion, and even natural skin moisture can prevent the adhesive from bonding properly. That is why the Magic Press kit includes a prep pad: it removes residue and creates a clean surface for maximum hold. Take your time here—it directly determines how long your nails will stay on.
Choosing the Right Size and Shape
Magic Press nails come in multiple sizes per pack. Before applying, hold each nail over your natural nail to check width and fit. The press-on should cover the entire nail bed without touching the cuticle or skin. If a nail is too wide, gently file the sides with the included buffer. A proper fit prevents lifting and makes the final look more natural. For a timeless style, the Classic Coffin - Medium offers a taupey nude base with an angular coffin shape.
Step-by-Step Application Guide
- Step 1: Prep Your Nails: Wash hands with soap and water, then trim and file your natural nails. Push back cuticles using the included manicure stick. Use the prep pad to thoroughly clean each nail of oils and residue. Make sure nails are completely dry before moving on. Common mistake: skipping the prep pad. Even clean-looking nails have oils that weaken the bond.
- Step 2: Select and Size Your Press-Ons: Lay out all ten nails and match each to your natural nail. Check that the press-on covers the entire nail bed but does not touch the cuticle or skin. File the sides gently if needed. Checkpoint: if the nail touches the cuticle, it will lift early. Leave a tiny gap.
- Step 3: Apply the Nail: Peel the adhesive backing from the press-on nail. Hold it at a 45-degree angle near the cuticle, then lay it flat onto the nail. Press firmly for 10 seconds, focusing on the center and edges. Common mistake: pressing too lightly. Firm, even pressure activates the adhesive fully.
- Step 4: Seal and Avoid Water: After all nails are on, gently press each one again from the center outward. Avoid soaking your hands in water for at least one hour. For extra hold, apply a thin layer of clear top coat over the seams. Checkpoint: water exposure too soon is the top reason press-ons pop off. Plan your application around hand-washing tasks.
Products That Help You Nail the Look
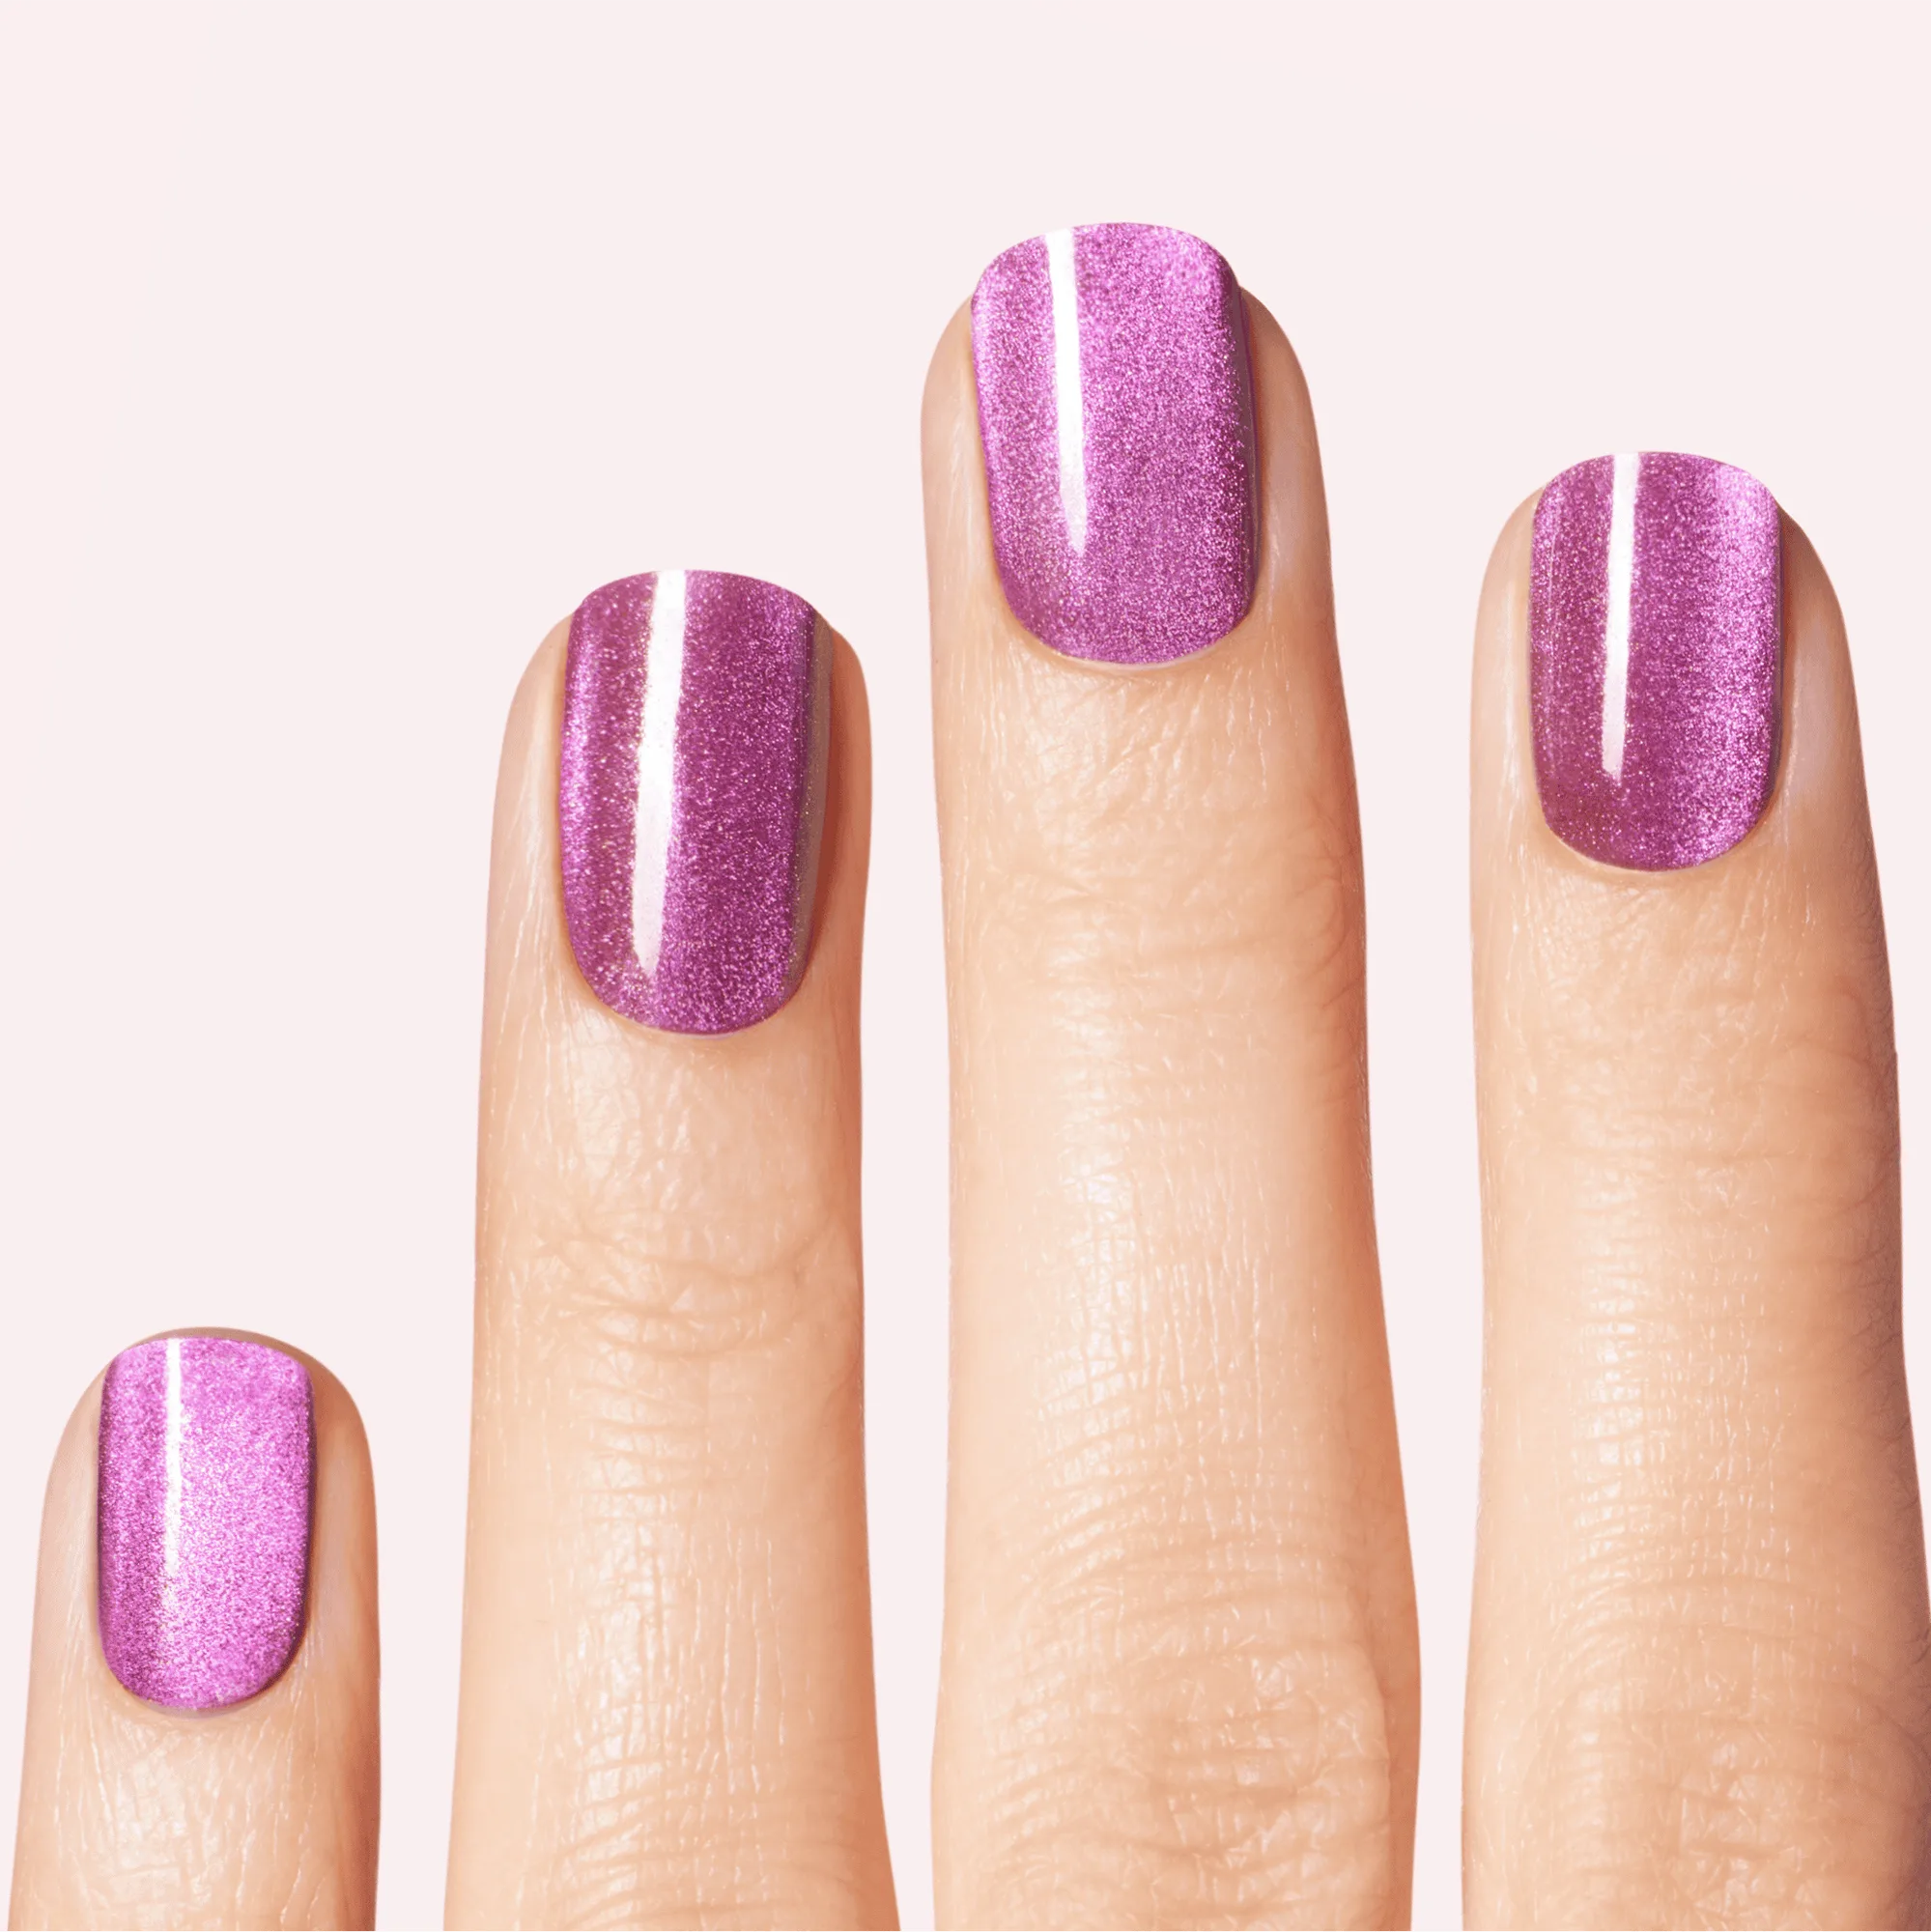
- Pastel Mirage: These medium-length, square press-on nails feature a soft lavender and blush pastel blend with a cloudy finish and subtle shimmer. The cloudy finish hides minor application imperfections, making it beginner-friendly while still looking salon-quality.
- Classic Coffin - Medium: These classic glue-on gel nails have a taupey nude base and come in medium length with a coffin shape and angular tip. The neutral taupe nude base is versatile for everyday wear and professional settings, and the coffin shape is trendy yet easy to apply.