Quick answer
To apply nail art charms like Cocktail Hour Charms, you need a fresh tacky layer of top coat, tweezers for precise placement, and a final seal with a thick gel or regular top coat to lock them in place.
Why proper application matters
Nail art charms add dimension and sparkle, but they only stay put if you prep the surface correctly. A common mistake is placing charms onto dry polish—they won't adhere well and will pop off within hours. Always work into a tacky layer.
The size and shape of the charm also affect placement. Cocktail Hour Charms come in assorted sizes, so you'll want to match the charm to the nail—smaller ones on pinkies, larger ones on thumbs for balance.
Choosing the right top coat
Not all top coats are equal for 3D nail decorations. A quick-dry top coat may shrink around the charm and cause lifting. Instead, use a no-wipe gel top coat or a thick regular top coat that self-levels and creates a strong seal.
If you're using regular polish, wait until your color layer is completely dry before adding the tacky top coat layer. For gel, cure the color layer, then apply a thin top coat and place the charms before curing.
Step-by-step guide to apply nail art charms
- 1. Prep your nail: Start with clean, dry nails. Apply your base coat and two coats of your chosen polish color. Let everything dry completely if using regular polish, or cure each layer if using gel. Skipping drying time causes smudging and poor charm adhesion.
- 2. Apply a tacky top coat layer: Apply a thin layer of top coat to the nail where you want the charm. Do not cure or dry it yet. The charm needs a sticky surface to grip onto. Working too slowly lets the top coat dry; if that happens, add a fresh thin layer.
- 3. Pick up the charm with tweezers: Use tweezers to gently grasp one Cocktail Hour Charm. Avoid touching the adhesive side with your fingers—oils can reduce hold. If the charm is too small for tweezers, dip a dotting tool into a tiny bit of top coat and use it to pick up the charm.
- 4. Place the charm onto the tacky layer: Gently press the charm into the wet top coat. Use the tweezers or a cuticle pusher to nudge it into position. Do not push hard—you want the charm to sit on top, not sink in. Placing charms too close to the cuticle or tip increases the chance of lifting or snagging.
- 5. Seal with a thick top coat: Carefully apply a generous layer of top coat over the entire nail, making sure to encase the charm completely. Cap the free edge to prevent lifting. Cure or air-dry according to your top coat instructions. If the top coat is too thin, it won't cover the charm's edges; use a thicker formula or apply two coats.
- 6. Finish and clean up: Once fully dry, use a small brush dipped in acetone or rubbing alcohol to clean any top coat that seeped onto your skin. Apply cuticle oil to hydrate the area. Skipping clean-up leaves a sticky residue that can attract dust and lint.
Product used in this tutorial
-
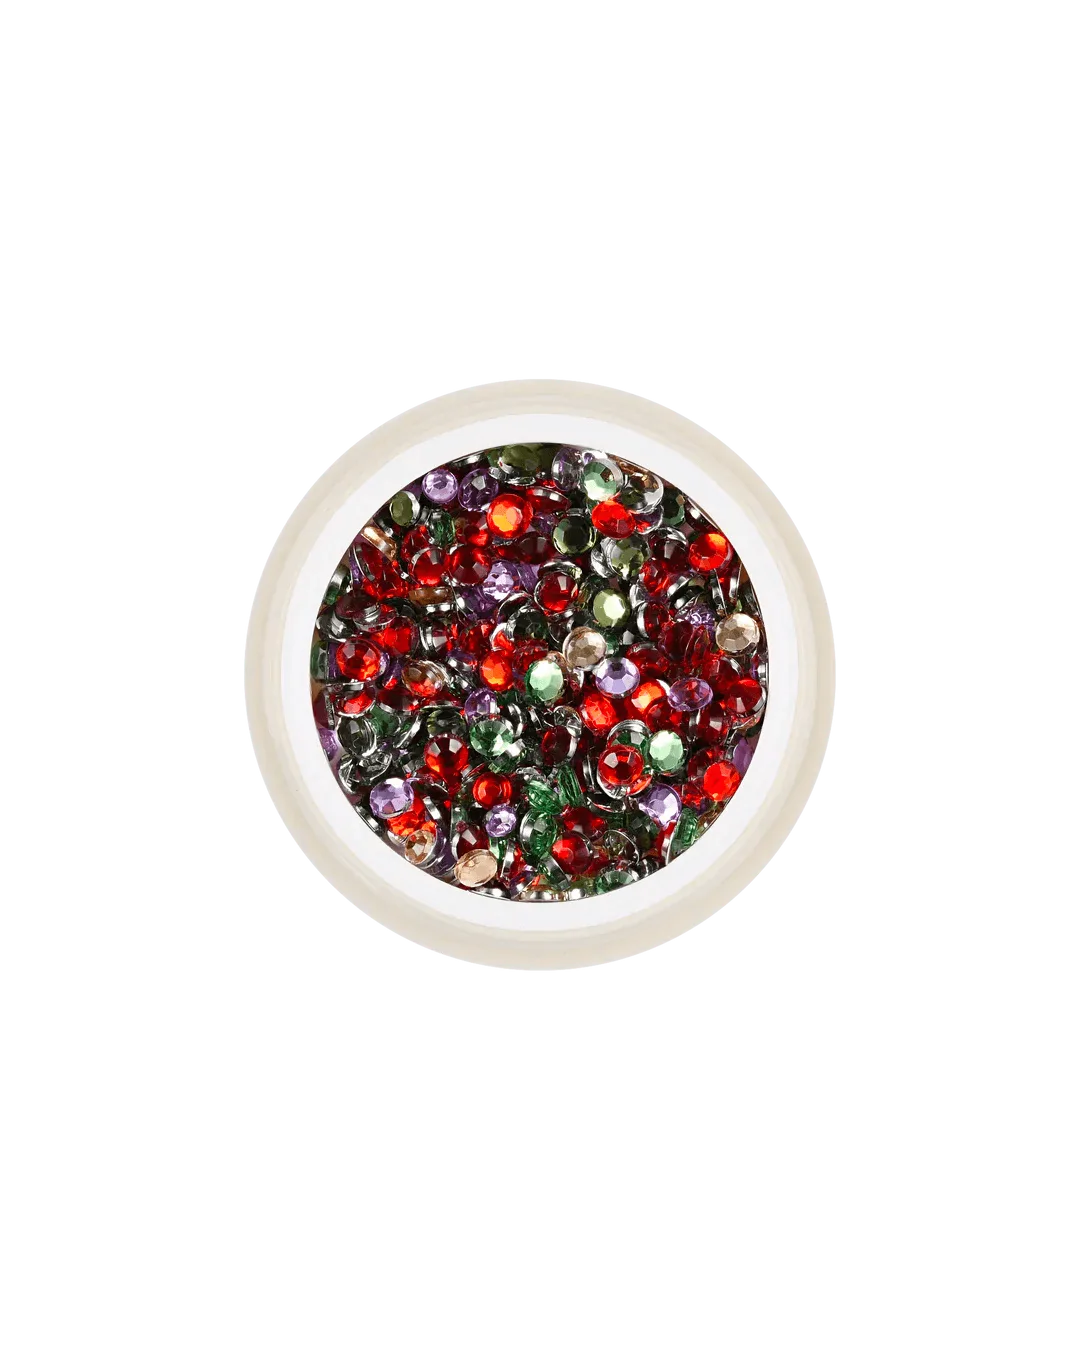
Cocktail Hour Charms: 400 pieces per pack in assorted sizes and jewel tones including red, green, lavender, and champagne. The variety of sizes and colors means you can create custom looks on each nail without buying multiple packs.
Cocktail Hour Charms