Quick Answer
Apply nail polish in three thin coats: a base coat, two to three color coats, and a top coat, letting each layer dry for two to three minutes before the next. Keep the brush at a 45-degree angle, start a hair's width from the cuticle, and cap the free edge on the final color coat. Thin layers and patient drying time matter more than expensive tools.
A professional-looking manicure does not require a salon chair. It requires thin layers, a steady sequence, and a little patience between steps. Most chipping, bubbling, and uneven color comes from applying polish too thickly or rushing the dry time, not from the polish itself.
This nail polish tutorial walks through the full process from prep to top coat, with the common mistake to avoid at each stage. Whether you are doing a quick DIY manicure or trying a reflective glitter shade for the first time, the same technique applies.
Prep Your Nails Before You Open a Bottle
Start with clean, dry nails. Wipe each nail with nail polish remover or rubbing alcohol to strip natural oils, then push back cuticles gently with a cuticle stick. File in one direction rather than sawing back and forth, and lightly buff the surface if it has ridges. This prep step is the foundation of any professional nail polish application because polish bonds better to a dry, slightly textured nail than to a smooth, oily one.
Do not soak your nails in water right before polishing. Nails expand when wet and contract as they dry, which can cause polish to lift at the edges within a day. If you just showered, wait ten minutes and dry your hands thoroughly.
- Common mistake: skipping the dehydrating wipe and going straight to base coat.
Apply a Base Coat in One Thin Layer
A base coat is not optional if you want your manicure to last. It creates a grippy surface for color, prevents staining from pigmented shades, and adds a cushion that helps polish flex with your nail instead of cracking. Apply one thin layer using three strokes: one down the center, one on each side. Do not flood the cuticle.
Let the base coat dry for about two minutes until it is tacky but not wet. If you can see ridges or streaks, that is normal. A base coat is not meant to look perfect; it is meant to prepare the nail.
- Checkpoint: the base coat should look slightly hazy, not glossy and thick.
Apply Color in Two to Three Thin Coats
This is where most DIY manicures go wrong. Load the brush, then wipe one side against the bottle neck so you are not carrying a blob of polish. Start a hair's width away from the cuticle and push the brush slightly toward it, then pull down to the tip. Repeat on each side of the nail, and cap the free edge by swiping the brush along the tip on your final color coat.
Wait two to three minutes between coats. If the first coat looks streaky, that is expected with many formulas. The second coat builds opacity, and a third coat handles sheer or shimmer finishes. Thick coats trap solvent, which causes bubbles and slow drying.
- Common mistake: trying to get full coverage in one coat instead of building thin layers.
Seal With a Top Coat and Let It Set
Apply a top coat in one thin layer, using the same three-stroke method and capping the free edge again. A top coat smooths the surface, adds shine, and protects the color from daily wear. If you are wearing a textured finish like reflective glitter, a top coat will mute the sparkle slightly, so decide whether you want maximum shine or maximum glitter pop.
Let the manicure set for at least ten minutes before using your hands, and avoid hot water, cleaning products, or tight shoes for the first hour. A quick-dry top coat can shorten this wait, but it does not replace careful application.
- Checkpoint: run a dry finger lightly across the nail. If it feels tacky, wait longer before doing anything with your hands.
Adjust for Different Finishes
Cream polishes are the most forgiving and usually reach full coverage in two coats. Shimmers and reflective glitters may need three coats because the base is often sheer by design, and the particles need layering to look even. Jelly finishes stay slightly translucent no matter how many coats you add, so do not keep piling on polish trying to make them opaque.
If a polish is too thick to apply smoothly, a few drops of nail polish thinner can restore the consistency. Never use nail polish remover to thin polish; it breaks down the formula and ruins the bottle.
- Common mistake: judging a sheer or jelly polish by cream-polish standards and applying five heavy coats.
Your Step-by-Step Manicure Sequence
- 1. Dehydrate and shape: Wipe nails with remover or alcohol, push back cuticles, and file in one direction. Checkpoint: nails should feel dry and slightly textured, not slick.
- 2. Base coat: Apply one thin layer in three strokes and wait two minutes until tacky. Common mistake: flooding the cuticle and creating a thick ledge that peels.
- 3. First color coat: Start a hair's width from the cuticle, pull to the tip, and do not cap the edge yet. Checkpoint: streaks are normal; do not add more polish to fix them.
- 4. Second color coat: Wait two to three minutes, then apply another thin layer and cap the free edge. Common mistake: rushing and dragging the first coat instead of letting it set.
- 5. Optional third coat: Add a third thin coat only for sheer, shimmer, or reflective finishes that need it. Checkpoint: if the color looks even, stop; more coats mean more drying time.
- 6. Top coat and set: Seal with one thin top coat, cap the edge again, and let it set for at least ten minutes. Common mistake: using hands too soon and smudging the surface.
How Specific Finishes Behave During Application
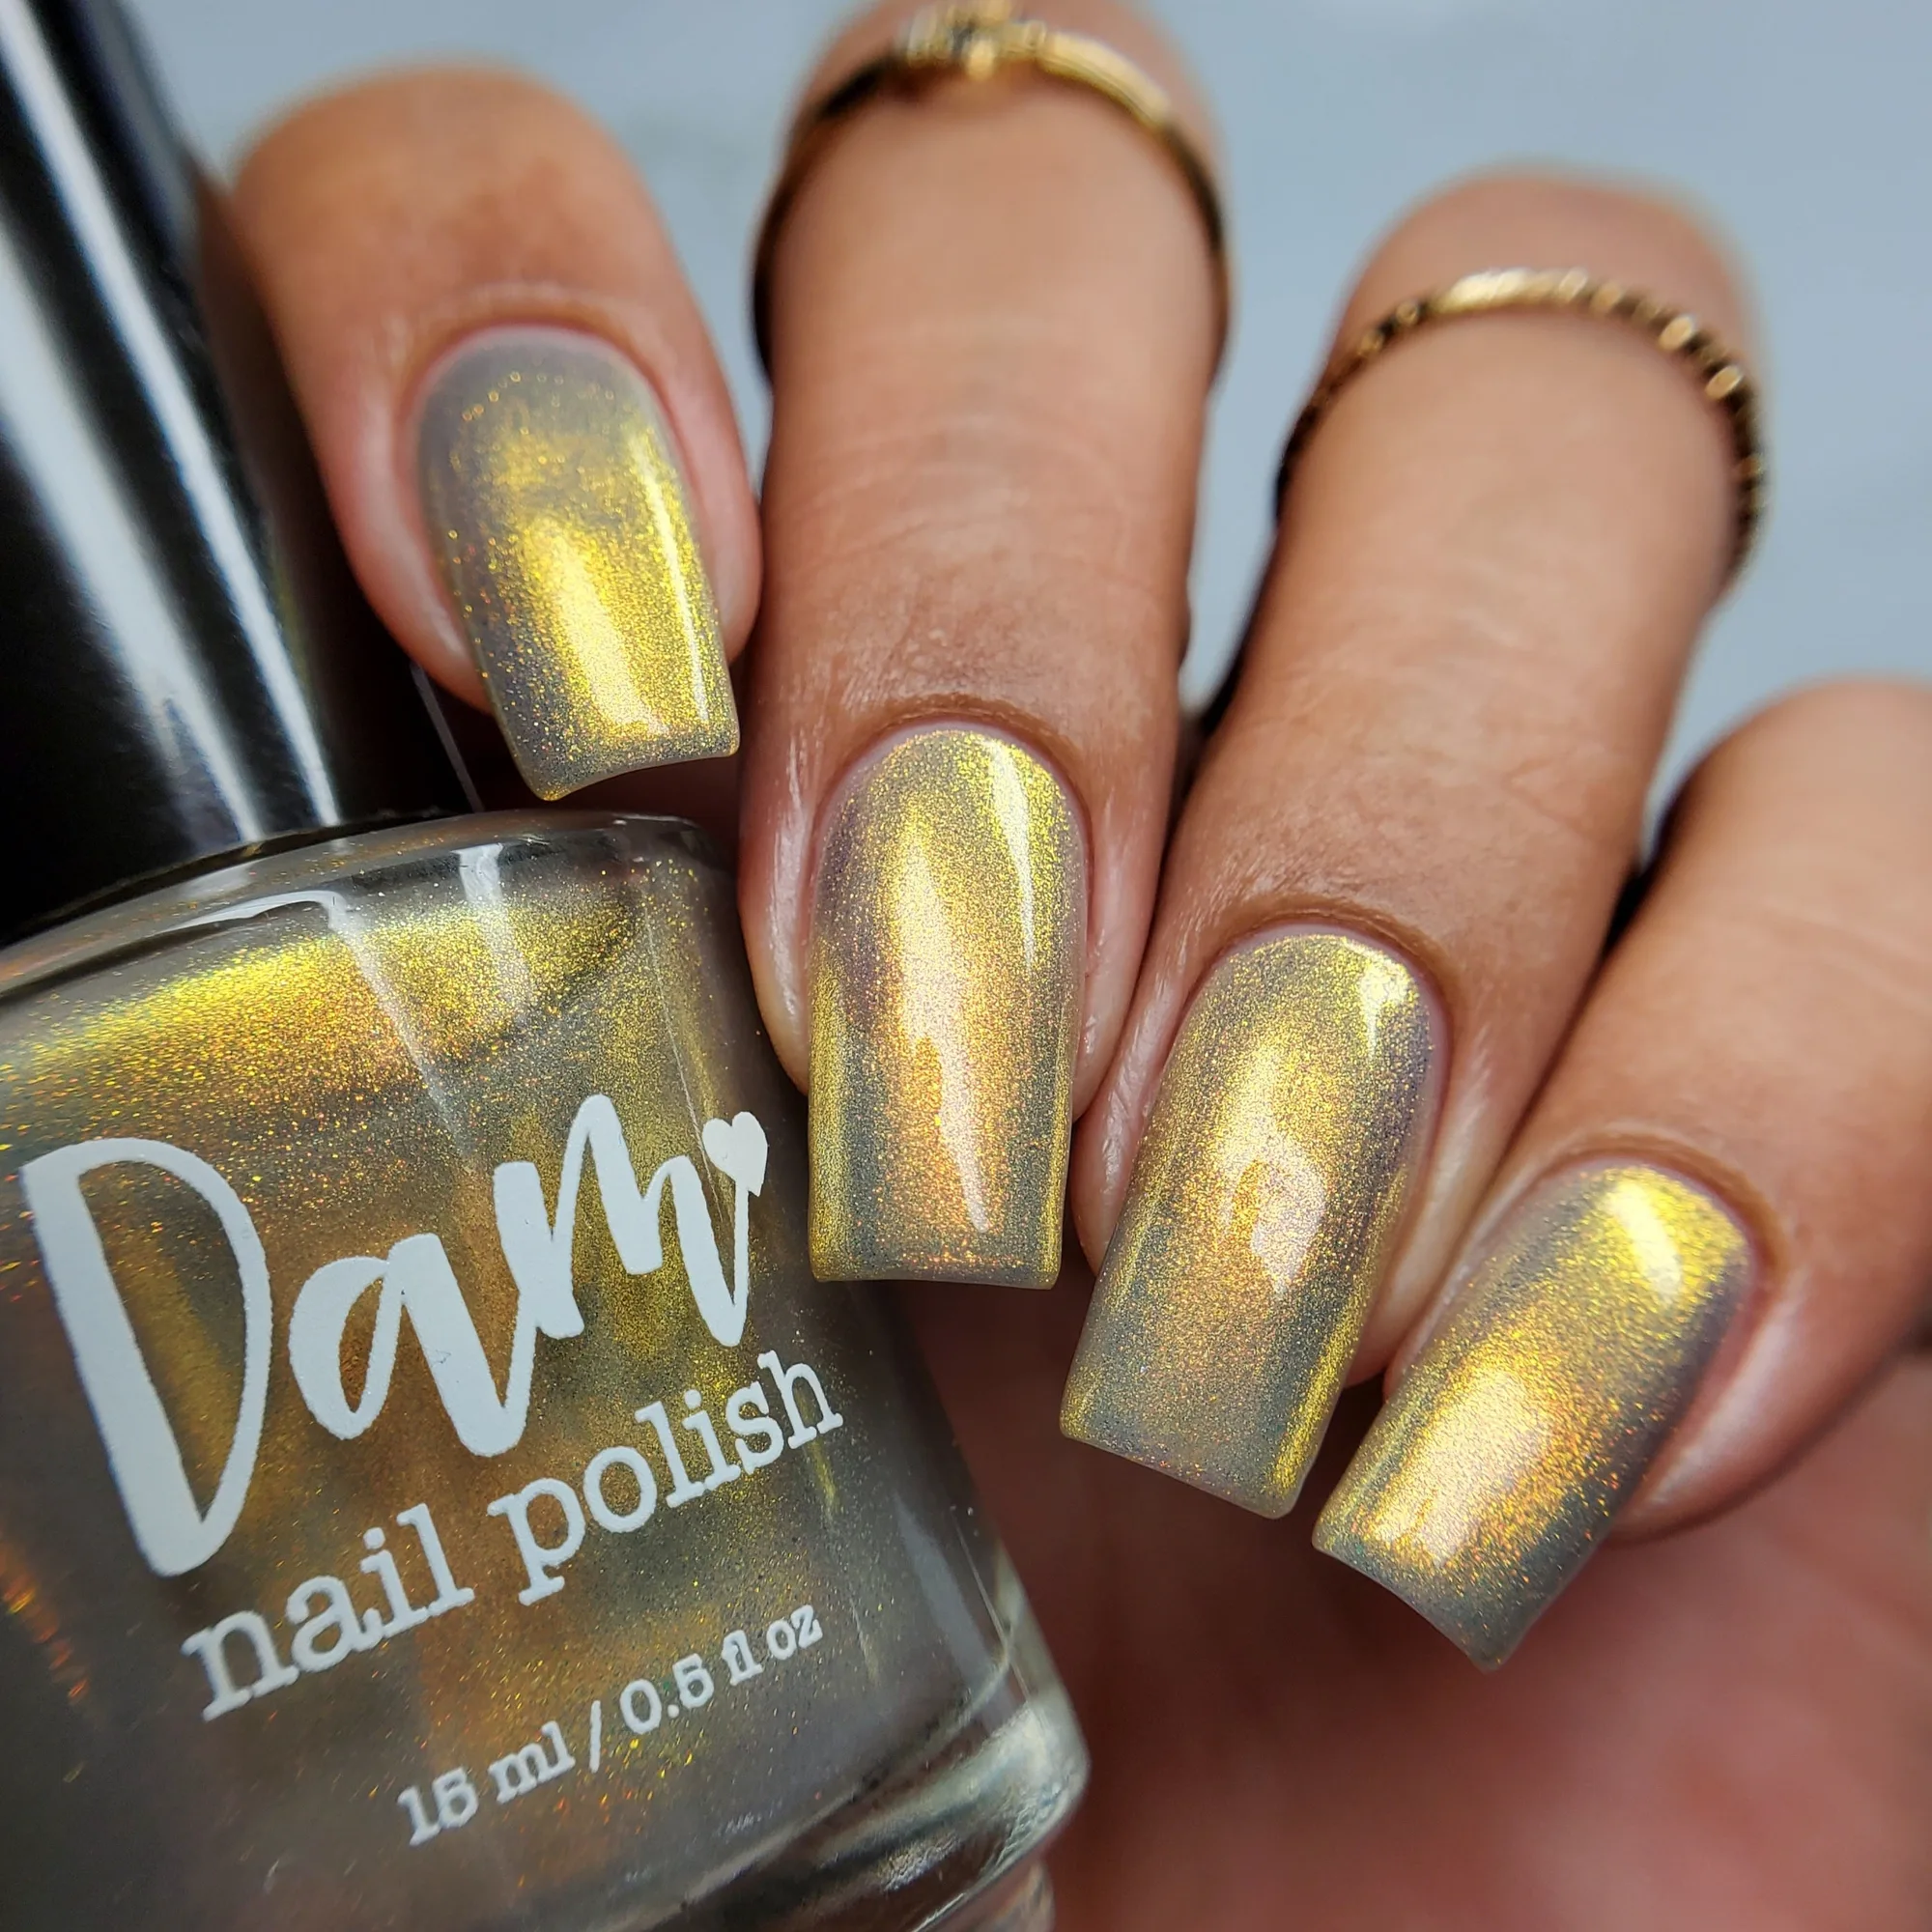
- Some Like It Hoth - Gold Shimmer Nail Polish - Trust the Shimmer Collection: Some Like It Hoth has a sheer gray base with gold shimmer and recommends 2-3 coats. The sheer base means you should expect visible layering rather than full opacity in one coat, so plan for three thin passes.
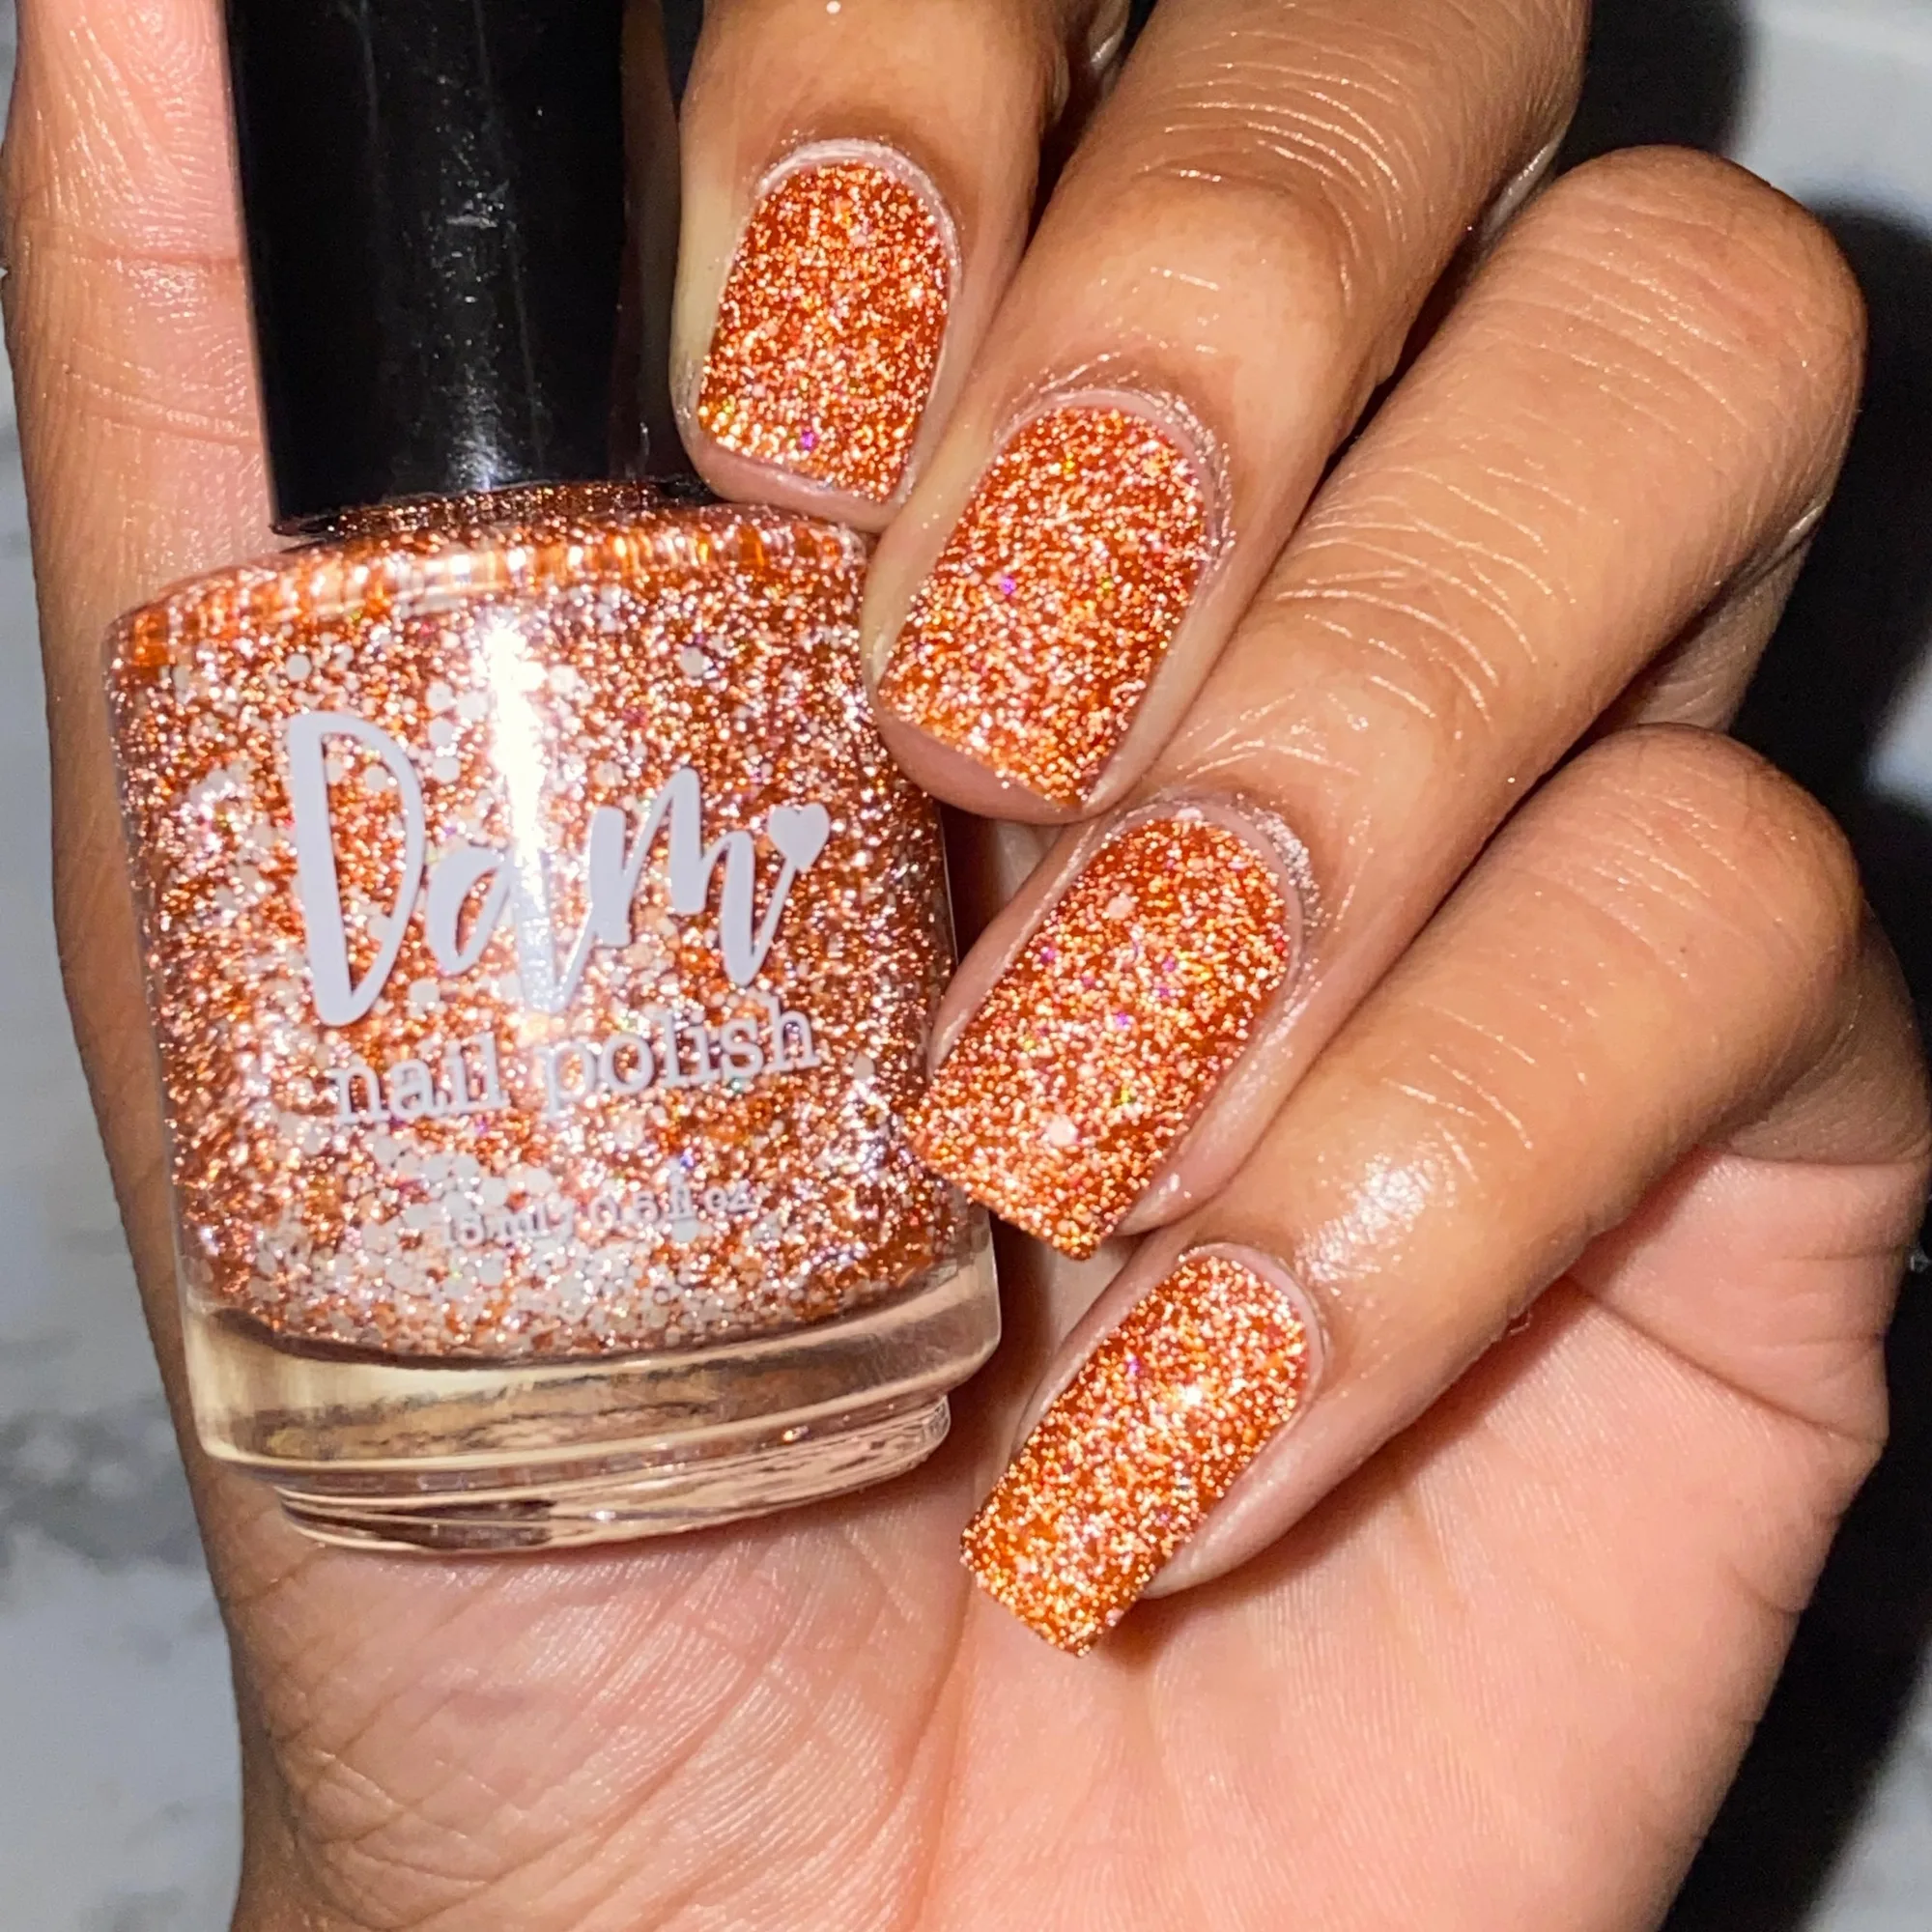
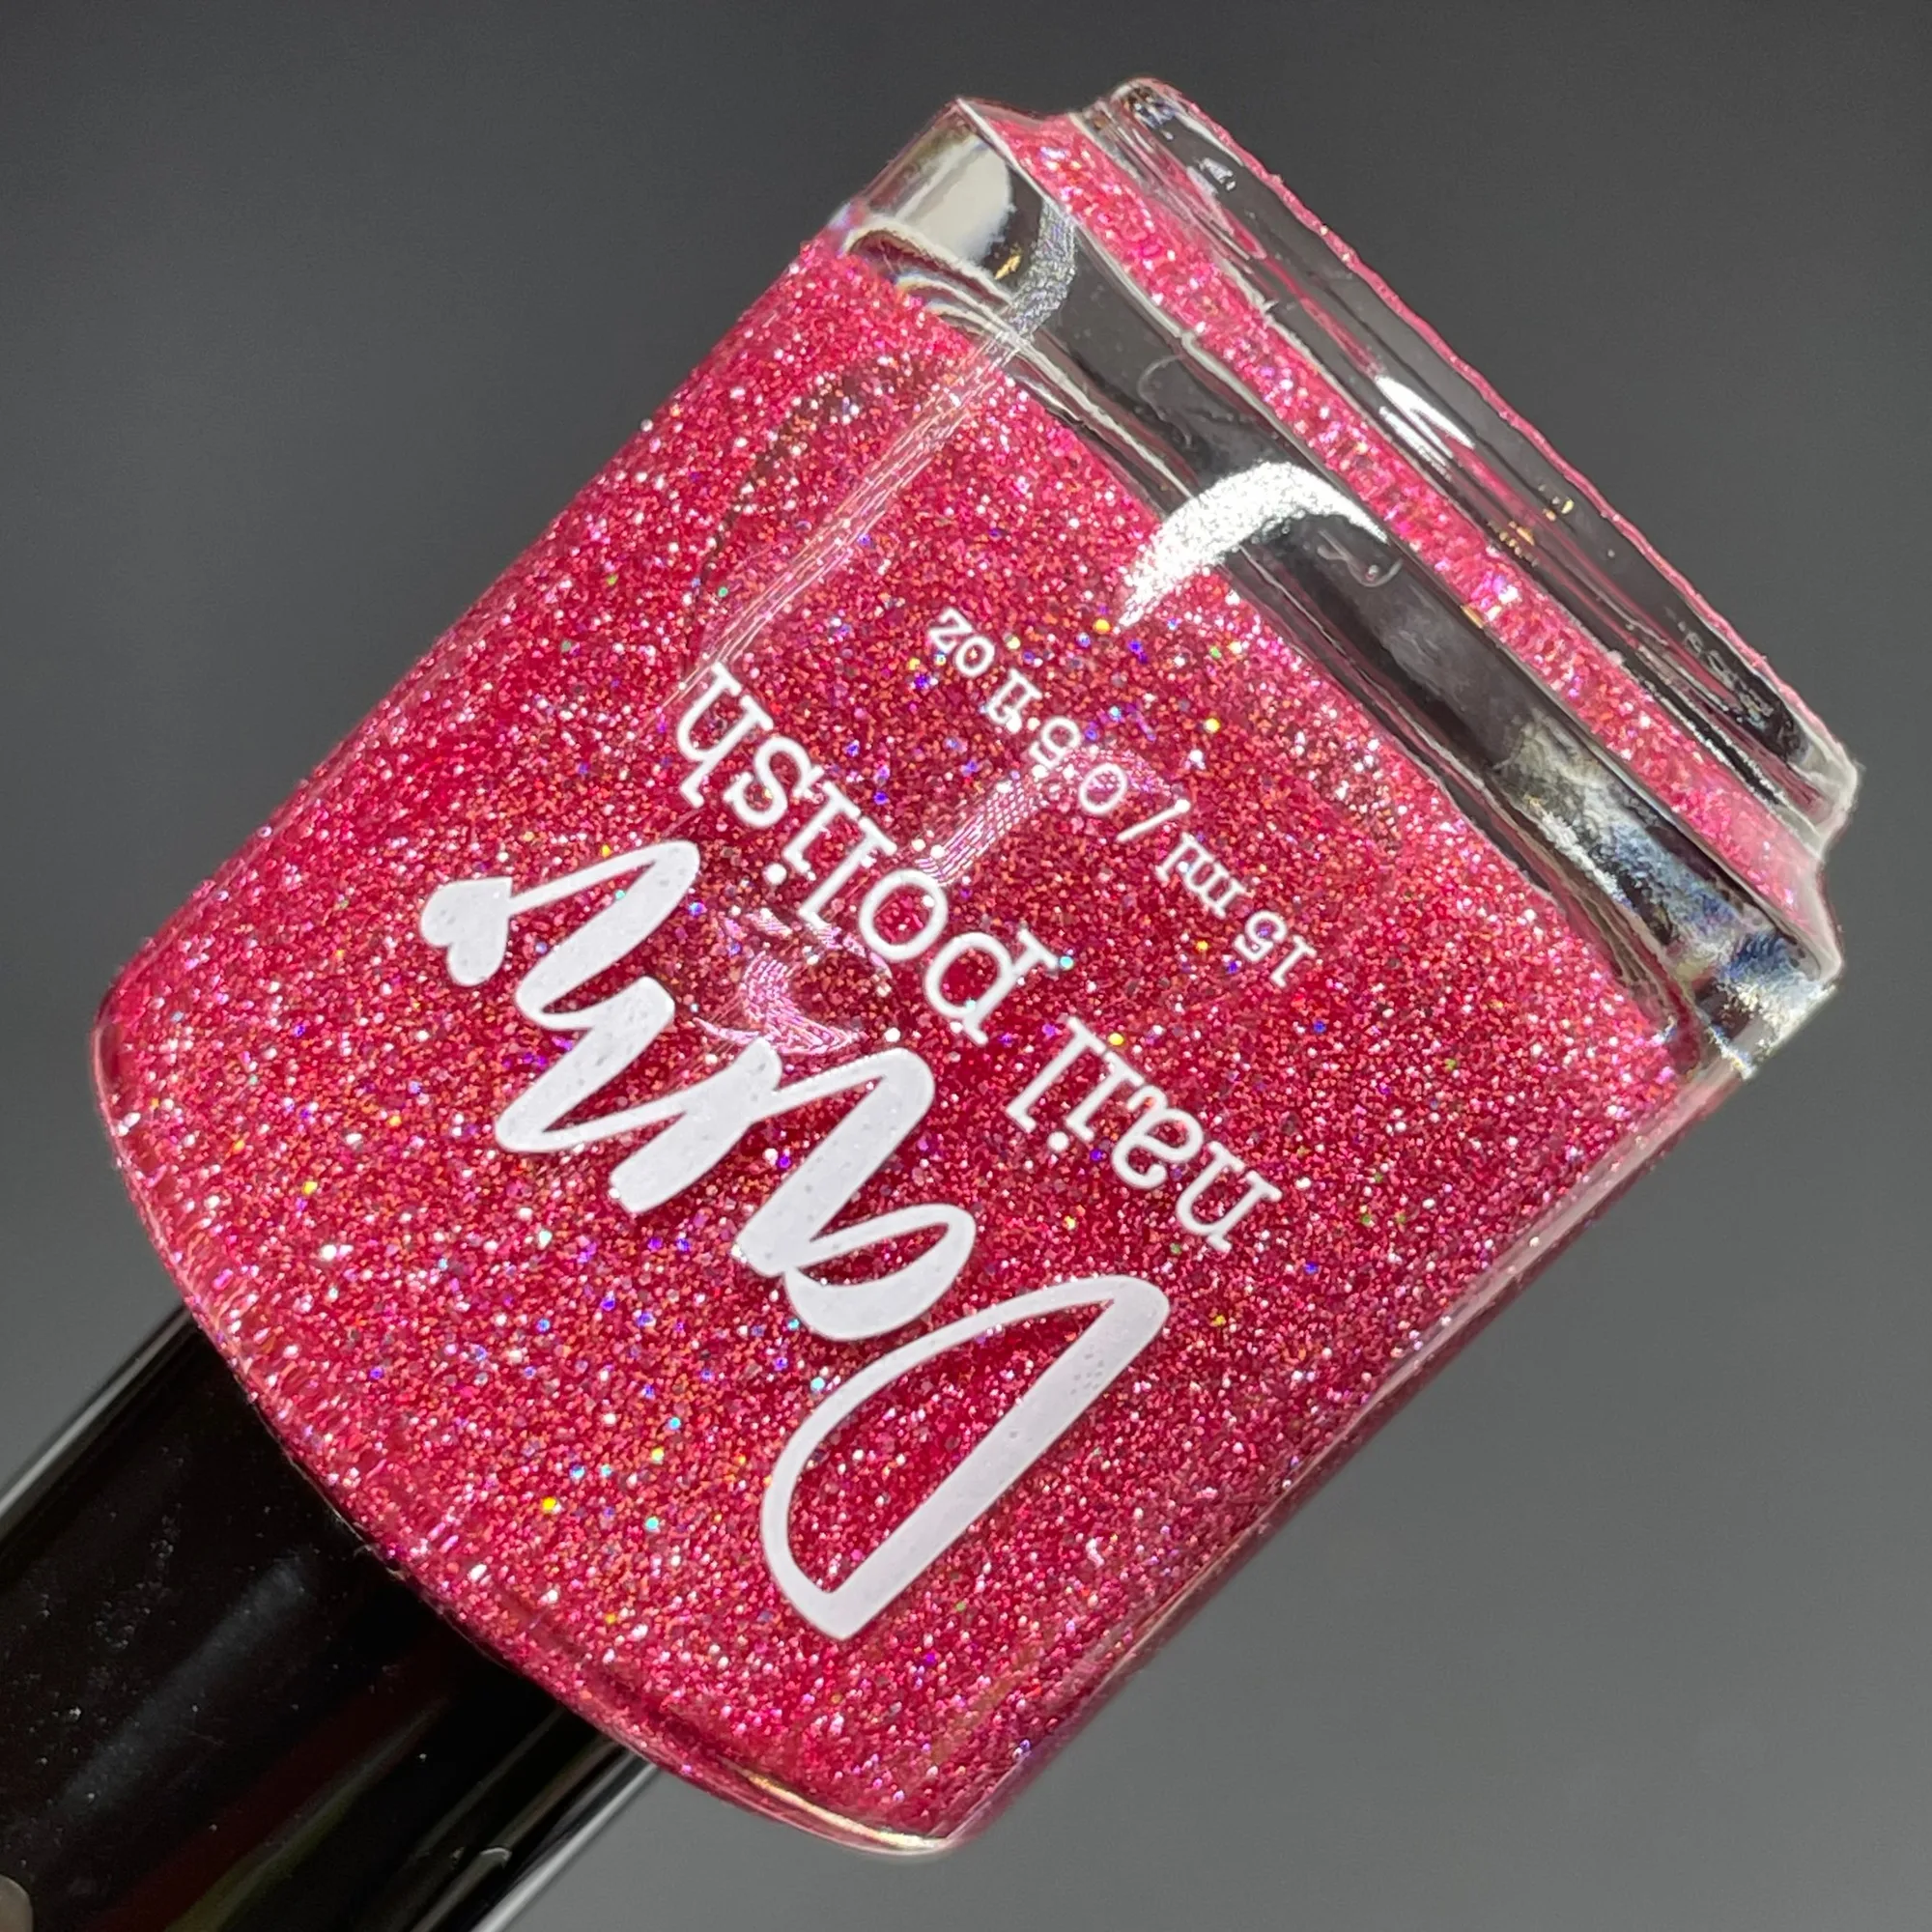
- Five More Minutes - Snooze Collection - Copper Reflective Glitter Nail Polish: Five More Minutes is a coppery orange jelly with holographic reflective glitters and assorted white glitters, recommended for 2-3 coats. Jelly bases stay translucent, so the glitter shows through the color; a top coat will reduce the reflective flash under bright light.
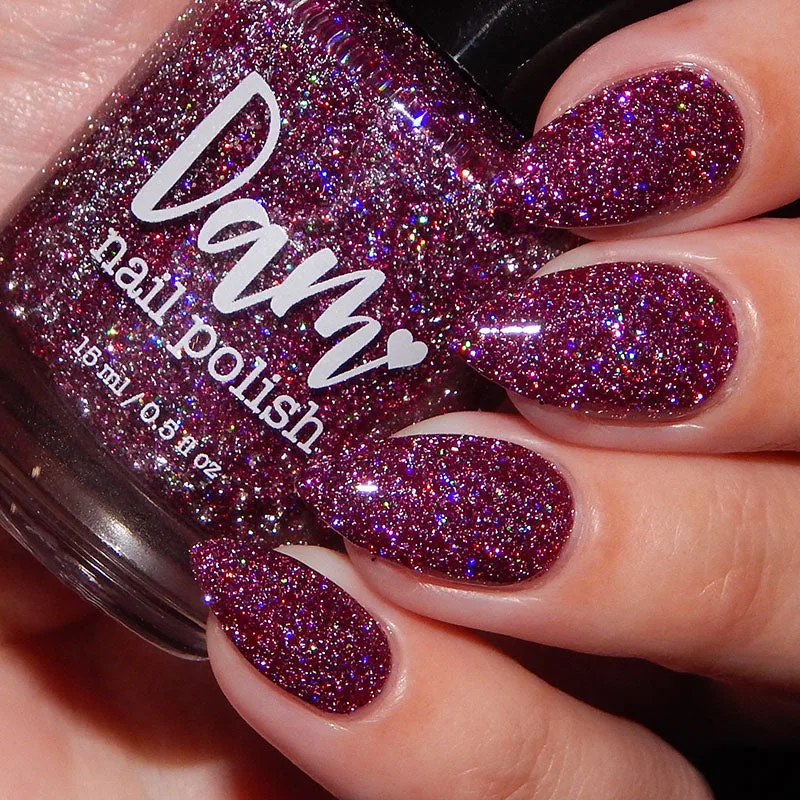
- Heartless - Purple Maroon Reflective Glitter Nail Polish - Bitten Collection: Heartless is a deep purple maroon jelly with assorted silver ultra holographic glitters and silver reflective glitters, recommended for 2 coats. A deeper jelly can look opaque in two coats, so stop there instead of adding a third and risking bubbles.
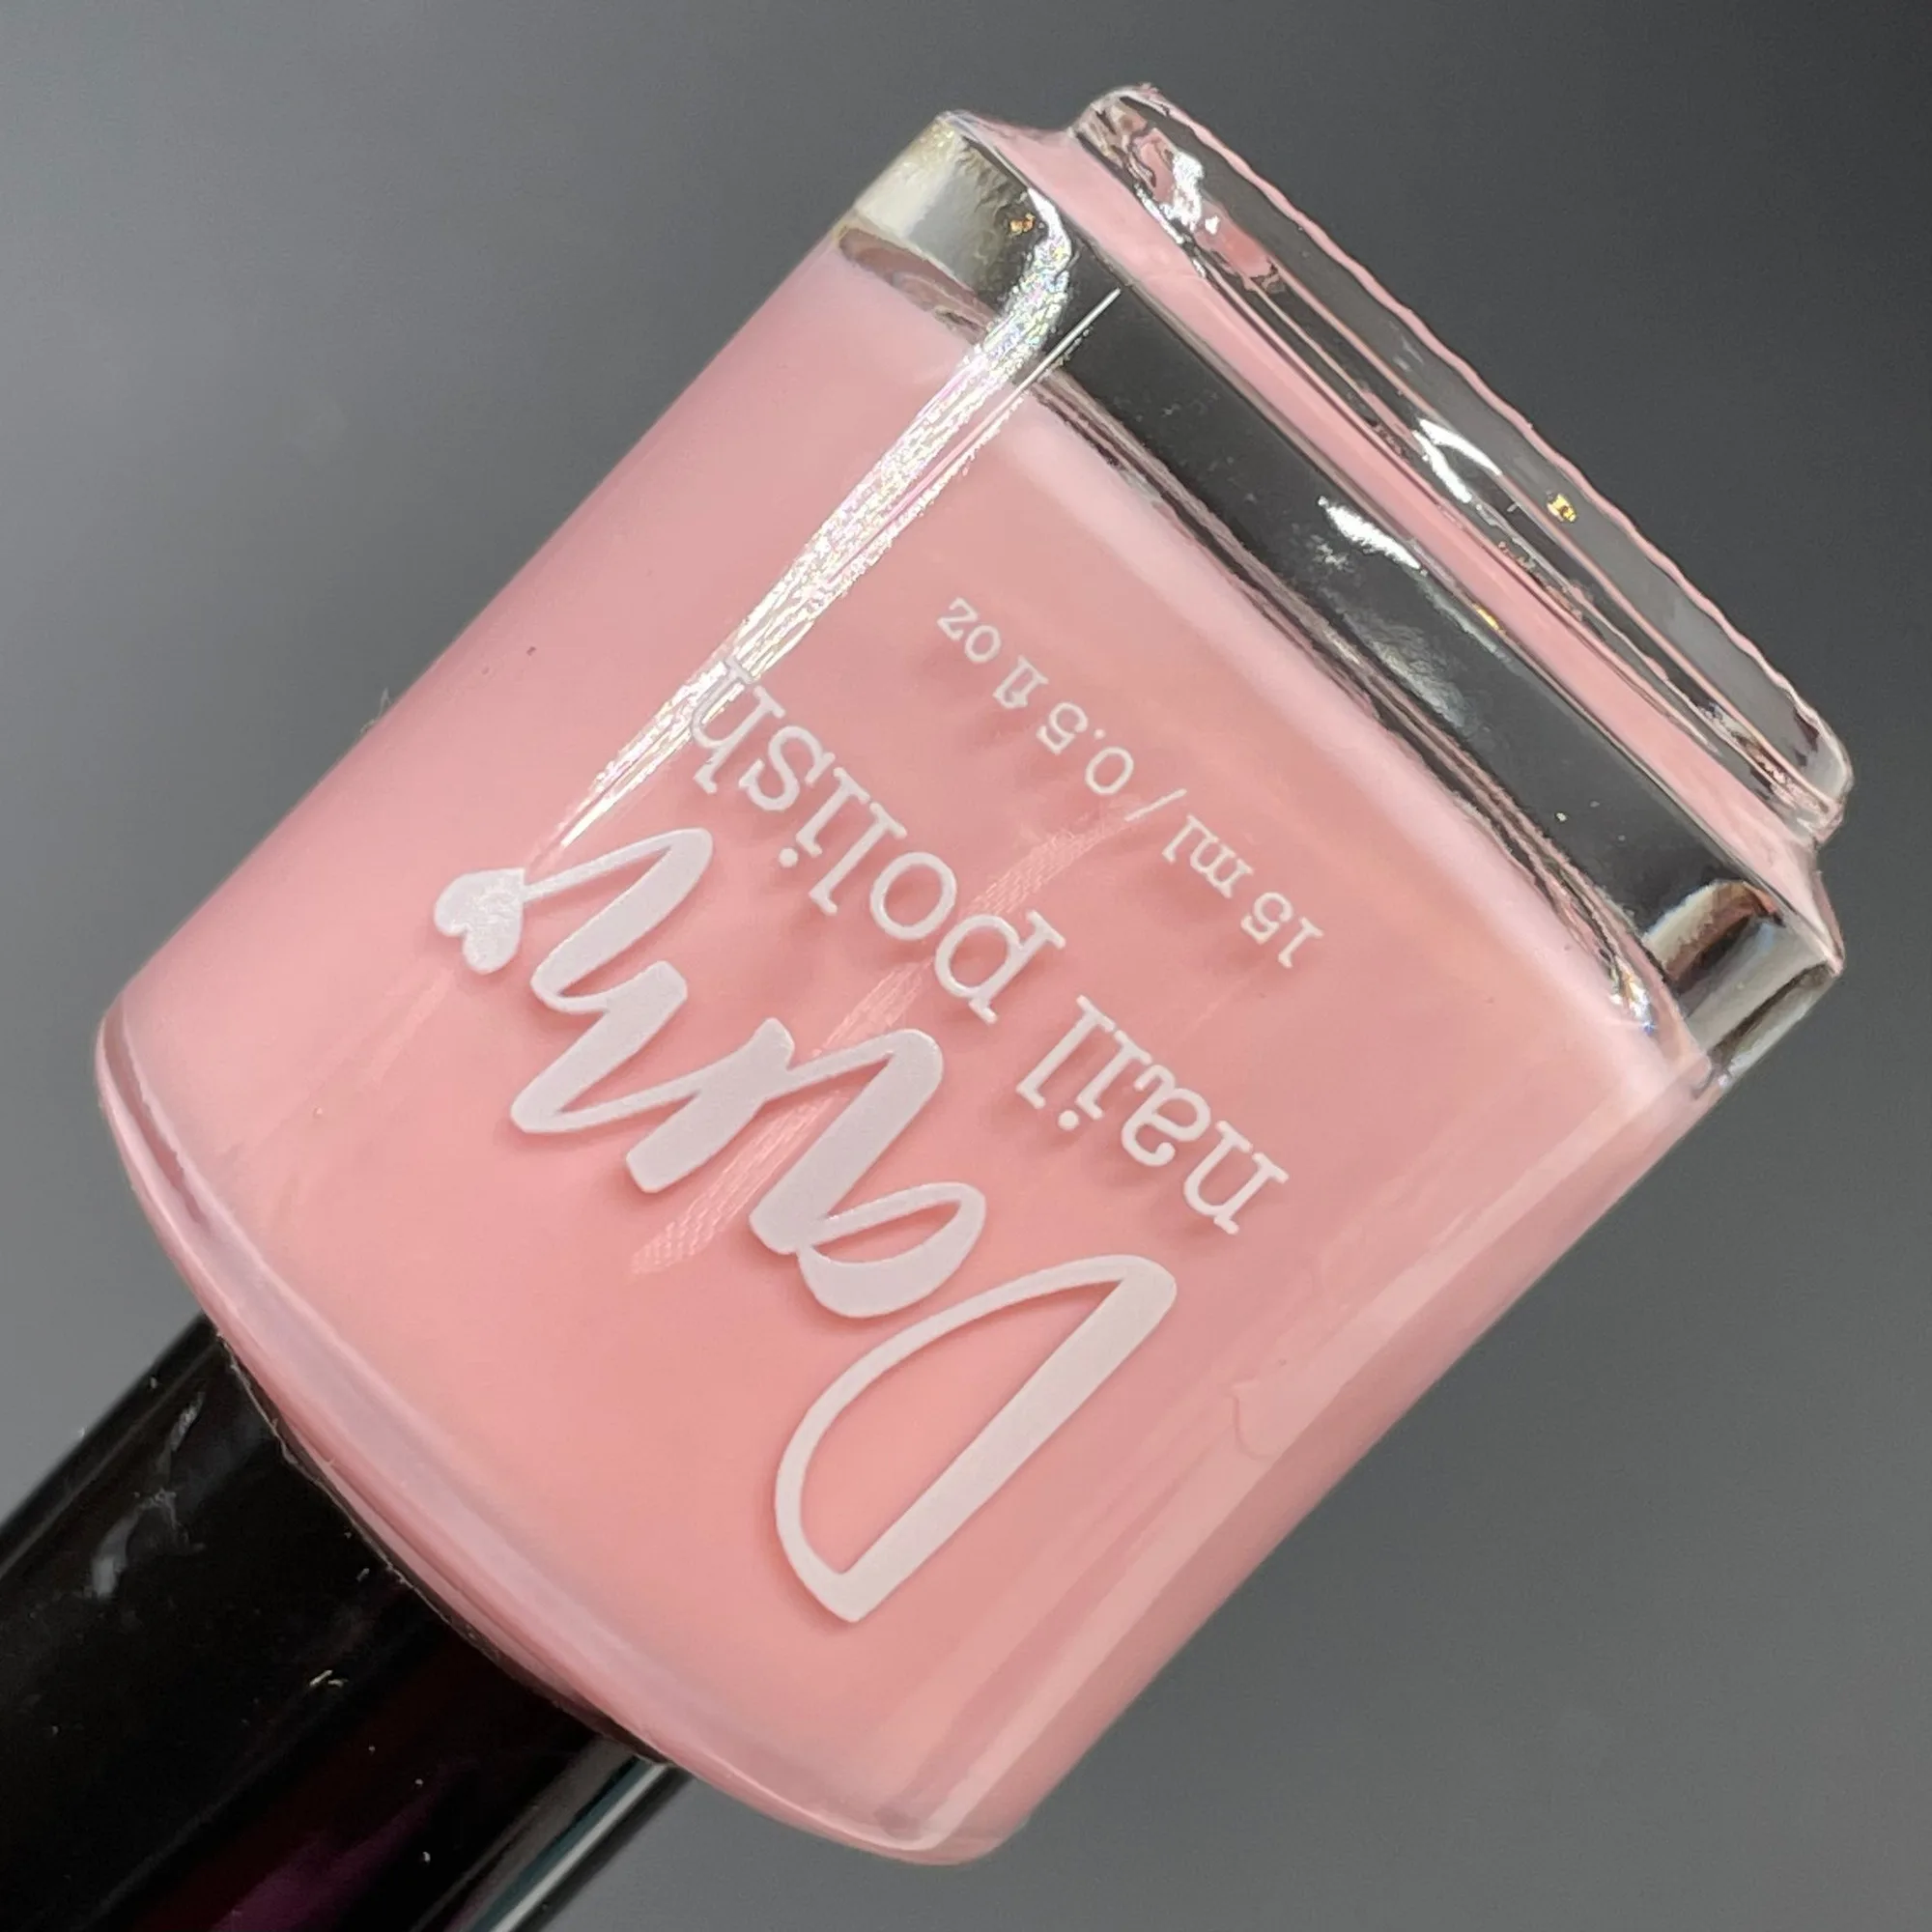
- Poppy Like It’s Hot - Pink Salmon Nail Polish - Cream Nail Polish - Punshine and Petals Collection: Poppy Like It’s Hot is a light salmon pink cream polish recommended for 2-3 coats. Cream formulas are the easiest to apply evenly, making this a good shade for practicing the three-stroke method.
Practice the sequence on a cream shade first, then move to shimmers and reflective glitters once the three-stroke method feels natural. Thin coats, honest drying waits, and a base and top coat will do more for your DIY manicure than any single product.