Quick Answer
For a salon-quality look at home, start with clean, dry nails, size each glue-on nail to match your natural nail bed, and press firmly for at least 20 seconds per nail.
Why Glue-On Nails Beat Salon Visits
Glue-on nails give you the look and feel of a professional gel manicure without the appointment time or cost. They're perfect for events, vacations, or whenever you want a quick change. Plus, with the right application, you can enjoy your manicure for up to two weeks.
The key to a long-lasting, natural-looking result is preparation and technique. Skipping steps or rushing the process often leads to lifting or popping off. Follow the steps below to make your glue-on nails look like they were done at a salon.
Choosing the Right Nail Shape and Size
Nailbliss glue-on nails come in a variety of shapes, sizes, and colors. For a classic look, consider a coffin shape in a sheer, sparkly pale teal nude, like the Mr. Wrong style. This versatile shade complements any outfit and adds a subtle shimmer.
When selecting your nails, match each one to your natural nail bed width. A nail that's too small will look unnatural, while one that's too large can cause lifting. Take your time to find the perfect fit for each finger.
Step-by-Step Application Process
- Prep Your Natural Nails: Remove any old polish, push back your cuticles, and gently buff the surface of your nails to remove shine. This helps the glue adhere better. Don't skip buffing—it's the foundation for a strong hold.
- Select the Perfect Fit: Lay out all the glue-on nails and match each one to your natural nail bed. Choose the size that covers the entire nail without overhanging. Check sizes on both hands, as they may differ slightly.
- Apply Glue to Your Natural Nail: Apply a thin, even layer of nail glue to your natural nail, covering the entire surface. Avoid getting glue on your cuticles or skin. Less is more—too much glue can cause bubbles and lifting.
- Press and Hold: Place the glue-on nail at a 45-degree angle at your cuticle, then press down and hold for at least 20 seconds. Ensure there are no air bubbles. Hold time is crucial for a secure bond.
- File and Shape (Optional): If the length or shape isn't perfect, gently file the edges to your desired shape. Be careful not to file too aggressively. Light filing only—avoid damaging the glossy finish.
- Finish with a Top Coat: Seal the edges of each nail with a clear top coat to prevent lifting and add extra shine. This also helps blend the glue-on nail with your natural nail. A top coat extends the life of your manicure.
Product Spotlight
-
Mr. Wrong: Mr. Wrong glue-on nails are sheer, sparkly pale teal nude in long length with a coffin shape and glossy finish. This shade and shape offer a trendy, salon-inspired look that suits both everyday wear and special occasions.
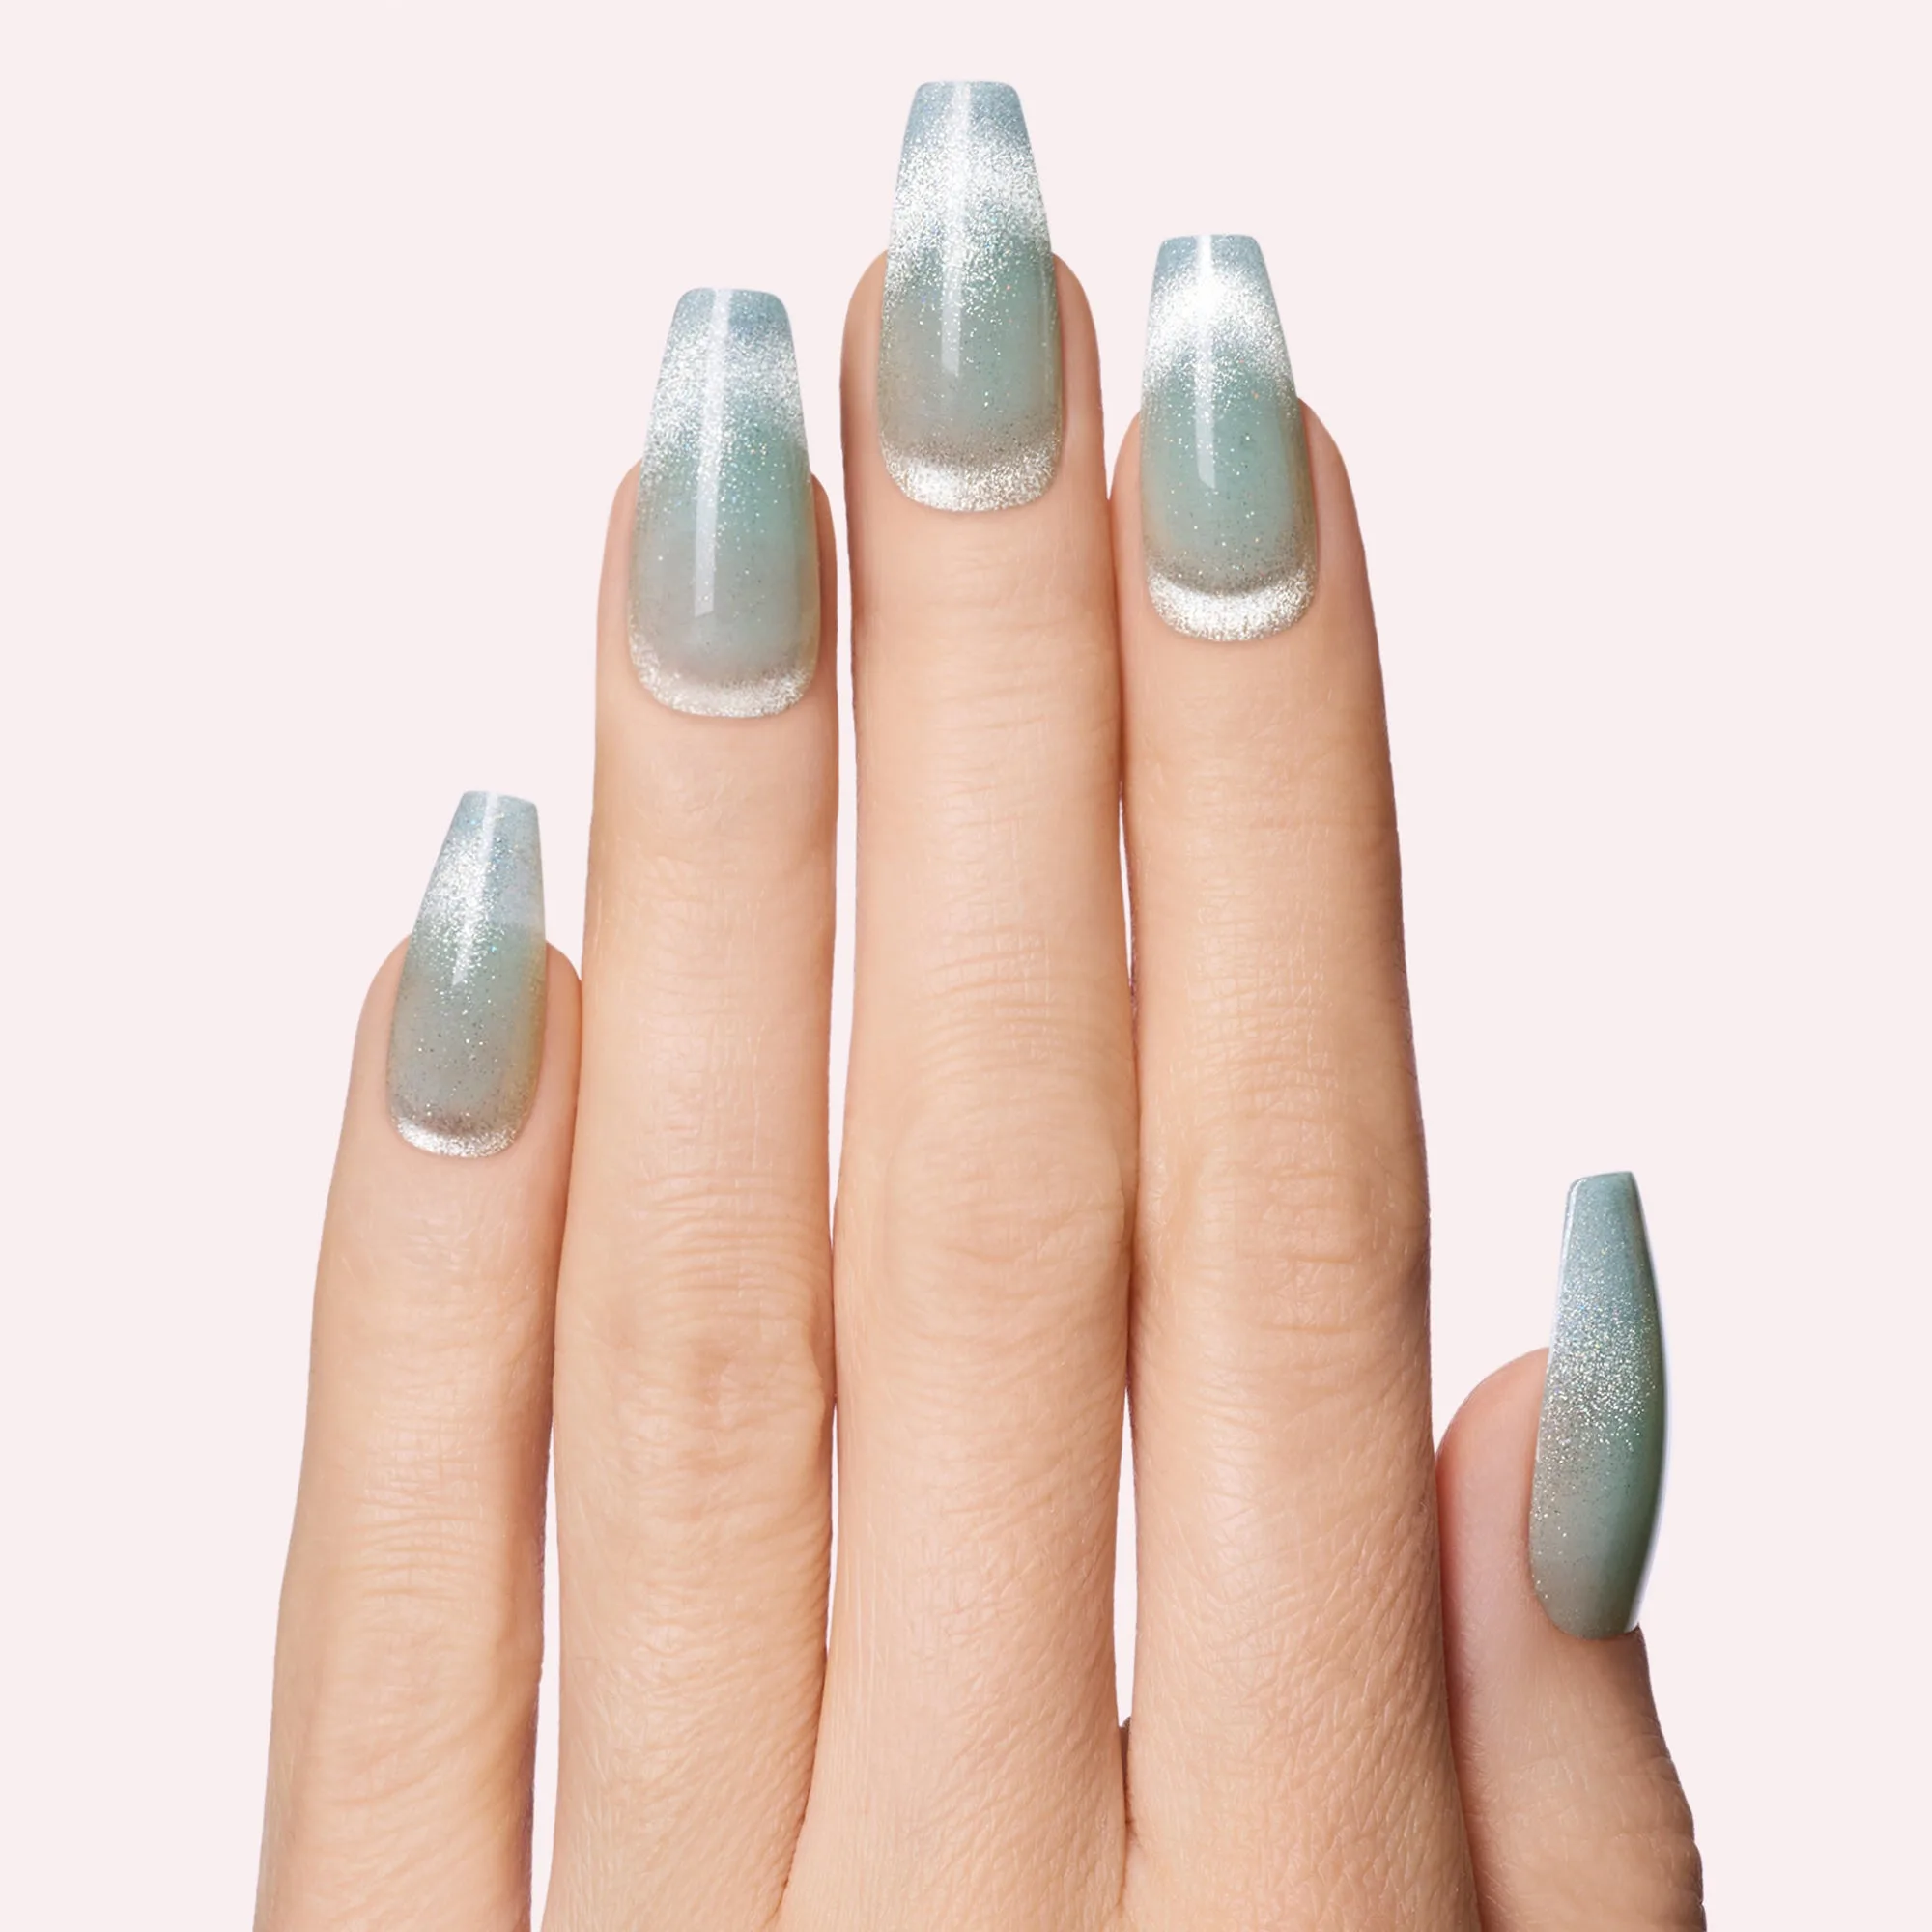
Mr. Wrong