Quick Answer
To apply pre-glued under lashes for a subtle look, place them underneath your natural lashes, close to the lash line, starting from the outer corner. Use a gentle pressing motion to bond them, and always remove them with a dedicated remover to avoid damage.
What You Need for Under Lash Application
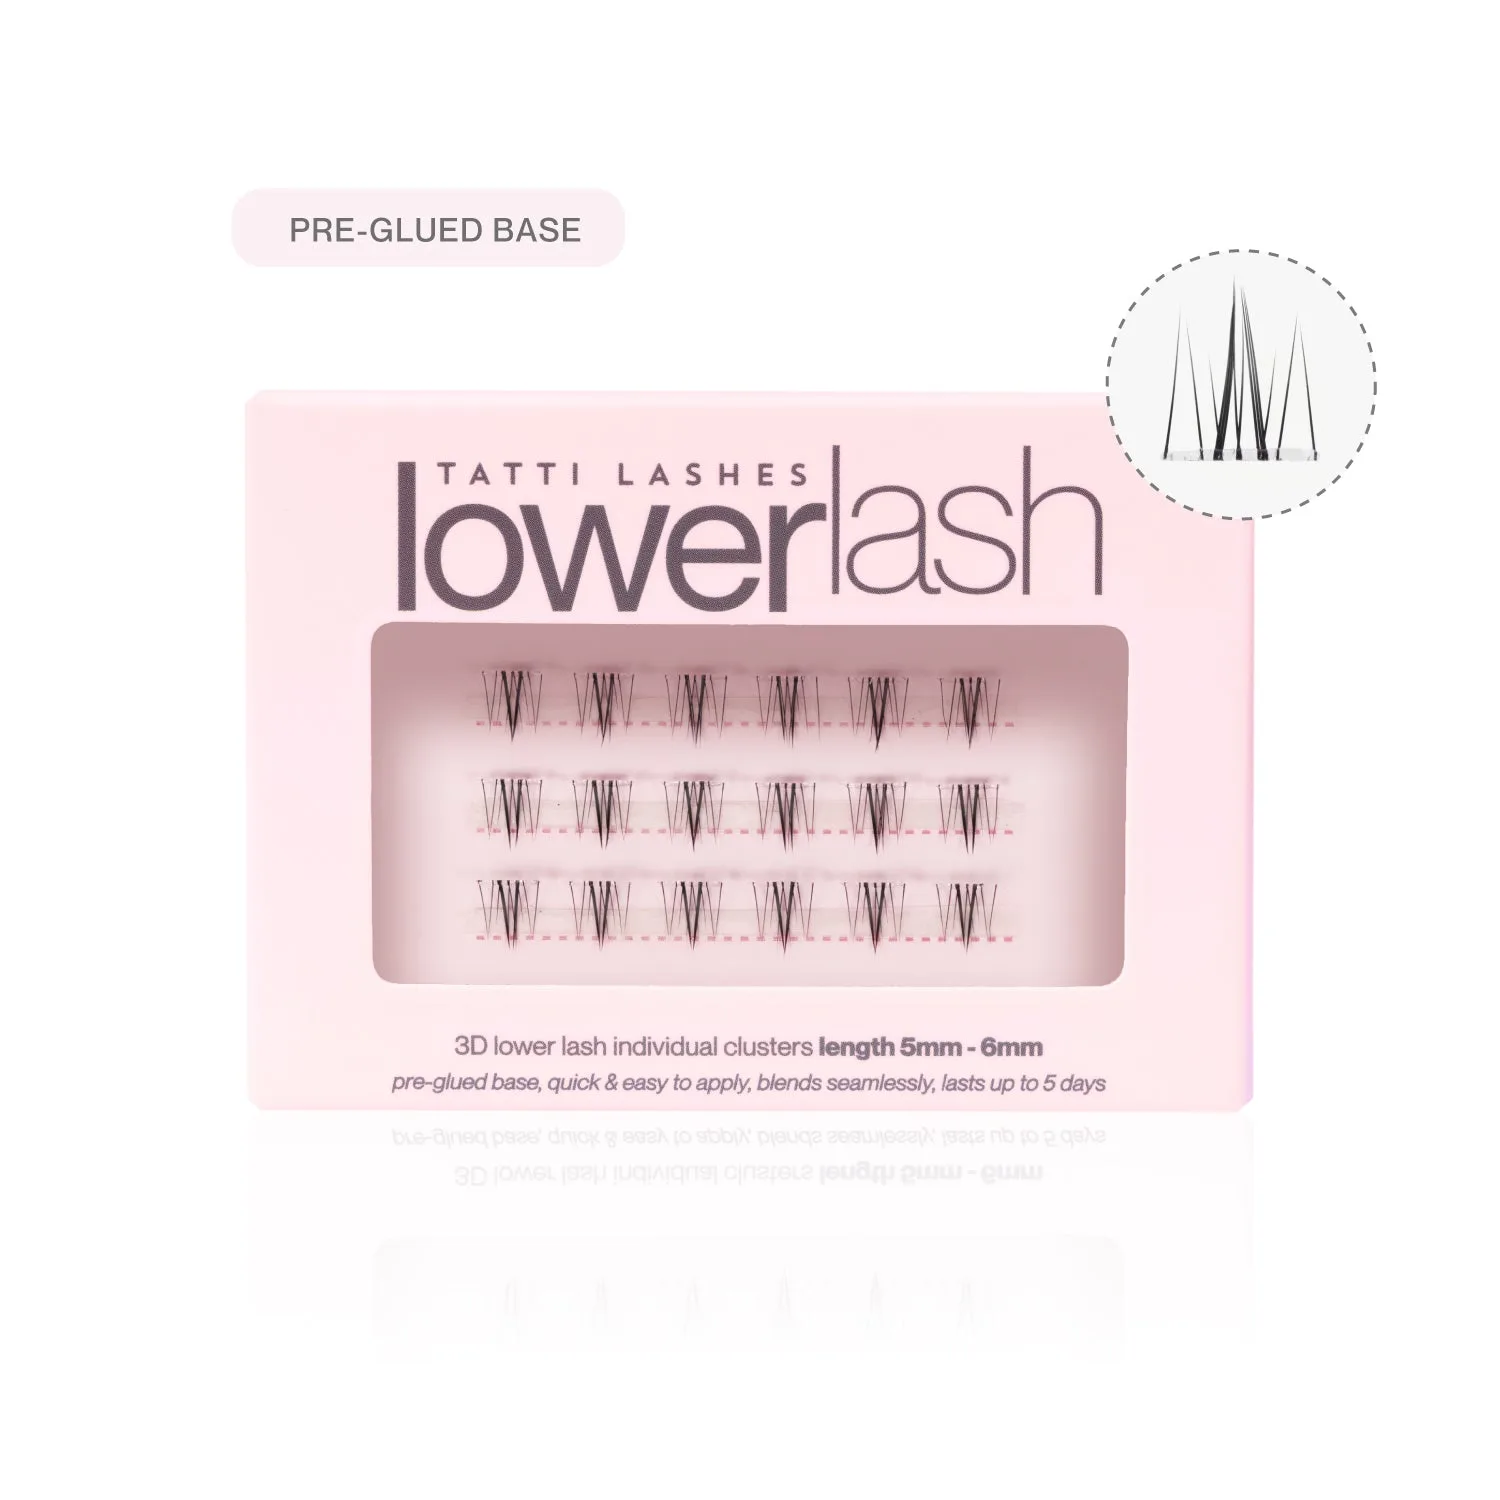
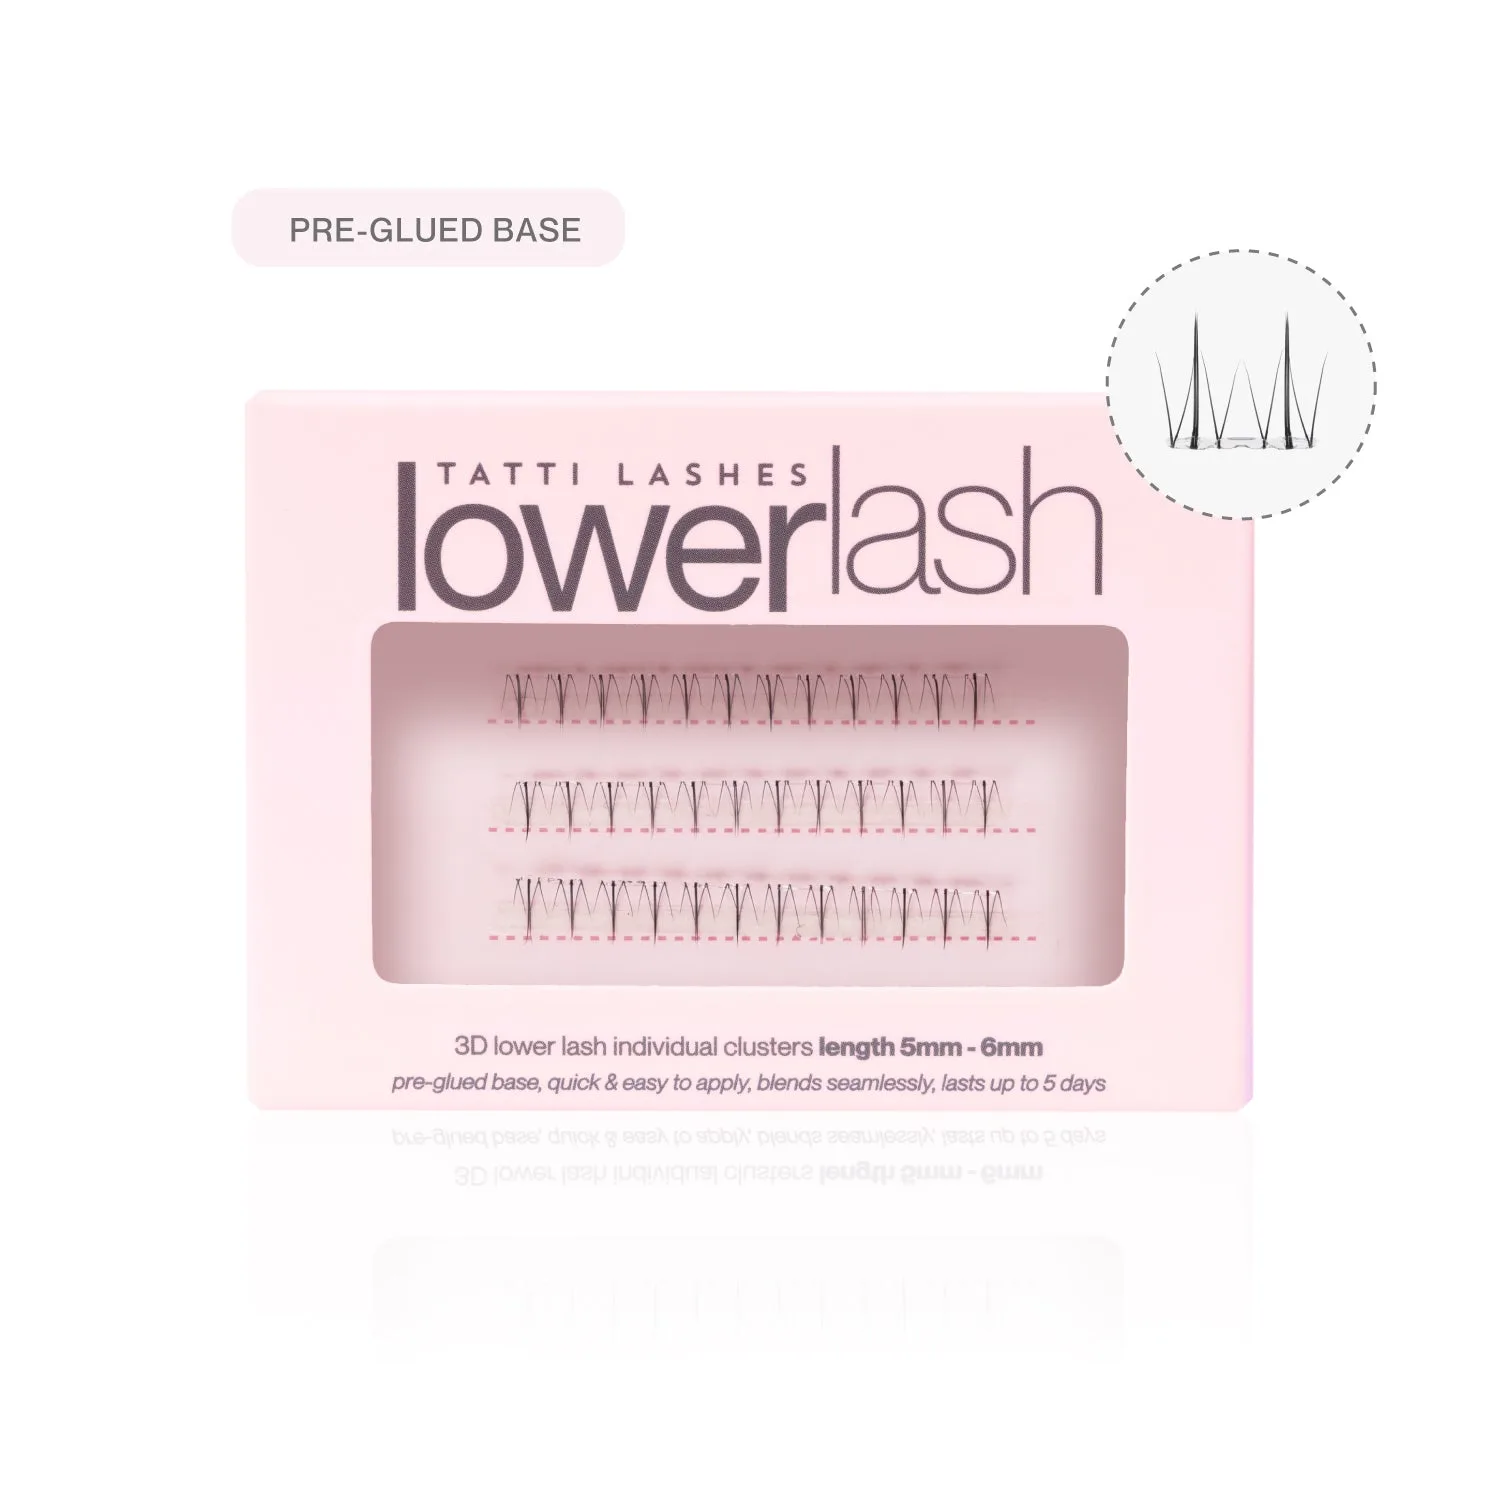
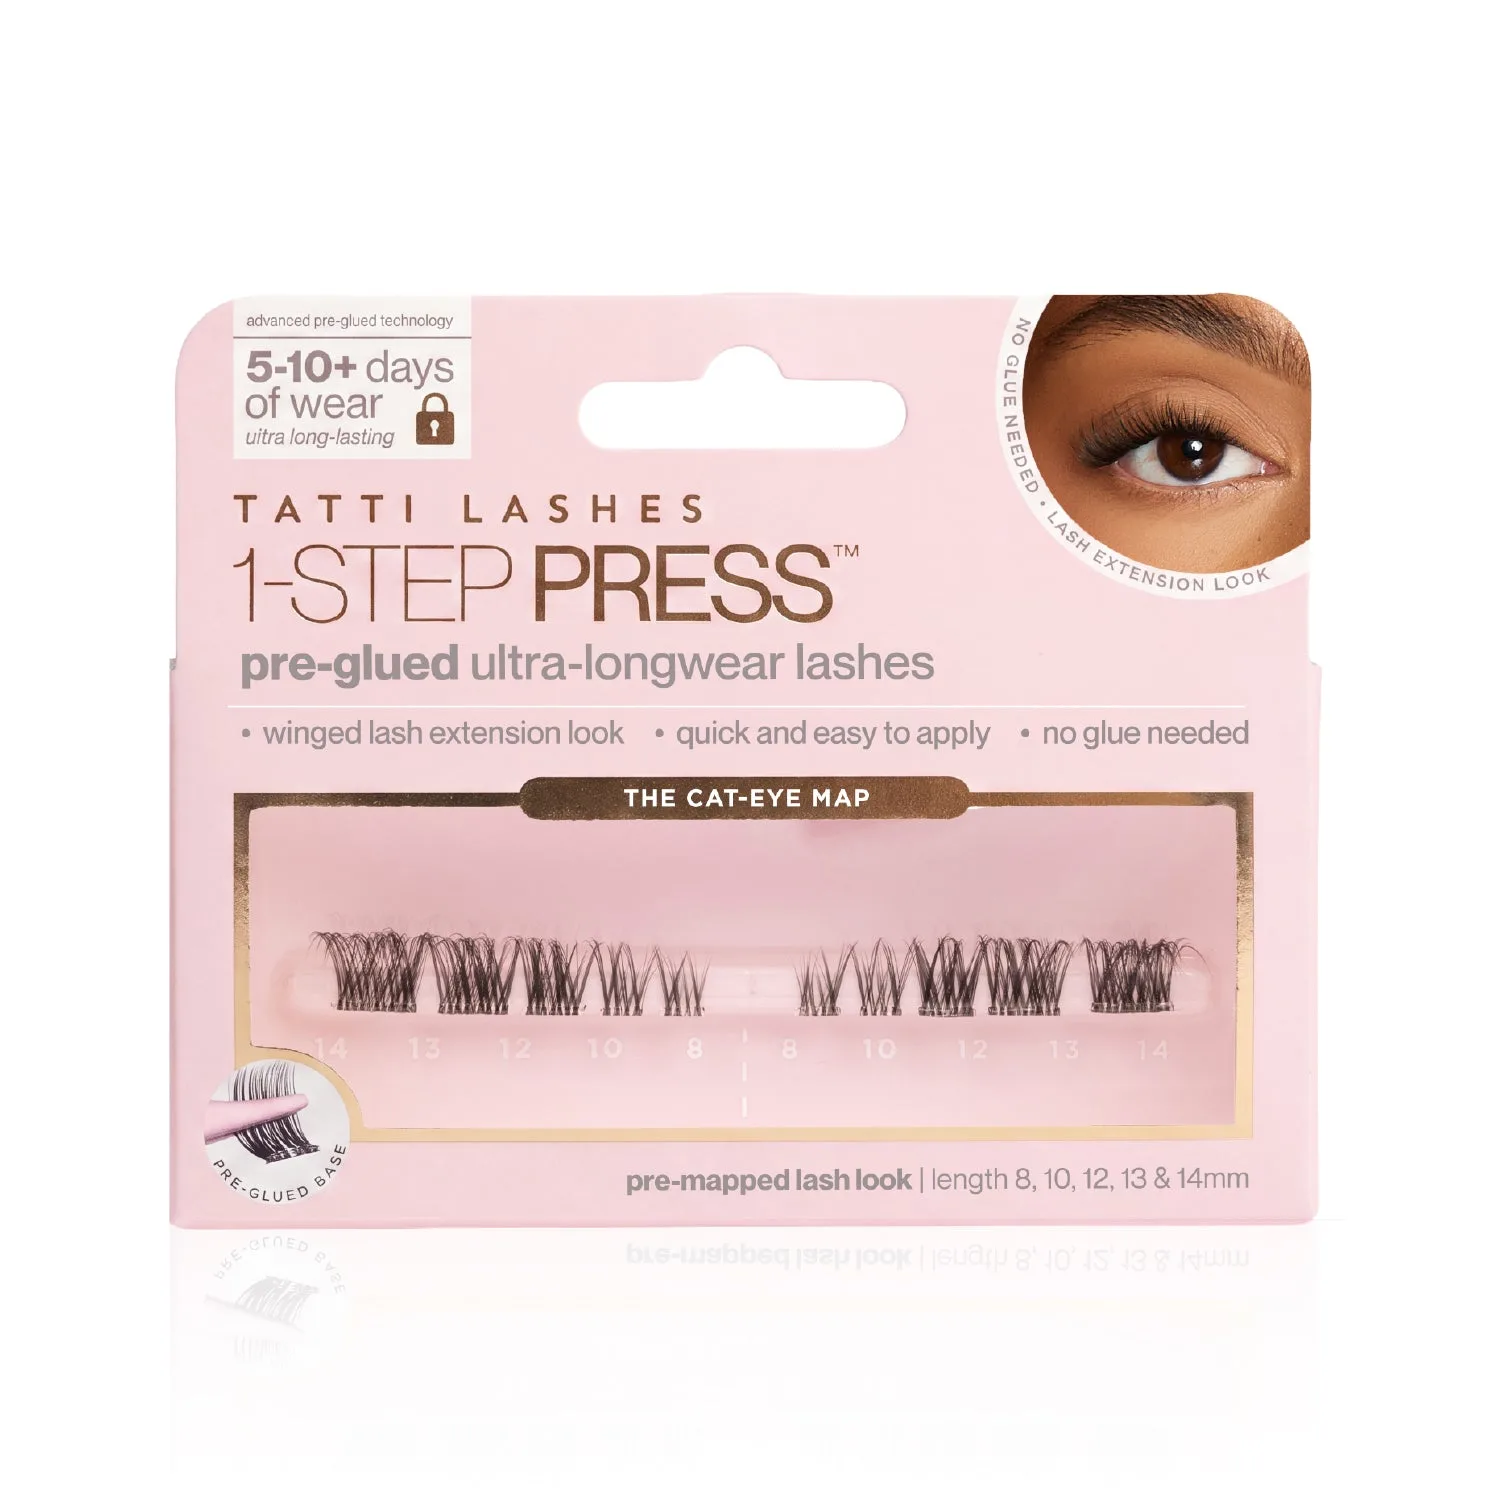
Applying under lashes requires just a few tools: pre-glued lash clusters, a mirror, and a gentle lash remover for cleanup. The key advantage of under lashes is that they blend invisibly with your natural lashes, creating a subtle lift without the visible band of traditional strip lashes.
For a natural look, choose ultra-lightweight styles like the Hera Pre-Glued Half Lashes, which add subtle length and volume without heaviness. Their soft cat-eye shape enhances your eye shape while maintaining a 'your lashes but better' effect.
Preparing Your Natural Lashes
Start with clean, dry natural lashes free of mascara or oils. Curl your lashes gently to create a uniform base, but skip mascara if you plan to place clusters underneath—mascara can interfere with the adhesive bond.
Hold the lash cluster with clean fingers or tweezers and test-fit it along your lash line before removing the backing. This helps you decide placement without wasting adhesive.
Step-by-Step Application Guide
- Step 1: Position the cluster under your natural lashes: Hold the pre-glued cluster with the adhesive side facing upward. Gently slide it underneath your natural lashes, placing it as close to the lash line as possible. Start from the outer corner for a subtle cat-eye effect. Common mistake: Placing the cluster too far from the lash line can create a gap. Keep it snug against the skin for a seamless blend.
- Step 2: Press and hold for 10–15 seconds: Use your fingers or the flat end of tweezers to press the cluster firmly against your natural lashes. Hold for 10–15 seconds to allow the adhesive to bond. Avoid blinking or moving your eye during this time. Checkpoint: If the cluster feels loose after pressing, the adhesive may have dried. Use a fresh cluster for best results.
- Step 3: Repeat across the lash line for desired fullness: Apply 2–4 clusters per eye, spacing them evenly. For a subtle look, focus on the outer half of the eye. For more definition, add a cluster to the center. Let each cluster set before adding the next. Common mistake: Overlapping clusters can create clumps. Leave a small gap between each cluster for a natural, feathery finish.
- Step 4: Remove gently with a dedicated remover: When you're ready to take off the lashes, saturate a cotton swab or wand with a pre-glued lash remover. Gently brush it along the lash line, wait a few seconds for the adhesive to break down, and slide the clusters off without pulling. Checkpoint: Never pull dry clusters off. Always use remover to protect your natural lashes from breakage.
Products That Make Under Lash Application Easier
- Hera Pre-Glued Half Lashes: Hera is ultra-lightweight and perfect for adding subtle length and volume to your lashes. It’s our go-to style for enhancing the lashes for a ‘your lashes but better’, effortless look. Featuring a soft cat‑eye for a subtle lift and naturally delicate finish. The lightweight design and soft cat-eye shape make Hera ideal for under-lash placement, as it won't weigh down your natural lashes and blends seamlessly for a subtle, natural look.
- 1-Step Press™ Remove & Nourish - Pre Glued Lash Remover: Remove and clean your Pre-Glued Individual Clusters with our ultra gentle 2-in-1 nourisher and remover. Infused with Rose Oil to nourish and hydrate, our oil-based Pre-Glued lash remover is formulated to work perfectly with our 1-Step Press™ collection by breaking down the adhesive from your lashes and removing the lash clusters safely and easily. Using a dedicated remover ensures you can take off under lashes without pulling or damaging your natural lashes. The nourishing formula also helps keep your lash line healthy between applications.