Quick answer
To get press-on nails that last for weeks, start with clean, dry, oil-free natural nails. Size each nail correctly, apply a thin, even layer of adhesive, press from cuticle to tip for 30 seconds, and keep your hands dry for the first hour. Avoid water and heavy lifting for 24 hours to let the bond fully cure.
Why press-on nails lift (and how to prevent it)
Most press-on nails fail because of moisture, oil, or air trapped between the natural nail and the press-on. Even a tiny gap lets water seep in, which weakens the adhesive and causes lifting at the edges. The fix is simple: prep thoroughly, size precisely, and press firmly from cuticle to tip to push out air bubbles.
Another common cause is using too much glue. A thick blob spreads unevenly, takes longer to set, and can ooze out the sides. A thin, even layer—or a quality adhesive tab—gives you a secure bond without the mess.
Prep your natural nails the right way
Start by removing any old polish and washing your hands with soap and water. Dry completely. Then swipe each nail with an alcohol wipe or acetone-free prep pad to remove natural oils. Push back your cuticles gently with a cuticle stick—do not cut them, as this can cause irritation and leave a gap for lifting.
Lightly buff the surface of each nail with a fine-grit buffer to create a slightly textured base. This gives the adhesive something to grip. Wipe away dust with a clean brush or lint-free cloth. Your nails should look matte, not shiny.
Size and fit: the step most people rush
Press-on nails come in multiple sizes. Match each press-on to your natural nail width—it should cover the nail from sidewall to sidewall without overlapping onto your skin. If a press-on is too wide, it will lift at the sides. If it's too narrow, it won't cover the nail and will feel unstable.
For the best fit, lay out all press-ons before you start applying. If you're between sizes, choose the larger one and gently file the sides to custom-fit. Ersa Nails sets include multiple sizes per hand, so take a minute to find the right match for each finger.
Adhesive options: glue vs. tabs vs. gel
Brush-on glue gives the strongest, longest-lasting hold—often 2–3 weeks with proper care. Adhesive tabs are faster and less messy, but typically last only a few days to a week. Gel adhesive kits require a UV lamp and offer a middle ground: stronger than tabs, but more steps than glue.
Whichever you choose, apply a thin layer to your natural nail and a tiny dot inside the press-on. Wait 5–10 seconds for the glue to get tacky before pressing down. This prevents sliding and ensures a tight bond.
Application steps for a secure, bubble-free hold
Hold the press-on at a 45-degree angle against your cuticle. Press down firmly and roll it toward the tip of your nail. This pushes air out and prevents bubbles. Hold for 30 full seconds—don't rush. Repeat on all fingers, starting with your pinky and working toward your thumb for better control.
After all nails are applied, press each one again for a few seconds. Check for any glue seepage around the edges and wipe it away with a cotton swab dipped in acetone. Avoid pulling or tugging on the nails for the first hour.
Aftercare: make the hold last for weeks
Keep your hands dry for at least an hour after application. For the first 24 hours, avoid long baths, swimming, and washing dishes without gloves. After that, wear gloves for any wet work—hot water and harsh cleaners break down adhesive quickly.
Moisturize your cuticles daily with cuticle oil or hand cream, but avoid getting oil directly on the bond line. If you notice a slight lift at an edge, press it back down immediately and avoid picking at it. With this routine, many people get 2–3 weeks of wear from a single application.
Press-on application steps at a glance
- Prep and dehydrate: Wash hands, push back cuticles, buff nails, and wipe with alcohol to remove all oils. Checkpoint: nails should look matte and feel dry before you start.
- Size each press-on: Match width to your natural nail—no overlap onto skin, no gaps at the sides. Common mistake: choosing a size that's too small, which causes lifting.
- Apply adhesive thinly: Use a thin layer of glue or a tab on the natural nail and a tiny dot inside the press-on. Checkpoint: no thick blobs that will ooze out.
- Press and hold: Angle at 45 degrees at the cuticle, roll toward the tip, and hold for 30 seconds. Common mistake: rushing the press, which traps air bubbles.
- Cure and protect: Keep hands dry for 1 hour and avoid water for 24 hours. Wear gloves for wet tasks. Checkpoint: no lifting at edges after the first day.
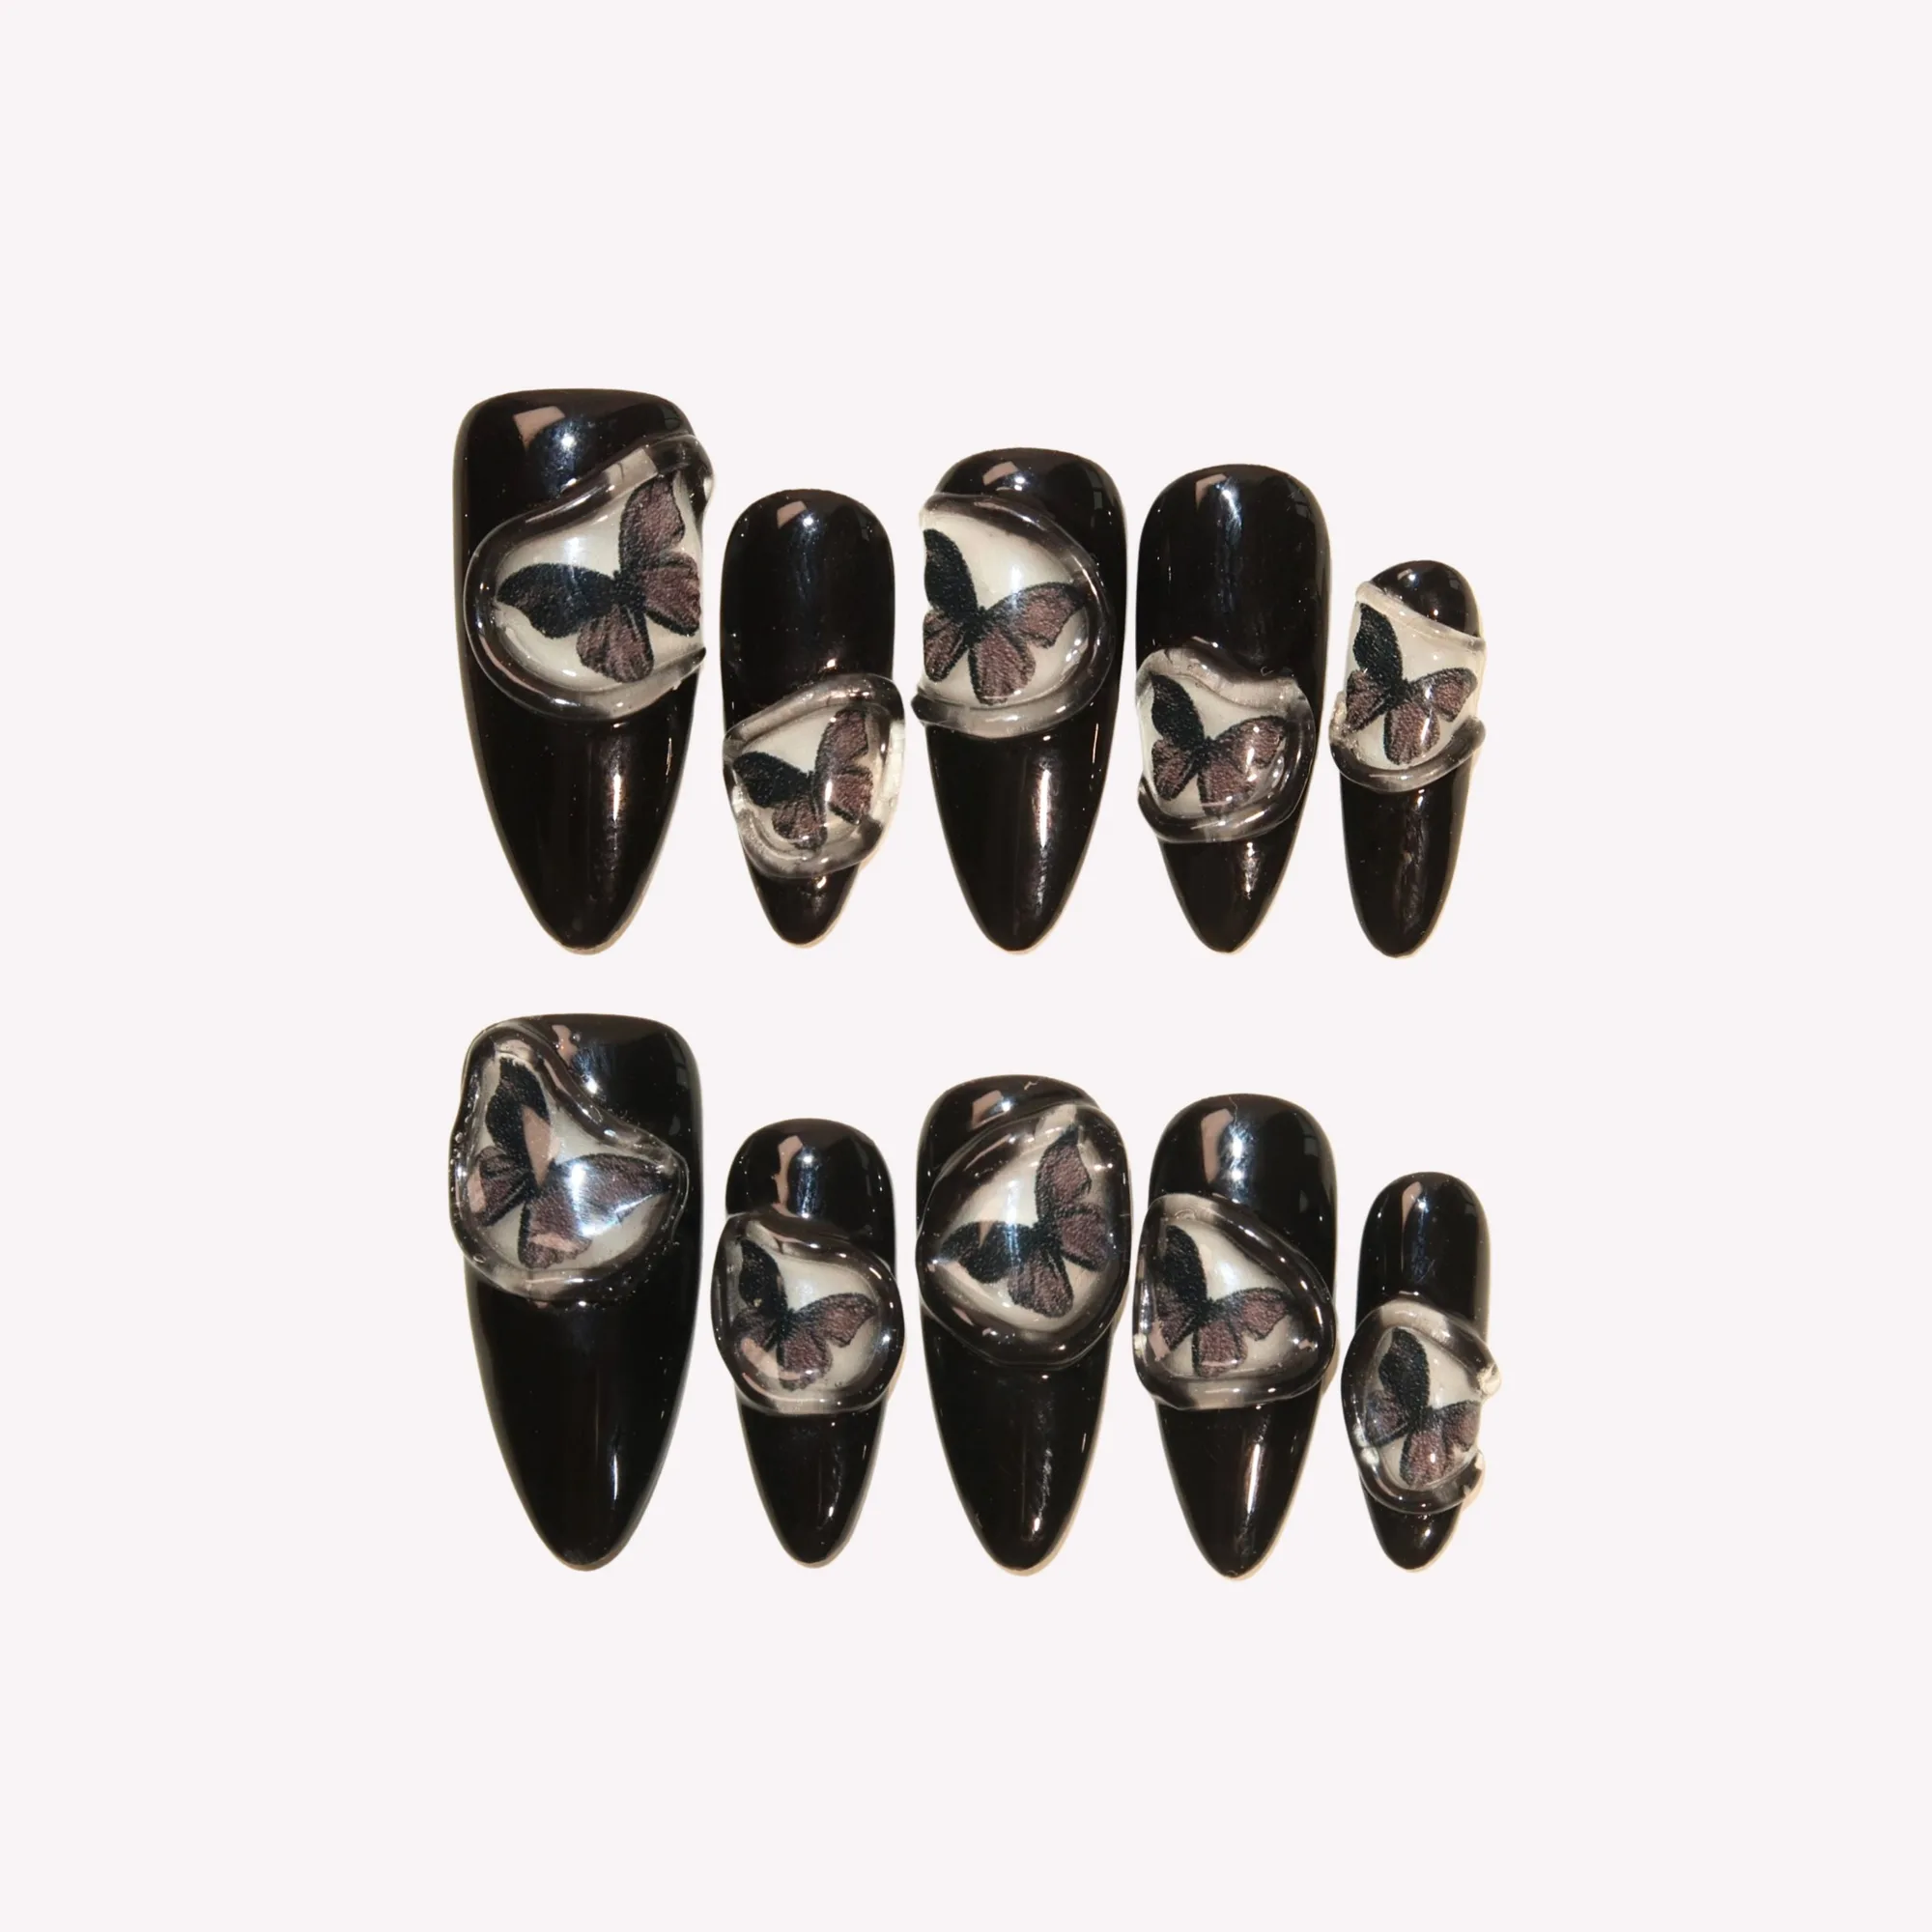
Ersa Nails options that suit this routine
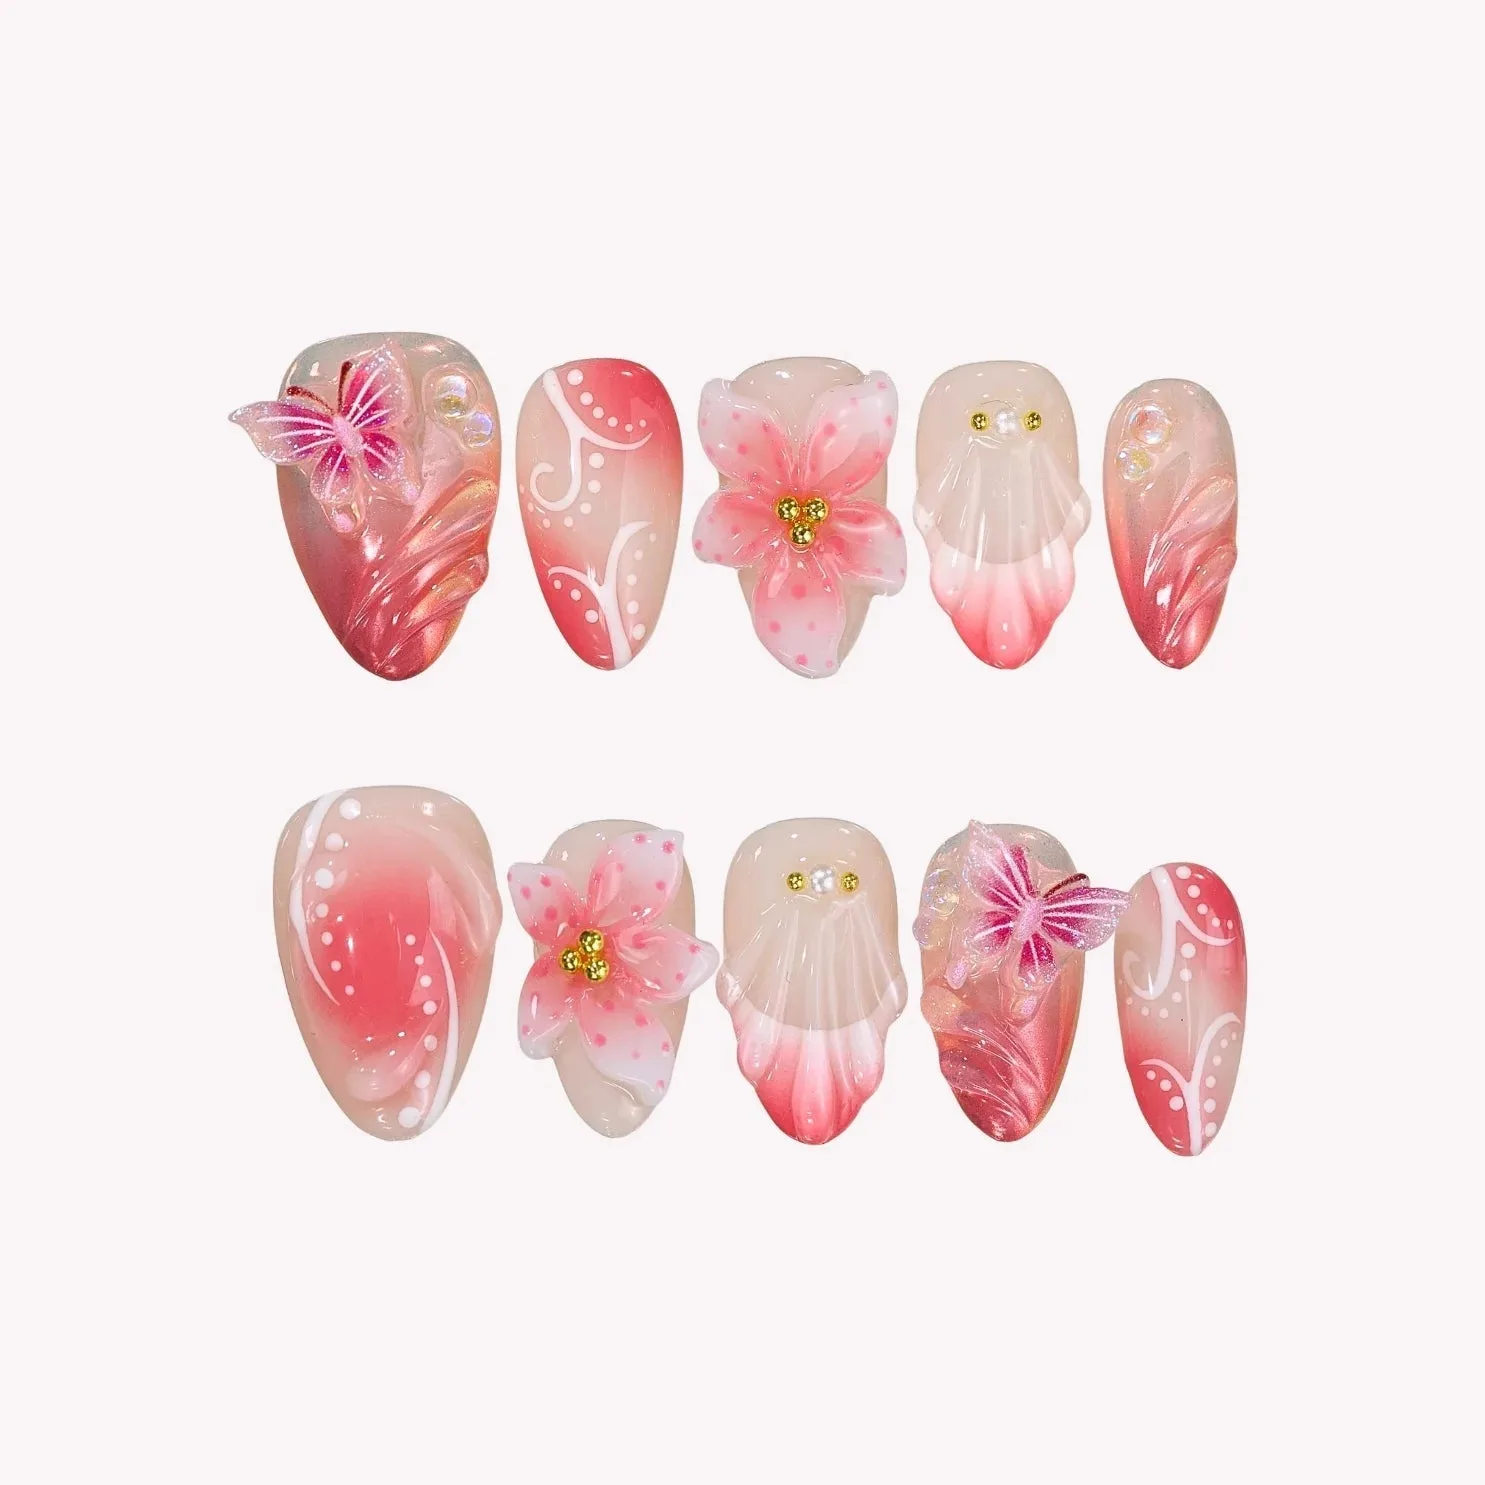
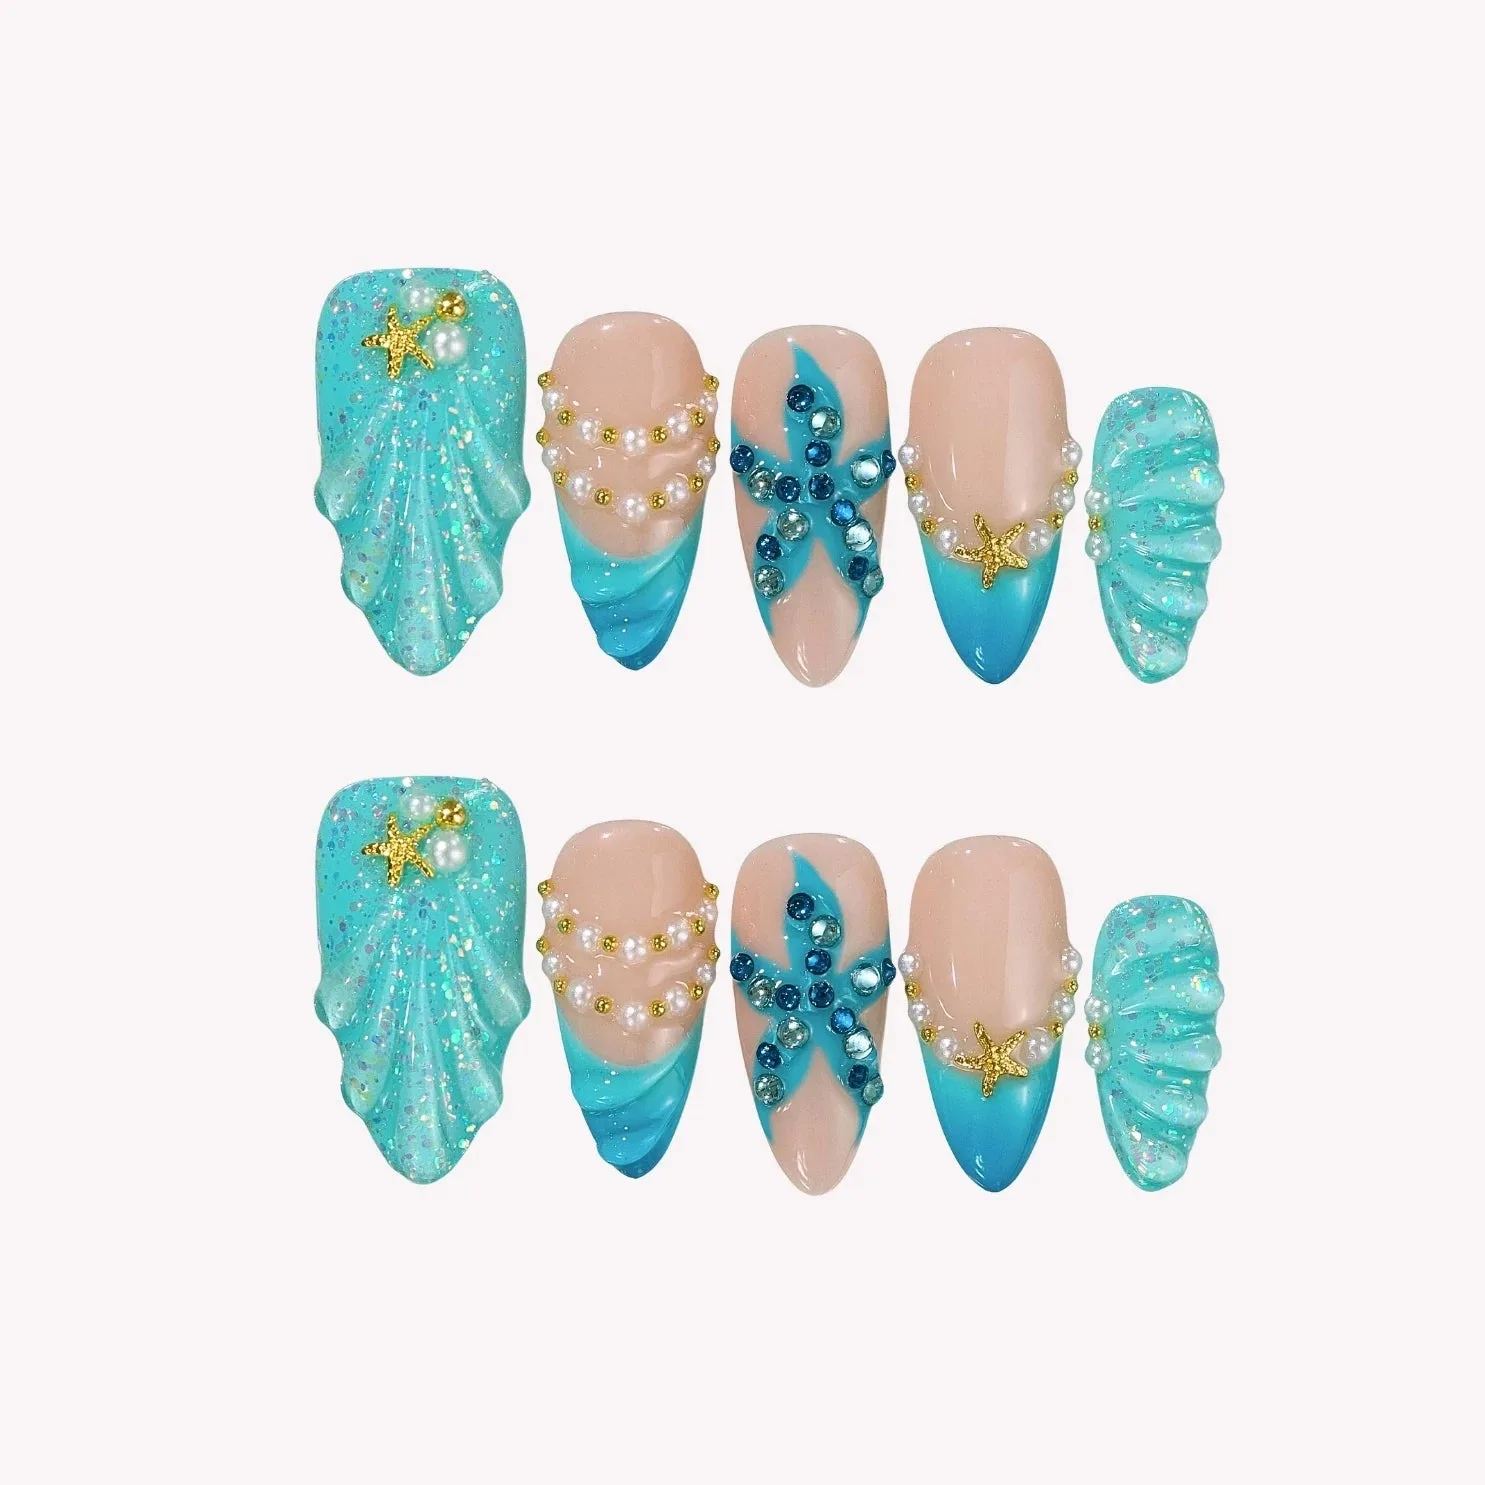
- Ersa C01 - Icy: Ersa C01 - Icy is a short almond press-on set with pure cat-eye shimmer, available in multiple sizes. Short almond shape is easy to apply and less likely to catch on things, making it a good choice for first-time press-on users or anyone who wants a low-maintenance, long-lasting set.
- Good News: Good News is a medium almond set with pastel pinks, blues, and gold celestial accents, available in multiple sizes. Medium almond length offers more surface area for adhesive, which can help the bond last longer—but it also requires more careful sizing to avoid lifting at the sides.