Quick Answer
To apply Ardell Press On Wispies Natural 100-Count, simply press the pre-glued clusters under your natural lashes along the lash line. No glue or drying time is needed. The key is to work in small sections and press firmly for a few seconds to ensure secure hold.
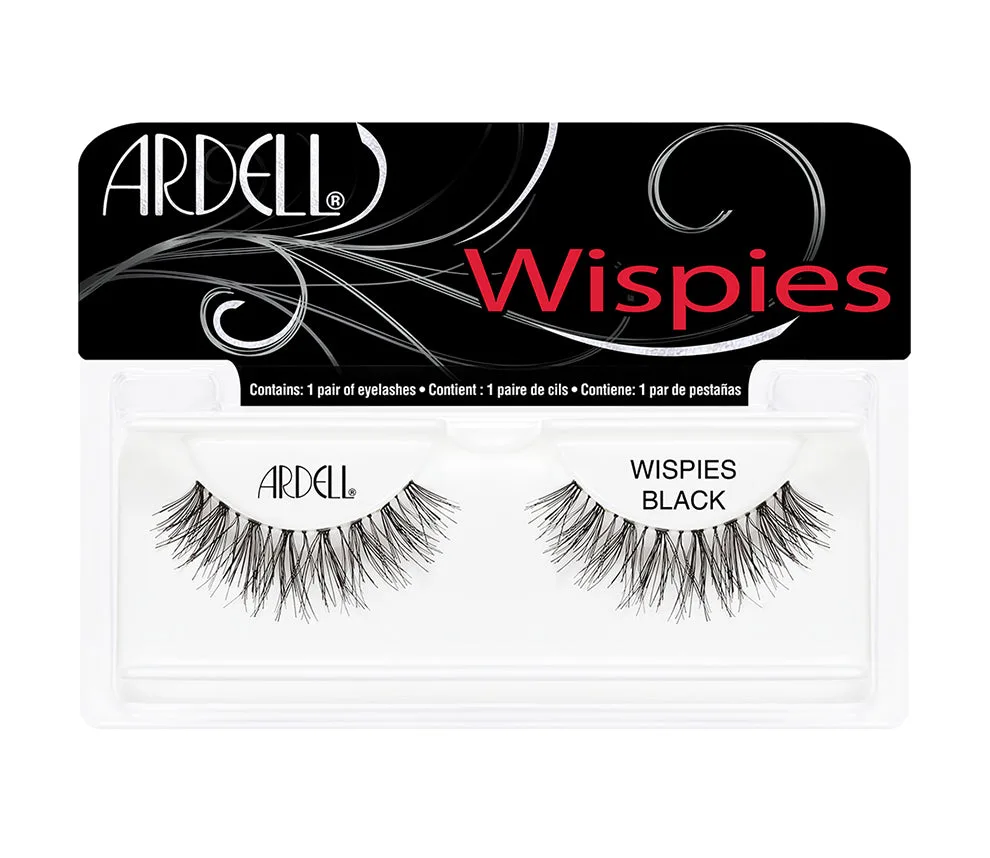
Wispies
What You Need Before You Start
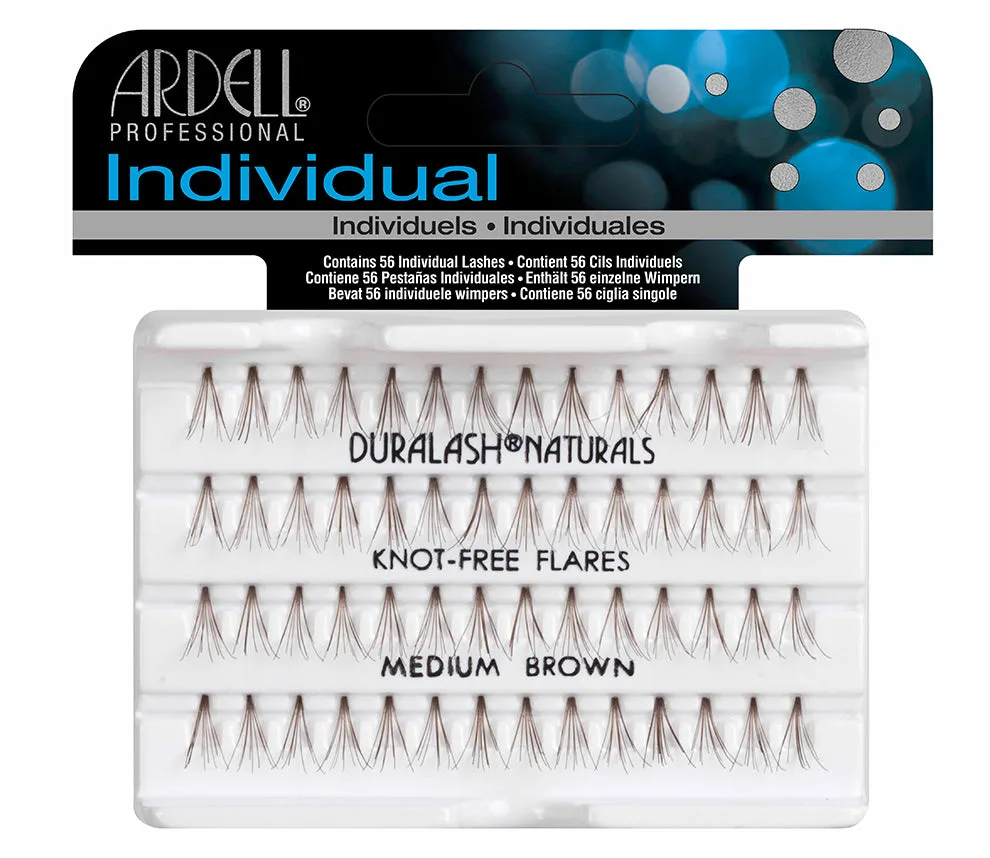
Before you begin, have your Ardell Press On Wispies Natural 100-Count lashes ready. The set comes with 100 pre-glued clusters, so you don't need any additional adhesive. Make sure your natural lashes are clean and free of makeup or oils for best adhesion. A pair of tweezers can help with placement, but your fingers work too.
How the Underlash Technique Works
These press-on lashes are designed to go under your natural lashes, not on top. This hides the band completely for a seamless, natural look. The pre-glued strip adheres instantly to the underside of your lash line, so you don't have to worry about visible glue or bands.
Step-by-Step Application Guide
- Step 1: Prep Your Lashes: Make sure your natural lashes are clean and dry. Remove any mascara or eye makeup with an oil-free remover. This ensures the pre-glued clusters stick well. Common mistake: Applying to oily lashes can cause the clusters to slip off. If your lashes are naturally oily, lightly dust them with translucent powder first.
- Step 2: Choose Your First Cluster: Gently peel one pre-glued cluster from the tray. Hold it by the outer edge to avoid touching the adhesive. Each cluster is ready to use—no glue needed. Checkpoint: The cluster should feel slightly tacky. If it feels dry, press it between your fingers for a few seconds to activate the adhesive.
- Step 3: Position Under Your Natural Lashes: Using tweezers or your fingers, place the cluster under your natural lashes, as close to the lash line as possible. Start from the outer corner and work inward. Common mistake: Placing the cluster too far from the lash line creates a gap. Use a mirror and look downward for better visibility.
- Step 4: Press and Hold: Press the cluster firmly against your lash line for 10-15 seconds. The heat from your fingers helps the adhesive bond. Repeat for each cluster, spacing them evenly. Checkpoint: If a cluster doesn't feel secure, hold it a few seconds longer. Avoid blinking until all clusters are set.
- Step 5: Blend and Finish: Once all clusters are in place, gently press your natural lashes and the falsies together with your fingers. You can apply a light coat of mascara if desired, but it's not necessary. Final tip: For a more natural look, use fewer clusters (3-4 per eye). For more drama, use all 5-6 clusters. The 100-count pack gives you plenty for multiple applications.
Product Facts
- Press On Wispies Natural, 100-Count: Effortless, customizable lashes in one step! Just press—it's that simple. Ardell’s Press-On Pre-Glued Underlash Extensions have for instant adherence and all-day hold. No glue, no fuss, no mess—just a streamlined, frustration-free application. These press-on clusters go under your natural lashes, so the bands are undetectable, blending seamlessly with your lash line for a natural look. This means you can achieve a natural, wispy lash look in seconds without the mess or drying time of traditional lash glue.