Quick Answer
To apply reflective glitter powder on nails, sprinkle the powder onto uncured gel polish, press it gently, cure under an LED/UV lamp, and seal with a top coat. The result is a diamond-like sparkle that glows intensely under flash or direct light.
Why Reflective Glitter Powder Works Differently
Reflective glitter nail powder contains micro-faceted particles that bounce light back toward its source. This creates a bright, mirror-like effect in photos and bright settings, unlike traditional loose glitter that scatters light. The key is applying it over uncured gel so the particles embed firmly, then curing to lock them in place.
Compared to holographic or iridescent powders, reflective glitter gives a sharper, more intense sparkle. It is ideal for nail art that needs to stand out at events, parties, or in flash photography. However, because the particles are larger, they may feel slightly textured if not sealed properly with a thick top coat. Adjust your top coat thickness based on the desired smoothness.
Step-by-Step Reflective Glitter Nail Tutorial
- Prep the Nail: Push back cuticles, buff the nail surface, and remove dust. Apply a base coat and cure according to the product's instructions. This creates a clean, adhesive-ready surface. Skipping the buff can cause the glitter to lift later.
- Apply a Thin Layer of Gel Polish: Choose a color that contrasts or matches your glitter. Apply a thin, even coat of gel polish and cure for the recommended time. Do not wipe off the tacky layer - it helps the glitter adhere. A thick polish layer can cause pooling and uneven glitter adhesion.
- Sprinkle the Reflective Glitter Powder: Using a small spatula or brush, generously sprinkle the reflective diamond glitter over the uncured gel polish while it is still tacky. Gently press the powder into the gel with a clean finger or silicone tool to ensure full coverage. Apply glitter immediately after curing the color coat; the tacky layer becomes less effective as it sits.
- Cure the Glitter Layer: Place the nail under an LED/UV lamp for 60 seconds. The uncured gel bonds with the glitter particles, locking them in place. Excess glitter that is not embedded will remain loose and can be brushed off after curing. Do not brush off excess glitter before curing - it will disturb the design.
- Brush Off Loose Glitter: After curing, use a soft brush or lint-free wipe to remove any loose powder. This reveals the intense reflective finish beneath. If glitter feels rough, apply an extra thin layer of gel top coat and cure again.
- Seal with Top Coat: Apply a generous layer of no-wipe gel top coat, ensuring the edges are covered. Cure for the full recommended time. A thick top coat smooths out the texture and protects the reflective particles from wearing off. Skipping the top coat or applying it too thin will cause the glitter to dull or flake within days.
Product Used in This Tutorial
-
RD04 - REFLECTIVE DIAMOND GLITTER: 2Guys Reflective Diamond Glitter transforms into an intense reflective glow under flash or direct light, turning every nail a showstopper both in person and on camera. Available in Red, 15g. This powder provides consistent, high-impact sparkle in photos and real life, making it a reliable choice for reflective glitter nail art.
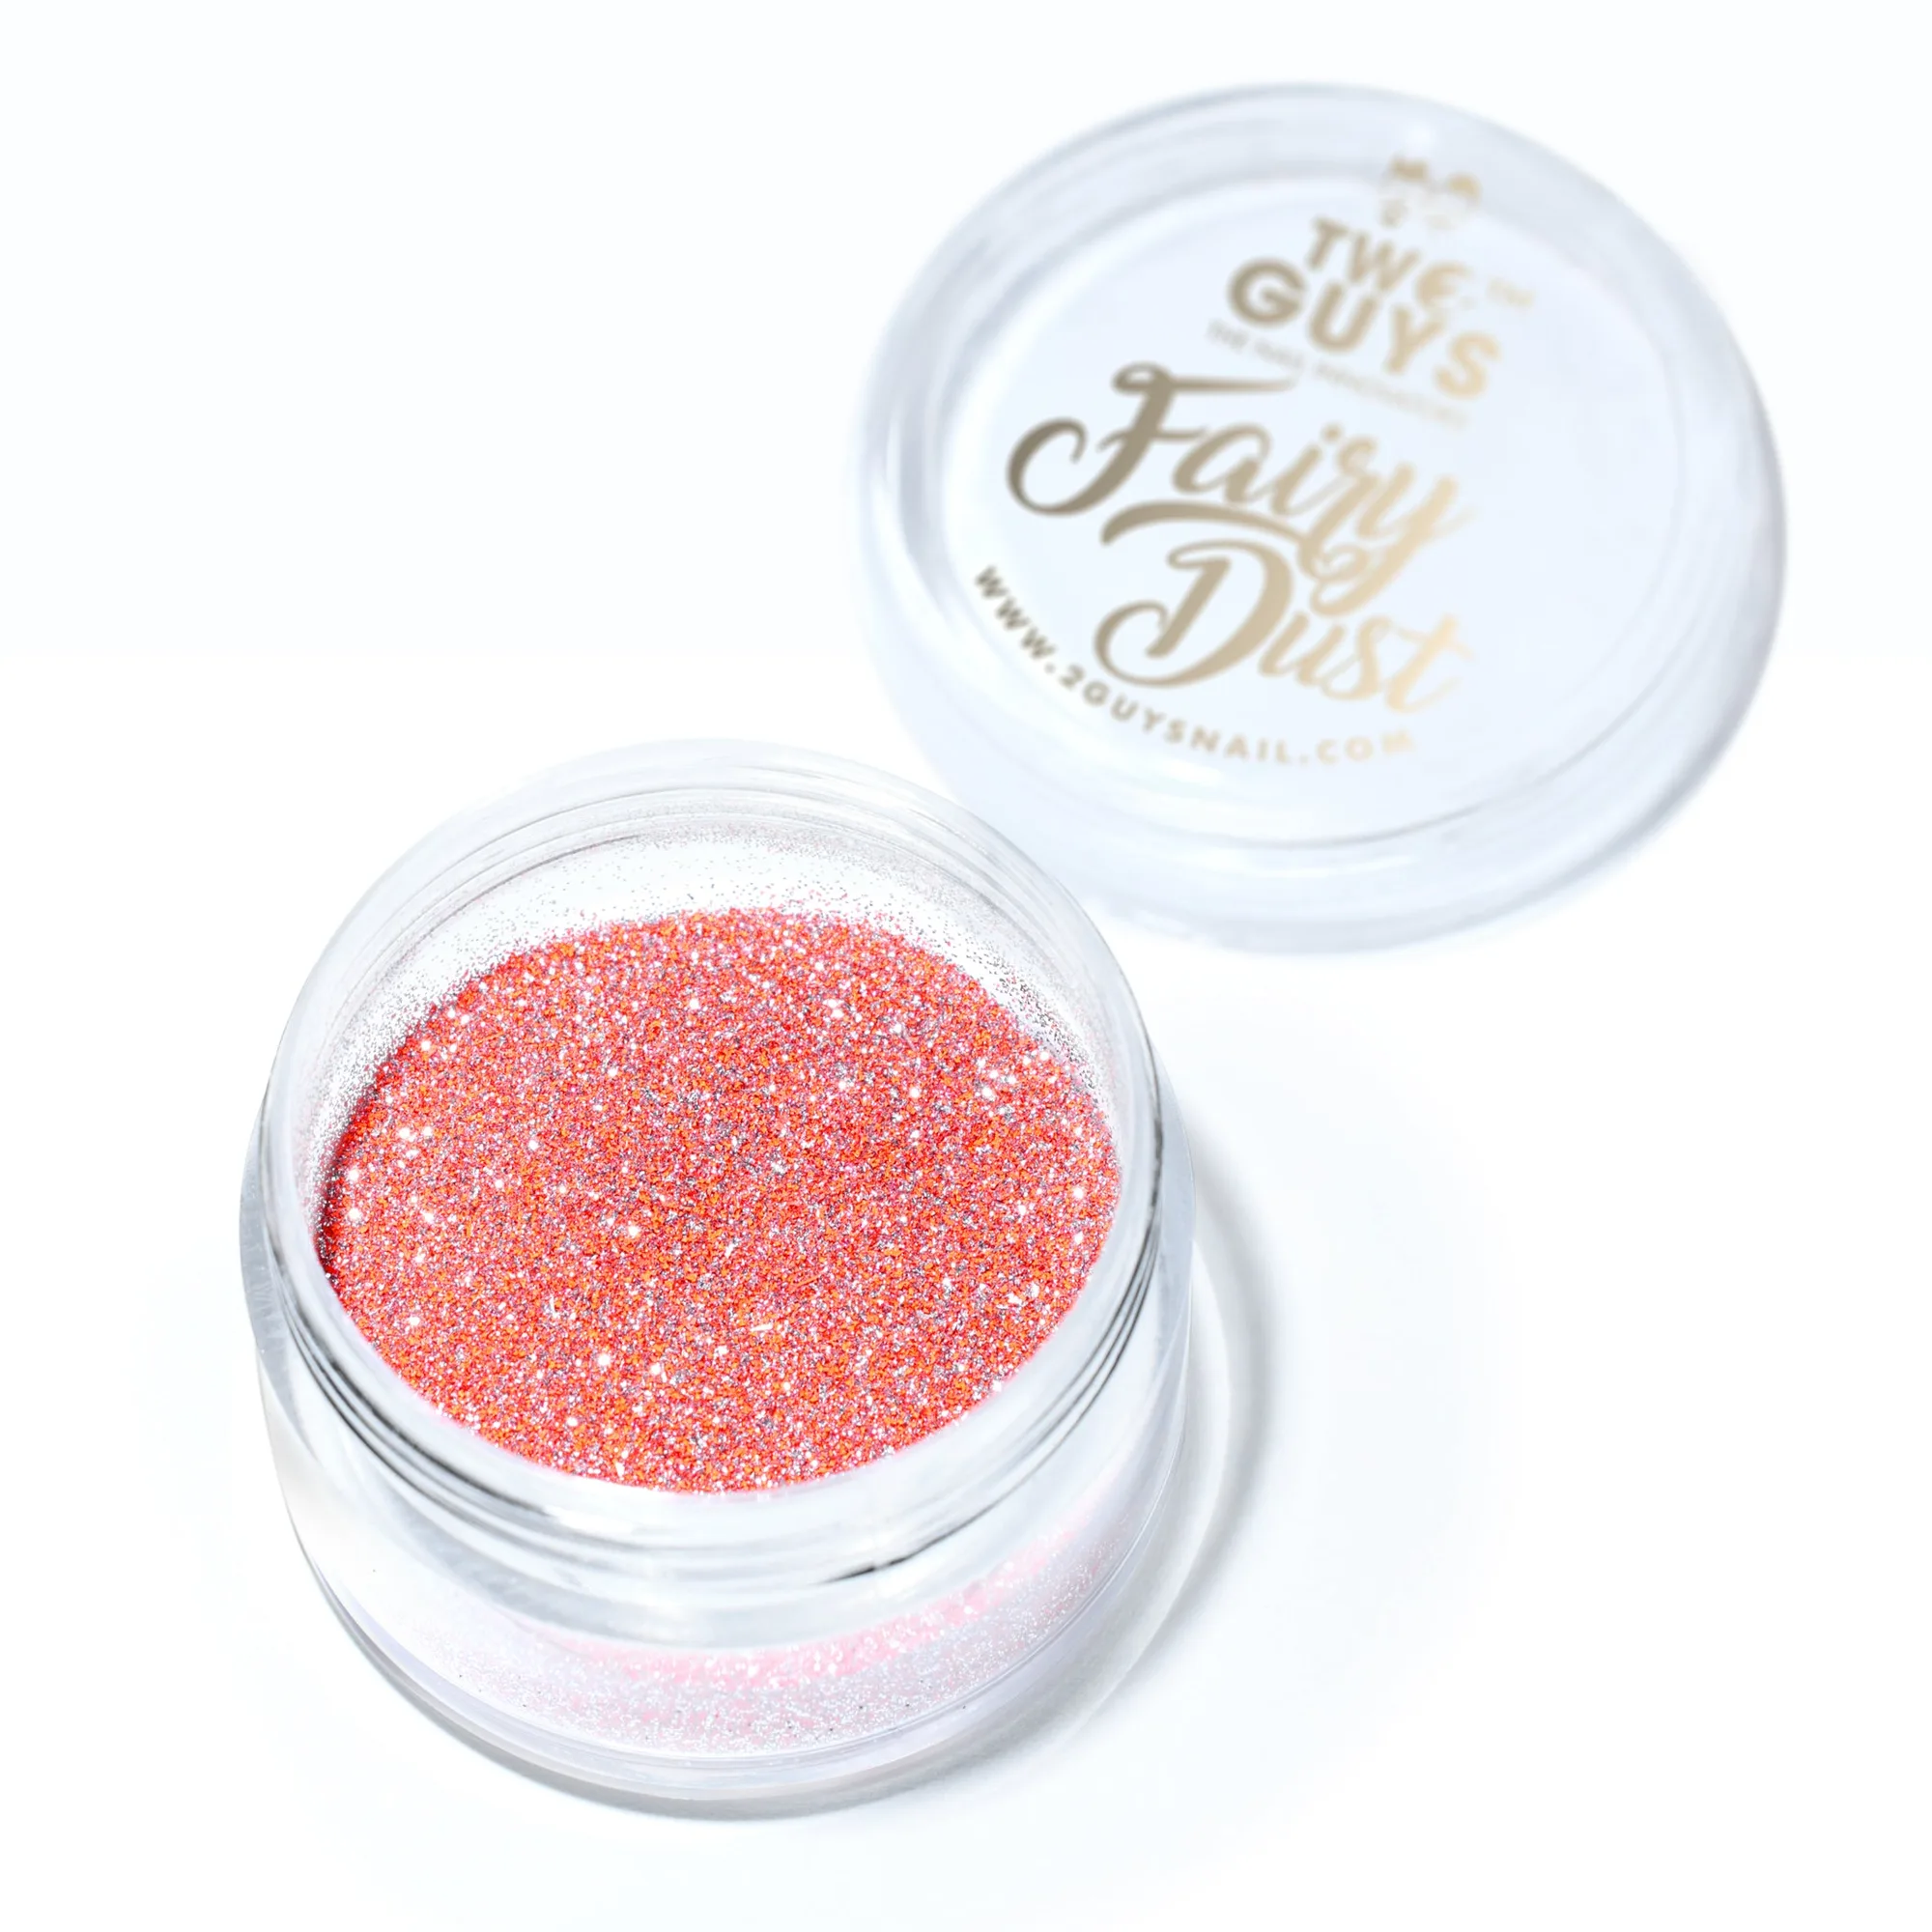
RD04 - REFLECTIVE DIAMOND GLITTER