Quick Answer
To apply semi-cured gel nail wraps without bubbles, focus on thorough nail prep, gentle stretching, and a center-out smoothing motion with a cuticle pusher or your thumb.
Why Bubbles Happen and How to Prevent Them
Bubbles usually form when moisture, oil, or dust remains on the nail plate, or when the wrap is stretched unevenly during application. A clean, dry nail surface is non-negotiable. Also, avoid pressing the wrap down from one edge; always start from the center and push outward to let trapped air escape naturally.
The Role of the LED Lamp
Semi-cured gel wraps require an LED lamp to harden the gel. If you cure the wrap before it is fully smoothed, any trapped air will become permanent. Take your time during the smoothing step, and only cure once the wrap lies perfectly flat against the nail.
Step-by-Step: Bubble-Free Application
- 1. Prep the nail plate thoroughly: Push back cuticles, gently buff the nail surface, and wipe with alcohol or a dehydrator. Any oil or residue will lift the wrap and create bubbles. A clean, matte nail surface is the foundation of a bubble-free application.
- 2. Select the right size wrap: Choose a wrap that is slightly narrower than your nail bed. If the wrap is too wide, it will overlap onto the skin and lift, forming bubbles at the edges. It is better to size down slightly than to use a wrap that is too large.
- 3. Warm the wrap before application: Hold the wrap under a warm lamp or in your palm for 10–15 seconds. This softens the gel, making it more pliable and less likely to crease or trap air. Warm wraps conform to the nail curve more easily, reducing bubble risk.
- 4. Apply from the cuticle outward: Peel the wrap from the backing and place it at the cuticle line with a tiny gap. Press the center of the wrap down, then smooth outward toward the free edge using your thumb or a cuticle pusher. Always work from the center outward to push air to the edges.
- 5. Smooth the edges and seal: Gently stretch the wrap over the tip of the nail and file off the excess with a downward motion. Use a cuticle pusher to press the edges flat, especially around the sidewalls. Sealing the edges prevents lifting and bubble formation after curing.
- 6. Cure under the LED lamp: Place your hand under the LED lamp and cure for the time recommended by the wrap manufacturer (usually 60–90 seconds). Do not move your fingers during curing. Curing locks the wrap in place; any missed bubbles will become permanent, so double-check before you cure.
Products That Make Application Easier
-
Instant Gel Manicure- Pastel Canvas, Semi-Cured Gel Nail Wrap: LED lamp is required for application and sold separately. You need a compatible LED lamp to cure the wrap; without it the gel will not harden, and bubbles you miss during smoothing will stay trapped forever.
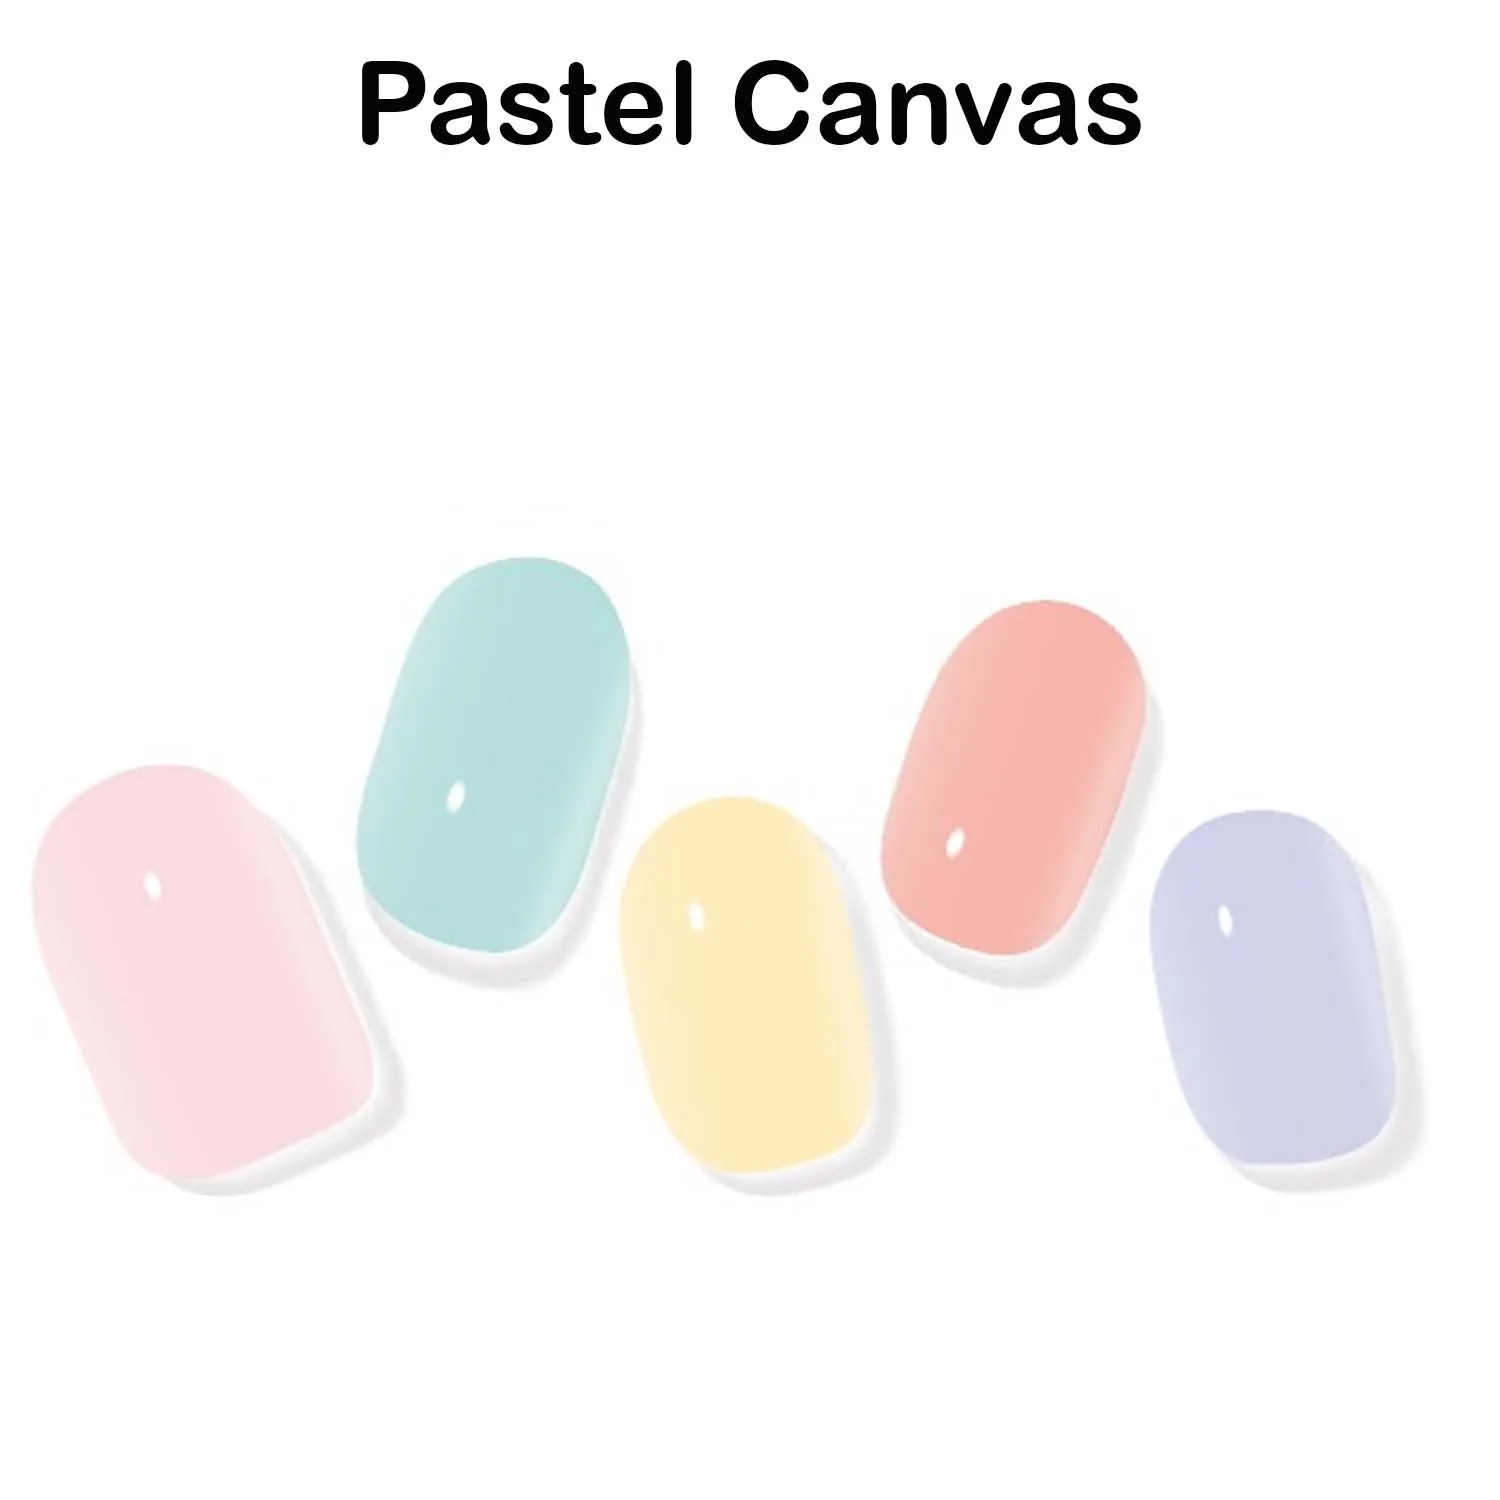
Instant Gel Manicure- Pastel Canvas, Semi-Cured Gel Nail Wrap
-
Instant Gel Manicure- Lavender Ombre, Semi-Cured Gel Nail Wrap: Semi-cured gel wraps provide exceptional longevity when cured with a UV light lamp. Proper curing not only locks in your bubble-free application but also extends the wear time of your manicure.
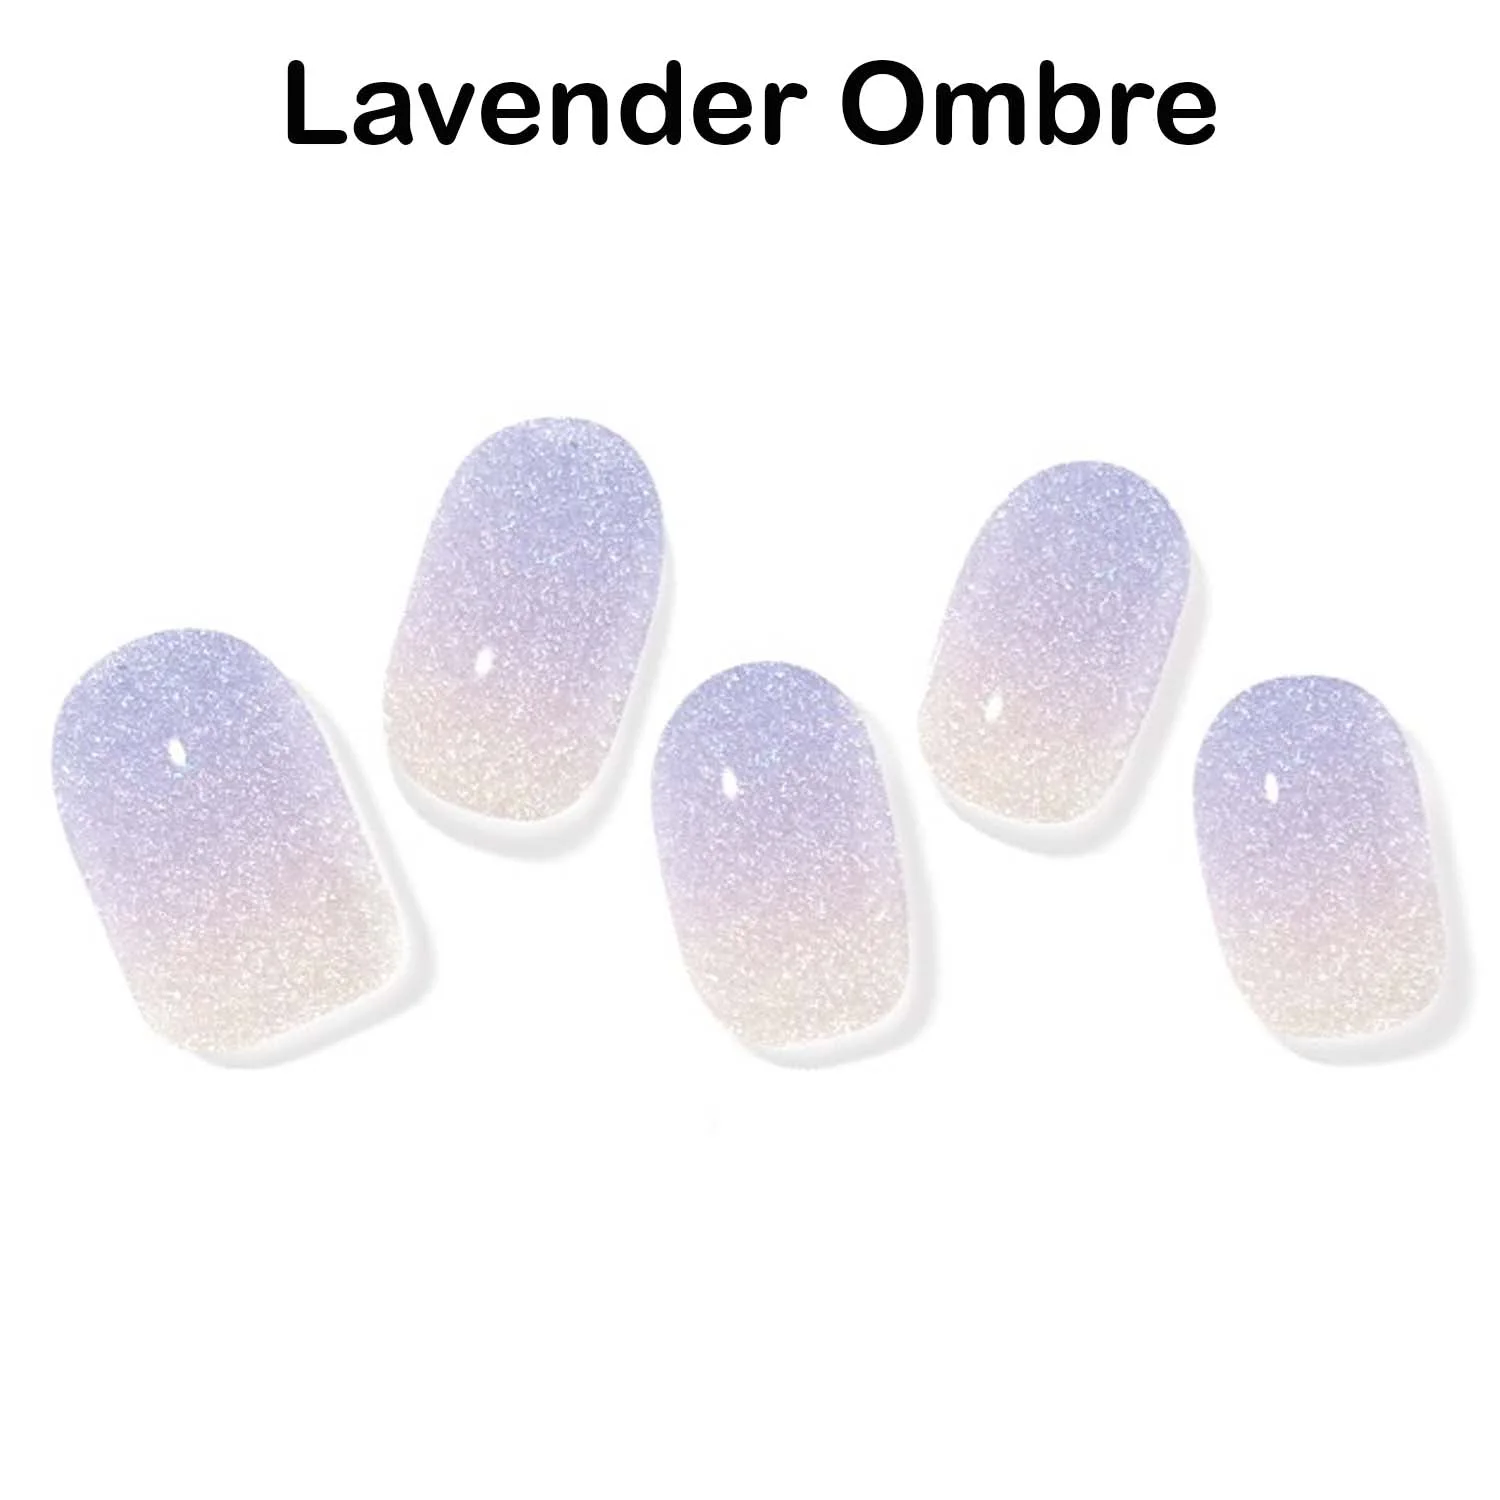
Instant Gel Manicure- Lavender Ombre, Semi-Cured Gel Nail Wrap