Quick answer
Assembling a louvered pergola on a patio requires a flat, level surface, two people, and careful attention to the roof mechanism. Start with the frame, then install the adjustable louvers, and finish with the roof operation test.
Why assembly order matters for a louvered roof
Louvered pergolas have moving parts that must align correctly to open and close smoothly. If the frame isn't square or the louvers are installed out of sequence, the roof may bind or leak. Following the manufacturer's order prevents rework and damage.
Steel models like the Ridgeline or Evanston are heavier than wood pergolas, so plan for extra help and a clear path from the delivery area to your patio.
Assembly steps for a louvered pergola on a patio
- Prepare the patio surface: Clear the area and ensure the patio is level and free of debris. For freestanding models like the Ridgeline, mark post locations with chalk. For wall-mounted models like the Evanston, locate studs and mark the ledger board position. Check for a slope of more than 1/4 inch over 10 feet; if present, use shims under the base plates to level the frame.
- Assemble the frame posts and beams: Lay out the side posts and attach the beams using the supplied bolts. Keep all connections finger-tight until the frame is square. Use a carpenter's square and measure diagonals to ensure the frame is not twisted. Do not fully tighten bolts until all beams are in place. A twisted frame will cause the louvers to bind.
- Install the roof support rails: Attach the cross rails that will hold the louver sections. For the Ridgeline, this includes the gable peak supports. For the Evanston, attach the wall-side rail first, then the outer rail. Level each rail as you go. Use a long level across each rail. A rail that is off by 1/8 inch can make the louvers difficult to adjust.
- Mount the louver panels and mechanism: Starting from one end, place each louver panel into the support channels. Connect the linkage bars or wand mechanism according to the manual. Test the movement after every two panels to catch misalignment early. If a panel doesn't slide or rotate freely, check for debris in the track or a bent linkage. Do not force it.
- Tighten all hardware and test the roof: Once all louvers are installed and move smoothly, go back and tighten every bolt and screw to the specified torque. Open and close the roof fully at least three times. Check for gaps that let in light when fully closed. If gaps appear, adjust the stop screws on the linkage. Most kits include adjustment points for fine-tuning.
Pergola models referenced
-
14x14 Ridgeline Steel Louvered Pergola: The Ridgeline louvered pergola has four independently adjustable louver sections and a gabled peak roof. Each section can be set to a different angle, so you can shade the dining table while letting sun through over the loungers. This means assembly requires aligning multiple roof panels, not just one.
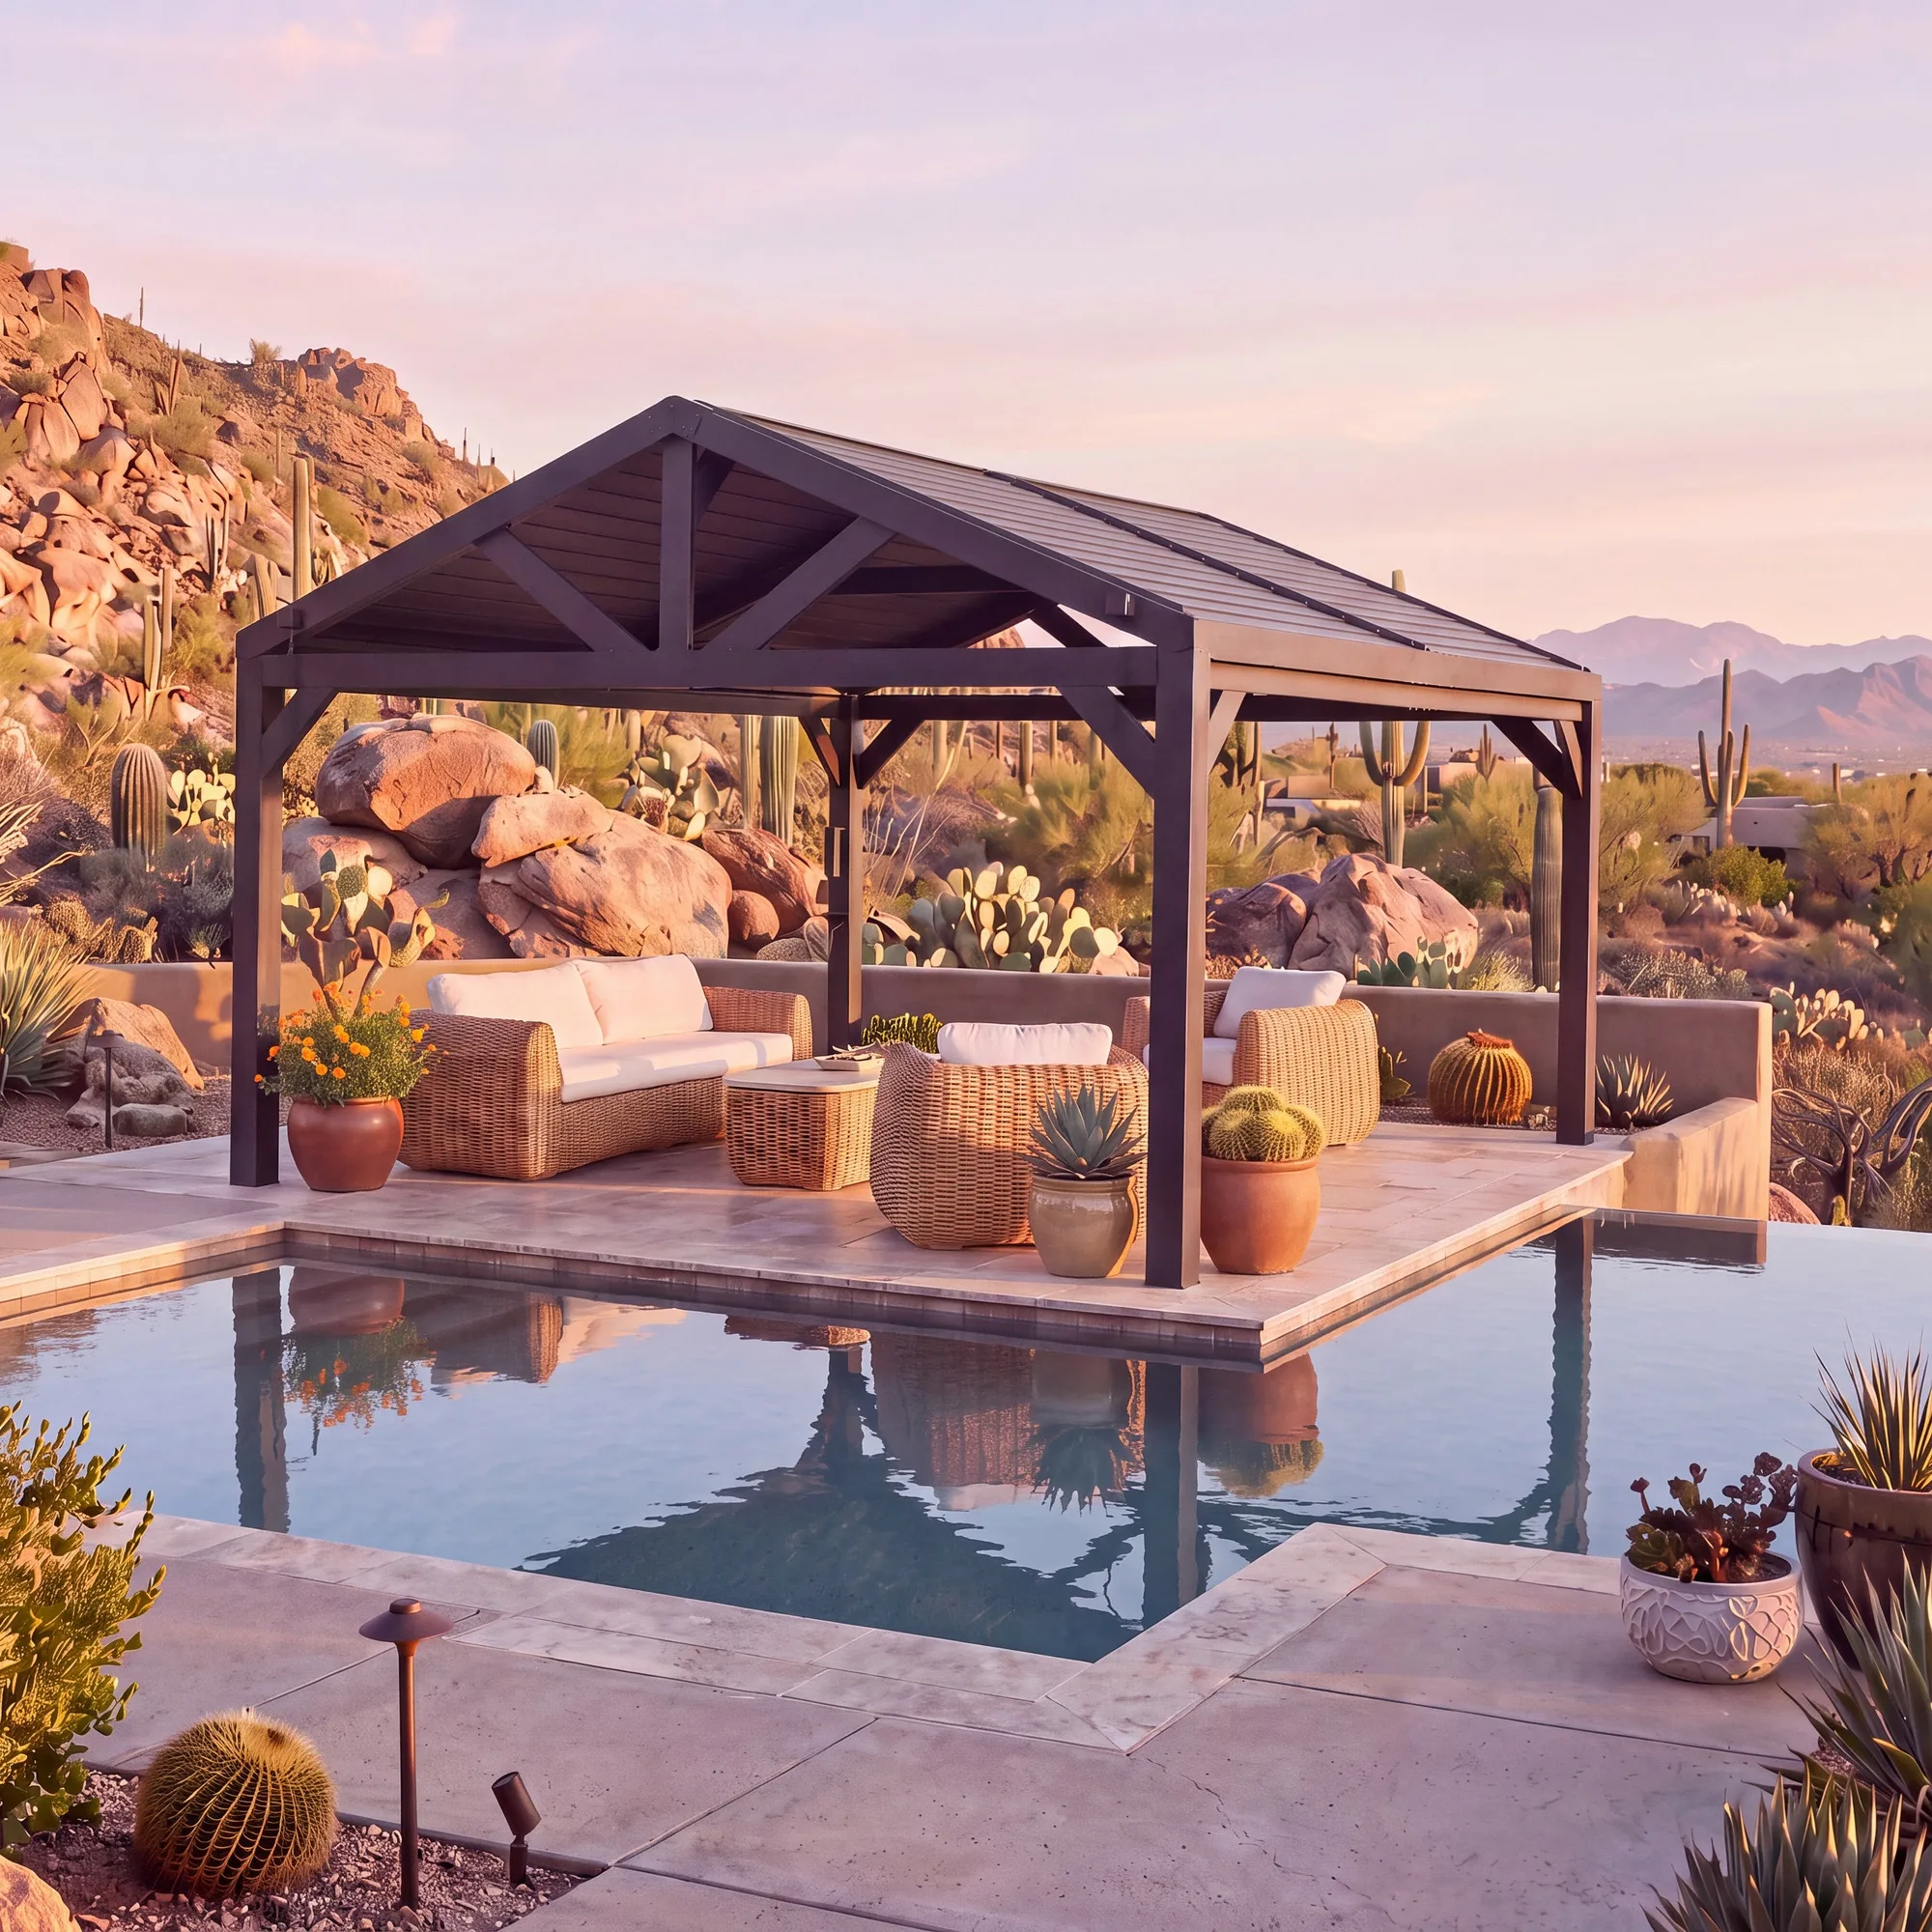
14x14 Ridgeline Steel Louvered Pergola
-
20x10 Evanston Wall Mounted Louvered Pergola: The Evanston wall-mounted louvered pergola attaches directly to your house and uses a wand to open and close the louvers. Wall mounting adds a step: you must first secure a ledger board to the house wall before assembling the rest of the frame. The wand mechanism also needs to be installed before the louvers are locked in place.
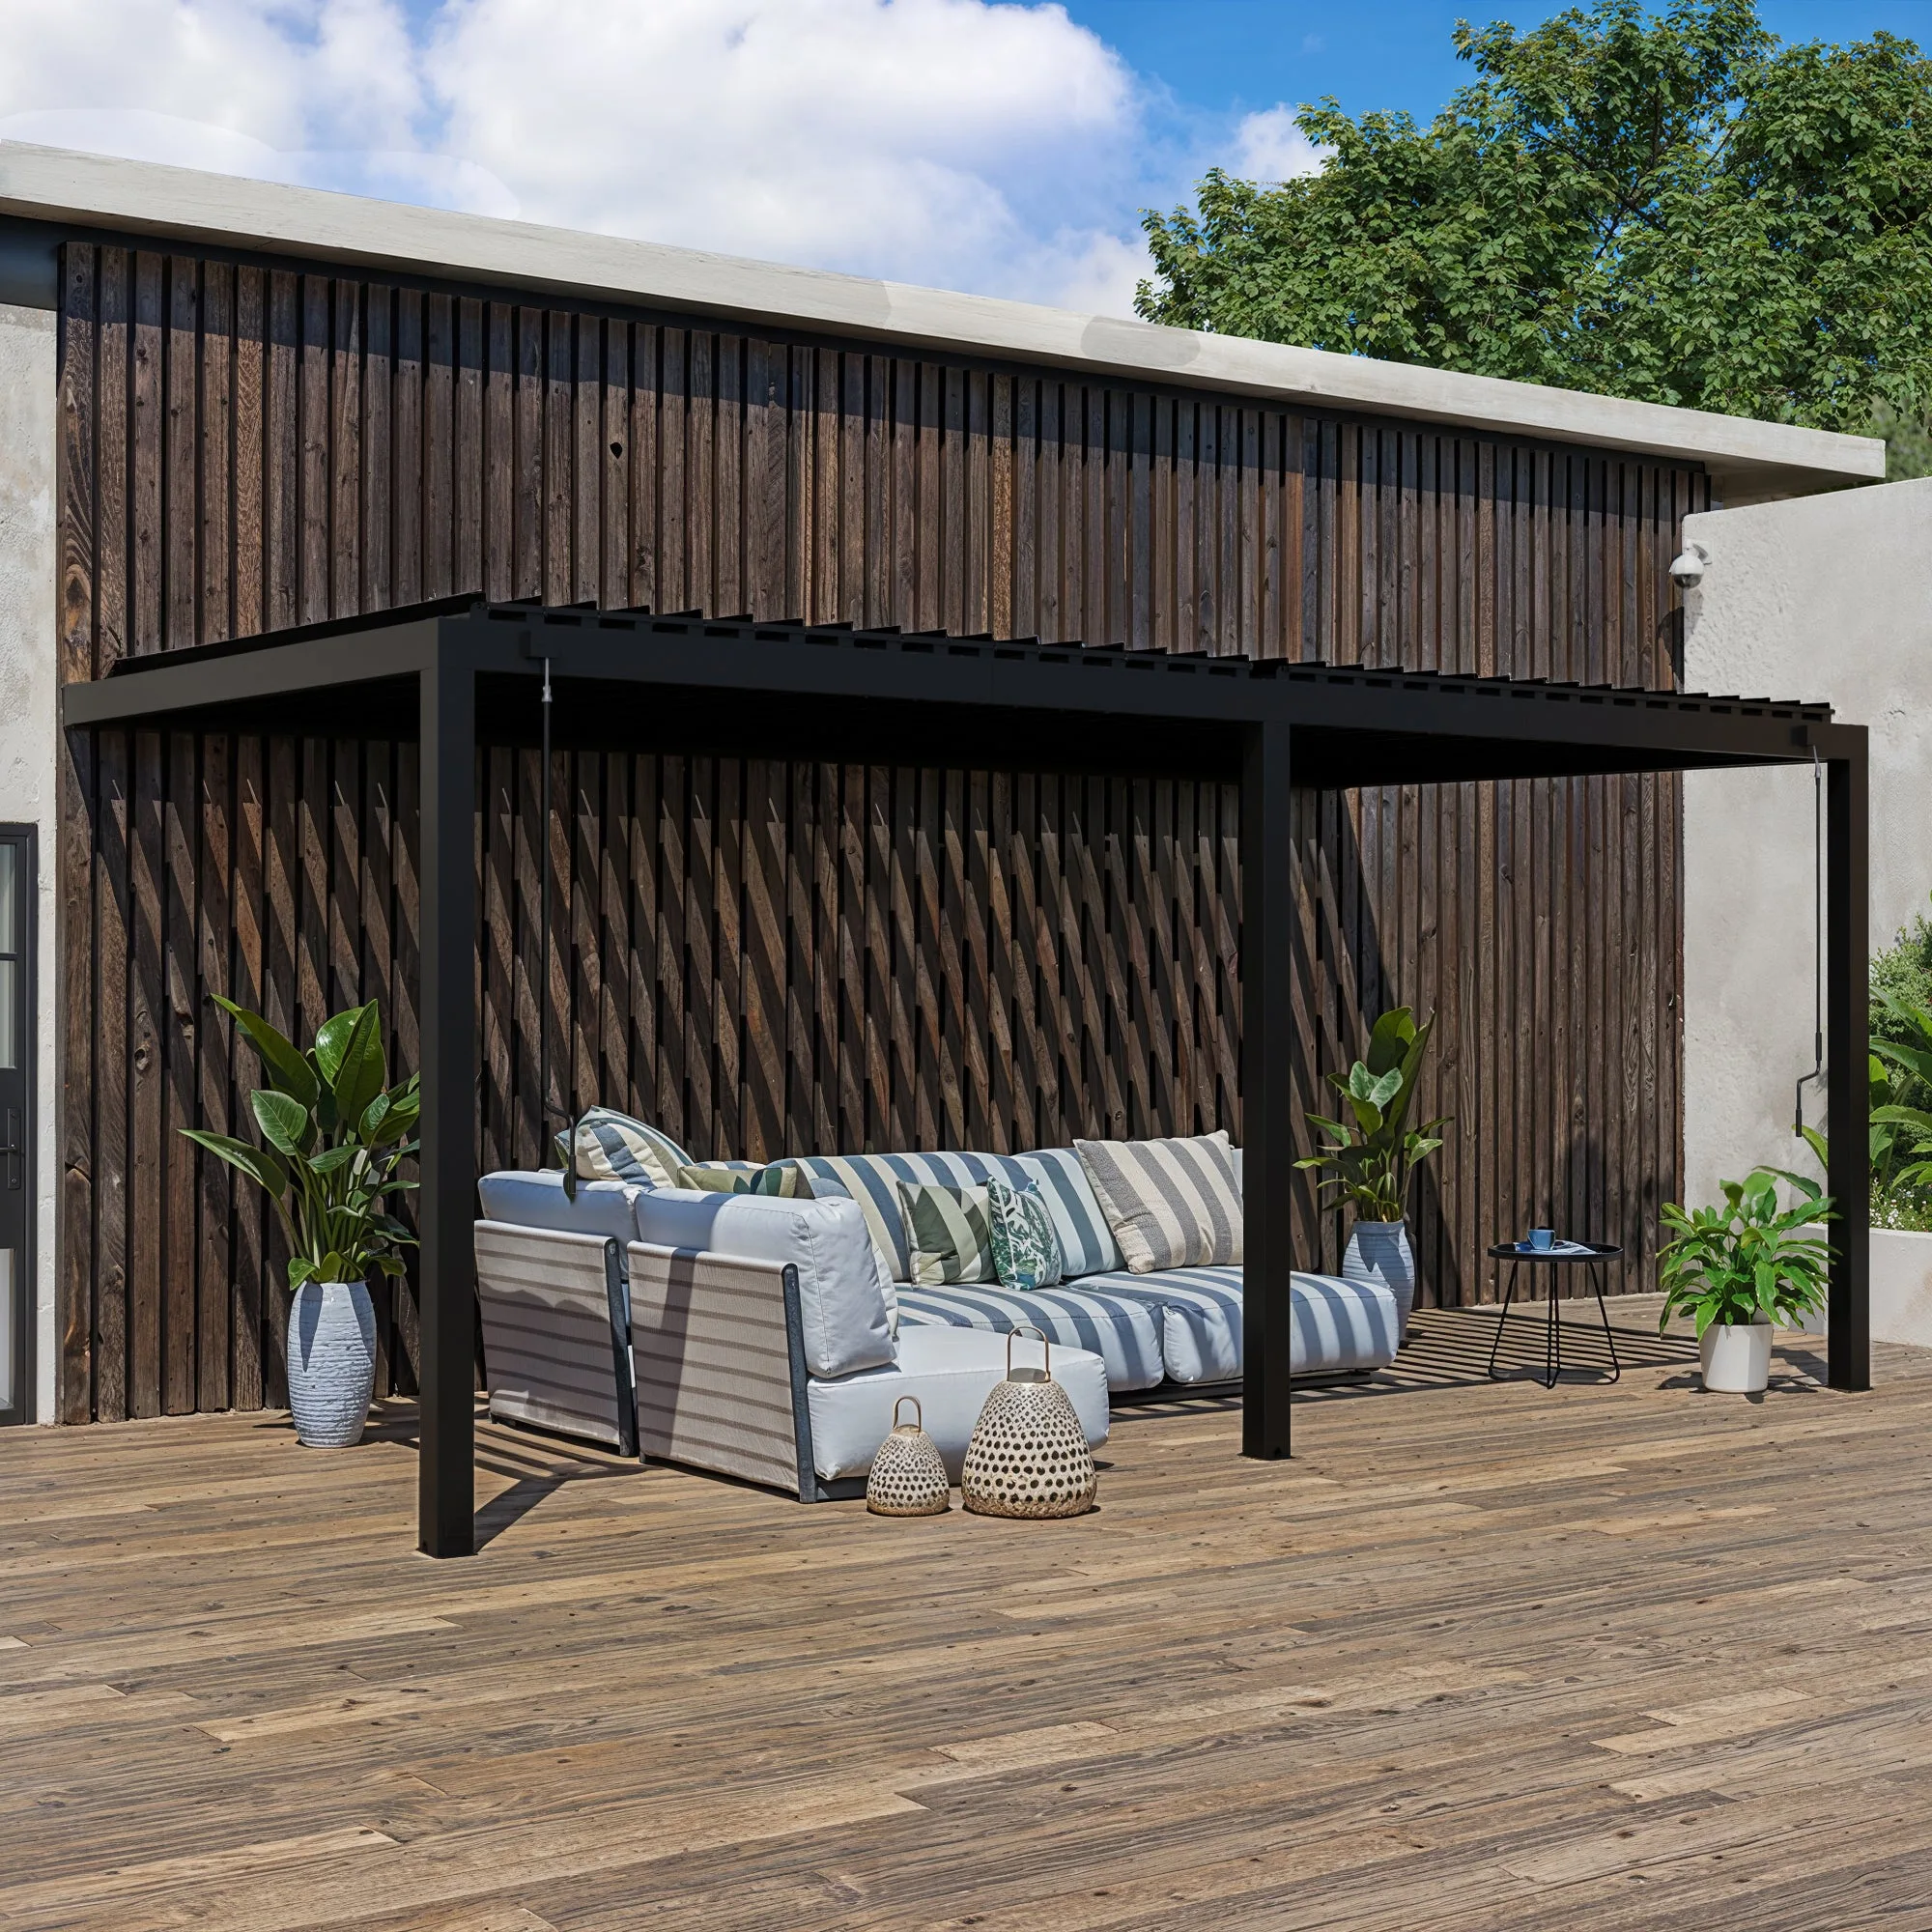
20x10 Evanston Wall Mounted Louvered Pergola