Quick answer
Assembling your Magnolia Falls Swing Set is a multi-day project best tackled with two people. Follow the manufacturer's step-by-step instructions, use the right tools, and double-check every bolt for a safe, lasting playset.
Why the Magnolia Falls Swing Set Needs Careful Assembly
The Magnolia Falls Swing Set is a premium wooden structure with an elevated clubhouse, peak roof, bay windows, and a crow's nest. These features add complexity to the build, so rushing or skipping steps can lead to instability or misalignment. Taking your time ensures the set is both safe and visually appealing for years.
Step-by-step assembly guide
- 1. Prepare your workspace and tools: Clear a flat, level area large enough to lay out all parts. Gather a cordless drill, socket set, level, tape measure, rubber mallet, and a ladder. Check that you have all hardware bags and lumber pieces against the parts list. Missing hardware or an uneven surface are the most common delays—verify everything before you start.
- 2. Build the base frame: Assemble the two A-frame legs for the swing beam and the support legs for the fort. Use the provided bolts and screws, but do not fully tighten them yet. Ensure the frames are square using a tape measure diagonally. A common mistake is over-tightening early, which makes later adjustments impossible. Keep bolts snug, not torqued.
- 3. Erect the fort platform and swing beam: With a helper, lift the fort floor frame onto the support legs. Secure it temporarily with braces. Then raise the swing beam and attach it to the A-frames. Use a level to check the beam is horizontal before tightening all bolts. If the beam is not level, swings will drift to one side. Adjust the A-frame legs by loosening and repositioning them.
- 4. Install the clubhouse walls and roof: Attach the wall panels to the fort platform, starting with the back wall. Add the bay windows and then the peak roof trusses. Secure the roof panels last. Use a ladder and work from the center outward. Roof panels can warp if not aligned evenly. Check the peak alignment before driving screws—adjust as needed.
- 5. Add the crow's nest and accessories: Bolt the crow's nest to the designated position on the fort. Install the swing hangers, slide, and any climbing features per the manual. Ensure all moving parts (swings, slide) are securely fastened and move freely. Double-check that swing hangers are at the correct height to avoid ground clearance issues later.
- 6. Final safety check and tighten everything: Go back over every bolt and screw, tightening them fully. Check for sharp edges, splinters, or protruding hardware. Test all swings and the slide for stability. Apply a wood sealant if recommended for your climate. Re-tighten after one week of use, as wood settles and hardware can loosen.
Product facts
-
Magnolia Falls Swing Set: The Magnolia Falls Swing Set includes a spacious elevated clubhouse, peak roof, bay windows, and a connected crow's nest. These features require precise alignment during assembly to ensure the roof sits level and the windows fit securely, so follow the instructions closely for these parts.
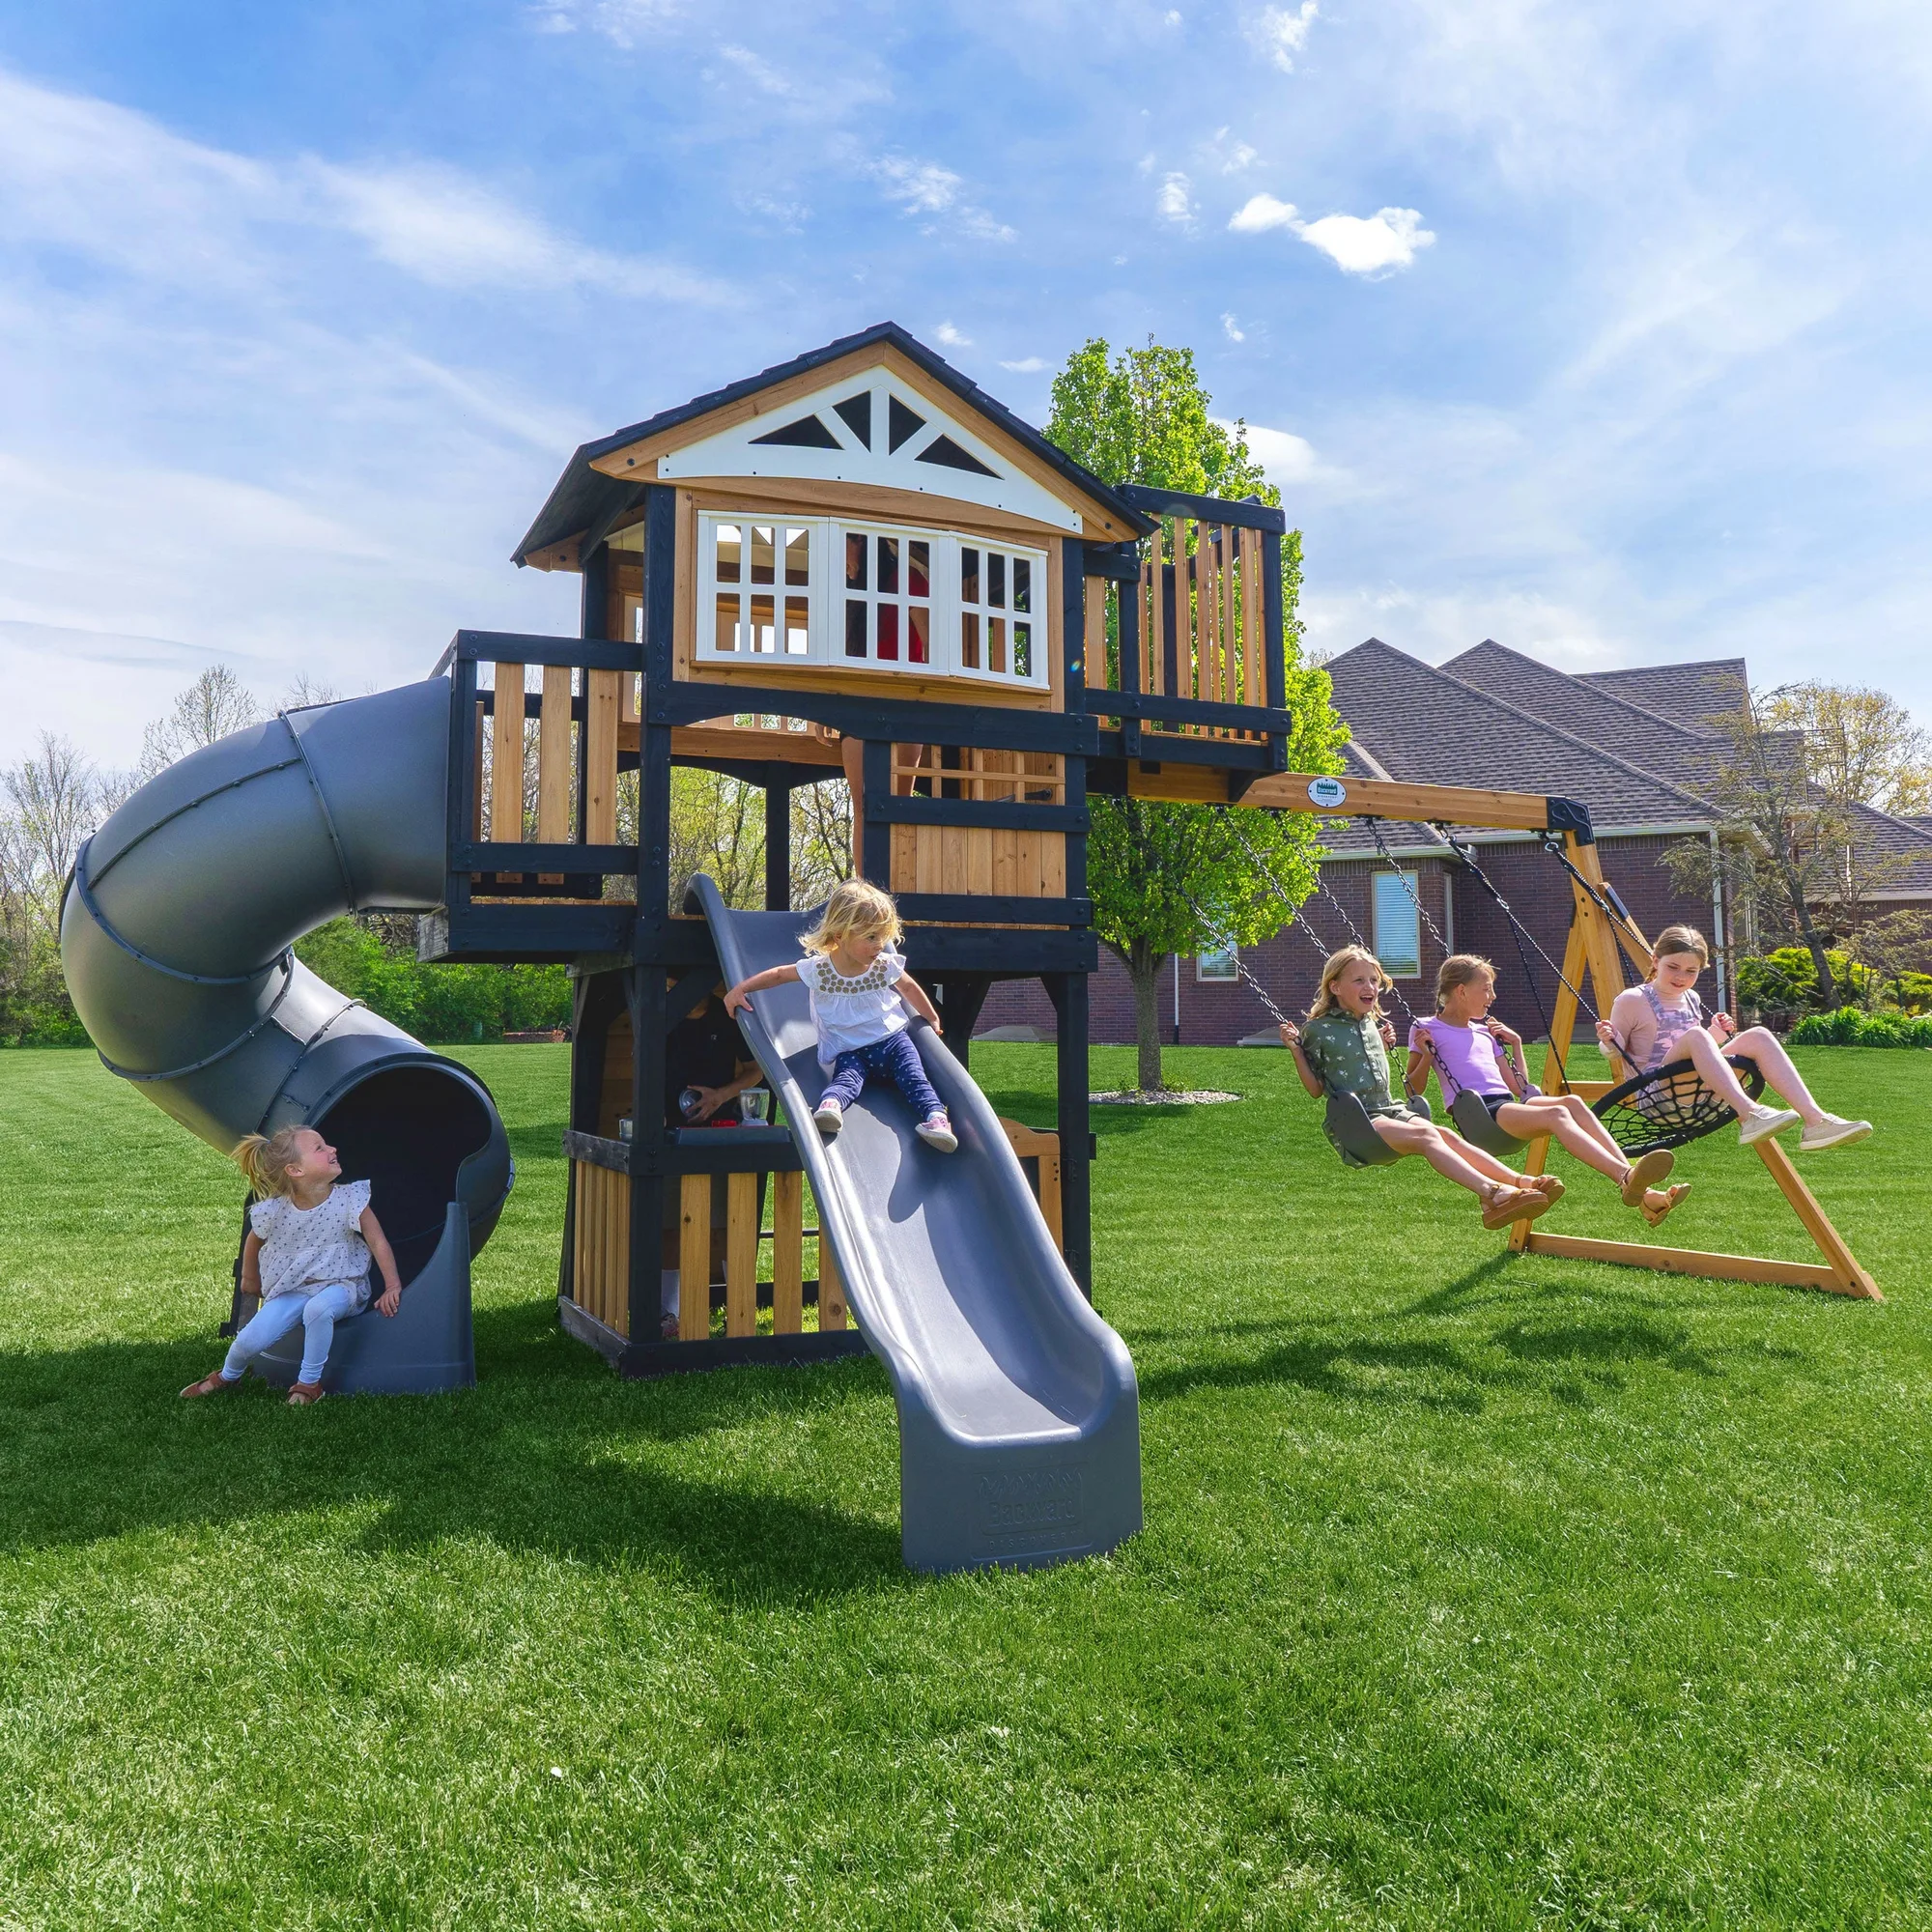
Magnolia Falls Swing Set