Quick answer
Assemble first, then base. Clean mold lines and dry-fit every joint before gluing, use thin cyanoacrylate for resin and plastic, and attach finished sub-assemblies to a textured base before priming. That order prevents gaps, glue fog, and basing material trapped under arms or weapons.
Prep the parts and plan the build
Lay out every component on a clean tray and compare it to the box art or assembly card. For a kit like Combat Zone: Take Up Irons (Zoner Gonks), identify which arms, heads, and weapons belong to each body before you cut anything. Resin and plastic parts often have a mold line running along the length of a limb or weapon; scrape it with the back of a hobby knife held at a shallow angle, then smooth with a fine sanding stick. Wash resin parts in warm soapy water and let them dry completely to remove release agent that can stop glue and primer from bonding.
Dry-fit and decide your sub-assemblies
Press joints together without glue to check alignment. If a shoulder or neck sits proud, sand the mating surface a little at a time rather than forcing it. For models with weapons held across the chest, leave the arms off until after you have painted the torso and the inside of the weapon. Multi-part figures from the Going Metal expansion, such as the Universal Full Body Conversion set, benefit from keeping the torso, legs, and head separate during painting so you can reach recessed mechanical detail.
Glue in a sensible order
Start with the largest, most stable joints: legs to torso, then torso to head, then arms, then weapons and accessories. Use thin cyanoacrylate for resin and plastic, applied with a needle tip or a small drop on one surface. Hold the joint for 10 to 20 seconds, then set the model aside for a few minutes before handling it again. If you are building a single character like Civilian: Discreet Contractor, glue the feet to a temporary painting handle first, then transfer the finished figure to its base after painting.
Base with texture that matches the setting
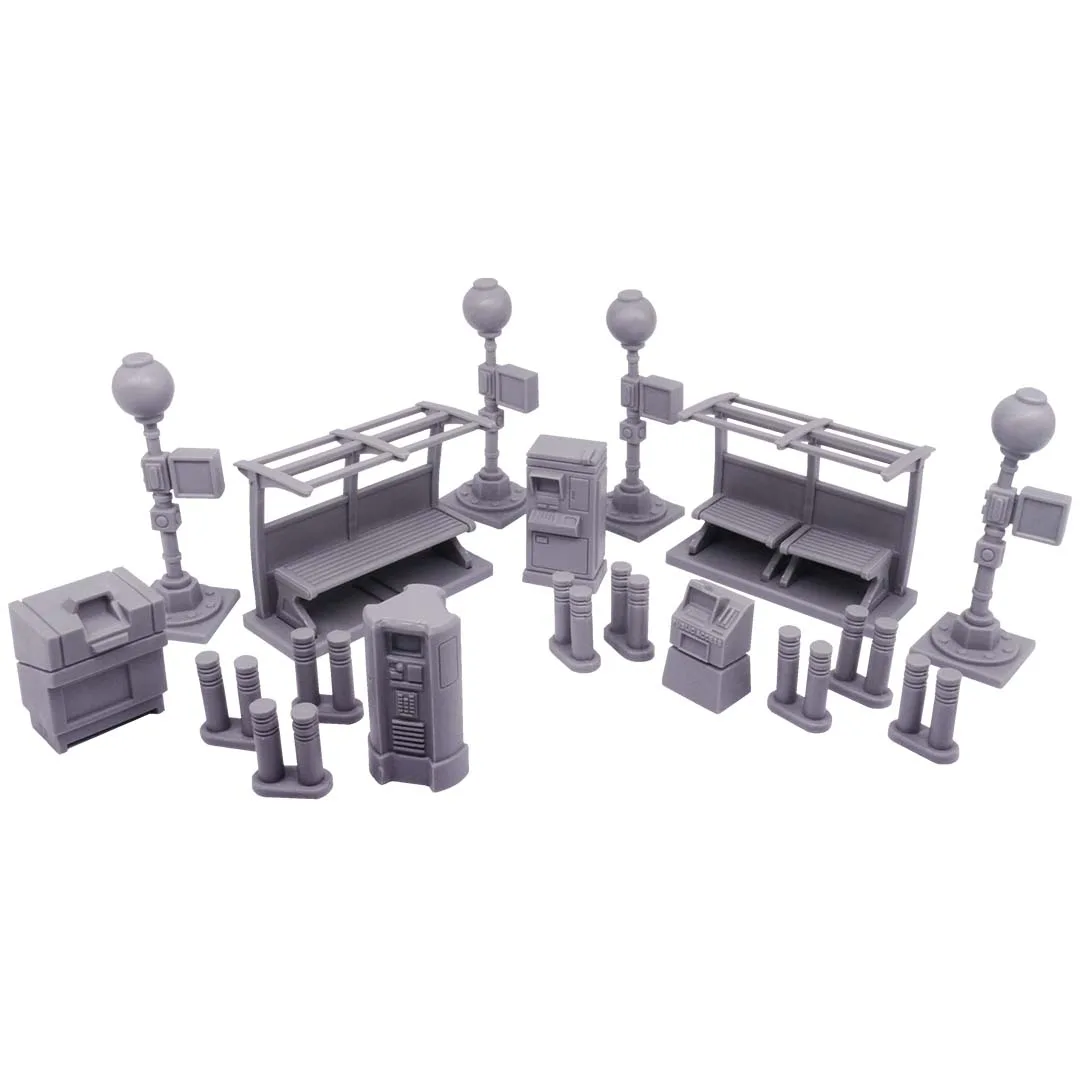
Combat Zone games happen in the time of the Red, where city streets are cracked, littered, and patched with whatever was at hand. Spread a thin layer of texture paste or fine sand over the base top, press in a few small rocks or cut plasticard scraps for debris, and let it cure fully before priming. Keep the texture away from the slot or contact point where the model's feet will sit, so the figure stands level. For a Zoner Gonk, a small piece of wire or a spent casing near the feet adds story without hiding the model.
city streets
Prime, paint, and attach the figure
Prime the base and the model separately with a thin coat of primer; two light passes beat one heavy coat that fills detail. Paint the base first, then the figure, then glue the figure to the base with cyanoacrylate and touch up the join. If you are adding a full body conversion model, paint the mechanical components before final assembly so you do not have to reach behind limbs later.
Assembly and basing steps
- Clean and dry-fit every part: Scrape mold lines, wash resin, and press joints together without glue to check fit. If a part will not sit flush, sand the mating surface; do not force it.
- Glue in order of stability: Legs to torso, torso to head, then arms, then weapons and accessories. Wait a few minutes between joints so earlier bonds cure before you add stress.
- Base before priming: Apply texture paste or sand, add debris, and keep the figure's contact point clear. Let texture cure fully; priming over damp paste traps moisture and flakes later.
- Paint in sub-assemblies: Prime and paint the base and the figure separately, then join them with cyanoacrylate. Touch up the join after gluing so the final model looks like one piece.
Products used in this guide
- Combat Zone: Take Up Irons (Zoner Gonks): Combat Zone: Take Up Irons (Zoner Gonks) includes 3 Zoner Gonk miniatures and cards to add them to your gang. A small, self-contained set is ideal for practicing assembly and basing before you commit to a larger crew.
- Combat Zone: Going Metal (Universal Full Body Conversion 1): Combat Zone: Going Metal (Universal Full Body Conversion 1) pairs each model with a Full Body Conversion card detailing abilities and stats. The card reminds you which model is which, so you can keep sub-assemblies organized during a multi-part build.
- Civilian: Discreet Contractor: Civilian: Discreet Contractor is a single resin miniature from the remastered Cyberpunk RED: Combat Zone Single Shots range. A one-off figure is a low-risk way to test your basing scheme before you base a full gang.