Quick answer
Start by sorting your Benny the Puppy Kit pieces, then follow the IndyPrep pattern step by step, pressing seams open to reduce bulk. This beginner-friendly kit from Mrs Quilty makes a great first quilting project.
Why the Benny the Puppy Kit works for beginners
The Benny the Puppy Kit is designed for quilters of all levels, so the pattern is straightforward and the fabric pieces are pre-cut to fit the design. This removes the guesswork of cutting and lets you focus on sewing accurate seams. One trade-off is that the kit uses standard quilt cotton, which frays a little—so handle edges gently and use a 1/4 inch seam allowance as instructed.
Step-by-step assembly guide
- 1. Sort and identify all pieces: Lay out every fabric piece from the Benny the Puppy Kit. Match each piece to the pattern diagram. Check that you have the background, puppy body, ears, nose, and any accent shapes. Common mistake: skipping this step leads to sewing wrong pieces together. Take five minutes to confirm everything is there.
- 2. Press all fabric pieces flat: Use a dry iron on a low setting to press each piece. Do not use steam, as it can distort small shapes. Pressing removes fold lines and helps seams align later. Checkpoint: if a piece is wrinkled, the final block will pucker. Press now to avoid frustration.
- 3. Sew the puppy face center first: Start with the nose and eye pieces. Pin them in place on the background square. Sew slowly, using a 1/4 inch seam allowance. Backstitch at the start and end of each seam. Common mistake: sewing too fast causes the fabric to shift. Use a walking foot if your machine has one.
- 4. Attach the ears and body: Pin the ear pieces to the top of the background and the body piece below the face. Sew each seam, pressing open after each addition to reduce bulk, especially where multiple seams meet. Checkpoint: press seams open, not to one side, to keep the block flat and avoid shadowing on light fabrics.
- 5. Add the border (if included in your kit version): Some versions of the Benny the Puppy Kit include a border strip. If yours does, sew it to the completed center block, mitering the corners if the pattern shows that method. Trim excess border fabric to 1/4 inch. Common mistake: skipping the border or sewing it crooked. Measure twice before cutting.
- 6. Finish the block: trim and press: Trim the completed block to the size shown in the pattern (often 12.5 inches square). Press the entire block once more. Your Benny the Puppy block is ready for quilting or display. Checkpoint: a square block makes the rest of the quilt go together smoothly. Use a square ruler to verify.
Product facts
-
Benny the Puppy Kit: The Benny the Puppy Kit is a pattern kit from IndyPrep, offered by Mrs Quilty as a new arrival in the Patterns category. Because it's a pattern kit, you get both the design instructions and the coordinated fabric pieces in one box, so you don't need to source materials separately.
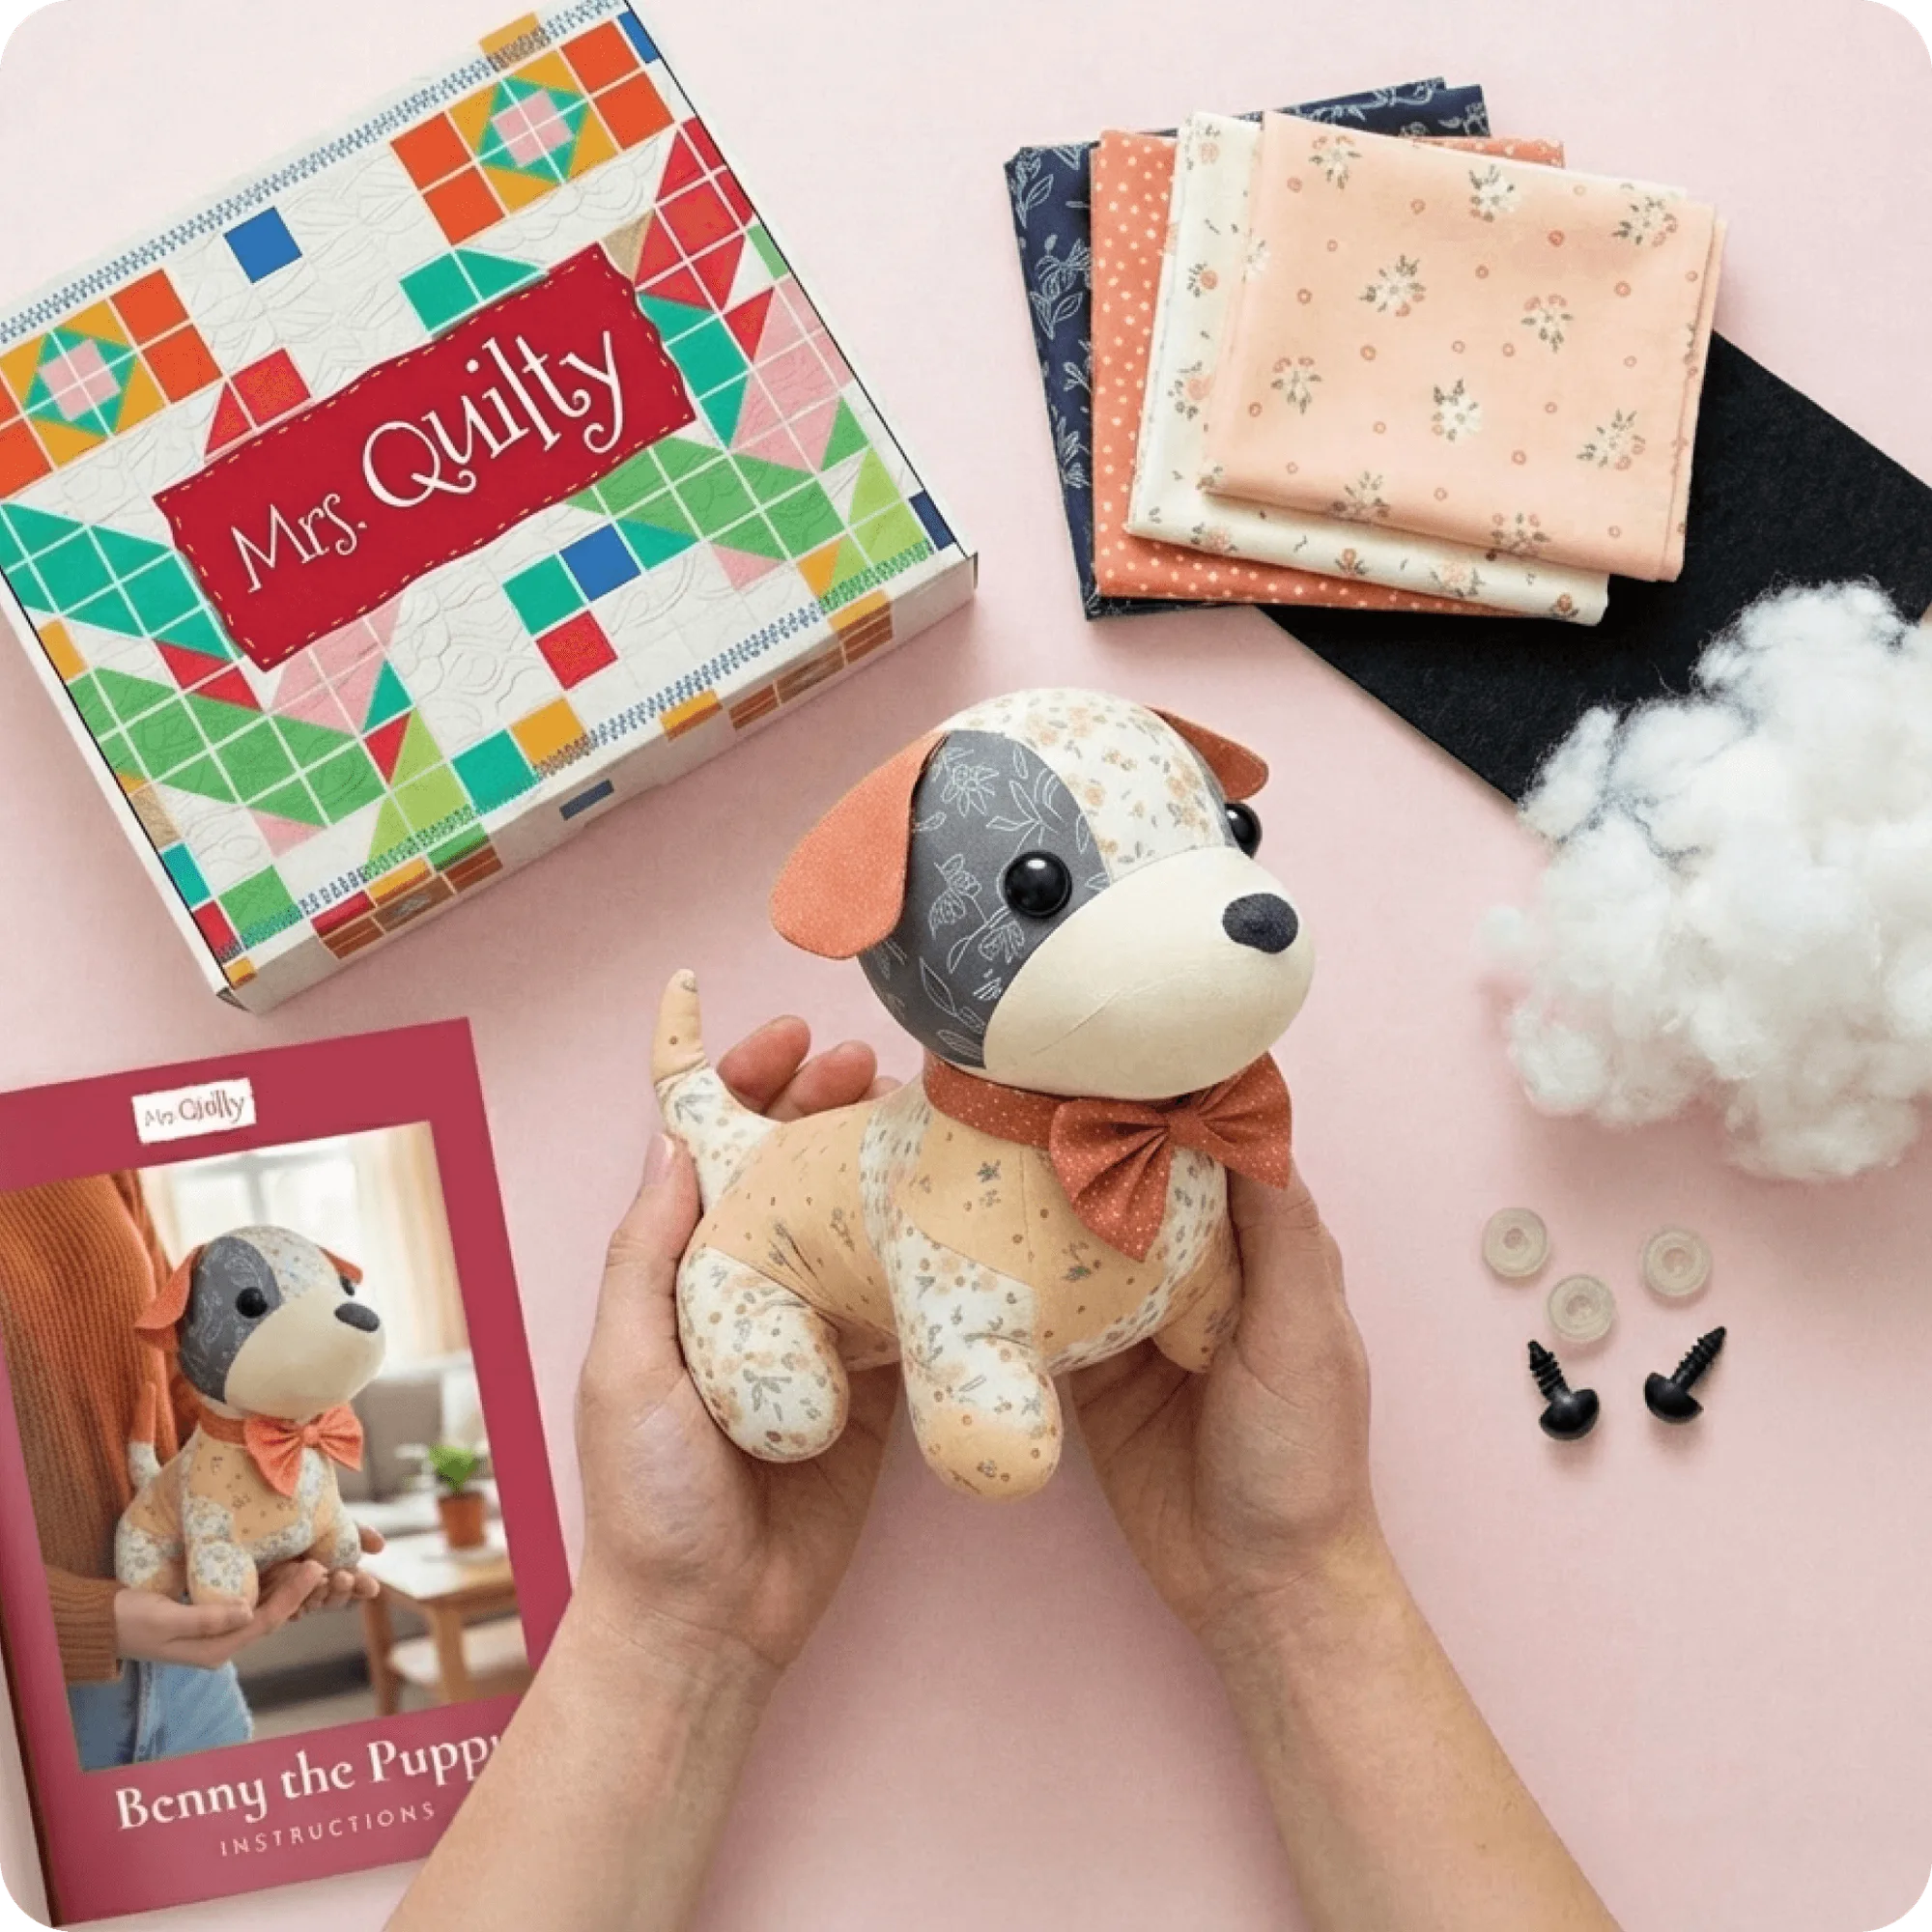
Benny the Puppy Kit