Quick Answer
To assemble a Blokees Evangelion model kit, start by organizing the runners, follow the numbered snap-fit steps without glue, and pay close attention to joint orientation to avoid forcing parts.
Why Snap-Fit Kits Need Careful Assembly
Blokees Evangelion model kits use a snap-fit design, meaning you don't need glue or paint. That makes them beginner-friendly, but it also means parts lock in permanently once fully pressed. Forcing a piece into the wrong position can damage the plastic or make disassembly difficult. Take your time during the first few steps to confirm alignment before applying full pressure.
Differences Between the Rei and EVA Kits
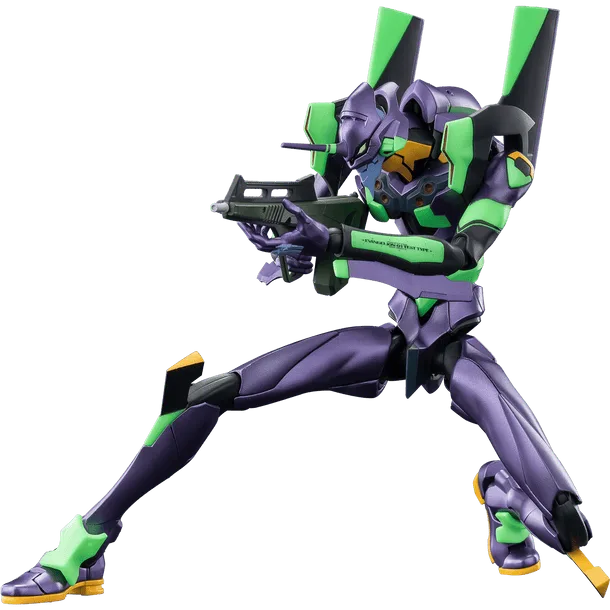
The Rei Ayanami Plug Suit kit focuses on a humanoid figure with smooth articulation and color-separated parts. The EVA Test Type-01 kits (Legend and Action Editions) include a skeletal frame, weapon accessories, and more complex joint systems. While the general assembly process is the same, the EVA kits have more pieces and require extra attention to the internal structure before attaching armor panels.
Step-by-Step Assembly Guide
- Step 1: Organize the Runners: Lay out all plastic runners and identify each part by the number stamped on the runner. Use a side cutter (nipper) to remove parts, leaving a small nub. Trim the nub flush with a hobby knife or sanding stick. Common mistake: twisting parts off the runner instead of cutting them. This can leave stress marks or break delicate connectors.
- Step 2: Follow the Manual in Order: Blokees manuals show assembly in numbered stages. Do not skip ahead. Build sub-assemblies (arms, legs, torso) separately before joining them. For the EVA kits, assemble the inner skeleton first. Checkpoint: dry-fit each joint before pushing it fully together. If it feels too tight, check for leftover nubs or reversed orientation.
- Step 3: Attach Armor and Accessories: Once the internal frame or body is complete, snap on the outer armor panels. Align the tabs with the slots and press evenly. For the Rei kit, attach the plug suit details last. For EVA kits, equip weapons and the Entry Plug after the main body is finished. Common mistake: pressing armor panels onto the wrong side. The manual shows left/right indicators; look for subtle shape differences rather than relying on symmetry.
- Step 4: Pose and Display: After assembly, gently move each joint through its range of motion. Blokees kits have multiple points of articulation. For dynamic poses, support the figure by the torso or use the included stand. Avoid leaving the kit in extreme poses for long periods to prevent joint stress. Checkpoint: if a joint is loose, apply a thin layer of clear nail polish or floor polish to the ball joint and let it dry before reinserting. This adds friction without permanent modification.
Products Used in This Guide
-
Blokees Evangelion Fantastics Series 01 Rei Ayanami Plug Suit Model Kit: Blokees Evangelion Fantastics Series 01 Rei Ayanami Plug Suit Model Kit features precise color separation and snap-fit assembly. The pre-colored parts mean you can build a display-ready figure straight from the box without painting.
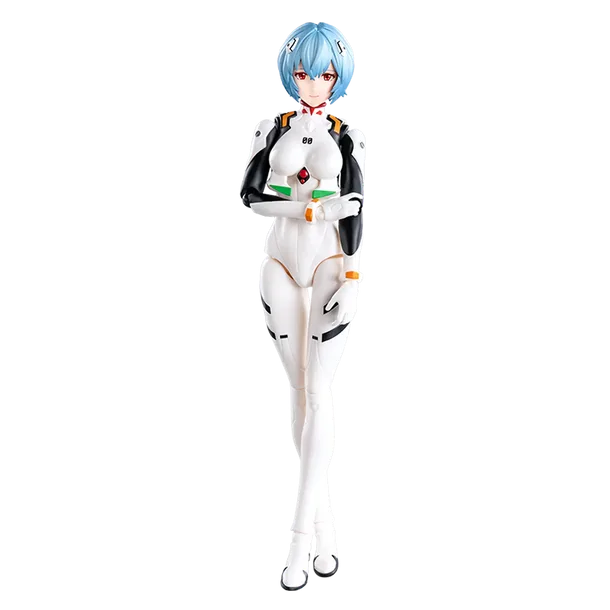
Blokees Evangelion Fantastics Series 01 Rei Ayanami Plug Suit Model Kit
-
Blokees Evangelion Test Type-01 TV Version Legend Edition Model Kit: Blokees Evangelion Test Type-01 TV Version Legend Edition Model Kit includes an exclusive skeletal structure and full battle configuration. The internal skeleton adds stability but requires careful step-by-step assembly to avoid misaligning the armor pieces.
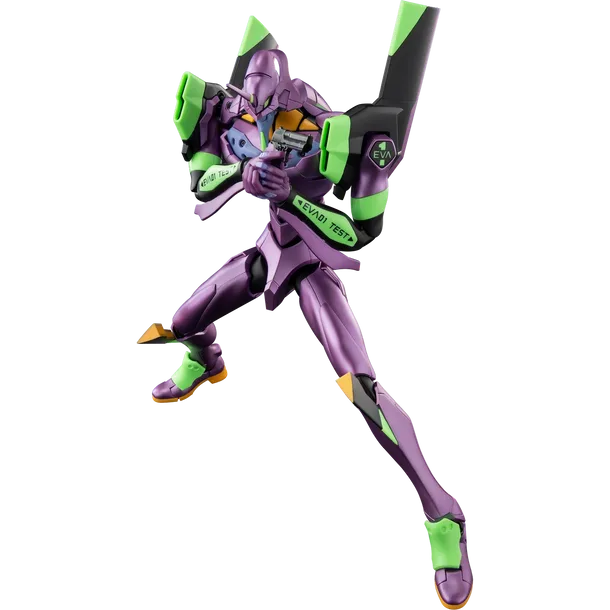
Blokees Evangelion Test Type-01 TV Version Legend Edition Model Kit
-
Blokees Evangelion Test Type-01 Action Edition Model Kit: Blokees Evangelion Test Type-01 Action Edition Model Kit has a dual-joint articulation system and an authentic Entry Plug mechanism. The dual joints allow dynamic poses, but you must test each joint's range of motion before attaching surrounding parts.