Quick Answer
To assemble and prepare BattleTech miniatures for painting, start by cleaning parts in warm soapy water, dry-fit them, then glue with super glue or plastic cement. Fill gaps with putty, sand smooth, and apply a primer. Always work in a well-ventilated area and let each step dry fully.
Whether you're fielding a new Clan Direct Fire Star or adding a Legendary MechWarrior to your collection, proper preparation makes the difference between a paint job that pops and one that peels. BattleTech miniatures come as unpainted plastic or resin, and each material needs slightly different care.
This guide walks you through the process from sprue to primer, covering cleaning, assembly, gap filling, and priming. You'll also learn how to avoid common pitfalls like glue smears, mold lines, and primer that won't stick.
Gather Your Tools
Before you start, assemble your workspace. You'll need a hobby knife, sprue cutters, files or sandpaper (fine grit), plastic cement or super glue, green stuff or milliput for gap filling, and a primer suitable for your miniature's material. For resin, use super glue; for plastic, plastic cement works best.
Good lighting and a magnifying lamp help you spot mold lines and imperfections. Keep a bowl of warm soapy water and an old toothbrush handy for the initial cleaning. Work in a ventilated area, especially when using glues and primers.
- Use a hobby knife with a fresh blade for clean cuts.
- Fine-grit sandpaper (400-600) is ideal for smoothing without damaging detail.
Clean Your Miniatures
Even new miniatures have release agents or mold release residue from manufacturing. This can prevent paint and glue from adhering properly. Wash all parts in warm water with a drop of dish soap, gently scrubbing with a toothbrush. Rinse thoroughly and let dry completely.
For resin miniatures, this step is critical. Resin can have a greasy film that resists primer. After washing, handle parts with gloves or clean hands to avoid transferring oils. Allow several hours to dry before proceeding.
- Skip cleaning and you'll likely see paint chip off later.
- Let parts dry on a paper towel to avoid re-contamination.
Remove Mold Lines and Flash
Inspect each part for mold lines—thin ridges where the mold halves met—and flash, excess plastic or resin. Use the back of your hobby knife to scrape them away, or carefully cut with the blade. Follow up with fine sandpaper to smooth the area.
Be careful not to remove detail. Work slowly, using light strokes. For tight areas, use a needle file or emery board. This step ensures your paint job looks crisp and professional.
- Scrape mold lines before assembly—easier than after.
- Check both sides of every part under good light.
Dry-Fit and Assemble
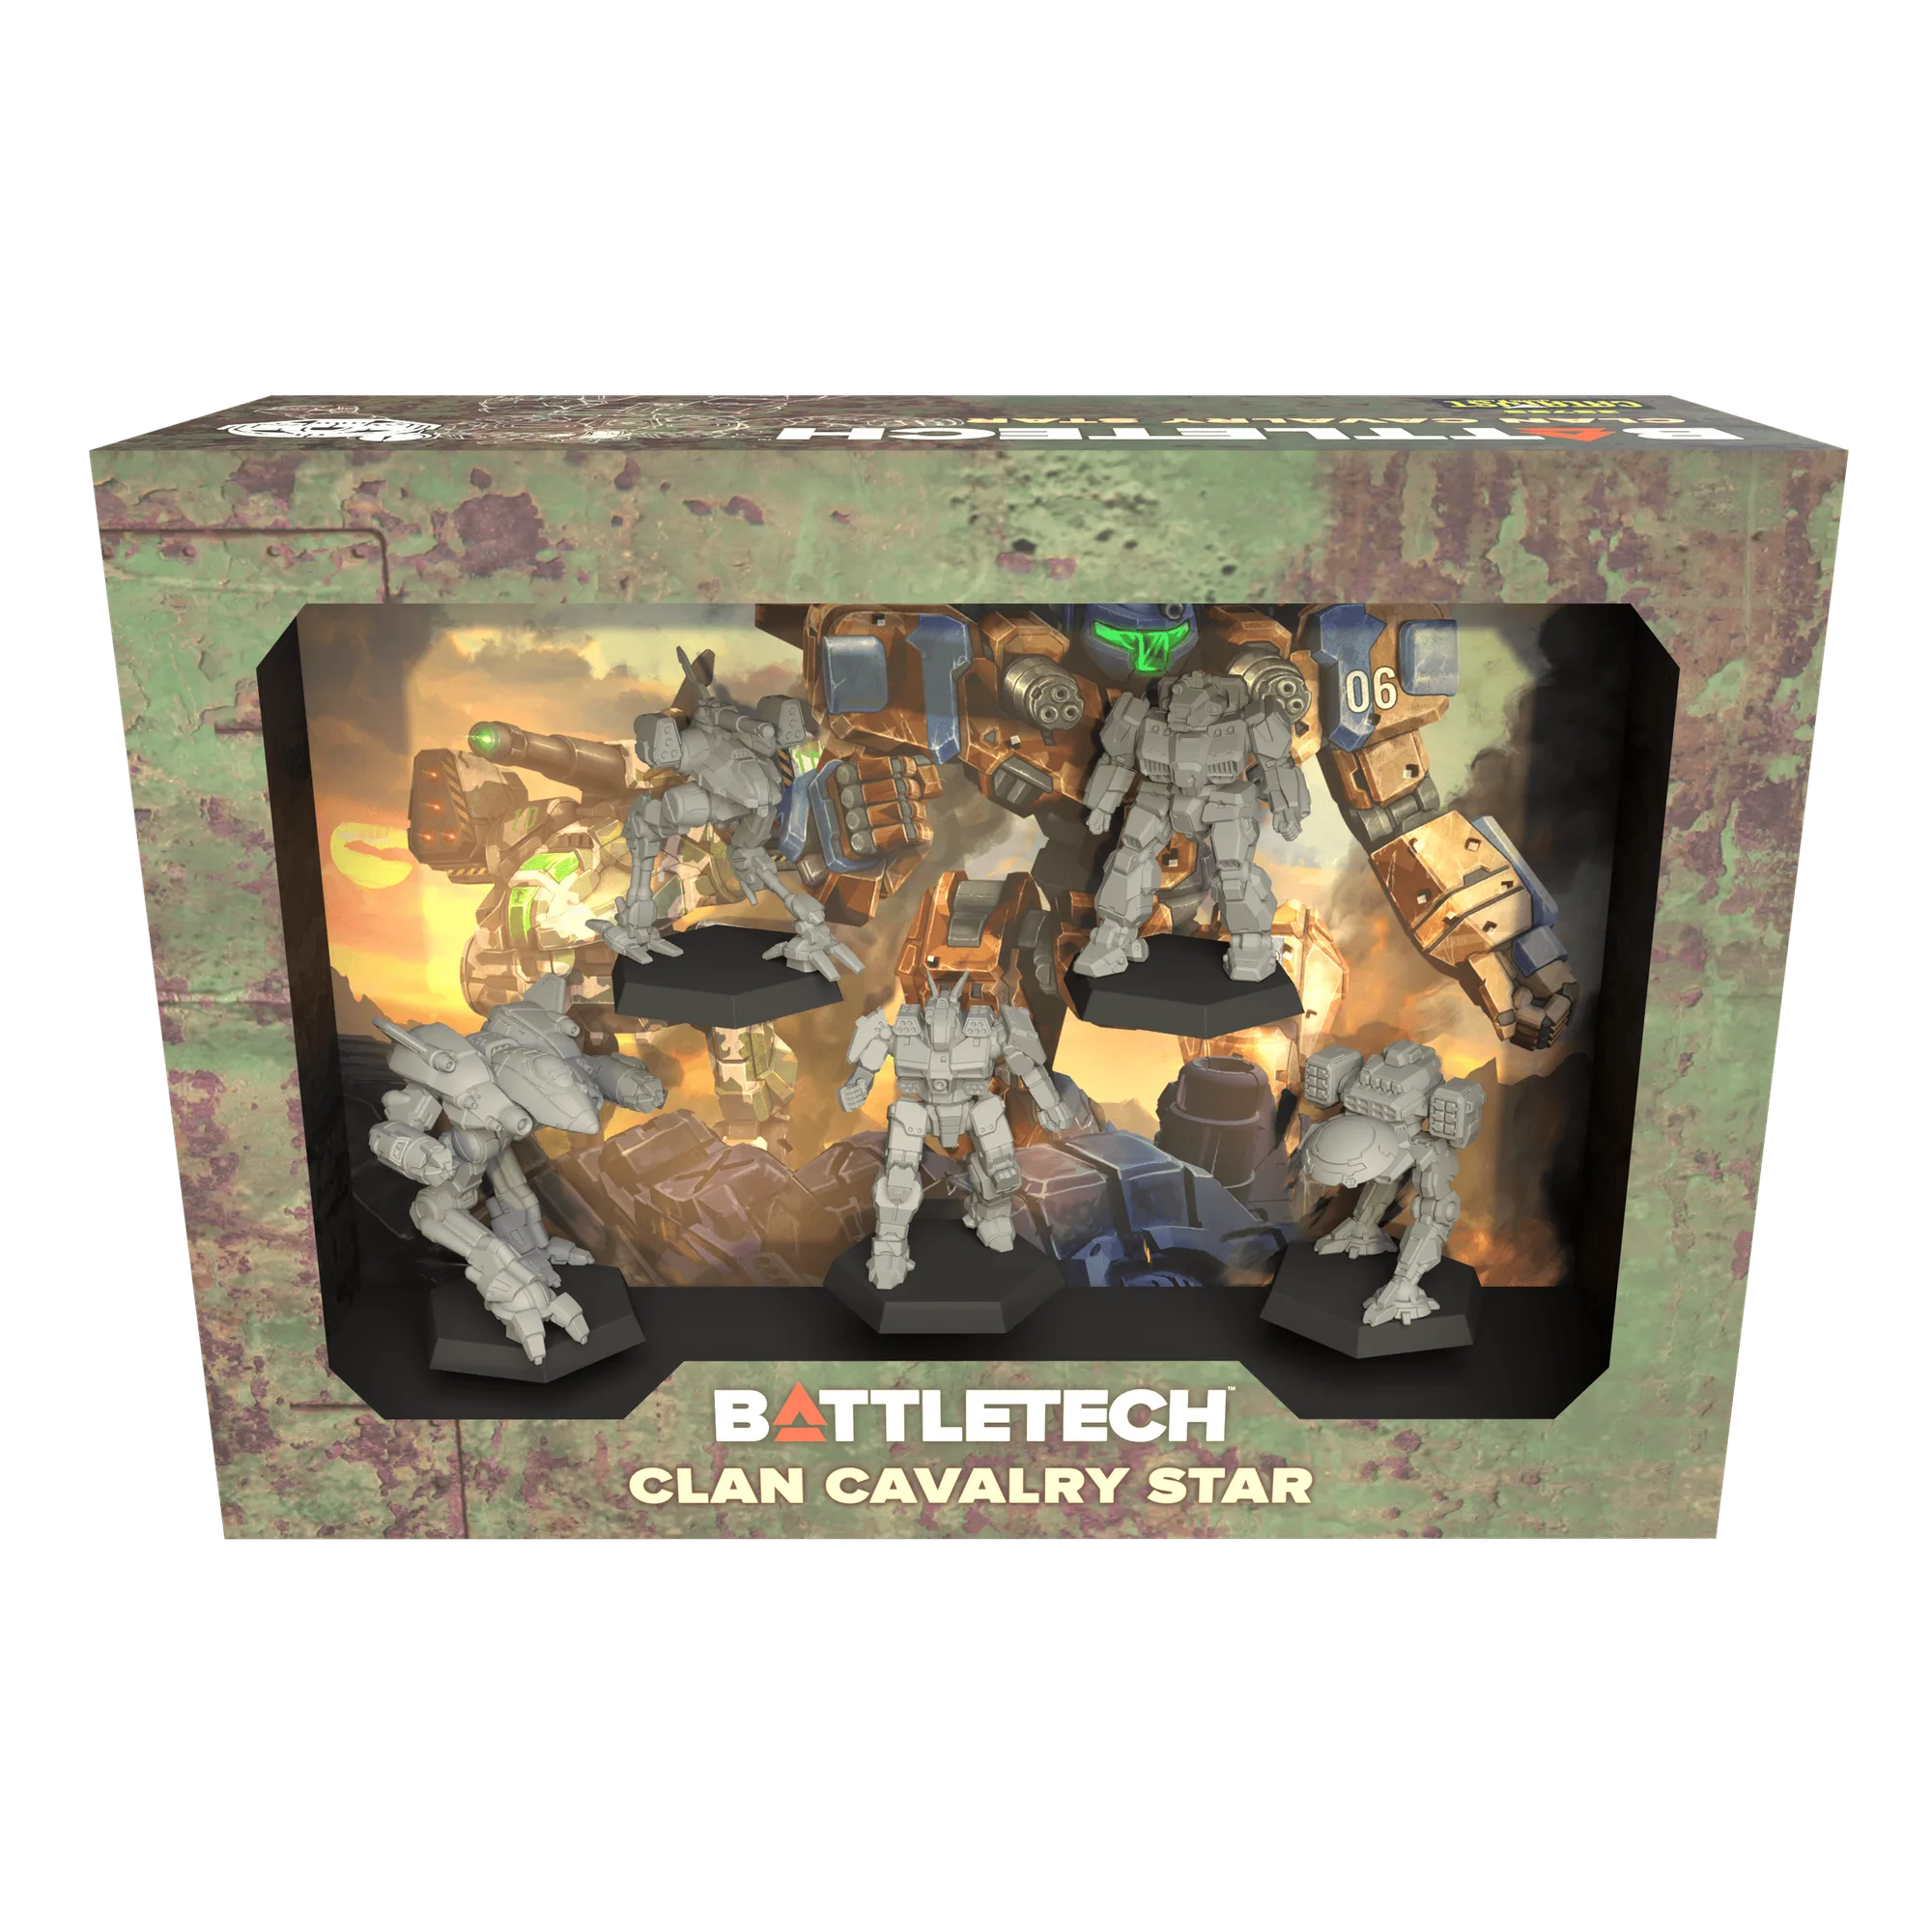
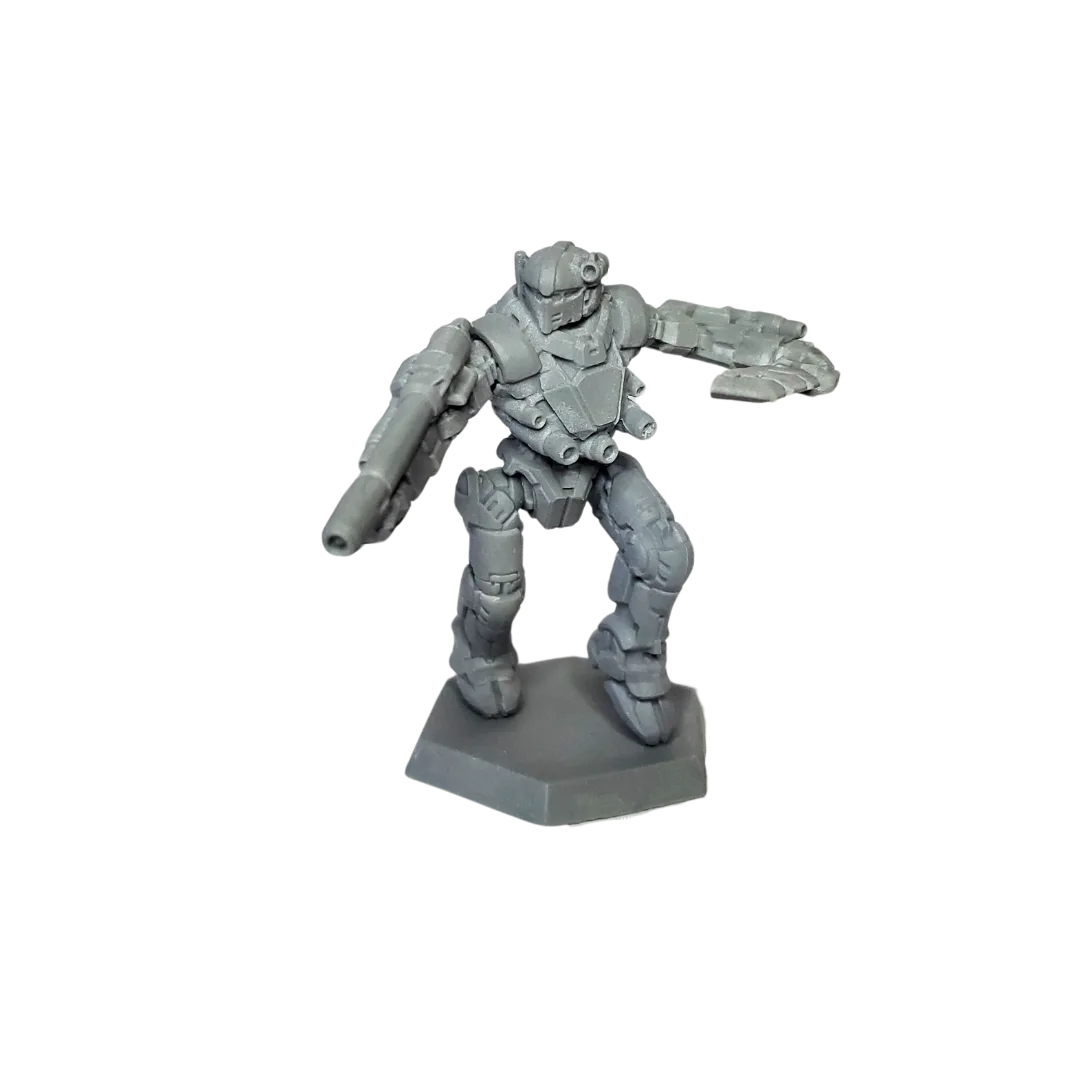
Before gluing, dry-fit all parts to see how they align. This helps you identify any gaps or parts that need trimming. For complex kits like the BattleTech: ForcePack: Clan Direct Fire Star, dry-fitting prevents misalignment that can ruin a pose.
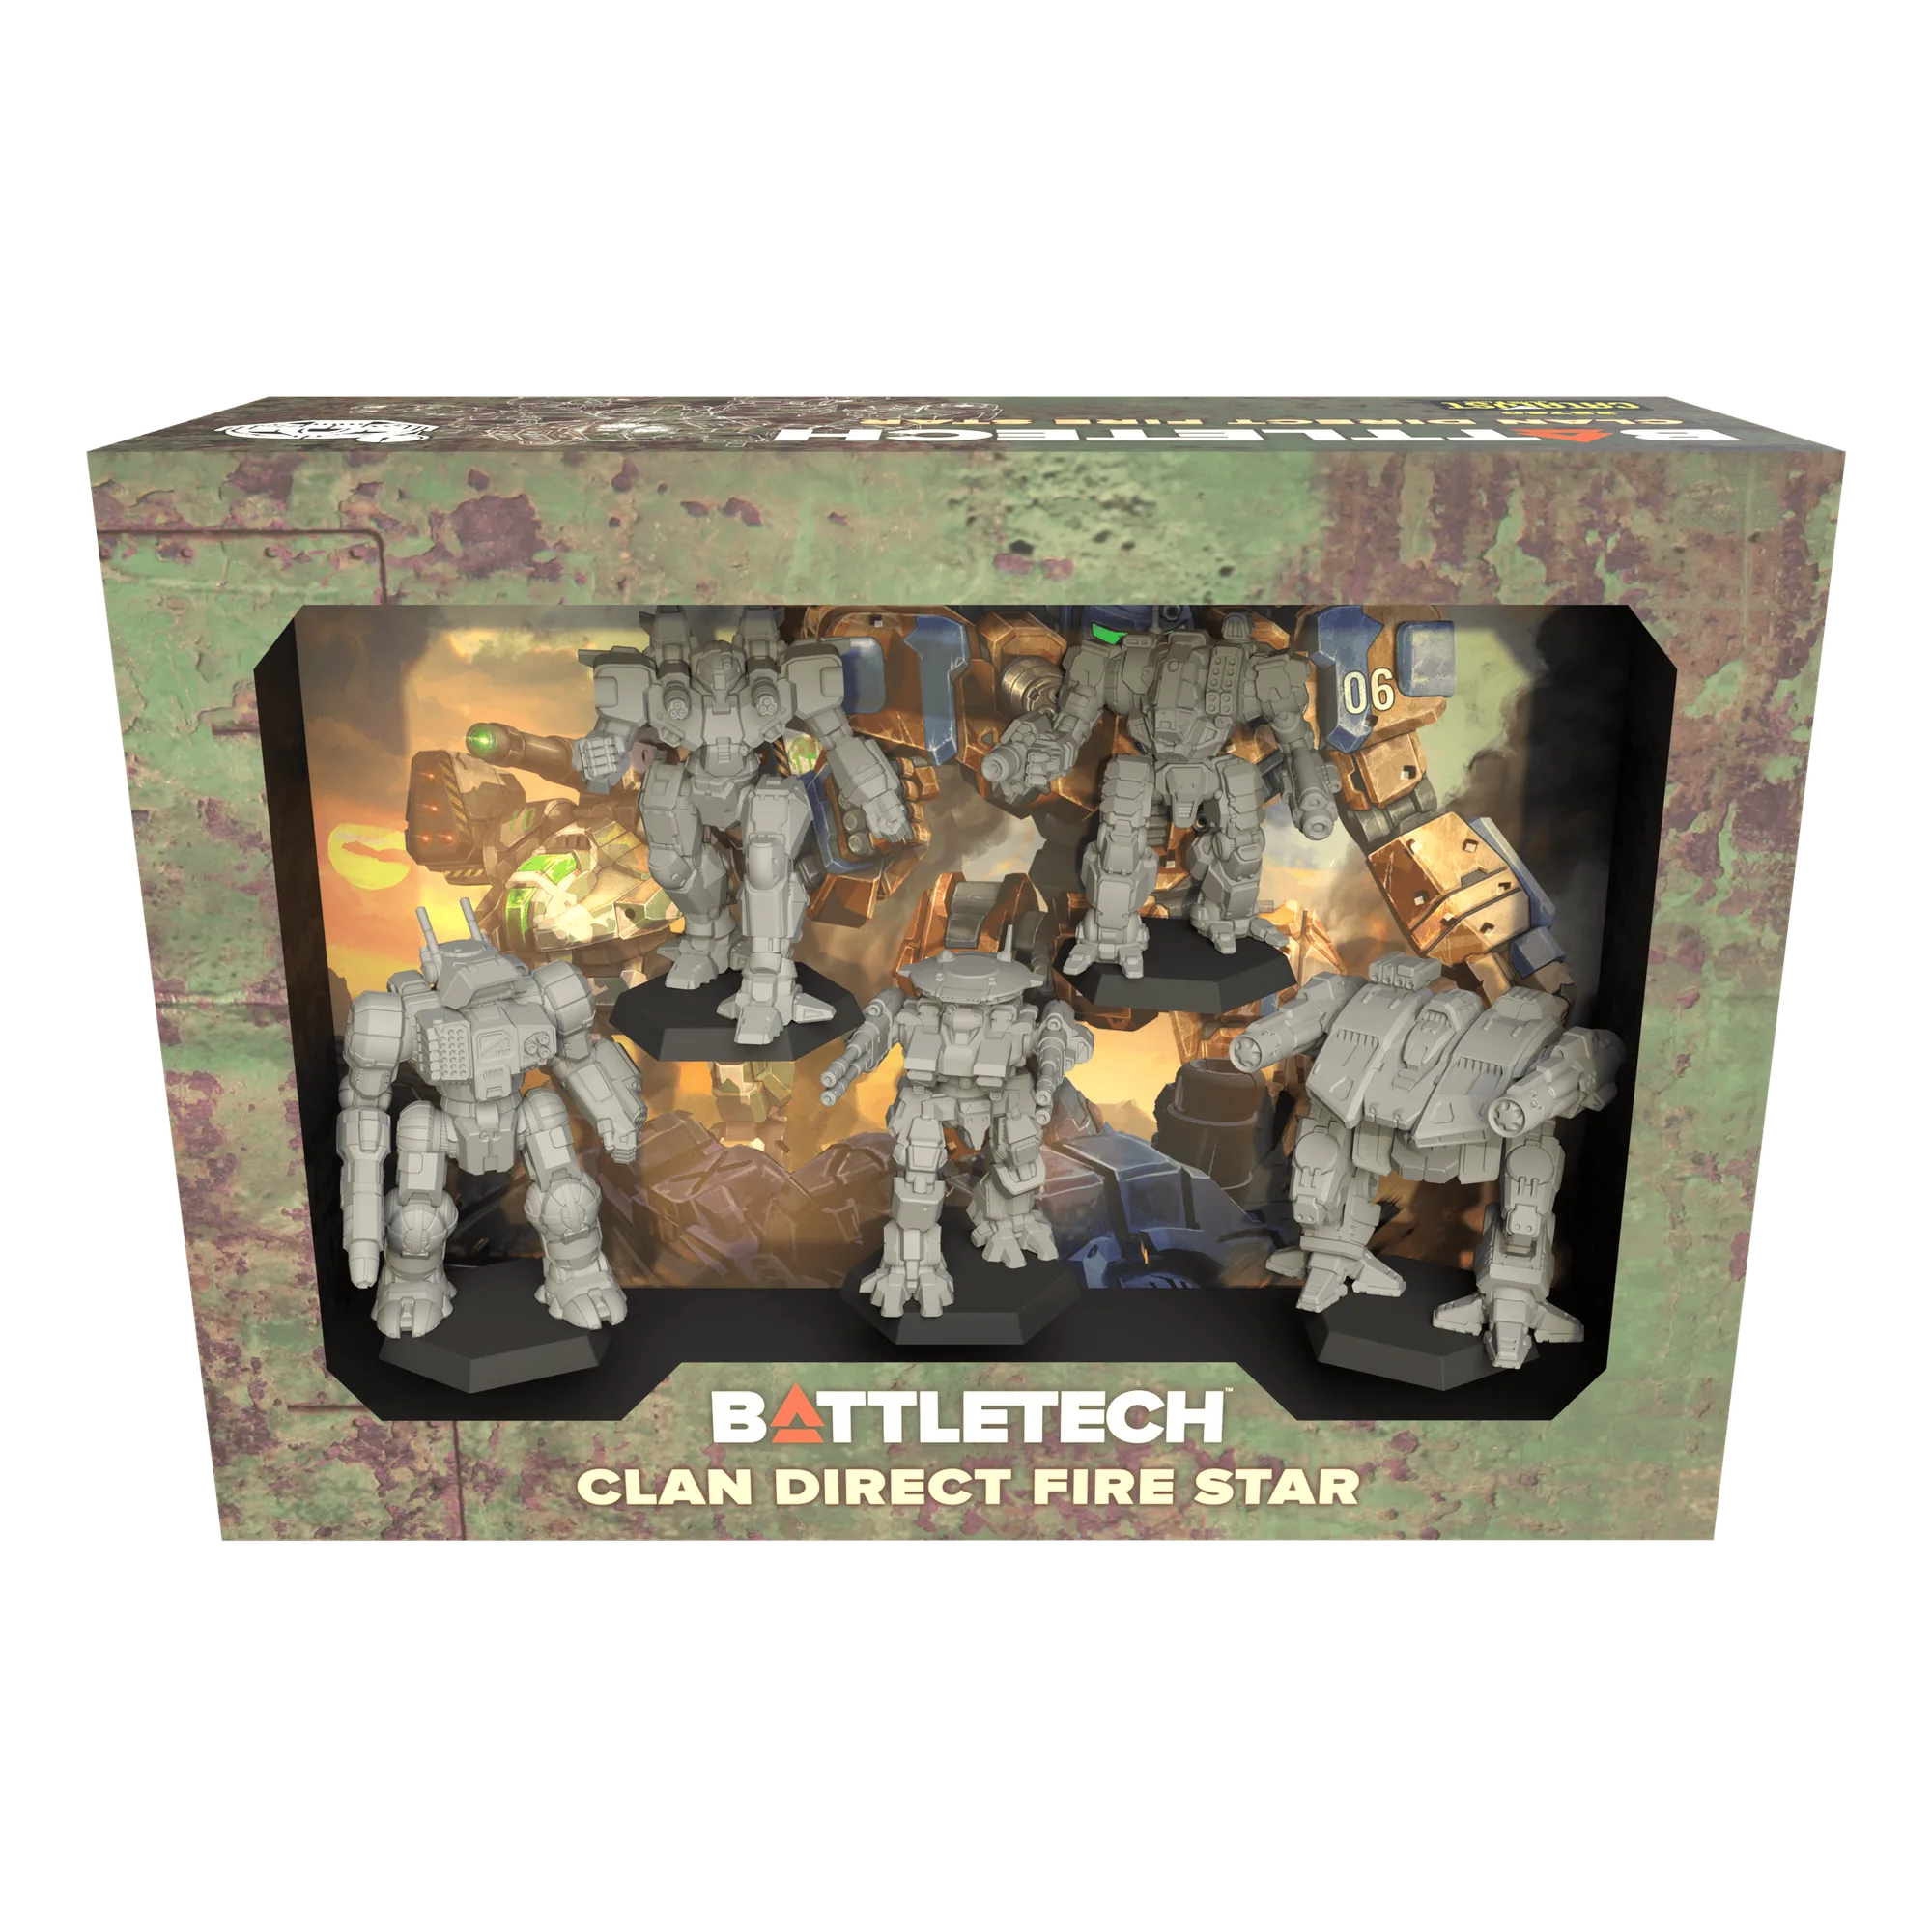
BattleTech: ForcePack: Clan Direct Fire Star
Apply glue sparingly. For plastic, use plastic cement that welds the parts; for resin, use super glue. Press parts together firmly and hold for a few seconds. Use a pin or paperclip to reinforce joints if needed, especially for heavy weapons or dynamic poses.
- Use a toothpick to apply glue precisely.
- Check pose from all angles before glue sets.
Fill Gaps and Sand
Even with careful assembly, you may see small gaps at joints. Fill these with gap-filling putty or green stuff. Apply a small amount with a toothpick, then smooth with a damp finger or tool. Let it cure completely, then sand flush with fine grit.
Pay attention to areas where arms meet torsos or where legs join hips. A smooth surface ensures your primer goes on evenly and your paint doesn't pool in crevices.
- Use a tiny amount of putty—more is not better.
- Sand with wet sandpaper for a smoother finish.
Prime Your Miniature
Priming is essential for paint adhesion. Choose a primer suitable for your material—spray primer works well for plastic and resin. Shake the can well and spray in short, even bursts from about 12 inches away. Apply a thin coat; you can always add more later.
Let the primer dry completely before painting. For resin, consider a primer specifically formulated for resin to ensure best results. A good primer reveals any remaining imperfections, so touch up if needed.
- Prime in a well-ventilated area or use a spray booth.
- Hold the can moving across the model, not staying still.
Step-by-Step Prep Checklist
- Clean: Wash all parts in warm soapy water, scrub gently with a toothbrush, rinse, and dry completely. Checkpoint: Parts feel slightly tacky-free and have no visible residue.
- Remove Mold Lines: Scrape away mold lines and flash with a hobby knife, then smooth with fine sandpaper. Checkpoint: Run your finger over surfaces—they should feel smooth.
- Dry-Fit: Temporarily assemble parts to check alignment and fit. Trim if necessary. Checkpoint: Parts fit together without gaps or forcing.
- Glue: Apply plastic cement or super glue sparingly, press parts together, and hold until set. Checkpoint: No glue visible on exterior surfaces.
- Fill Gaps: Use putty to fill any seams, smooth with a damp tool, and let cure. Checkpoint: Gaps are filled and flush with surrounding surface.
- Prime: Spray a thin, even coat of primer over the entire miniature and let dry. Checkpoint: Surface has uniform dull finish with no bare spots.
Products to Get You Started
- BattleTech: ForcePack: Clan Direct Fire Star: Delivering blistering firepower at range is often the best way to soften up targets. These 'Mechs and their expert MechWarriors make it look easy, employing a wide-range of energy and autocannon weapons that can quickly crack the toughest nuts. Included: Kraken, Highlander IIC Phoenix Hawk IIC Grizzly Rifleman IIC. This pack gives you five Clan OmniMechs with varied weapon pods, great for practicing assembly and painting techniques on a mix of smooth and detailed surfaces.
- BattleTech: Legendary MechWarriors III ForcePack: Bounty hunters have been a part of civilization for as long as anyone has had a price on their head. Among MechWarriors, the infamous, faceless Bounty Hunter is as enigmatic as they are feared, igniting dread as they bear down on their quarry in their iconic emerald green 'Mech. Contains: Bounty Hunter's Marauder (with two dorsal gun options) Warhammer QHM-9K Griffin GRF-4N Timber Wolf (Bounty Hunter) Loki MK II... These miniatures feature iconic designs with optional parts, making them ideal for learning how to assemble and customize your collection.
With your BattleTech miniatures clean, assembled, and primed, you're ready to bring them to life with paint. Taking time on prep ensures your hard work pays off with a durable, professional-looking finish. Now grab your brushes and start painting!