Quick answer
Slide the collar through the tag's split ring or attachment slot, then center the bow tie on the collar's top edge so the engraved side faces outward.
Why bow tie tags need a slightly different approach
Unlike flat round or bone-shaped tags, bow tie pet ID tags have a three-dimensional shape that can twist or flip if not positioned correctly. The bow's wings need to sit flat against the collar rather than hanging loose, which means the attachment point must be snug and centered.
Most bow tie tags come with a small split ring or a built-in slot. If your tag has a ring, you can add a rubber silencer to keep it from spinning. If it has a slot, the collar weaves directly through it, which gives a cleaner look but requires you to thread the collar off and on.
Choosing between a ring and a slot attachment
Bow tie tags with a split ring are easier to swap between collars and work with any collar width up to about 1 inch. Tags with a built-in slot are more secure because the collar passes directly through the tag, but you have to remove the collar buckle to install it.
For dogs that wear a harness instead of a collar, a split-ring bow tie tag can be attached to a D-ring on the harness. Slot-based tags are not suitable for harness use.
How to attach a bow tie pet ID tag in 4 steps
- Step 1: Open the split ring fully: Use your thumbnail or a small flathead screwdriver to pry the split ring open just enough to slide the collar through. Do not bend the ring sideways — that weakens the metal and can create a gap where the tag might fall off. Check that the ring closes completely with no visible gap.
- Step 2: Thread the collar through the ring or slot: If using a split ring, slide the ring onto the collar about 2–3 inches from the buckle end. If using a slot-based tag, unbuckle the collar, thread the free end through the slot, then rebuckle. For slot tags, make sure the tag sits between the collar holes so it doesn't interfere with the buckle. Slot tags cannot be added without removing the collar first — plan ahead.
- Step 3: Center the bow tie on the collar: Slide the tag along the collar until the bow tie sits at the top of your dog's neck, between the ears. The engraved side (with your contact info) should face outward so it's readable when someone approaches your dog. For bow tie tags with crystals, the sparkle side is the front; the engraving is on the reverse. If the tag flips upside down, the collar may be too loose — tighten it one hole.
- Step 4: Secure and test the attachment: Push the split ring closed with your fingers until you hear a soft click. Gently tug the tag in all directions to confirm it's locked. For slot tags, slide the tag back and forth to ensure it moves freely but doesn't slip past the buckle. Walk your dog a few steps and check that the tag stays centered and doesn't spin. Recheck the attachment weekly, especially after washing the collar or after rough play.
Bow tie pet ID tags that work well with this method
-
White Large Bow Tie Pet ID Tag: The White Large Bow Tie Pet ID Tag has a bright white enamel finish and a classic bow tie shape designed for medium to large dogs. Its larger size and clean shape make it easy to center on a wide collar, and the durable metal construction holds up to daily wear.
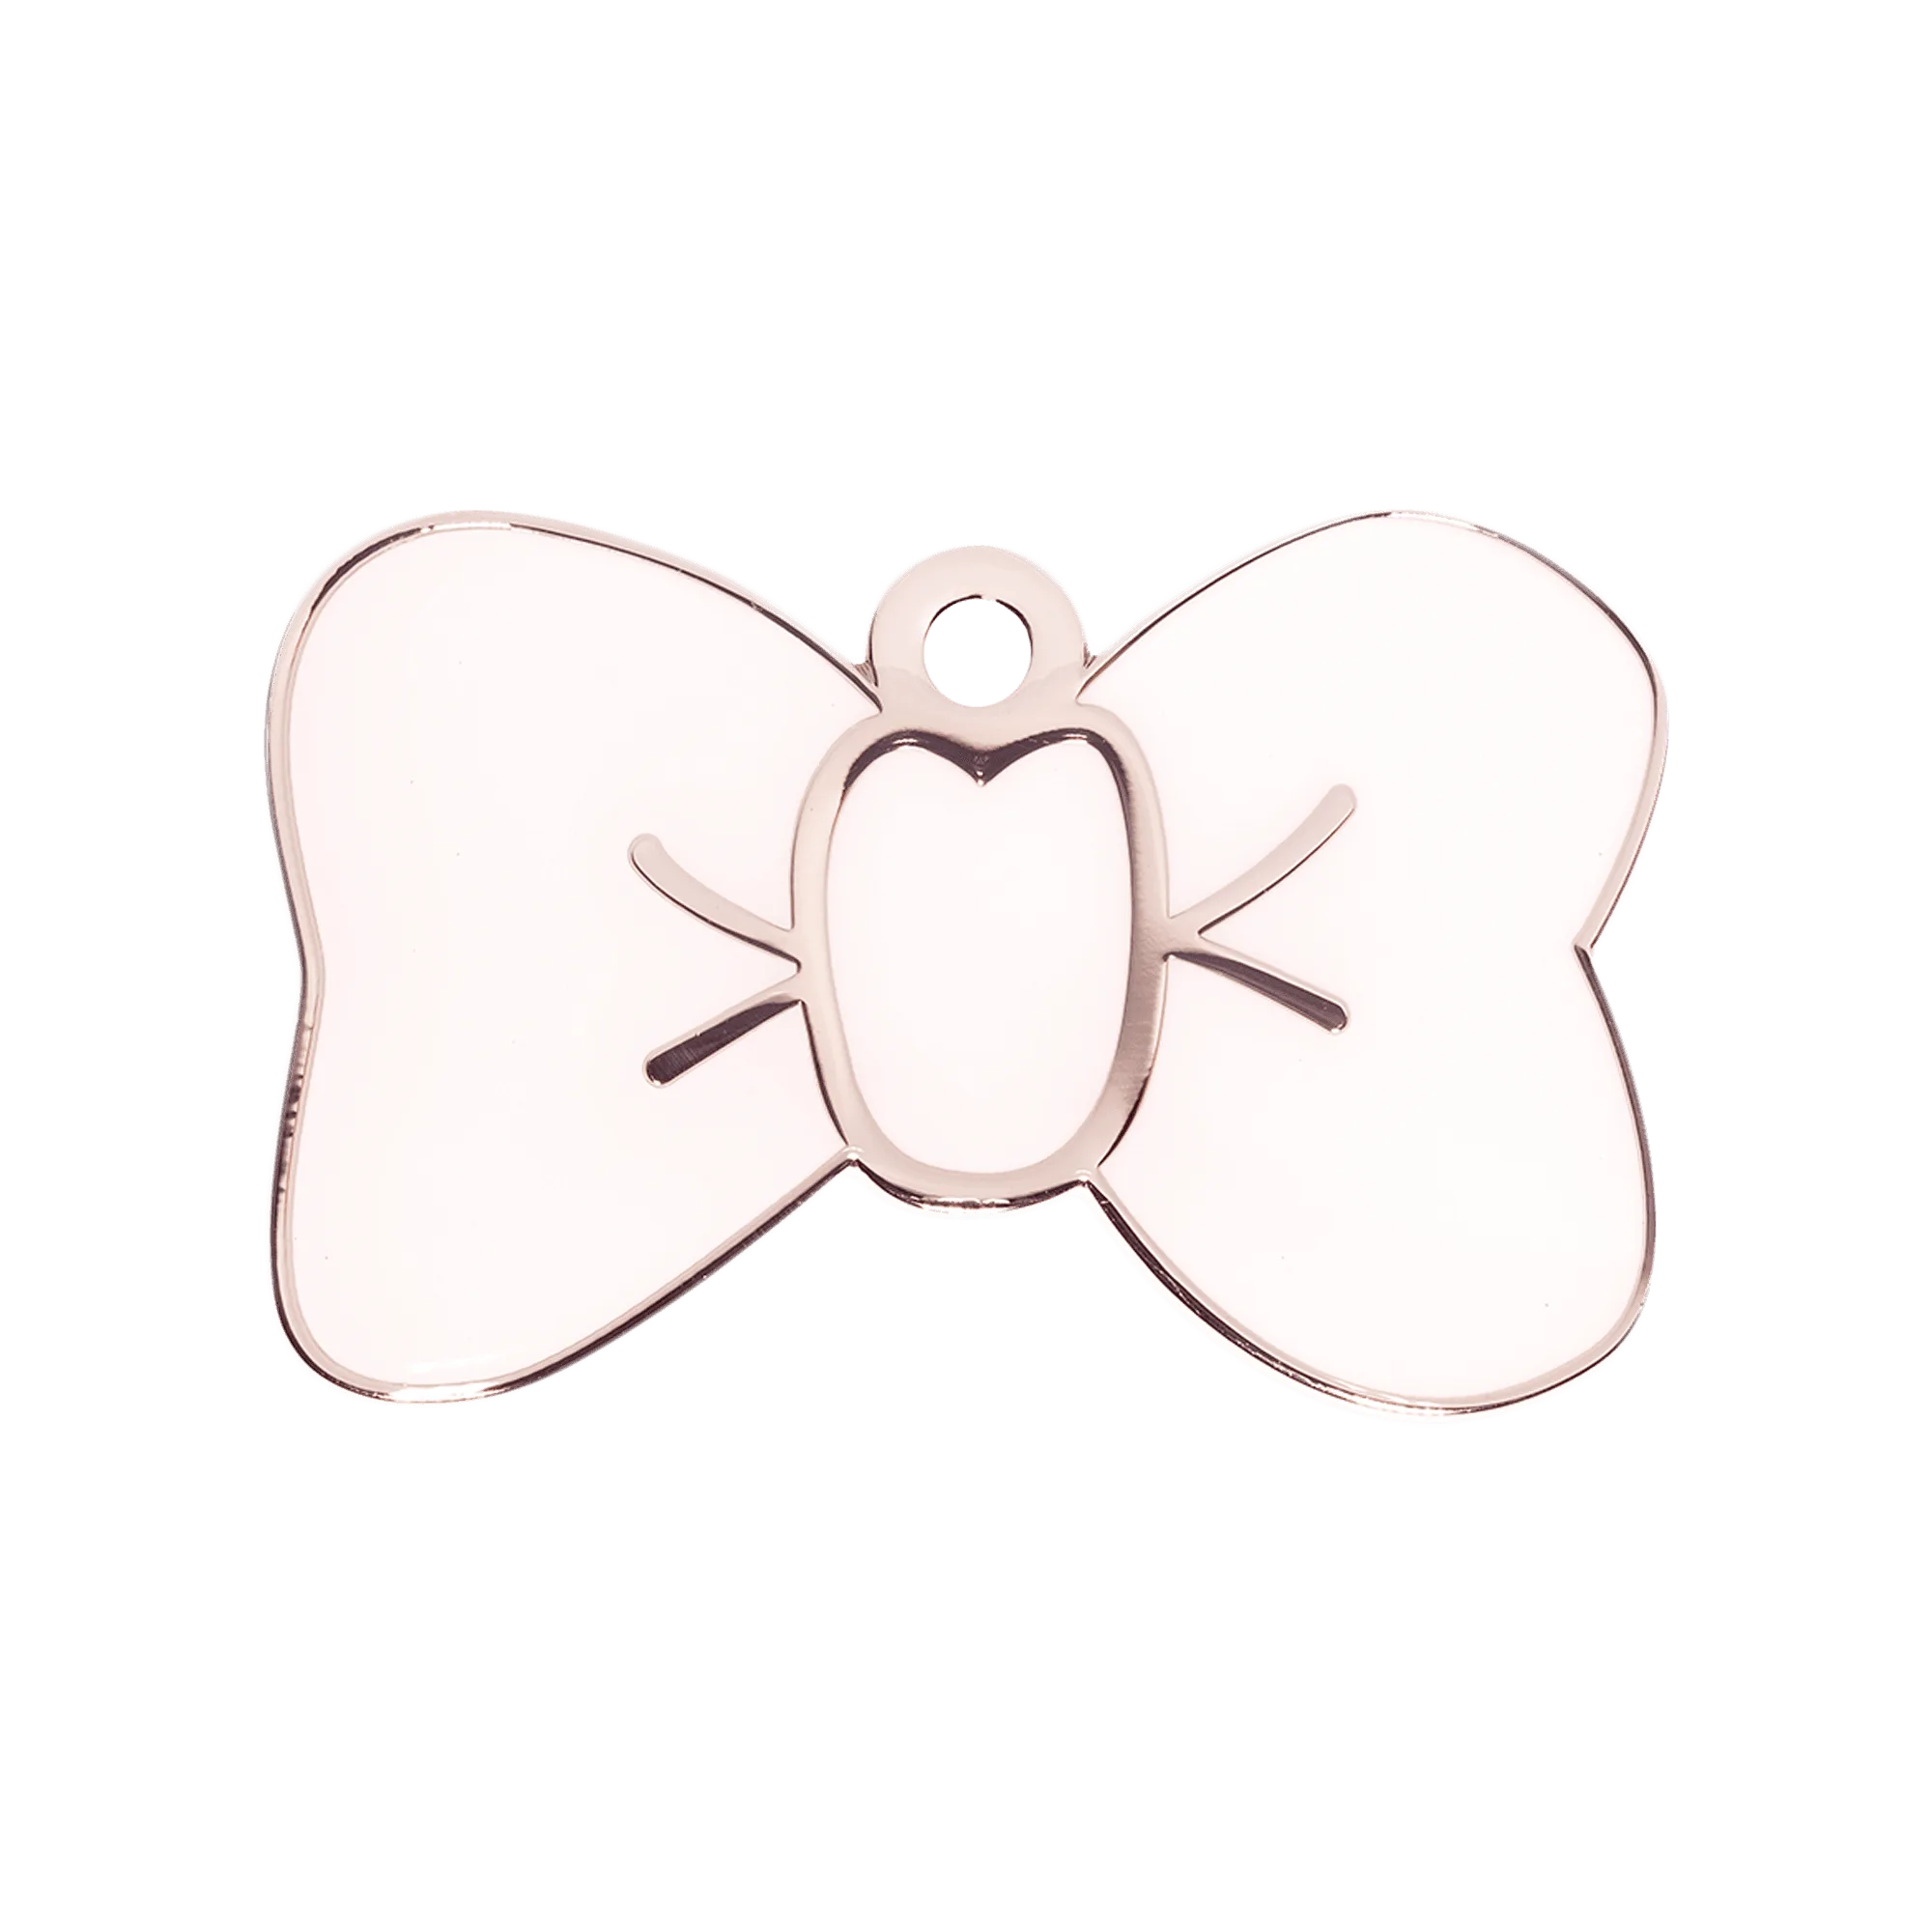
White Large Bow Tie Pet ID Tag
-
White Sparkle Small Bow Tie Pet ID Tag: The White Sparkle Small Bow Tie Pet ID Tag features a crisp white enamel bow tie design inlaid with sparkling crystals. The crystals add a bit of weight, so make sure the split ring is fully closed to prevent the tag from sliding off during active play.
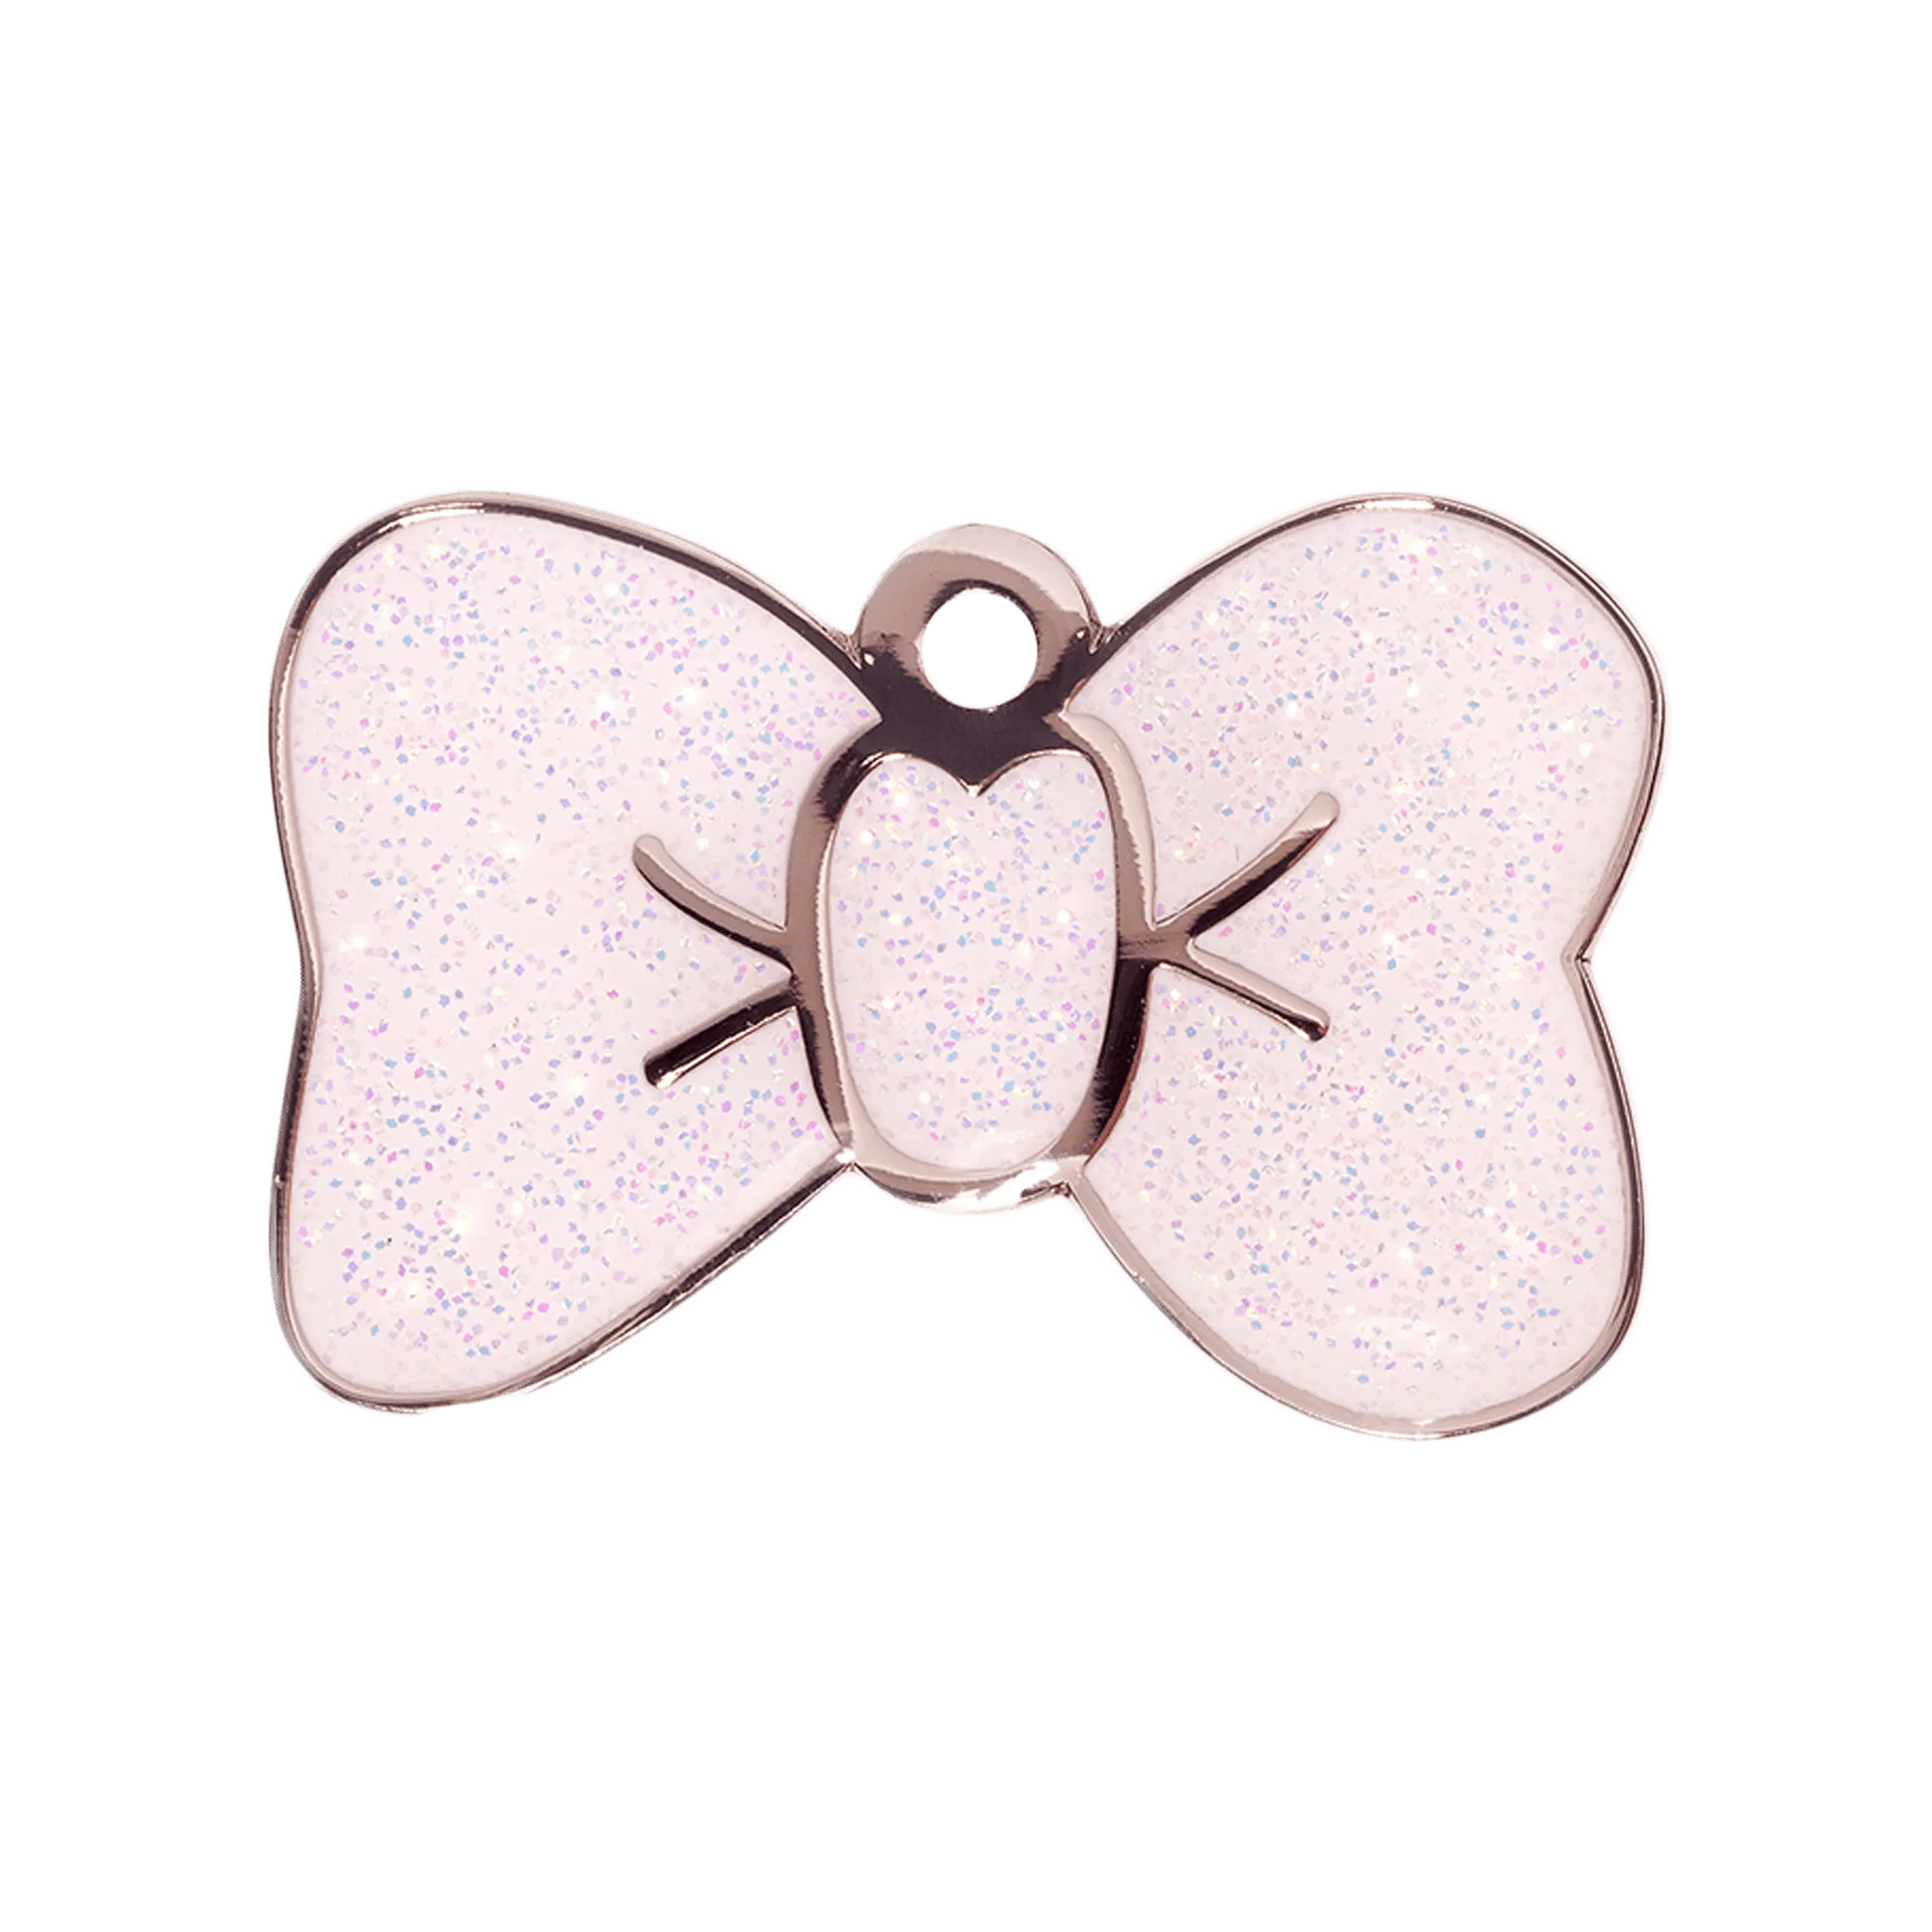
White Sparkle Small Bow Tie Pet ID Tag
-
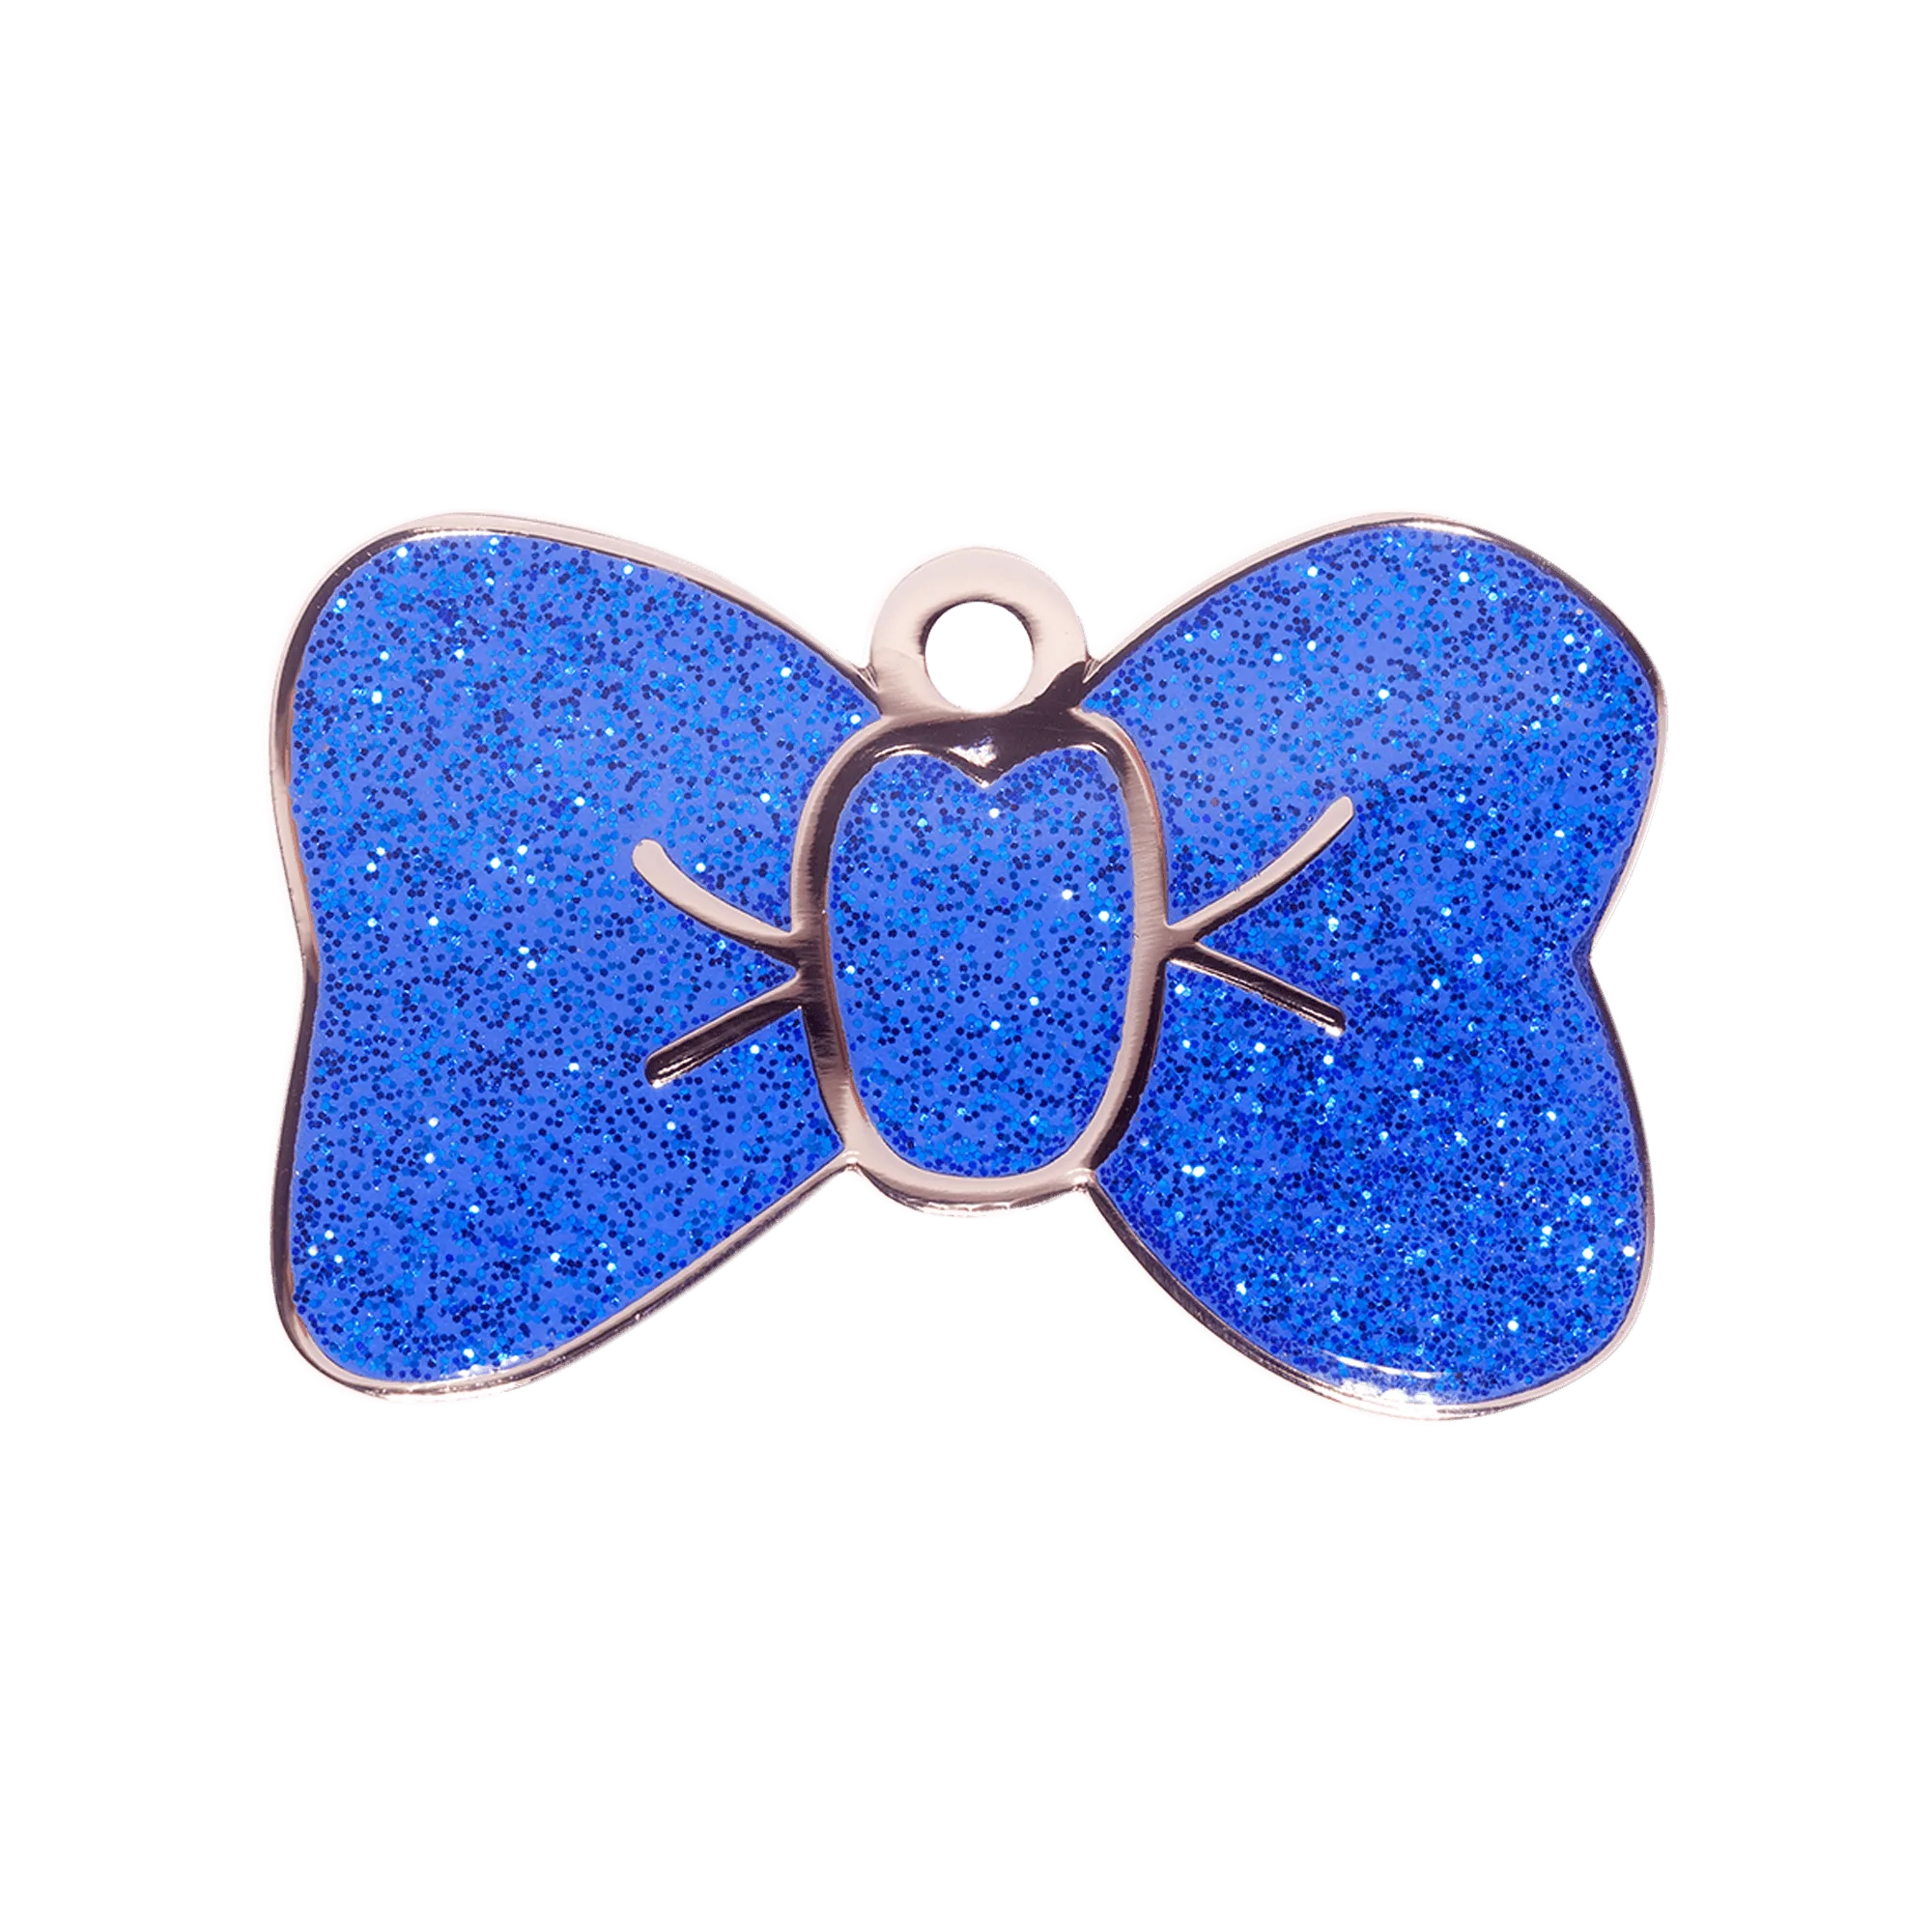
Blue Sparkle Large Bow Tie Pet ID Tag: The Blue Sparkle Large Bow Tie Pet ID Tag has rich blue enamel with brilliant crystal accents, built from durable metal. The bold color and sparkle make it easy to spot if the tag twists, so you can quickly check that the engraving stays visible.