Quick answer
Apply fusible interfacing with a dry iron on the correct heat setting, press (don't glide), and let it cool completely before moving the fabric. Work in overlapping sections from the center outward, and always test on a scrap first.
Why bubbles and wrinkles happen (and how to avoid them)
Bubbles come from uneven heat, trapped moisture, or moving the fabric before the adhesive sets. Wrinkles often appear when you drag the iron instead of lifting and pressing. To prevent both, pre-wash and dry your fabric to eliminate shrinkage, then press it flat before fusing. Use a dry iron—steam introduces moisture that can cause bubbling. If your fabric is heat-sensitive, lower the temperature and test on a scrap first. For a reliable bond, choose a fusible weight that matches your fabric: lightweight for delicate cottons, medium for quilting cotton, and heavyweight for canvas or denim.
Choosing fusible vs. sew-in interfacing
Fusible interfacing saves time and adds crispness, but it can be tricky on textured or heat-sensitive fabrics. Sew-in interfacing is a better choice for fabrics that scorch easily, like silk or some synthetics, or when you want a softer drape. If you're working with a pattern that requires a lot of shaping, fusible might be too stiff. For everyday projects like bags or pouches, fusible is usually fine. When in doubt, test both on a scrap to see which gives the hand you want.
Step-by-step: applying fusible interfacing
Follow these steps for a smooth, bubble-free application. Remember to work on a firm, padded surface and keep your iron moving to avoid scorching.
Fusible interfacing application steps
- Pre-wash and press your fabric: Wash and dry your fabric to pre-shrink it, then press out all wrinkles. Skipping this can cause bubbles later when the fabric shrinks under the interfacing. Checkpoint: Fabric lies flat with no wrinkles.
- Test on a scrap: Set your iron to the temperature recommended for your fabric and interfacing. Test on a scrap to ensure the fusible adheres without scorching or bleeding. Checkpoint: Interfacing bonds smoothly and fabric isn't discolored.
- Position interfacing with adhesive side down: Place the interfacing on the wrong side of the fabric, adhesive side facing the fabric. Use a pressing cloth to protect the iron. Checkpoint: Interfacing is centered and smooth.
- Press, don't glide: Using a dry iron, press down firmly for 10–15 seconds on each section. Lift and move to the next area, overlapping slightly. Do not slide the iron, as this can shift the interfacing and create wrinkles. Checkpoint: Interfacing is tacked down with no shifting.
- Let it cool completely: Allow the fabric and interfacing to cool flat before moving or sewing. The adhesive sets as it cools; moving it while warm can cause bubbling or peeling. Checkpoint: Interfacing is firmly bonded and fabric is flat.
Products that work well with fusible interfacing
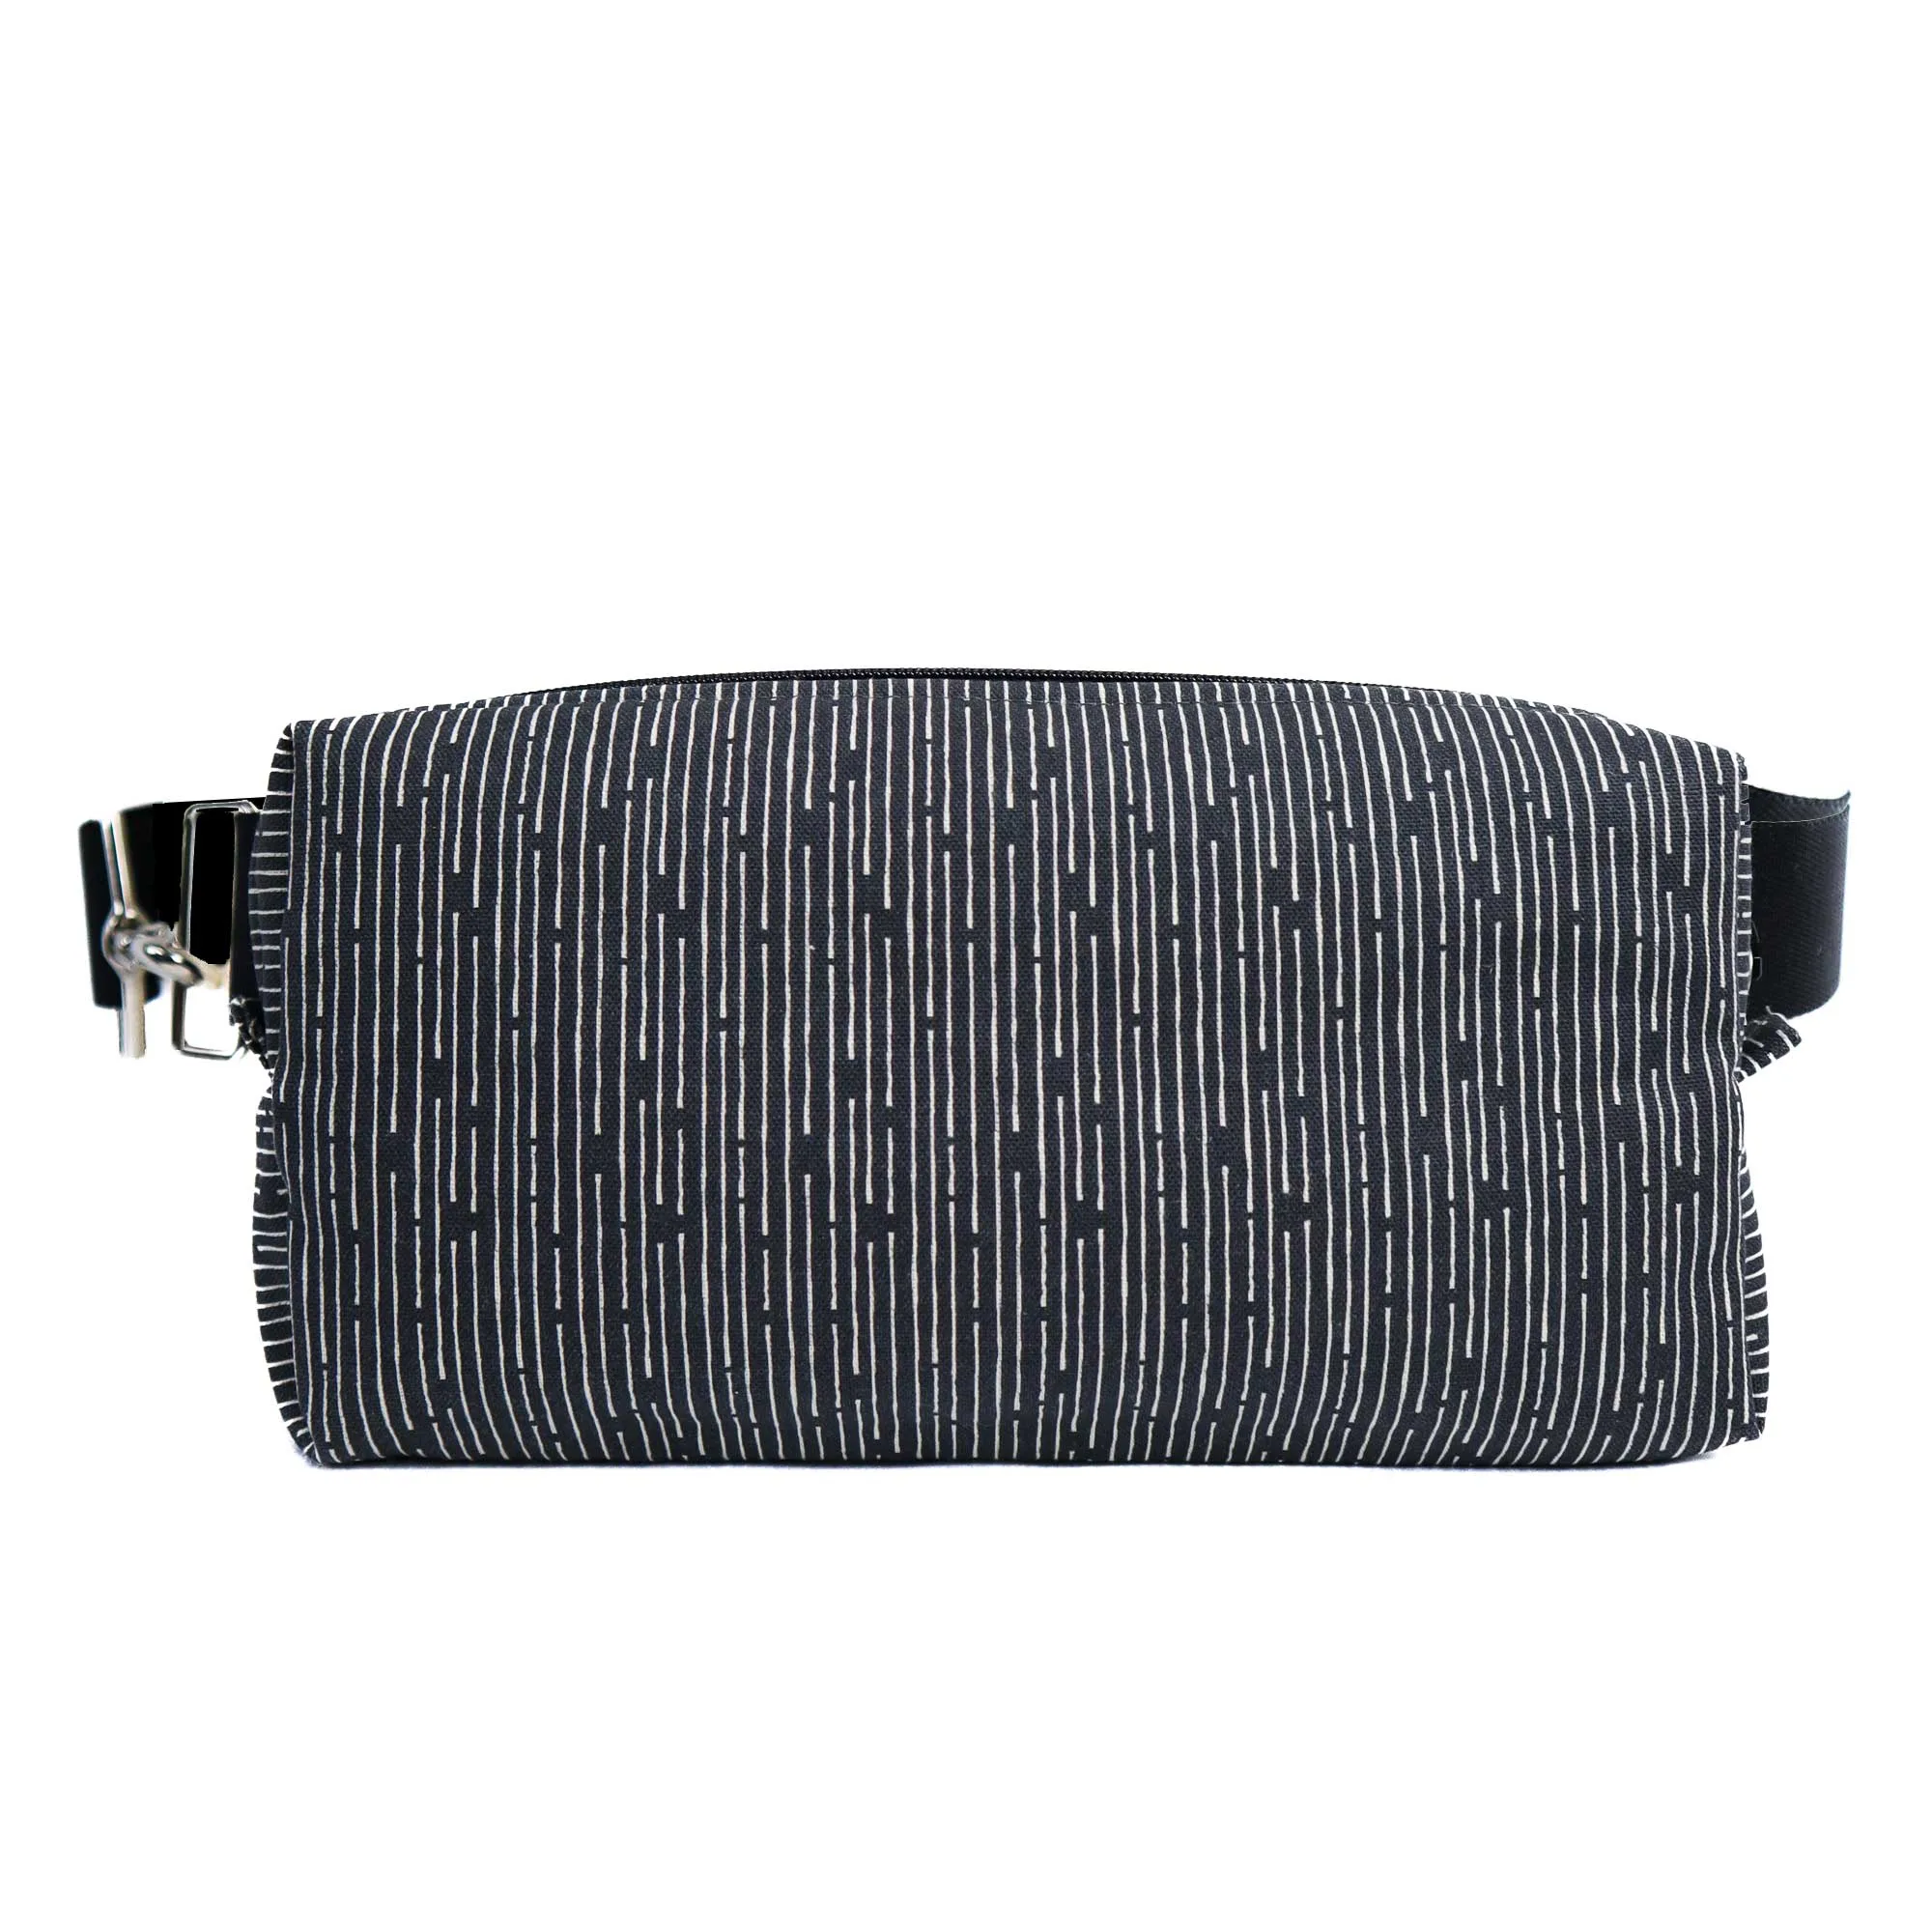
- Belt Bag Sewing Kit: Belt Bag Sewing Kit includes fabric and pattern for a hands-free accessory; adjustable strap and secure closure. The structured shape benefits from fusible interfacing to hold its form, making this kit a good practice project for fusing techniques.
- Bees Cream from Sweet Little Friends by Gabriela Dachin for Paintbrush Studios: 100% cotton, 44/45" wide, 143GSM, machine wash cold, tumble dry low. This quilting cotton is ideal for fusible interfacing because it presses flat and holds shape; pre-wash to minimize shrinkage before fusing.