When it comes to building out a plate carrier for maximum coverage and mission flexibility, attaching a groin panel is one of the most practical upgrades you can make. A groin panel provides essential protection for the femoral arteries and lower abdomen, areas that are often overlooked in standard plate carrier setups. By using the MOLLE (Modular Lightweight Load-carrying Equipment) system, you can easily attach a groin panel to most plate carriers, including popular models from Ferro Concepts.
In this guide, we'll walk you through the process of attaching a groin panel MOLLE to your plate carrier, covering everything from choosing the right panel to securing it properly. We'll also share some tips on how to position it for maximum comfort and mobility, so you can move with confidence in any tactical situation.
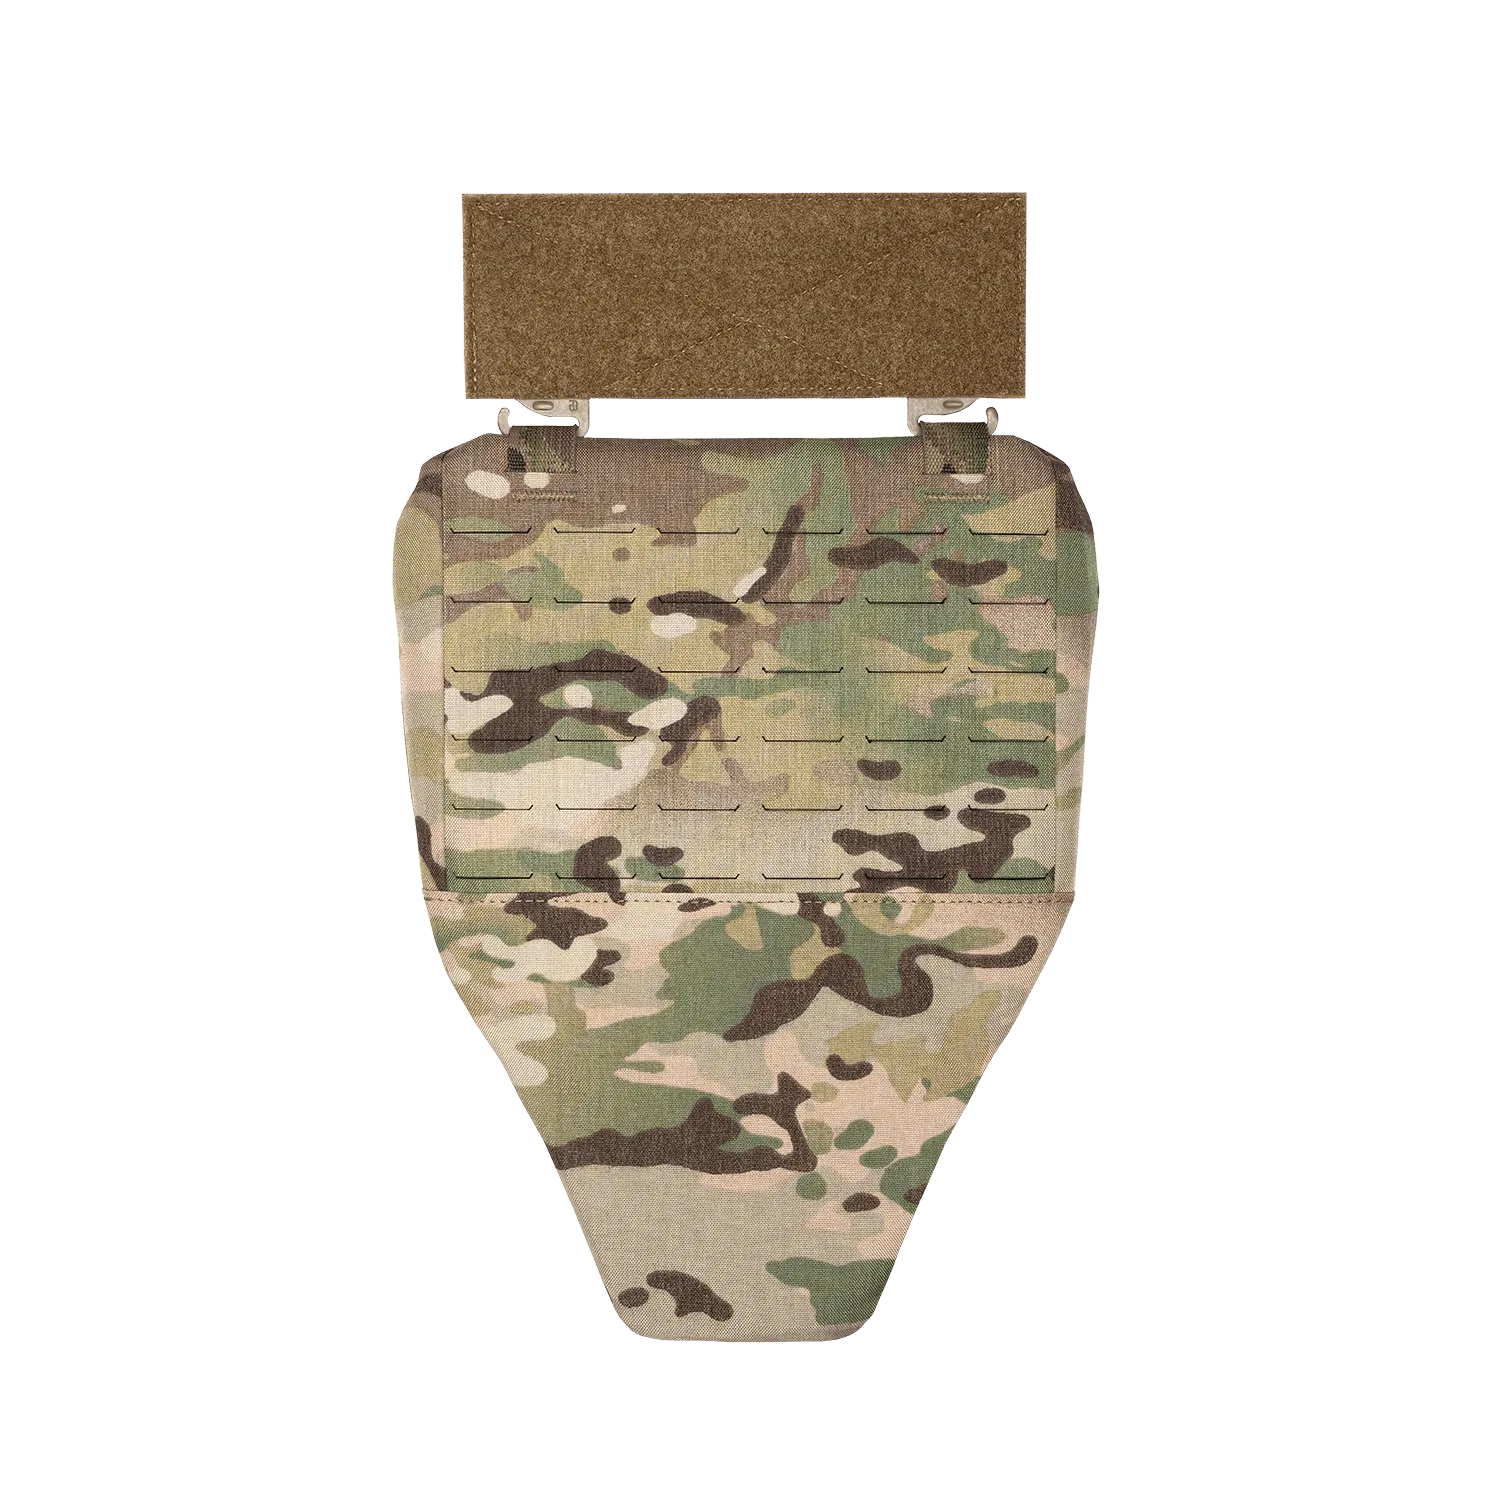
groin panel MOLLE
Understanding Groin Panel MOLLE and Compatibility
Before you start attaching a groin panel, it's important to understand how the MOLLE system works. MOLLE consists of webbing straps and rows of PALS (Pouch Attachment Ladder System) webbing. Most plate carriers, including the Ferro Concepts Slickster and FCPC, feature MOLLE webbing on the front and back, which allows you to attach various pouches and accessories. A groin panel typically has MOLLE straps or clips that weave through the webbing on the front of your carrier.
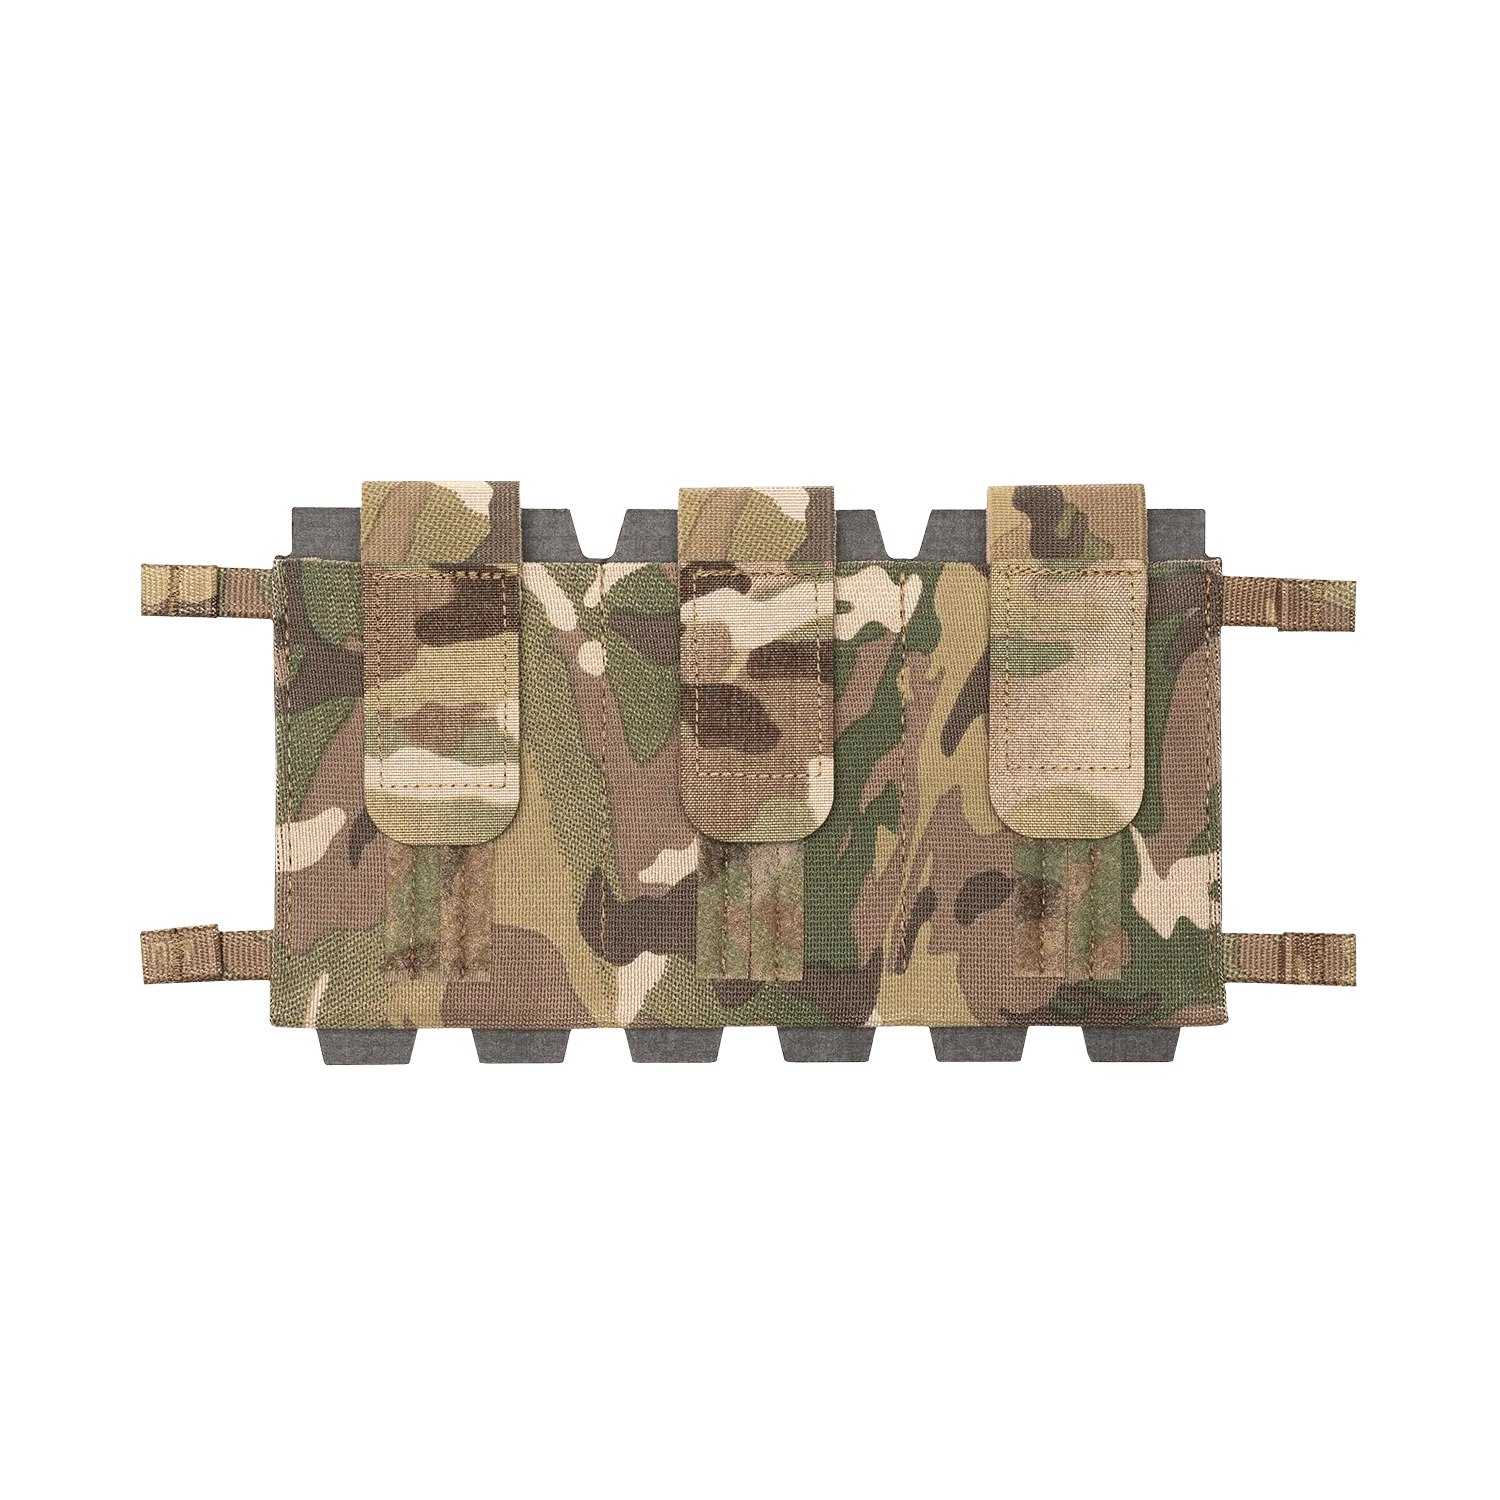
When choosing a groin panel, consider the type of attachment it uses. Some panels use traditional MOLLE straps, while others use quick-release buckles or clips. The Ferro Concepts ecosystem offers a range of accessories that are compatible with their plate carriers, so you can mix and match to create a setup that works for you. For example, the Back Panel Banger can be used to add extra storage to the rear of your carrier, but for groin protection, you'll want a dedicated groin panel that can be mounted to the front MOLLE.
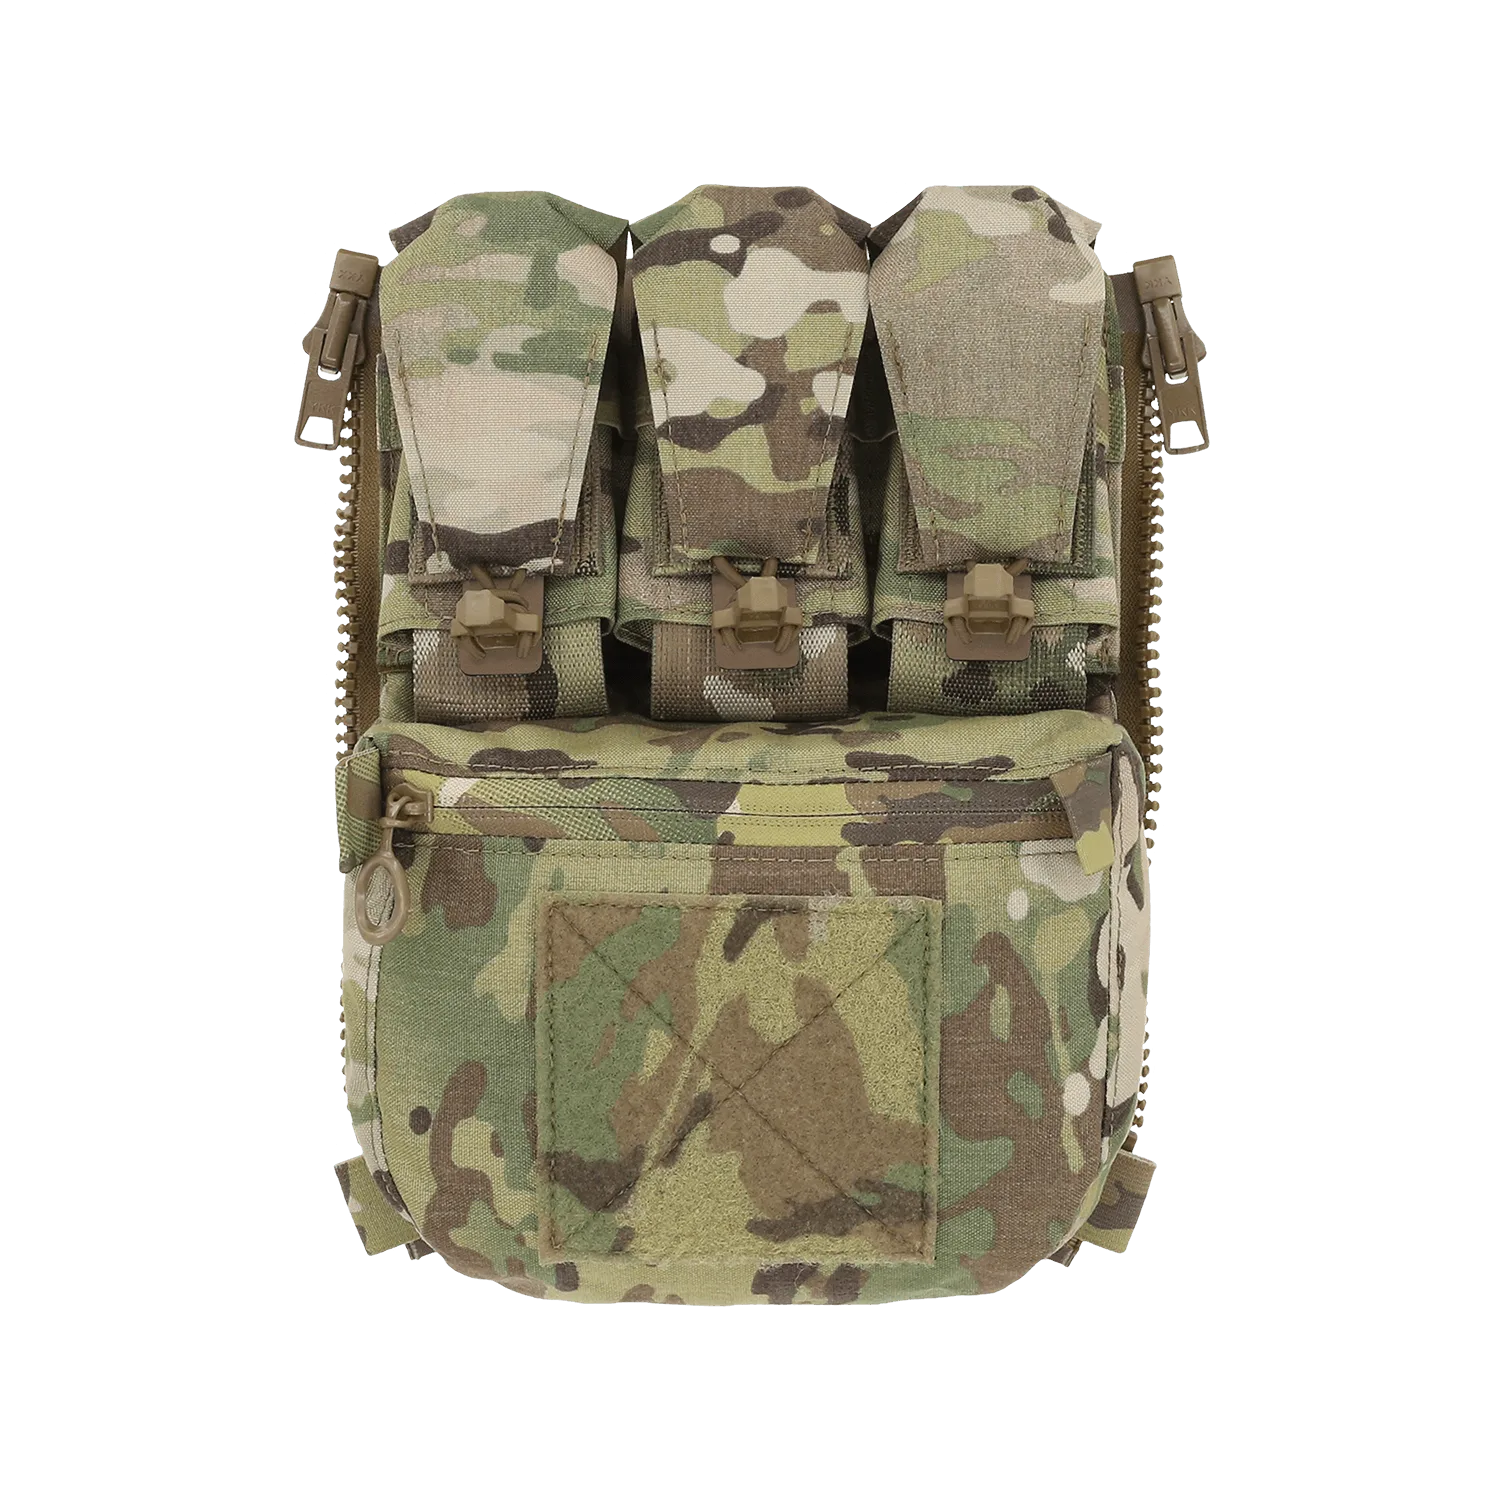
Back Panel Banger
- Check your plate carrier's front MOLLE webbing for horizontal rows that can accommodate the groin panel's straps.
- Ensure the groin panel's attachment method matches your carrier's MOLLE spacing (usually 1-inch webbing).
Step-by-Step: Attaching the Groin Panel MOLLE
To attach your groin panel, start by positioning the panel at the bottom front of your plate carrier. The panel should hang down between your legs, covering the groin area. Most users prefer to attach it to the lowest row of MOLLE webbing on the front panel. This allows for a natural hang and prevents the panel from riding up when you move.
Next, take the MOLLE straps on the groin panel and thread them through the horizontal rows of webbing on your carrier. Start from the top of the panel and work your way down, weaving the straps over and under the webbing. Once the straps are threaded, pull them tight and secure them with the hook-and-loop fasteners or buckles. Make sure the panel is centered and doesn't shift side to side.
For a more secure fit, you can also use the Kangaroo Handy Bandy to manage excess straps or to route them neatly. This accessory is designed to keep your MOLLE straps tidy and prevent them from snagging on gear. Additionally, if your plate carrier has a cummerbund, you can integrate the groin panel with it for added stability. The 3" Assault Cummerbund V1 from Ferro Concepts is a great option for this, as it provides a solid foundation for attaching lower-body accessories.
- Weave the MOLLE straps in a 'weave-over-under' pattern to ensure a tight fit.
- Use a buddy to help adjust the panel's height while you wear the carrier, ensuring it doesn't restrict movement.
Adjusting for Comfort and Mobility
Once the groin panel is attached, it's crucial to adjust it for comfort and mobility. The panel should rest snugly against your body without digging into your legs or restricting your stride. If the panel is too low, it may interfere with walking or running. If it's too high, it may not provide adequate coverage. Adjust the straps to find the sweet spot that allows for a full range of motion.
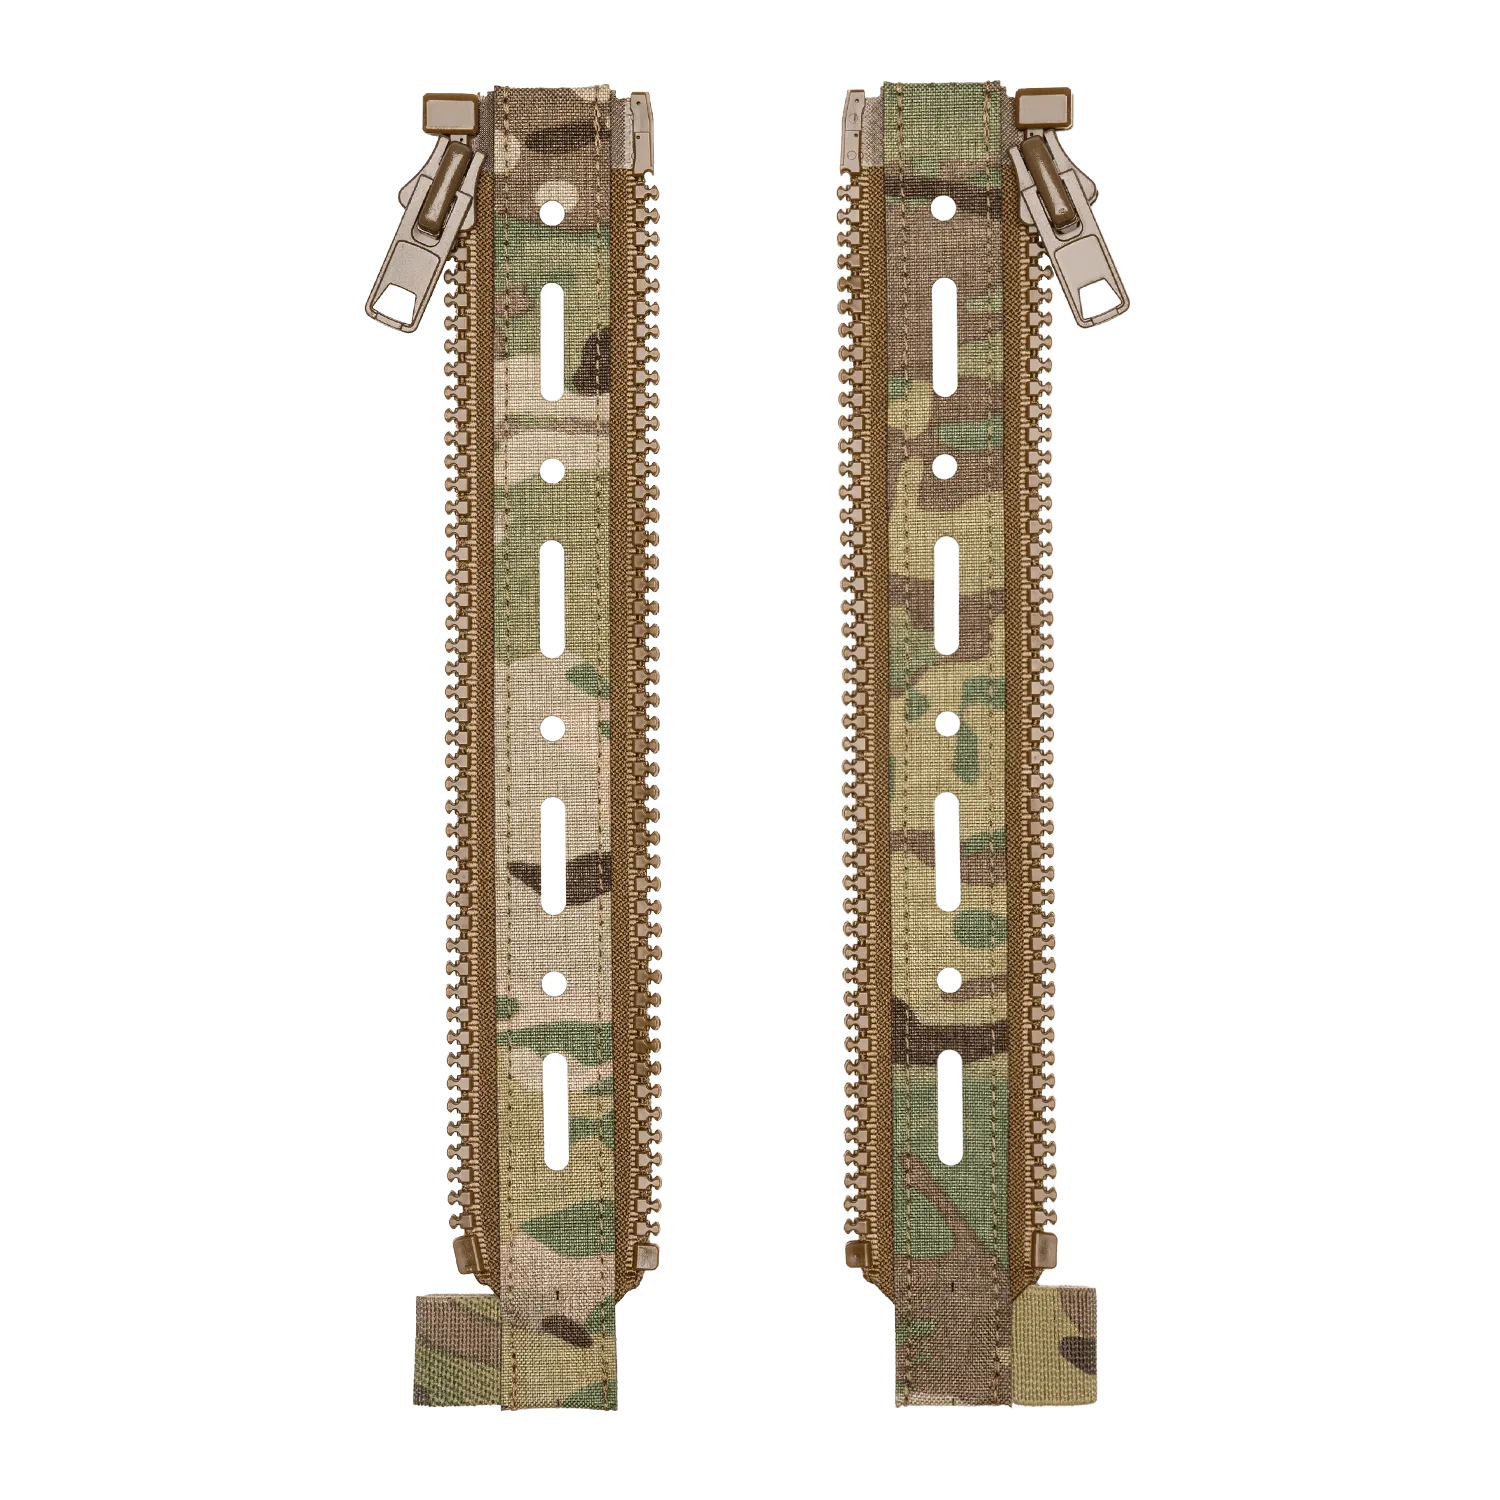
Consider the weight of the panel and how it affects your load distribution. A heavy groin panel can pull the front of your carrier down, causing discomfort. To counterbalance this, you might want to add weight to the rear of your carrier using accessories like the Back Panel Zipper Extension, which allows you to attach a backpack or additional pouches. This helps distribute the load evenly and keeps your carrier balanced.
Remember to test your setup in a safe environment before heading into the field. Perform squats, lunges, and walking to ensure the panel stays in place and doesn't shift. If you notice any chafing or discomfort, make small adjustments to the strap tension or the panel's position.
- Practice sitting and kneeling to ensure the groin panel doesn't cause discomfort.
- Use a knife or multi-tool to trim excess strap length after securing the panel.
Enhancing Your Groin Protection Setup
While a basic groin panel provides good coverage, you can enhance your setup with additional accessories. For example, you can attach a holster or a small pouch to the groin panel using MOLLE, giving you easy access to essential gear. The KnifenookTM is a great addition for carrying a knife or multi-tool, and it can be mounted on the groin panel for quick access.
If you're using a Ferro Concepts plate carrier, you can also consider adding a chest rig or other modular components to create a complete system. The ADAPT system allows you to switch between different configurations, so you can tailor your groin protection to the mission at hand. Whether you're running a light patrol or a full combat load, having a properly attached groin panel is essential for safety.
- Attach a small utility pouch to the groin panel for carrying medical supplies or tools.
- Use a retention lanyard to secure the groin panel to your belt for added stability.
Attaching a groin panel MOLLE to your plate carrier is a straightforward process that can significantly enhance your protection and mission readiness. By following the steps outlined in this guide, you can ensure a secure and comfortable fit. For high-quality plate carriers and accessories designed to work seamlessly with groin panels, explore the Ferro Concepts product line, including the Slickster and FCPC, and consider adding the 3" Assault Cummerbund V1 to your setup for optimal integration.