Quick answer
Attach a Strider Number Plate to the front of the handlebar stem using the included zip ties. It takes about two minutes and requires no tools.
Why add a number plate?
A number plate instantly transforms a regular balance bike into something that looks race-ready. It's a simple way to make backyard pump tracks or neighborhood races feel more official and exciting for your little rider.
The Strider Number Plate is designed as a blank canvas. Kids can decorate it with stickers or markers, turning the bike into a personal project. It's an easy arts and crafts activity that adds ownership and pride.
Step-by-step attachment guide
- Position the number plate: Place the number plate against the front of the handlebar stem, centered and facing forward. The plate should sit flat against the stem, not tilted. Make sure the plate is straight before tightening. A crooked plate is harder to fix after the ties are snug.
- Thread the zip ties: Insert one zip tie through the top pair of slots on the plate, wrap it around the handlebar stem, and pull it through the buckle. Repeat with the second zip tie through the bottom slots. Do not fully tighten the first zip tie until both are in place. This lets you adjust the plate's position easily.
- Tighten and trim: Pull both zip ties snug so the plate is secure against the stem. The plate should not wiggle when you gently shake it. Trim any excess zip tie length with scissors. Avoid overtightening—you could crack the plastic plate or damage the stem's finish. Snug is enough.
Product details
-
Strider Number Plate: The Strider Number Plate is an accessory that makes backyard pump tracks and neighborhood races feel more official. It can be decorated with stickers for a custom design. This lets your child personalize their bike easily, turning a simple accessory into a fun craft project that builds excitement for riding.
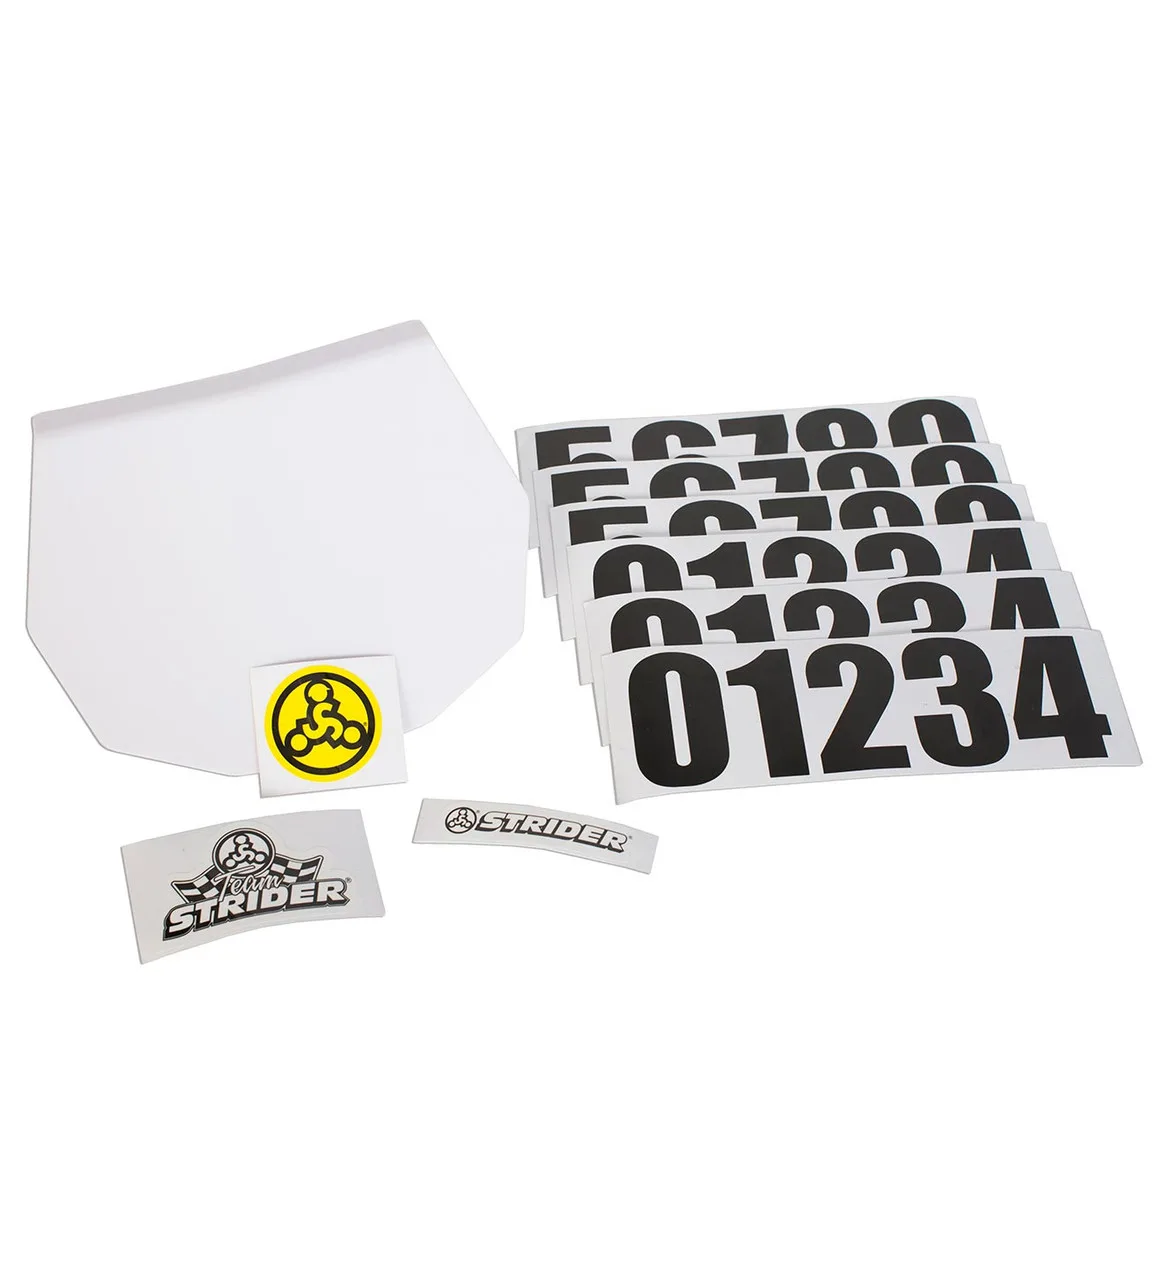
Strider Number Plate