Quick Answer
To attach a surf leash, first secure the rail saver loop to your board's leash plug, then thread the leash cord through it and pull tight. Next, place the ankle strap above your ankle bone on your back leg, adjust for a snug fit, and ensure the leash is free of twists before entering the water.
A properly attached surf leash is essential for safety and convenience. Whether you're riding a fish or a longboard, knowing how to attach the leash correctly prevents board loss and reduces the risk of injury to yourself and others. This guide walks you through each step, highlighting common mistakes to avoid.
Dakine surf leashes are known for their durability and performance, but even the best leash won't work if it's not attached correctly. We'll cover both board and ankle attachment, with practical tips to ensure your leash stays secure session after session.
Understanding Your Surf Leash Components
Before you attach a surf leash, it helps to know its parts. A typical surf leash includes a rail saver (a padded loop that goes around the board), a urethane cord that connects to the leash plug, and an ankle cuff with a strap. The rail saver protects your board's rail from friction, while the cord provides the stretch that keeps the leash from snapping under tension.
Dakine leashes, like the Coiled Bicep Leash (Small) 4' X 1/4", use a proven urethane cord that is soft, flexible, and secure. While that particular model is designed for bodyboarding and attaches to the bicep, the same principles apply to standard surf leashes: ensure the cord is properly secured to the board and the cuff is snug on your body.
- Always inspect your leash for wear before attaching it.
- Check that your board's leash plug is free of debris.
Attaching the Leash to Your Board
Start by threading the rail saver loop through the leash plug on your board. The leash plug is typically located on the tail, either on the deck or the rail. Once the loop is through, pass the rest of the leash (cord and cuff) through the loop and pull it tight. This creates a secure attachment that won't slip off.
Ensure the rail saver sits flat against the rail to minimize friction and wear. Some surfers prefer to route the leash over the tail for less drag, but the standard rail attachment is fine for most conditions. Double-check that the cord is not twisted around the rail saver, as this can cause unnecessary stress.
- Common mistake: attaching the leash to the fin box – always use the leash plug.
- Checkpoint: give the leash a firm tug to confirm it's locked in place.
Securing the Ankle Strap
The ankle strap should be worn on your back leg (the leg that is at the back of the board when riding). Position the cuff so it sits above the ankle bone, on the lower calf. Thread the strap through the buckle and pull it snug, but not so tight that it cuts off circulation. You should be able to slide a finger between the strap and your skin.
Make sure the leash cord is facing outward, away from your other leg, to prevent tangling. Also, check that the strap is not twisted. A twisted strap can cause discomfort and may weaken the closure over time. Once adjusted, give it a gentle pull to ensure it stays in place.
- Common mistake: wearing the leash on your front leg – always use the back leg.
- Checkpoint: rotate your ankle to ensure the strap doesn't slip.
Final Checks Before Paddling Out
Before you hit the water, do a final inspection. Verify that the leash is not wrapped around your board or your body. Hold the board by the nose and let the leash uncoil naturally. If there are any twists, undo them by spinning the leash around the rail saver.
Also, confirm that the leash cord is not frayed and the cuff is securely fastened. If you're using a Dakine leash, the quality of the components gives you confidence, but regular maintenance is still key. After your session, rinse the leash with fresh water to remove salt and sand.
- Common mistake: paddling out with a twisted leash – always untwist before entering the water.
- Checkpoint: do a final tug on both the board attachment and ankle strap.
Step-by-Step Leash Attachment
- Inspect your leash: Check the cord, rail saver, and ankle strap for any signs of wear, fraying, or damage. If you see cracks in the urethane or the strap is weak, replace the leash before your session. A damaged leash can break at the worst moment – replace if in doubt.
- Attach the rail saver to the board: Thread the rail saver loop through the leash plug on your board's tail. Pull the entire leash through the loop and tighten until it sits snugly against the rail. Make sure the rail saver is flat against the rail to avoid friction damage.
- Secure the ankle strap: Place the cuff on your back leg, just above the ankle bone. Thread the strap through the buckle and pull it snug – you should be able to fit one finger underneath. The leash should be on your back leg to avoid tripping while walking.
- Untwist the leash: Hold the board by the nose and let the leash hang. If it twists, spin the board or the leash to remove any kinks. A twisted leash can tangle and cause drag in the water. A straight leash reduces tangles and makes paddling easier.
- Test the connection: Give the leash a firm tug at both the board and ankle attachments. Ensure the rail saver doesn't slip and the ankle strap stays in place. Also, double-check that the leash plug is securely mounted in your board. A quick test now prevents a swim after your board later.
Product Facts
- Coiled Bicep Leash (Small) 4' X 1/4": A bicep leash for body boarding. Features the same proven urethane cord used in our surfboard leashes. The molded neoprene bicep cuff conforms to your arm, and the cord is soft, flexible and secure. For bodyboarders, attaching the leash to the bicep rather than the ankle keeps the cord out of the way and reduces drag. The soft cuff and flexible cord ensure comfort and security during rides.
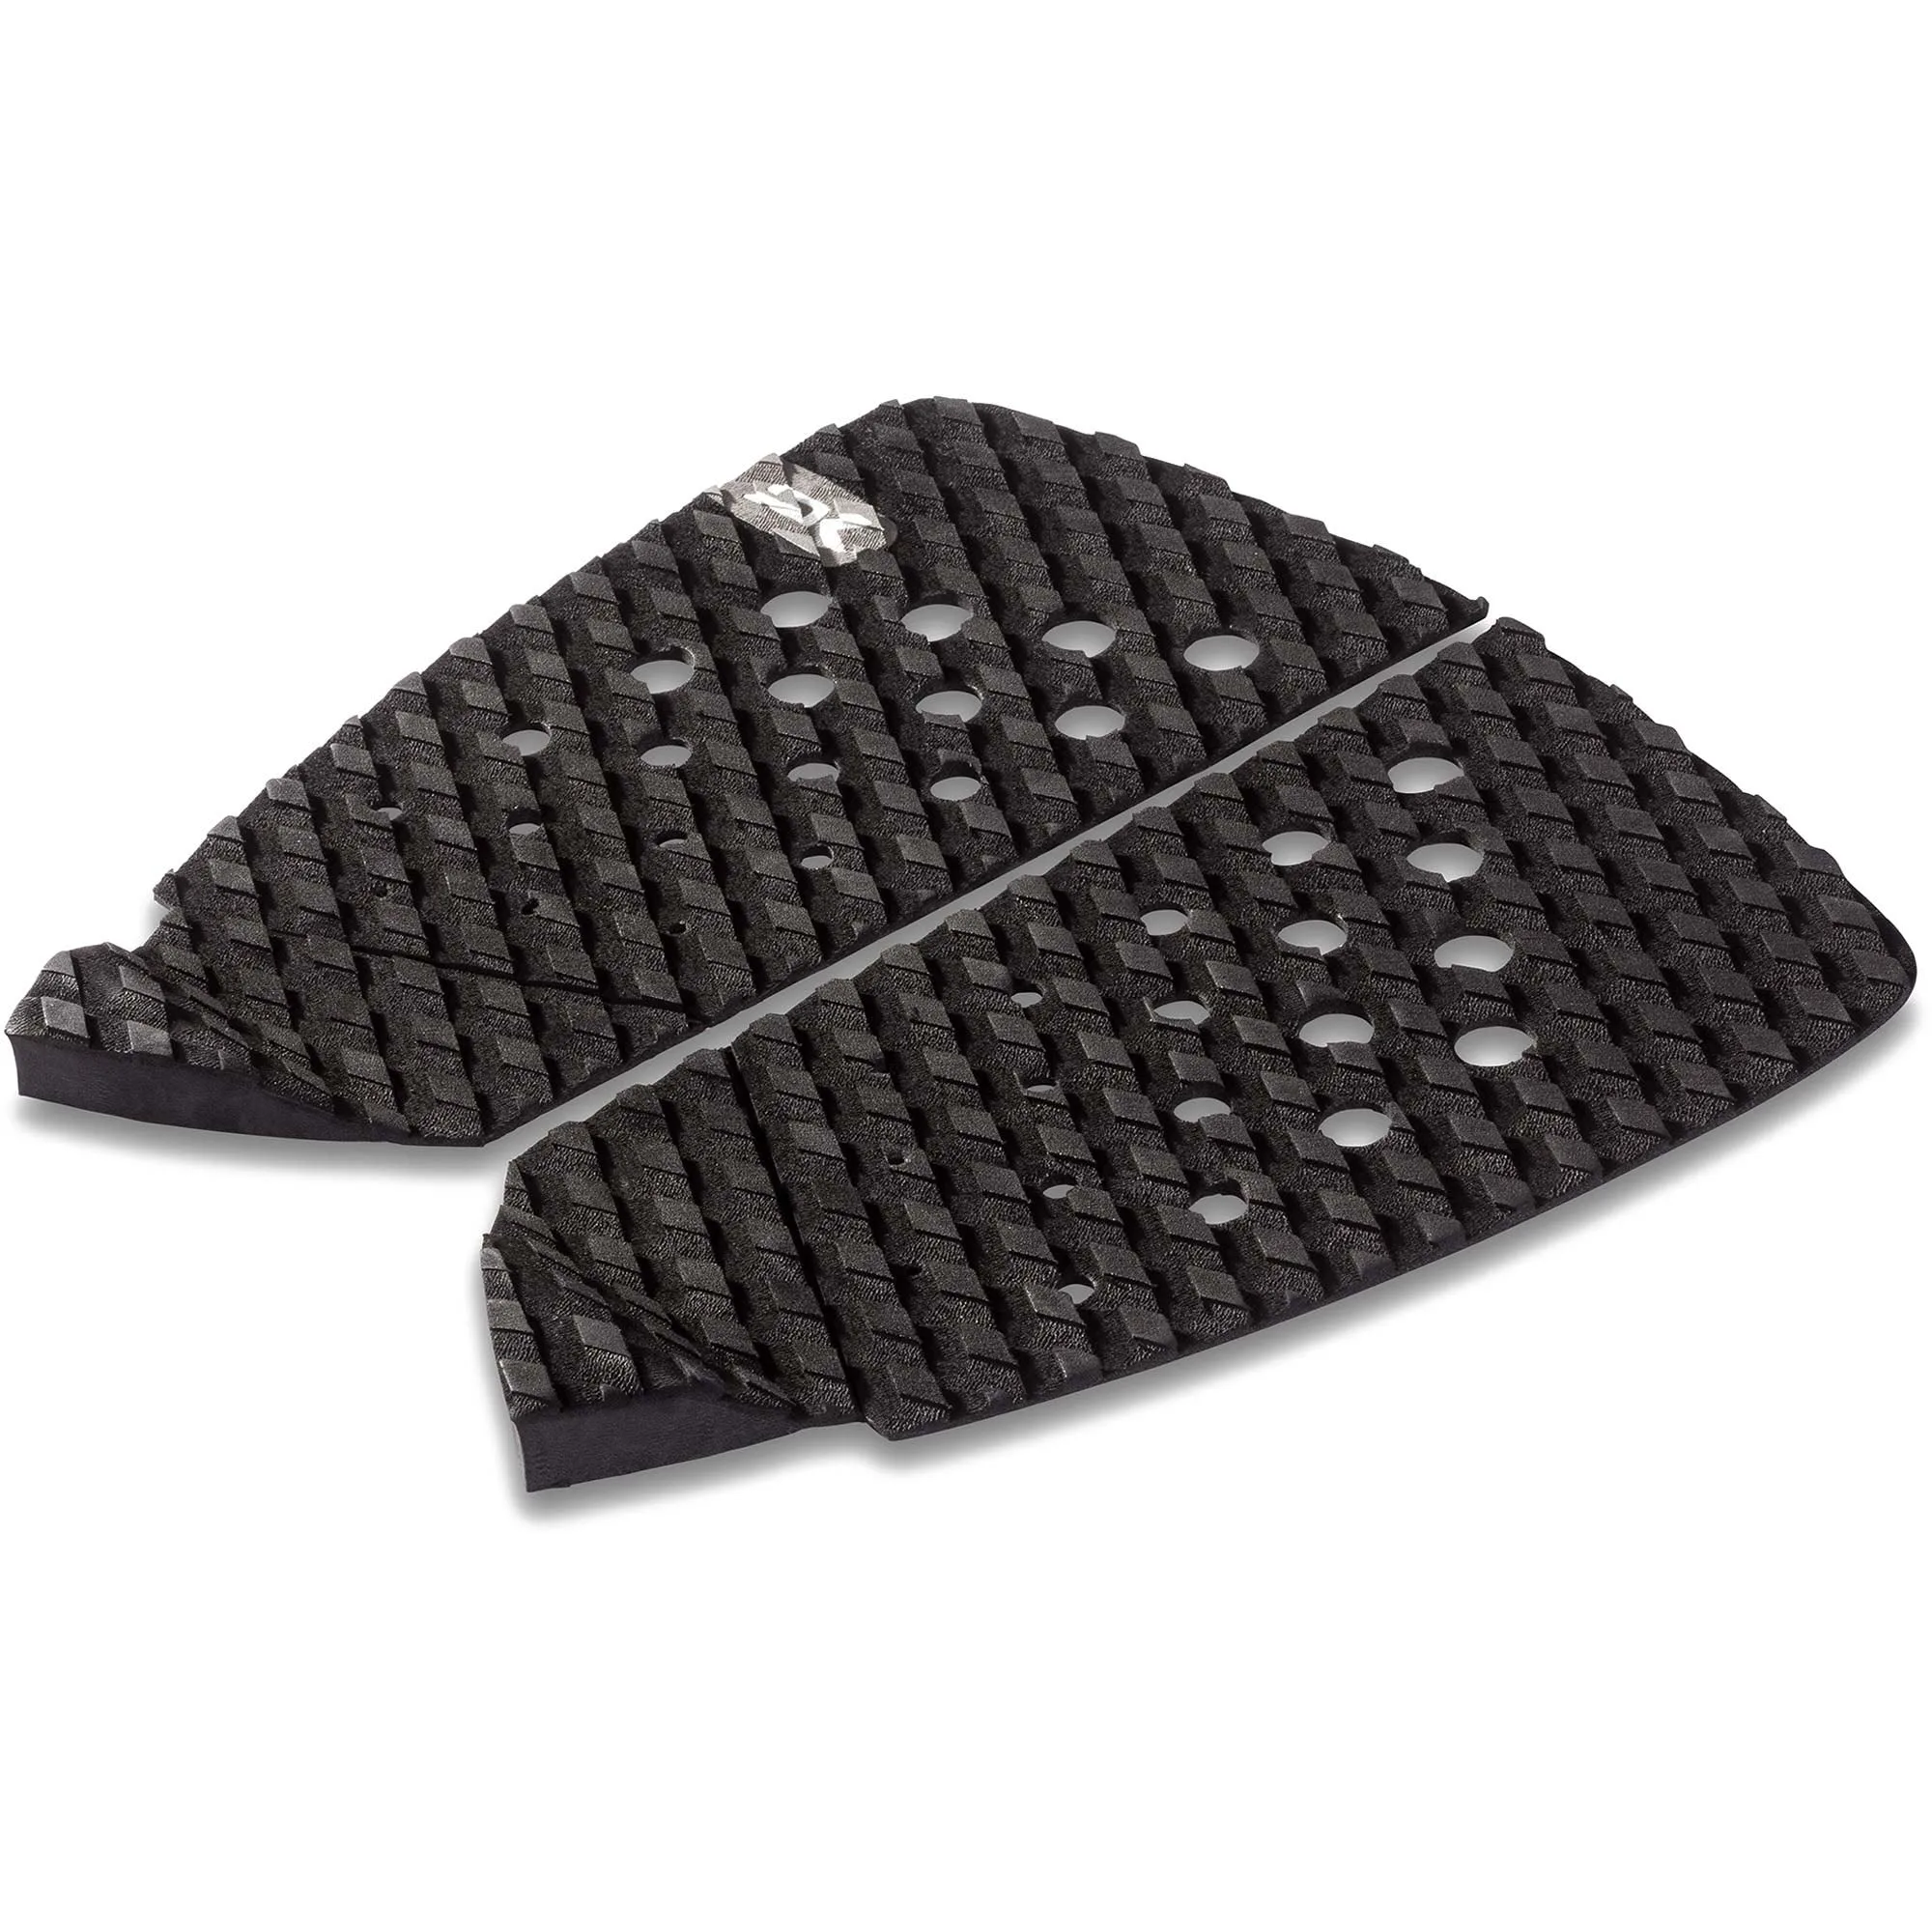
- Retro Fish Surf Traction Pad: Minimalism maximized in a traction pad for fish surfboards with wide swallowtails. Features a flat, zero-arch design with 20mm wedge kick for a minimalist feel and aesthetic that offers ample grip and control. While not a leash, a traction pad gives your back foot a stable platform, which is crucial when you're stepping back to kick out or perform maneuvers. Proper footing reduces the chance of slipping and putting undue stress on your leash.
Attaching a surf leash correctly is a simple skill that greatly improves your safety and peace of mind in the water. By following these steps and checking for common mistakes, you'll ensure a reliable connection between you and your board. Remember to rinse your leash after each use and inspect it regularly for wear. For added comfort and control, consider pairing your leash with a traction pad that suits your board style. Now you're ready to paddle out with confidence.