Quick Answer
To attach webbing to a bag, cut your webbing to length, finish the raw edges, and secure them with hardware like swivel hooks or D-rings. Use a heavy-duty needle and reinforce your stitching with a box stitch for durability.
Webbing straps are a practical and stylish choice for handmade bags, offering strength and a clean, sporty look. Whether you're adding handles to a tote or creating an adjustable crossbody strap, knowing how to attach webbing correctly ensures your bag is comfortable and long-lasting.
This guide walks you through the process step by step, from cutting to final stitching, and highlights common mistakes to avoid. We'll also touch on how to pair webbing with hardware like swivel hooks and D-rings for added functionality.
Choosing the Right Webbing and Hardware
Before you start, consider the width and material of your webbing. Common widths are 1 inch and 1/2 inch, and the hardware you choose must match. For example, a 1-inch swivel hook pairs with 1-inch webbing, while a 1/2-inch hook suits narrower straps. Check your bag pattern for specific requirements, as some patterns call for particular hardware sizes.
Hardware like swivel hooks and D-rings not only attach webbing but also add functionality. Swivel hooks allow you to remove straps and prevent twisting, while D-rings provide a fixed attachment point. Having the right hardware on hand before you sew saves time and frustration.
- Always match hardware size to webbing width.
- Pre-wash webbing if it's cotton to prevent shrinkage later.
Preparing Your Webbing
Cut your webbing to the desired length, adding a few extra inches for seam allowance and folding. For straps that will be attached with hardware, you'll need to fold the webbing over the hardware and stitch. Use a hot knife or a lighter to melt the cut ends of synthetic webbing to prevent fraying; for cotton webbing, you can finish the edges with a zigzag stitch.
If your bag pattern includes a slider buckle for adjusting strap length, thread the webbing through the buckle before sewing. This step is easier to do before attaching the webbing to the bag.
- Melt synthetic webbing ends for a clean finish.
- Test the strap length by pinning it to the bag first.
Attaching Webbing to Hardware
To attach webbing to a swivel hook or D-ring, fold the webbing over the hardware ring, leaving about 1 inch of overlap. Pin it in place, then sew a box stitch (a rectangle with an X inside) across the overlap. This stitch is strong and distributes weight evenly. Use a heavy-duty needle and polyester thread for durability.
If you're using a slider buckle to make the strap adjustable, thread the webbing through the buckle and fold it back, then sew. Make sure the buckle slides freely before you finalize the stitching.
- Use a box stitch for maximum strength.
- Backstitch at the start and end of every seam.
Securing Webbing to the Bag
When attaching webbing directly to the bag, position the straps evenly and pin them in place. Sew them securely with a box stitch, reinforcing the area where the strap meets the bag. If your bag has a lining, you can insert the webbing between the outer fabric and lining before sewing for a cleaner finish.
For bags with D-rings on the sides, attach the webbing to the rings first, then sew the rings to the bag. This method allows you to change straps easily.
- Mark the strap placement with chalk before sewing.
- Test the bag's balance by holding it with the straps pinned.
Step-by-Step Webbing Attachment
- Cut and Prepare Webbing: Cut webbing to your desired length, adding extra for overlap. Melt or finish the ends to prevent fraying. Checkpoint: Ensure ends are clean and won't unravel.
- Attach Hardware (if using): Fold webbing over the hardware ring (e.g., swivel hook, D-ring) and pin. Sew a box stitch across the overlap. Common mistake: Forgetting to backstitch, which can cause seams to pull out.
- Position Straps on Bag: Pin straps to the bag at marked positions, ensuring they are even and balanced. For a cleaner look, insert ends between outer fabric and lining. Checkpoint: Try the bag on or hold it up to test strap placement.
- Sew Straps Securely: Stitch a box stitch with an X across each strap end. Use a heavy-duty needle and reinforce with multiple passes if needed. Common mistake: Using a regular needle that breaks on thick webbing.
- Test and Finish: Give the straps a firm tug to test strength. Trim any loose threads and press the seams flat. Checkpoint: Straps should feel secure and comfortable.
Hardware and Patterns to Help You Get Started
- Two Tula Pink 3/4" Swivel Hooks: Swivel hooks are a functional piece of hardware and add a bit of bling to your handmade bags. You can attach swivel hooks to your straps and handles to give you the option to remove the straps. Because this hardware rotates, your straps are less likely to twist and knot, so your bag is much more comfortable to carry. Using swivel hooks with your webbing straps makes them removable and prevents twisting, which is especially useful for crossbody bags.
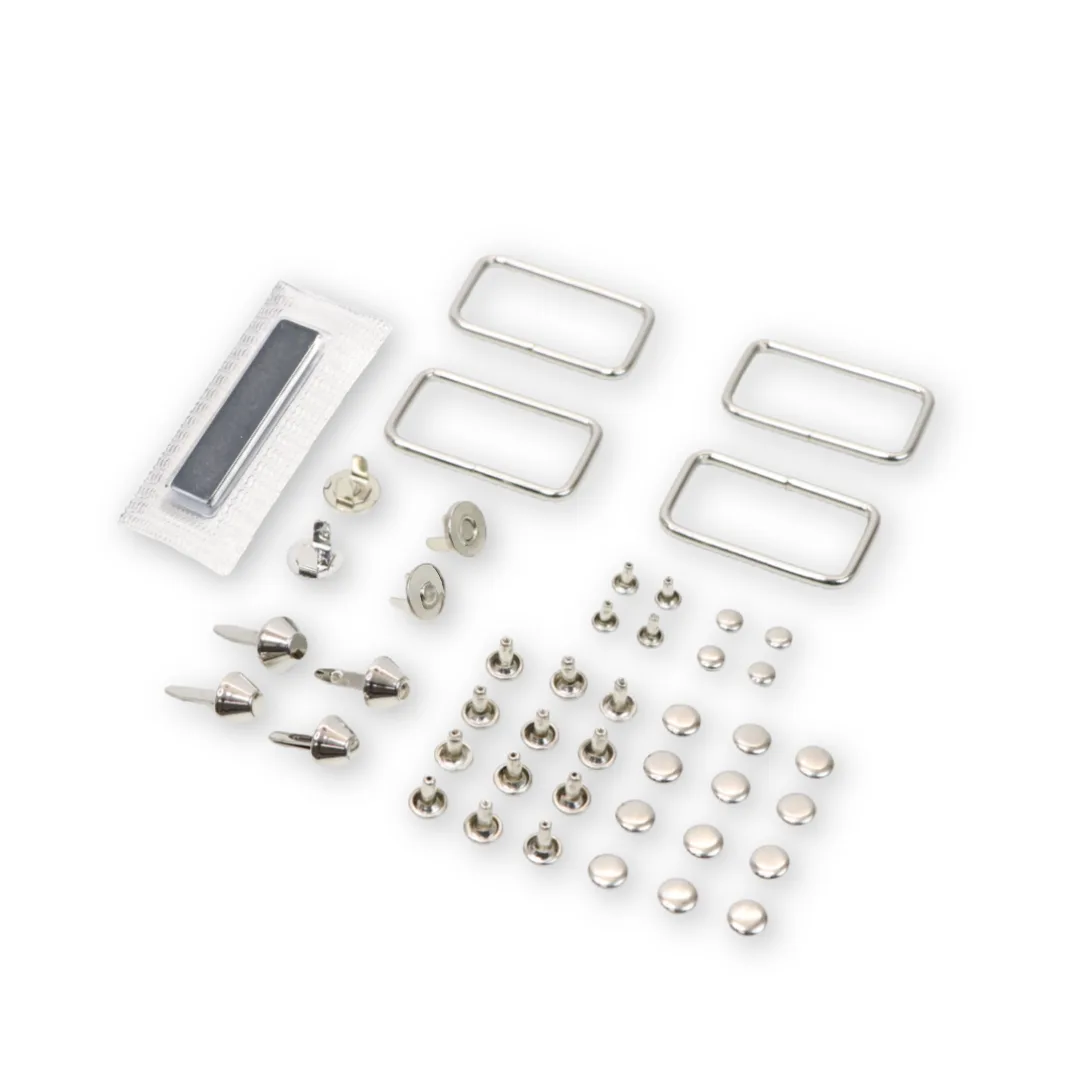
- 1" Style 1 Basic Hardware Kit: We've made it easy for you by putting together a professional-looking Basic Hardware Kit in a variety of sizes! Now, all of the basic pieces of hardware to make a bag are included in one kit. You will need to check the back of your pattern for specific requirements. Included in Hardware Kit: (1) 1" Slider Buckle, (2) 1" Rectangle Rings. This kit provides the essential hardware for making adjustable straps with 1-inch webbing, so you don't have to source pieces separately.
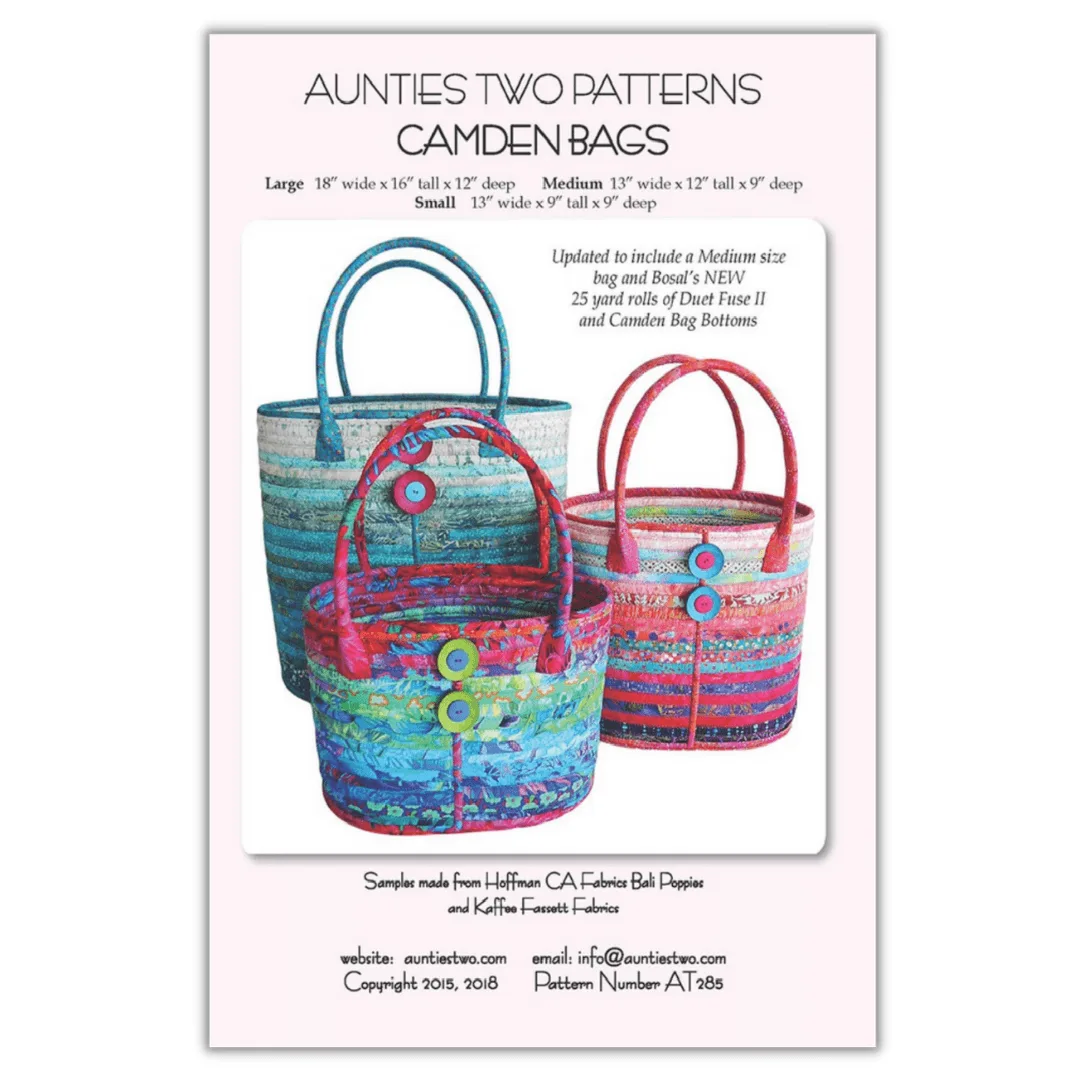
- Camden Bags Pattern: Beautiful zigzag stitched bags. No Shaping Required! Simply made from a rectangle for the sides and an oval for the bottom. Instructions have been updated to include a new Medium size tote bag - a taller version of the Small Camden tote bag. This pattern is ideal for practicing webbing strap attachment, as its simple construction lets you focus on getting the straps right.
Attaching webbing to a bag is a straightforward skill that adds both function and style to your handmade projects. With the right hardware and a few simple stitching techniques, you'll create straps that are strong, comfortable, and built to last. For more inspiration, check out our patterns and hardware kits to start your next bag project.