Quick answer
To block needlepoint, mist the canvas lightly with cool water, pin it face down on a corkboard or foam board using rustproof tacks, and let it dry completely. This relaxes the fibers and pulls the canvas back to square. Always block before finishing, and never use heat or soak the piece.
Your last stitch is in, but the canvas looks more like a potato chip than a square. That waviness is normal. Stitching pulls the mesh, and different threads relax at different rates. Blocking is the fix: it re-squares the canvas so your finished piece lies flat in a frame or pillow.
This guide walks you through blocking needlepoint canvas at home with tools you likely already own. You will also see why some kits resist warping better than others, and how to tell when a canvas is beyond saving.
Why needlepoint canvas warps (and when to block)
Canvas warps because tension is uneven. Every stitch pulls the mesh slightly, and denser stitches or heavier threads pull harder. Basketweave tends to keep better tension than Continental, but any stitched piece can skew. The canvas itself also matters: interlock and mono canvases behave differently, and a tightly rolled canvas may arrive with a memory curl before you even start.
Block before finishing, not after. If you plan to frame, sew a pillow, or mount a round, block first so your measurements are true. A finished piece that is already backed or framed is much harder to correct. If you are working from a kit, check the instructions; many kits note whether blocking is recommended for that canvas and thread combination.
- Block as soon as you finish stitching, before any finishing steps.
- If the canvas is only slightly wavy, a light mist and dry may be enough.
- If the canvas is badly skewed, block it twice with a full dry in between.
What you need for a needlepoint blocking tutorial at home
You do not need a professional setup. A corkboard or foam core board, rustproof tacks or stainless pins, a spray bottle with cool water, and a clean towel will do. Avoid anything that can rust, because rust stains are permanent on light canvas and threads. If you use a wooden board, cover it with a clean cloth first.
Work on a surface that can stay undisturbed for a day or two. Blocking works by drying under tension, so the piece needs to sit still. Do not rush it with a hair dryer or a hot iron. Heat can shrink wool and distort silk, and direct ironing can crush stitches.
- Rustproof tacks only; standard steel pins can leave rust marks.
- Use cool water, never hot, and never soak the canvas.
- Keep pets and kids away from the drying board.
How to block needlepoint canvas step by step
Start by misting the back of the canvas lightly. You want it damp, not wet. Lay it face down on the board and begin pinning from the center of each side outward. Pull gently toward the corners as you go. The goal is a square, not a stretched rectangle. If the canvas resists, add a little more moisture rather than more force.
Once all edges are pinned, check the corners with a ruler or a square. Measure diagonals: if they match, the canvas is square. Let it dry completely, which usually takes 24 to 48 hours depending on humidity. Then remove the pins. If it curls again, repeat the process. Most pieces hold after one or two rounds.
- Pin from the center out, not corner to corner.
- Mist the back, not the front, to avoid disturbing the stitches.
- Let it dry fully before unpinning; damp canvas will spring back.
Fixing wavy needlepoint and stubborn warping
Some canvases fight back. If the mesh is very open or the stitching is very dense, one blocking may not be enough. Try a second round with slightly more moisture and more pins. For severe warping, you can pin the canvas to the board and then place a clean, dry towel over it and press lightly with a warm iron, but never let the iron touch the canvas directly.
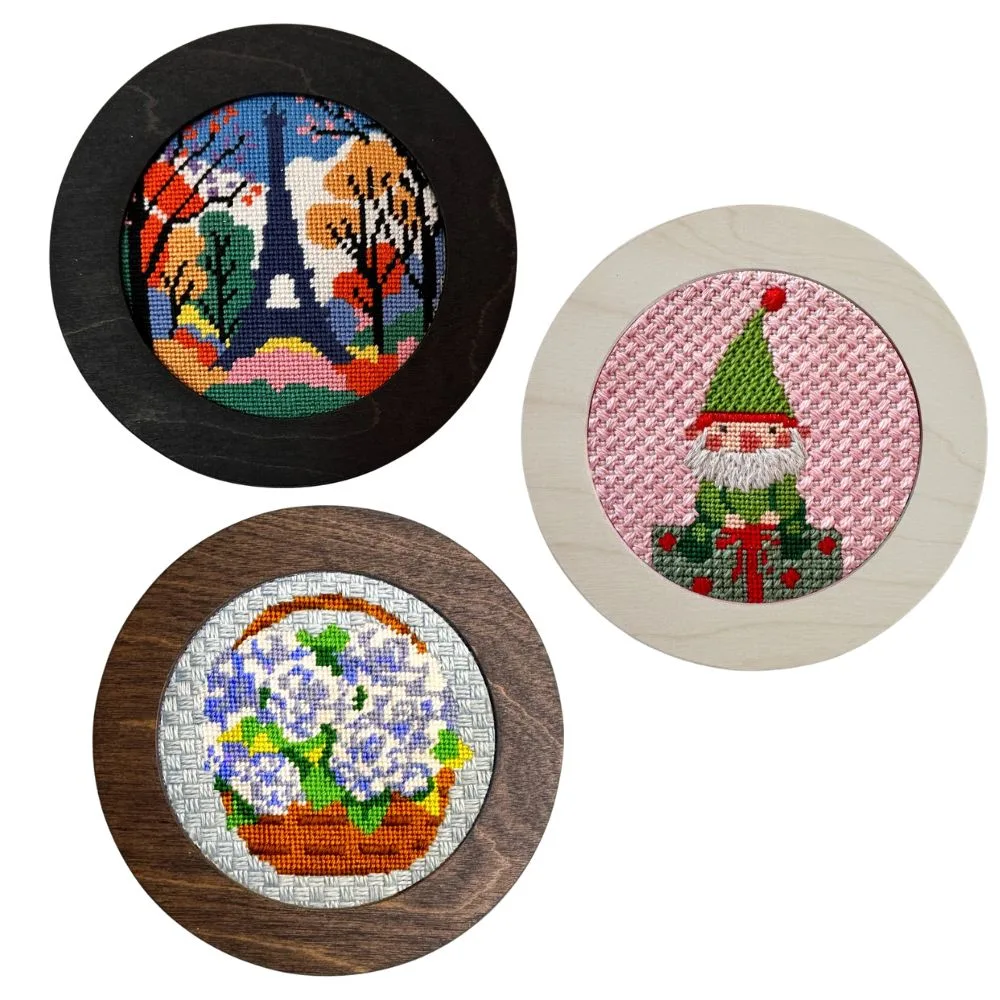
If the canvas still will not lie flat, consider whether the piece is meant to be stretched over a frame or mounted. A round design, for example, can be mounted in a frame that holds it flat. The Hydrangea Round + Frame Needlepoint Bundle includes a solid wood frame and a 4-inch round canvas, which is a self-finishing option that helps hold the shape without aggressive blocking.
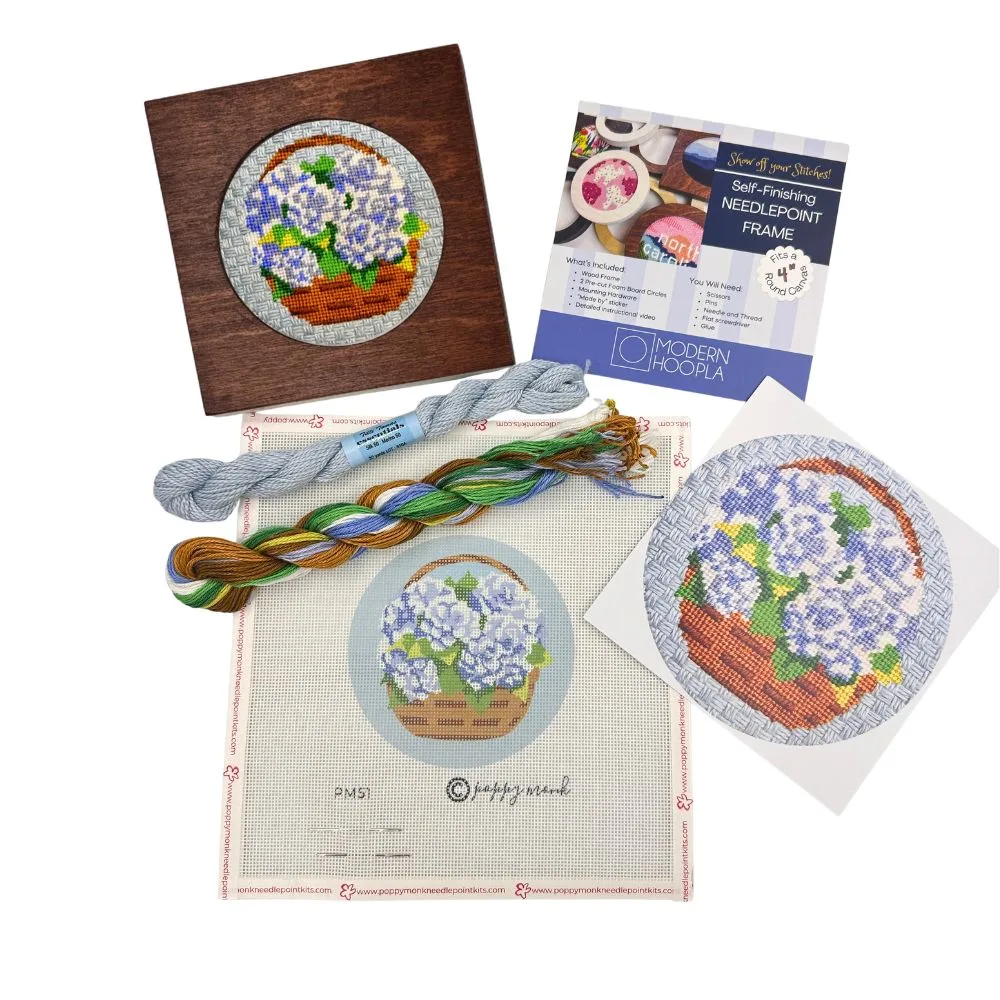
Hydrangea Round + Frame Needlepoint Bundle
- Second blocking round: more moisture, more pins, longer dry.
- Never iron directly on stitches; use a towel and low heat only if needed.
- If the canvas will be framed, slight waviness may disappear under mounting.
When to stop: knowing when a canvas is straight enough
Perfection is not the goal. The canvas needs to be square enough to finish cleanly, not mathematically perfect. Lay it on a flat surface and look at it from the side. If it lies flat with no rocking and the edges are straight, you are done. Small variations will not show once the piece is framed or sewn into a pillow.
If you are stitching a pillow kit, the finishing process itself can help. The Color Blocks Blue Needlepoint Pillow Kit uses a 14-inch by 14-inch interlock canvas, which tends to hold its shape well after blocking. Interlock mesh is less prone to distortion than mono, so you may need less aggressive pinning.
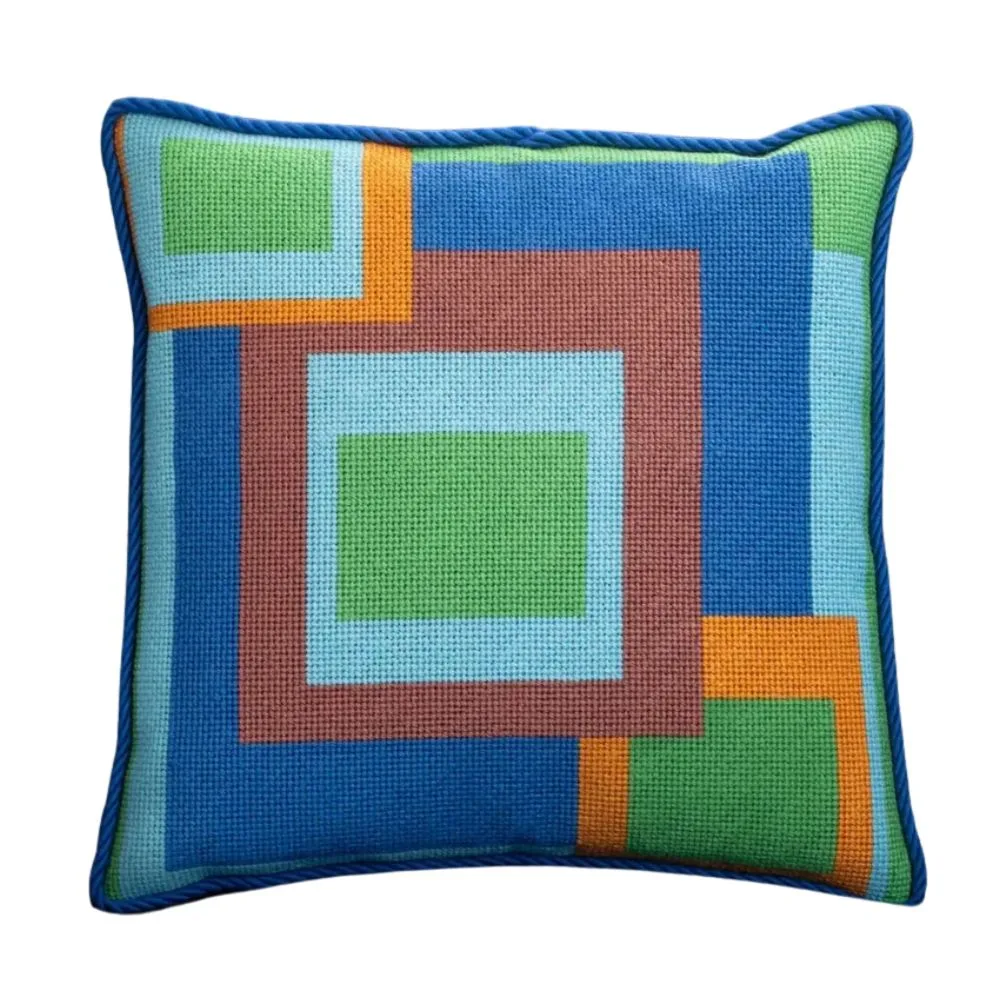
Color Blocks Blue Needlepoint Pillow Kit
- Check flatness by eye and by feel; a slight bow is usually fine.
- Interlock canvas often needs less blocking than mono canvas.
- If the piece will be backed or framed, prioritize flatness over perfect squareness.
Blocking checklist: steps and checkpoints
- Mist the back of the canvas: Use cool water in a spray bottle. Dampen the back evenly, not the front, and do not soak it. Checkpoint: the canvas should feel cool and slightly damp, not wet.
- Pin from the center out: Lay the canvas face down on a corkboard or foam board. Pin the center of each side first, then work toward the corners, pulling gently. Mistake to avoid: pinning corners first, which can stretch the canvas unevenly.
- Check for square: Measure the diagonals. If they are equal, the canvas is square. Adjust pins as needed. Checkpoint: equal diagonals mean a true square.
- Let it dry completely: Leave the canvas pinned for 24 to 48 hours in a well-ventilated area. Do not use heat or a fan directly on it. Mistake to avoid: unpinning too soon, which lets the canvas spring back.
- Unpin and evaluate: Remove the pins and lay the canvas flat. If it still curls, repeat the process with slightly more moisture. Checkpoint: the canvas should lie flat with straight edges. If not, block again.
Products that help with blocking and finishing
- Color Blocks Blue Needlepoint Pillow Kit: Includes an edge-taped 10-mesh interlock needlepoint canvas with a 14" x 14" abstract design, Appleton's 100% wool tapestry yarns, two stainless steel needles, and instructions. Interlock canvas holds its shape better than mono, so this pillow kit may need less aggressive blocking before you sew it up.
- Hydrangea Round + Frame Needlepoint Bundle: Includes a 4" diameter hydrangea design on 18-mesh mono canvas, Pepperpot Silk threads, two needles, and a solid wood frame. The included frame is a self-finishing option that can hold a round canvas flat, which helps if your blocking results are not perfectly square.
- Needlepoint Circle Frame | 3 Colors: A furniture-grade birch plywood frame, 0.75" thick, with a 3.8" center opening that fits a 4" round needlepoint canvas; includes two pre-cut foamcore mounting boards and mounting hardware. If you are blocking a round canvas, this frame gives you a clean way to mount it flat without stretching it out of shape.
Blocking is the quiet step that makes your finished needlepoint look polished. With cool water, rustproof pins, and patience, you can straighten wavy canvas at home and finish with confidence.