Quick Answer
To break in new hiking boots, start by wearing them around the house in short sessions, then progress to short outdoor walks on easy terrain. Gradually increase duration and difficulty over several days or weeks, and always wear proper hiking socks to minimize friction and prevent blisters.
New hiking boots often feel stiff and unforgiving, but a proper break-in period transforms them into comfortable, supportive partners on the trail. Rushing this process can lead to painful blisters and hot spots, cutting your hike short. With a patient, step-by-step approach, you can mold the boots to your feet and avoid common pitfalls.
Whether you've invested in a pair of sturdy leather boots or lightweight trail hikers, the break-in process is essential. It allows materials to flex, linings to settle, and your feet to adapt. Here's how to do it right.
Why Breaking In Matters
Breaking in new hiking boots is not just about comfort—it's about performance and safety. Stiff boots can cause friction, leading to blisters, while insufficient flexibility can reduce your stability on uneven terrain. A proper break-in period also helps you identify pressure points early, so you can address them with lacing adjustments or insoles before hitting the trail.
The time required varies by material. Leather boots typically need more time to soften and conform than synthetic or fabric boots. Boots with waterproof membranes like Gore-Tex may feel snugger initially, but they will still stretch slightly with wear. Patience is key: forcing the process can damage the boots or your feet.
- Always wear the same socks you plan to use on the trail during break-in sessions.
- Break in boots gradually over 1-3 weeks, depending on the material and your hiking frequency.
Common Mistakes to Avoid
Many hikers make the mistake of wearing new boots on a long hike right out of the box. This almost guarantees blisters and can even cause foot injuries. Another common error is skipping the break-in indoors, where you can quickly remove boots if discomfort occurs.
Avoid soaking your boots to speed up the process—this can damage materials and affect waterproofing. Also, don't ignore persistent pain; if a specific spot rubs constantly, consider using moleskin or adjusting your lacing technique rather than pushing through.
- Don't rush the process; gradual is better.
- Never use heat or water to force stretching.
Choosing the Right Socks
Your socks are just as important as the boots themselves. Opt for moisture-wicking hiking socks made of wool or synthetic blends. Avoid cotton, which retains moisture and increases friction. A good sock with a snug but not tight fit reduces movement inside the boot, lowering blister risk.
Consider sock thickness: thicker socks provide more cushioning but may make boots feel tighter. Test with the socks you plan to wear on the trail to ensure the fit is correct. If your boots are snug with thick socks, you may need a different size or a thinner sock.
- Carry an extra pair of socks on the trail to change if your feet get sweaty.
Step-by-Step Break-In Process
- Start Indoors: Wear your new boots around the house for short periods—30 minutes to an hour—while doing everyday activities. This initial step lets the materials begin to flex and helps you identify any immediate pressure points. Checkpoint: If you feel any hot spots, mark them and consider using padded insoles or adjusting lacing.
- Short Outdoor Walks: Once the boots feel comfortable indoors, take them on short walks on flat, easy terrain—around 1-2 miles. This exposes them to real-world conditions without overstressing your feet. Focus on maintaining a steady pace to allow the boots to flex naturally. Common mistake: Skipping this step and heading straight to a steep trail. Gradual progression is crucial.
- Increase Duration and Difficulty: Over the next week or two, gradually extend your walks and introduce moderate inclines and uneven surfaces. This helps the boots mold to your feet and improves your ankle stability. Aim to increase distance by no more than 10-20% each session. Checkpoint: After each session, inspect your feet for redness or blisters. If any develop, allow them to heal before continuing.
- Test on a Real Trail: Once you can walk comfortably for several miles on varied terrain, take your boots on a short, familiar trail (3-5 miles) with a light pack. This simulates actual hiking conditions and reveals any remaining issues. Pay attention to downhill sections where feet slide forward. Common mistake: Overlooking downhill fit. Use a heel-lock lacing technique to secure your foot.
- Post-Break-In Care: After the break-in period, clean and condition your boots according to the manufacturer's recommendations. This maintains material flexibility and waterproofing. Store them in a cool, dry place away from direct heat. Checkpoint: Your boots should now feel like a second skin. If they still cause pain, consider professional fitting or a different model.
Product Facts
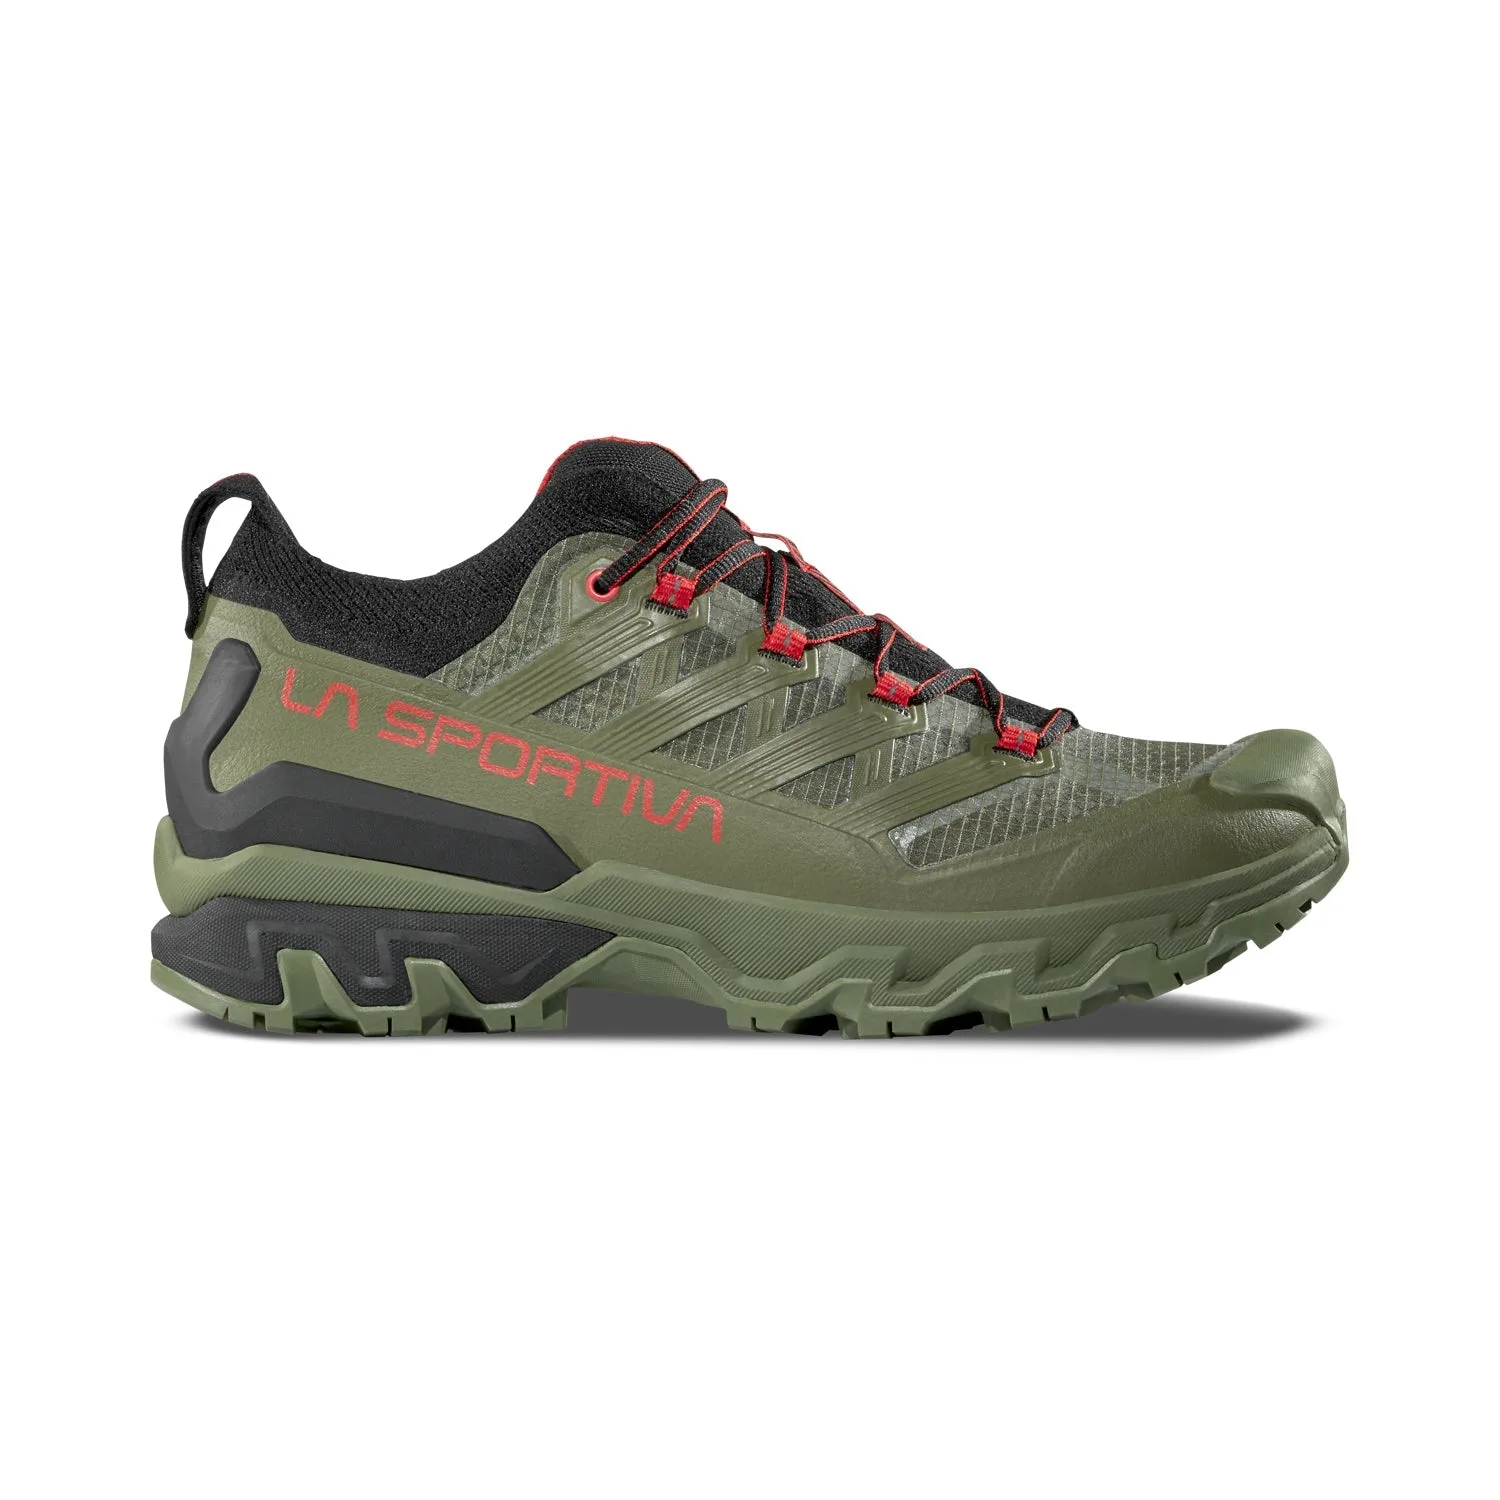
- https://lasportivausas.com/products/ultra-raptor-3-gtx-c396a4478158bb77f6056058-891084Ultra Raptor 3 GTX: The Ultra Raptor 3 GTX builds on the legendary performance of the iconic Ultra Raptor Mid, delivering exceptional versatility in a lighter, faster low-cut design. Ideal for hikers and adventurers who value trail-running agility; this shoe excels on technical trails and fast-paced outings. The durable synthetic ripstop upper paired with a waterproof Gore-Tex® ePE Extended Comfort lining keeps feet comfortably dry. This low-cut design offers a quicker break-in period than high-top boots, while the Gore-Tex lining keeps feet dry during wet trail sessions. Its trail-running agility means you can start with short, fast outings to ease into the fit.
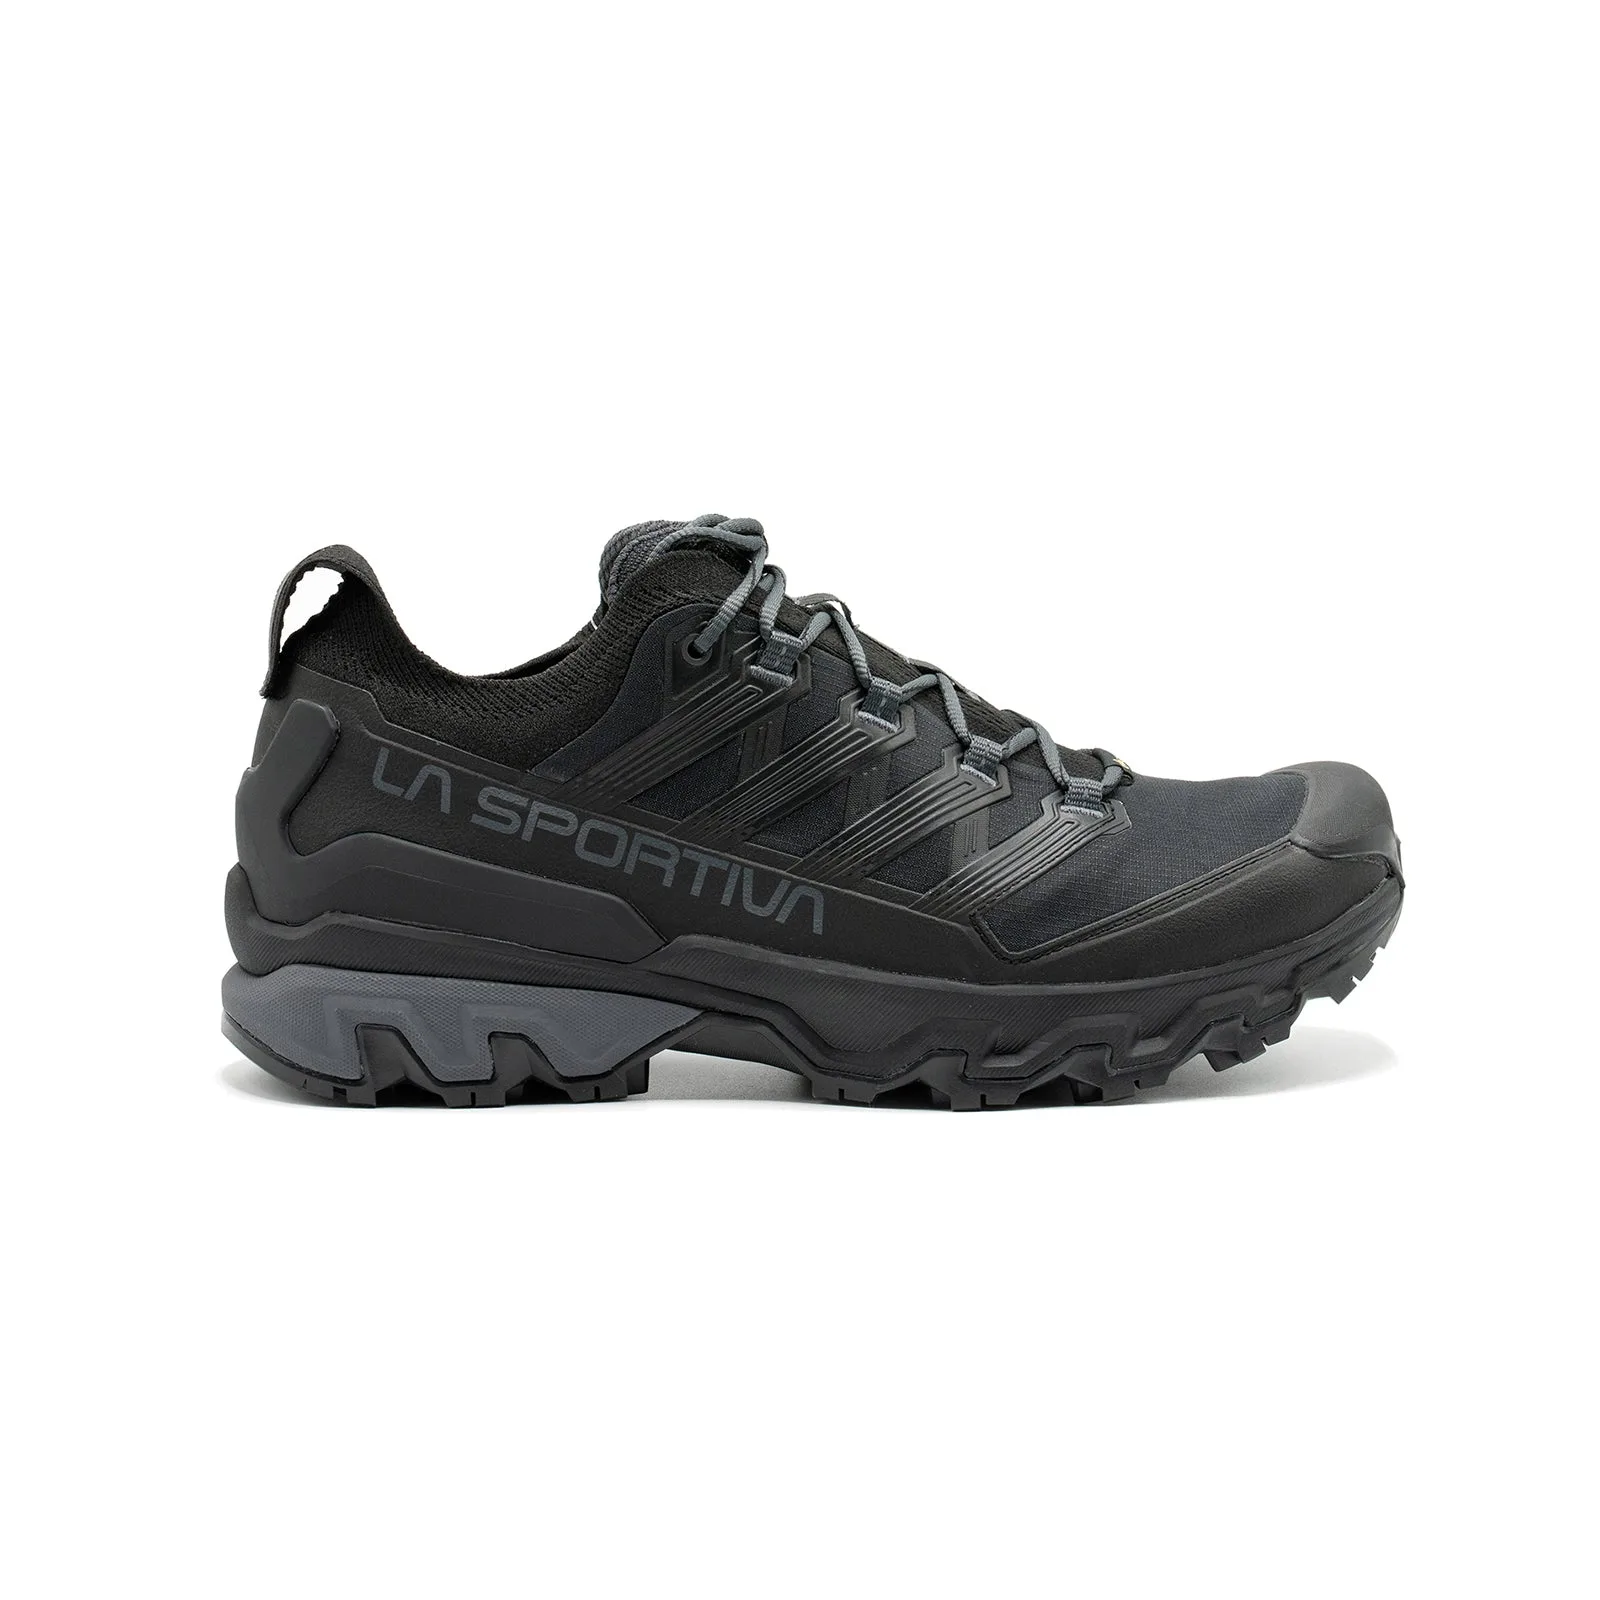
- Ultra Raptor 3: The Ultra Raptor 3 delivers outstanding breathability and versatility for hikers and adventurers seeking a lightweight, fast-moving trail companion in warmer conditions. Built upon the legendary heritage of La Sportiva’s iconic Ultra Raptor series, this shoe pairs exceptional breathability with rugged durability, ensuring cool comfort on hot-weather hikes and intense adventures. Its abrasion-resistant ripstop... In warm weather, breathable boots like the Ultra Raptor 3 reduce sweat and friction, helping you avoid blisters during the break-in process. The lightweight construction also makes it easier to gradually increase your mileage without fatigue.
Breaking in new hiking boots takes time, but it's a worthwhile investment in your comfort and safety. By following these steps and listening to your feet, you'll hit the trail with confidence, ready to enjoy every step. Remember, patience now prevents pain later.