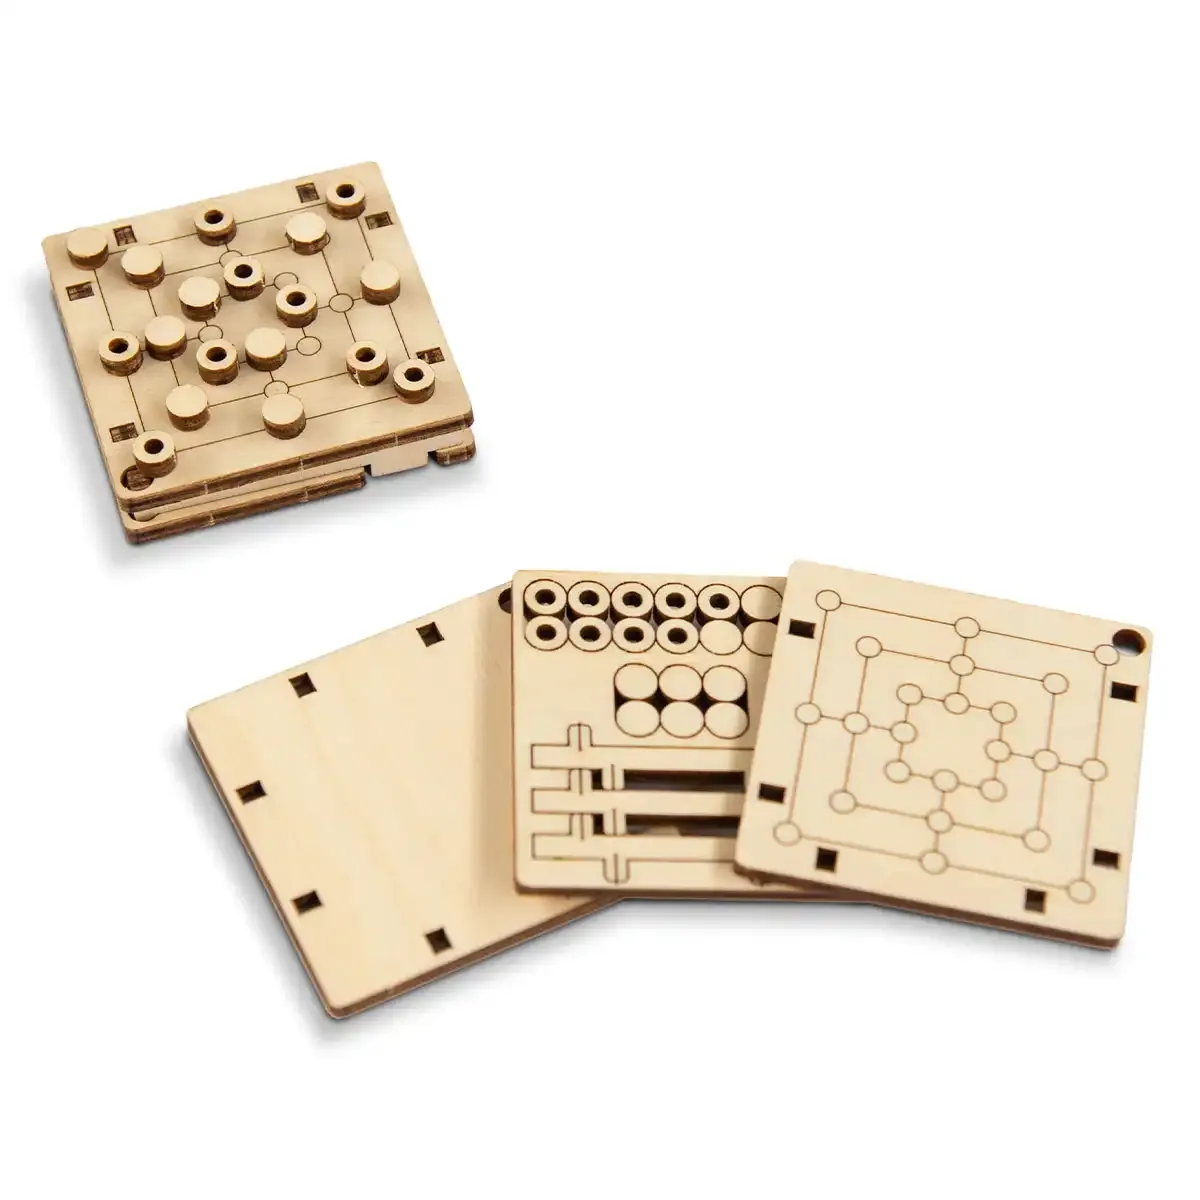
Quick Answer
To build a 3D wooden puzzle, start by sorting pieces, read the instructions carefully, and assemble layer by layer using the numbered tabs. Use a gentle touch and test-fit pieces before applying glue, then finish with a sealant if desired. Patience and a clean workspace are your best tools.
Building a 3D wooden puzzle is a rewarding challenge that combines precision, patience, and a bit of engineering thinking. Unlike flat jigsaws, these puzzles require you to interlock tabs, slots, and sometimes even gears to create a standing structure. For beginners, the process can feel overwhelming at first, but with a clear plan, you’ll be surprised how quickly the pieces come together.
This guide walks you through the entire process—from unboxing to final touches—so you can enjoy the build without frustration. We’ll cover essential preparation, step-by-step assembly, common pitfalls, and finishing options to make your model look great on display.
Prepare Your Workspace and Tools
Before you open the puzzle bag, set up a clean, flat surface with good lighting. A large table or desk works best, and you may want to use a soft mat to prevent scratches. Keep a small container or tray for loose pieces, and have a pair of tweezers or a craft knife on hand for lifting and separating pieces without damaging them.
Most 3D wooden puzzles come with pre-cut sheets and an instruction manual. Some kits include sandpaper, but if not, a fine-grit sandpaper is useful for smoothing any rough edges. You’ll also need a non-toxic wood glue if you plan to make the model permanent, and optionally a sealant or wax for finishing.
- Use a tray with dividers to sort pieces by sheet or number.
- Keep a damp cloth nearby to wipe off excess glue quickly.
Sort and Identify the Pieces
Open the package and lay out all the wooden sheets. Carefully punch out the pieces, following the perforations. Work on one sheet at a time to avoid mixing up parts. Most kits have numbered or lettered pieces that correspond to the instruction diagrams, so take a moment to sort them into groups.
As you punch out pieces, check for any burrs or rough edges. Use sandpaper to smooth them if needed. This not only makes assembly easier but also prevents splinters. Keep the instruction manual close and refer to it constantly—each piece has a specific place and orientation.
- Sort pieces by number or letter groups to speed up assembly.
- If a piece feels tight, sand lightly rather than forcing it.
Follow the Manual Step by Step
The instruction manual is your roadmap. Each step shows which pieces to connect and how. Start with the base or the largest structural piece, as it provides stability for the rest of the build. Insert tabs into slots at the correct angle—usually straight down or at a slight tilt—and press firmly but gently.
Do not rush. If a connection seems too tight, check that you’re using the correct pieces and orientation. Forcing pieces can break the tabs. If a piece is too loose, you can apply a tiny drop of wood glue to secure it permanently. Remember that some connections are meant to be temporary during assembly, so follow the manual’s order.
- Work in a well-lit area to see the tiny numbers and tabs clearly.
- Take breaks if you feel frustrated—fresh eyes help.
Test-Fit Before Gluing
Before you glue any joint, test-fit the pieces to see how they align. This is especially important for moving parts like wheels or gears. Dry-fit the entire model if possible, then disassemble and glue only the joints that need to be permanent. Many builders prefer to keep the puzzle unglued for future disassembly, but gluing ensures stability.
If you choose to glue, apply a small amount to the tab or slot, then press together. Wipe off any excess immediately. Use clamps or rubber bands to hold large sections while the glue dries. Allow at least 30 minutes for the glue to set before moving the model.
- Use a toothpick to apply glue precisely and avoid mess.
- Label pieces with sticky notes if you disassemble for gluing later.
Finishing and Displaying Your Model
Once the assembly is complete, you can enhance the look of your wooden puzzle. Lightly sand any visible seams or rough spots. You can apply a clear wood sealant or wax to protect the surface and bring out the natural grain. If your puzzle is colorful, a matte sealant will preserve the print without glare.
Display your finished model on a shelf, desk, or in a glass cabinet. Keep it away from direct sunlight and moisture to prevent warping or fading. If you ever need to move it, handle it from the base to avoid stress on the joints.
- Use a soft brush to remove dust before sealing.
- Consider a felt pad under the base to prevent scratches.
5-Step Assembly Checklist
- Prepare your space: Clear a flat, well-lit area and gather tools: tweezers, sandpaper, wood glue, and a damp cloth. A clean workspace prevents lost pieces and accidental damage.
- Sort and punch out pieces: Punch out pieces from sheets, sort by number or letter, and sand any rough edges. Smoothing edges now saves frustration later.
- Follow the manual order: Assemble from the base upward, inserting tabs into slots at the correct angle. Don't skip steps—each piece builds on the previous.
- Test-fit and glue: Dry-fit joints first, then apply a small amount of glue to permanent connections. Test-fitting avoids misaligned holes and broken tabs.
- Finish and display: Sand seams, apply sealant, and place your model on a stable shelf away from sunlight. A sealed model lasts longer and looks better.
Puzzles to Practice Your Skills
- Victorian Mansion 1000 Wooden Puzzle: This beautifully crafted puzzle showcases a meticulously detailed, open medieval house, offering a glimpse into various scenes from the past. A complex 3D-style build that rewards careful assembly and offers a stunning display piece for your shelf.
- Magic Elephant 150 Wooden Puzzle: Behold an elephant, splendidly detailed with vibrant Indian designs and flowers. A smaller piece count that lets beginners practice 3D assembly techniques without getting overwhelmed.
Building a 3D wooden puzzle is a satisfying hobby that improves with practice. By preparing your workspace, sorting pieces, following the manual, testing fits, and finishing carefully, you’ll create a model you’re proud to display. Start with a smaller piece count if you’re new, and gradually work your way up to more complex builds.