Quick answer
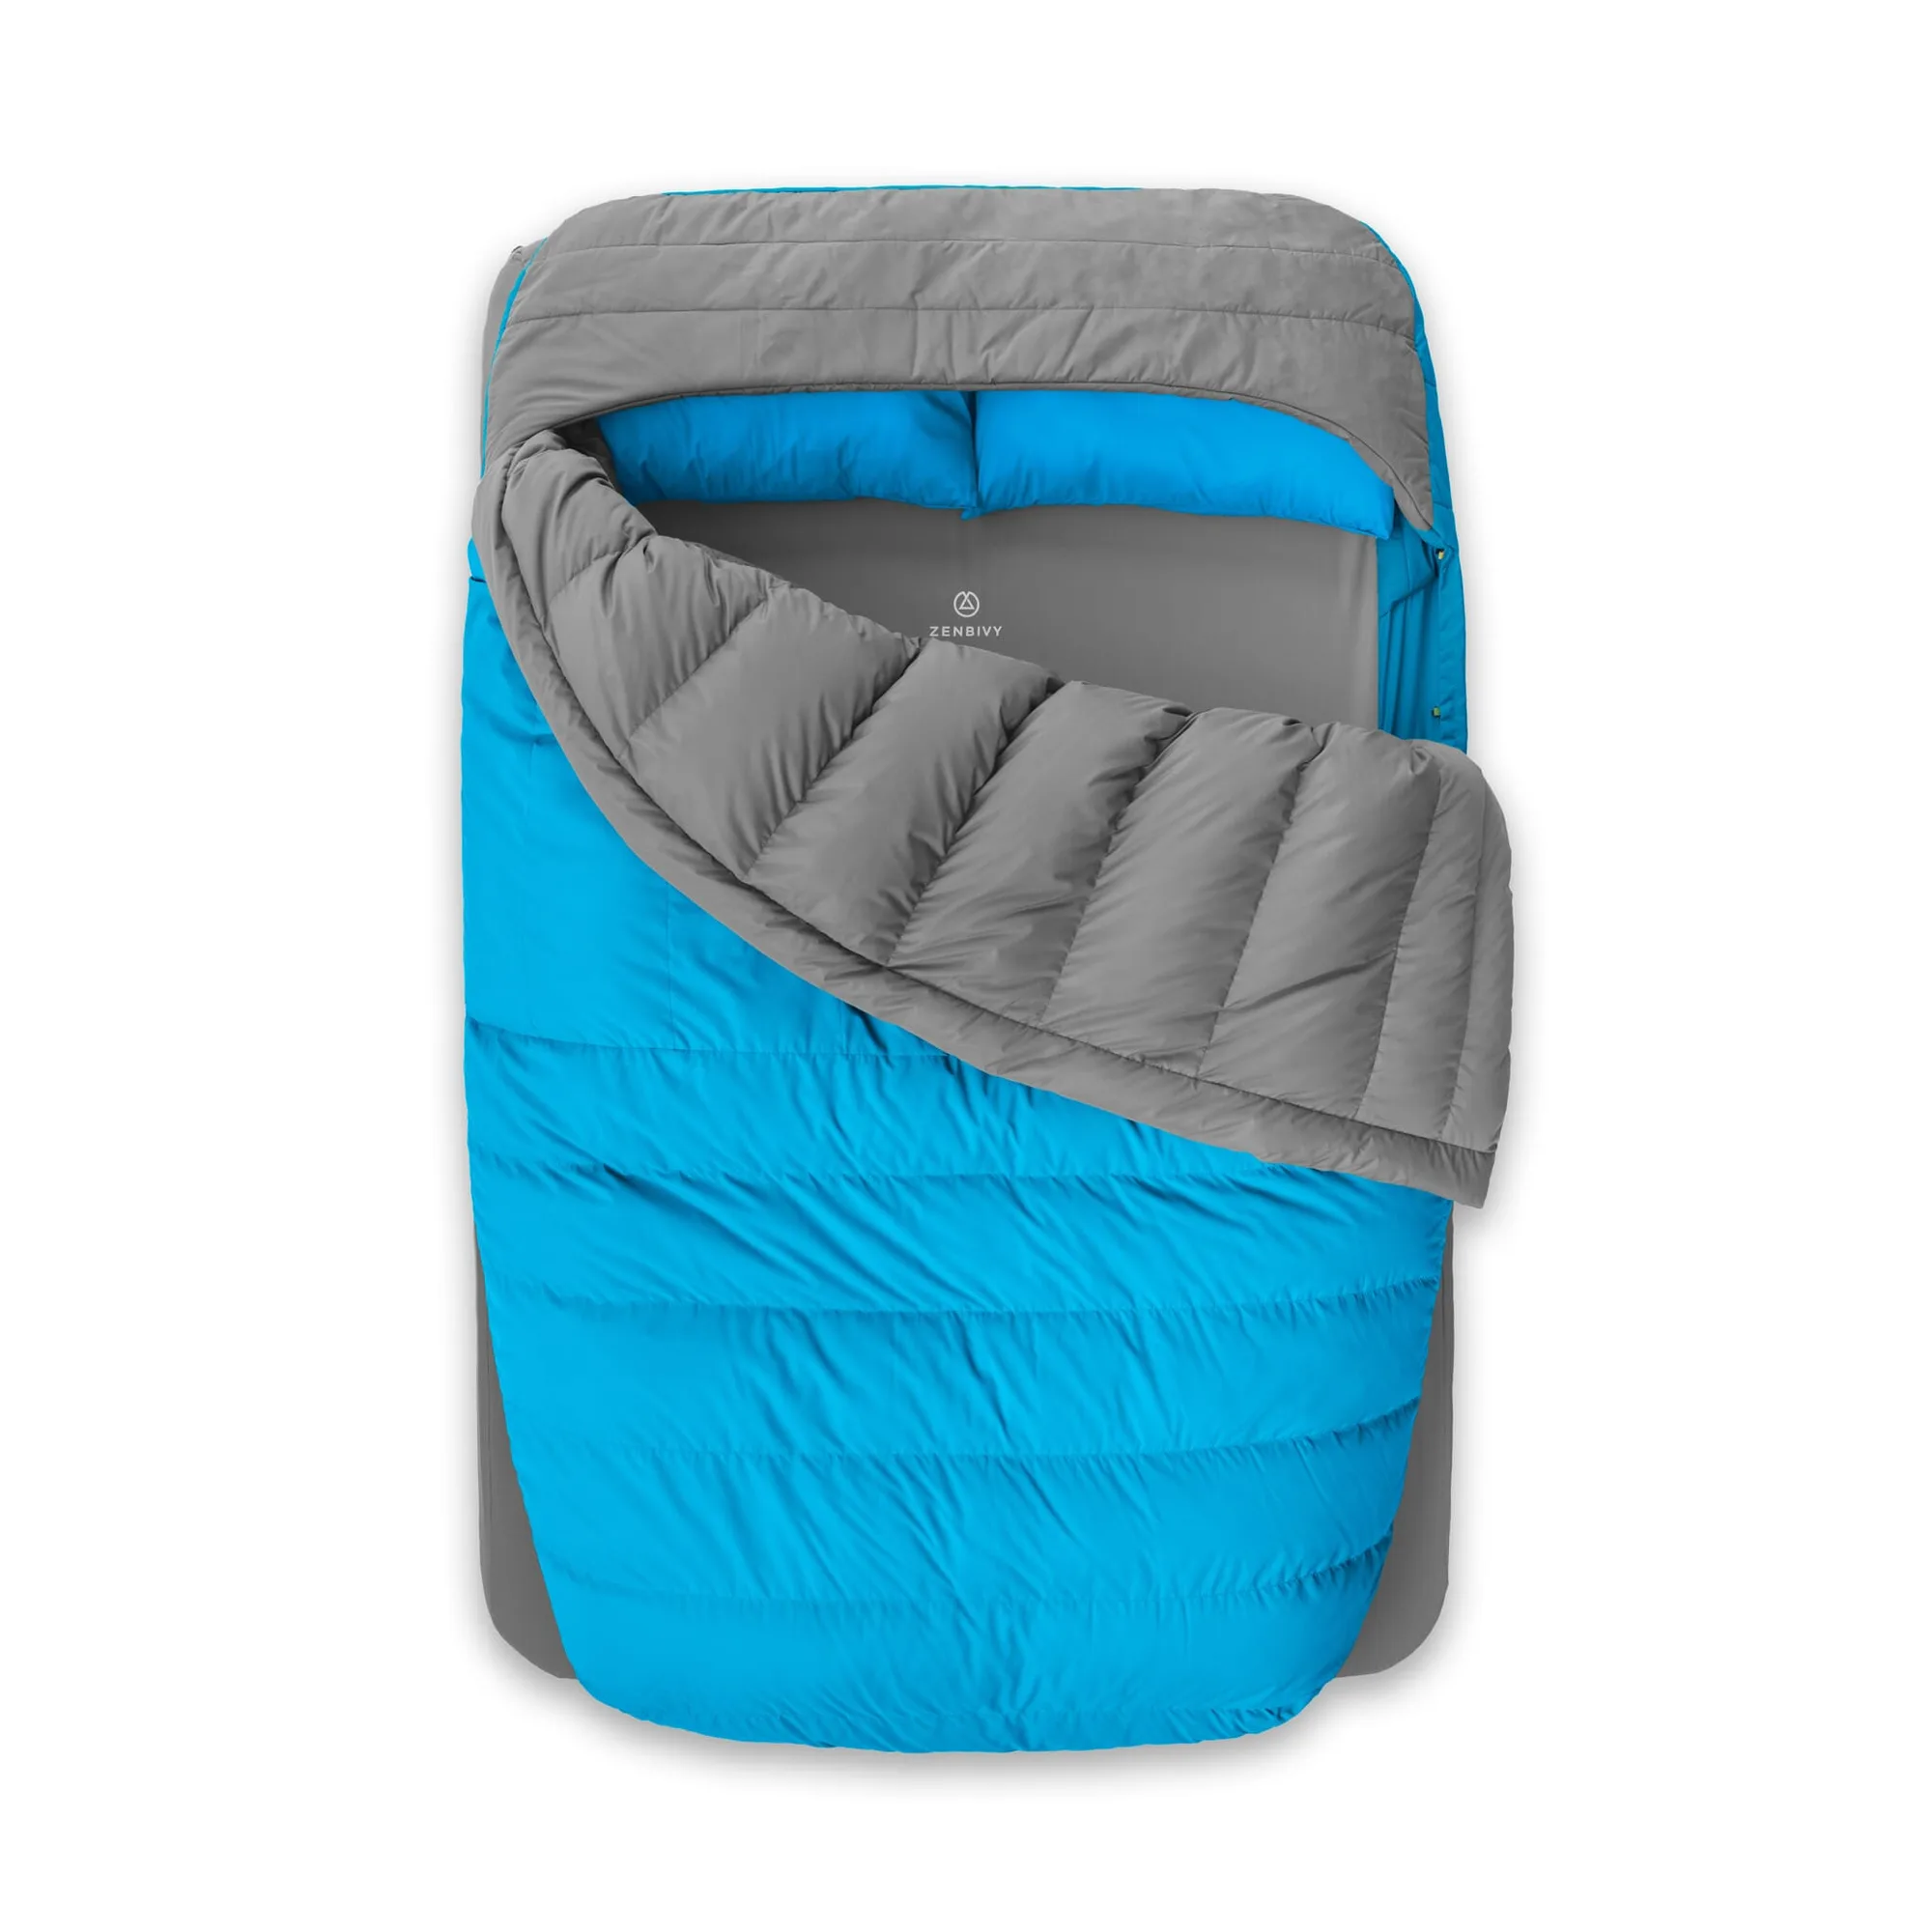
Build your camping sleep system from the ground up: start with a mattress that matches your sleep position and tent footprint, add a pillow that keeps your neck neutral, then layer bedding that manages temperature. For most single campers, the Hest Sleep System paired with a Single Bedding Pack covers all three layers in one purchase. Check your tent dimensions before you buy anything else.

Single Bedding Pack
A camping sleep system is more than a mattress. It is the combination of support, neck alignment, and temperature control that decides whether you wake up rested or stiff. Most people upgrade one piece at a time and never fix the real problem: the layers do not work together.
This guide walks through building that system in order, from choosing the right mattress base to adding bedding that keeps you cool. Each step includes the mistake that quietly ruins sleep and a checkpoint to confirm you got it right. You do not need every product at once; you need the right sequence.
Step 1: Measure your sleep space before you choose a mattress
Before comparing mattresses, measure your tent floor and note where poles, doors, and gear zones sit. A mattress that fits wall to wall leaves no room for a pack or a dog, and one that is too small lets cold air and uneven ground creep in. Write down the usable rectangle, not the tent's advertised size.
This measurement also tells you whether you need a single or two-person setup. If you sleep solo but want room to roll, a wider single mattress may fit better than a narrow double. The goal is a mattress that fills your space without fighting it.
- Mistake to avoid: buying a mattress based on its packed size alone, then discovering it does not fit the tent floor.
Step 2: Pick a mattress base that matches your sleep position
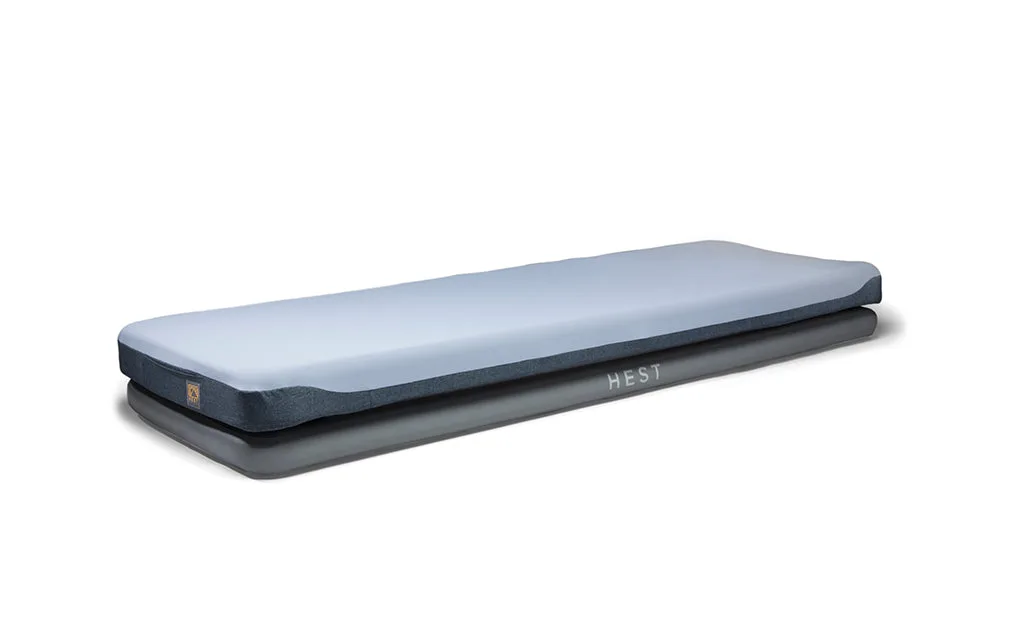
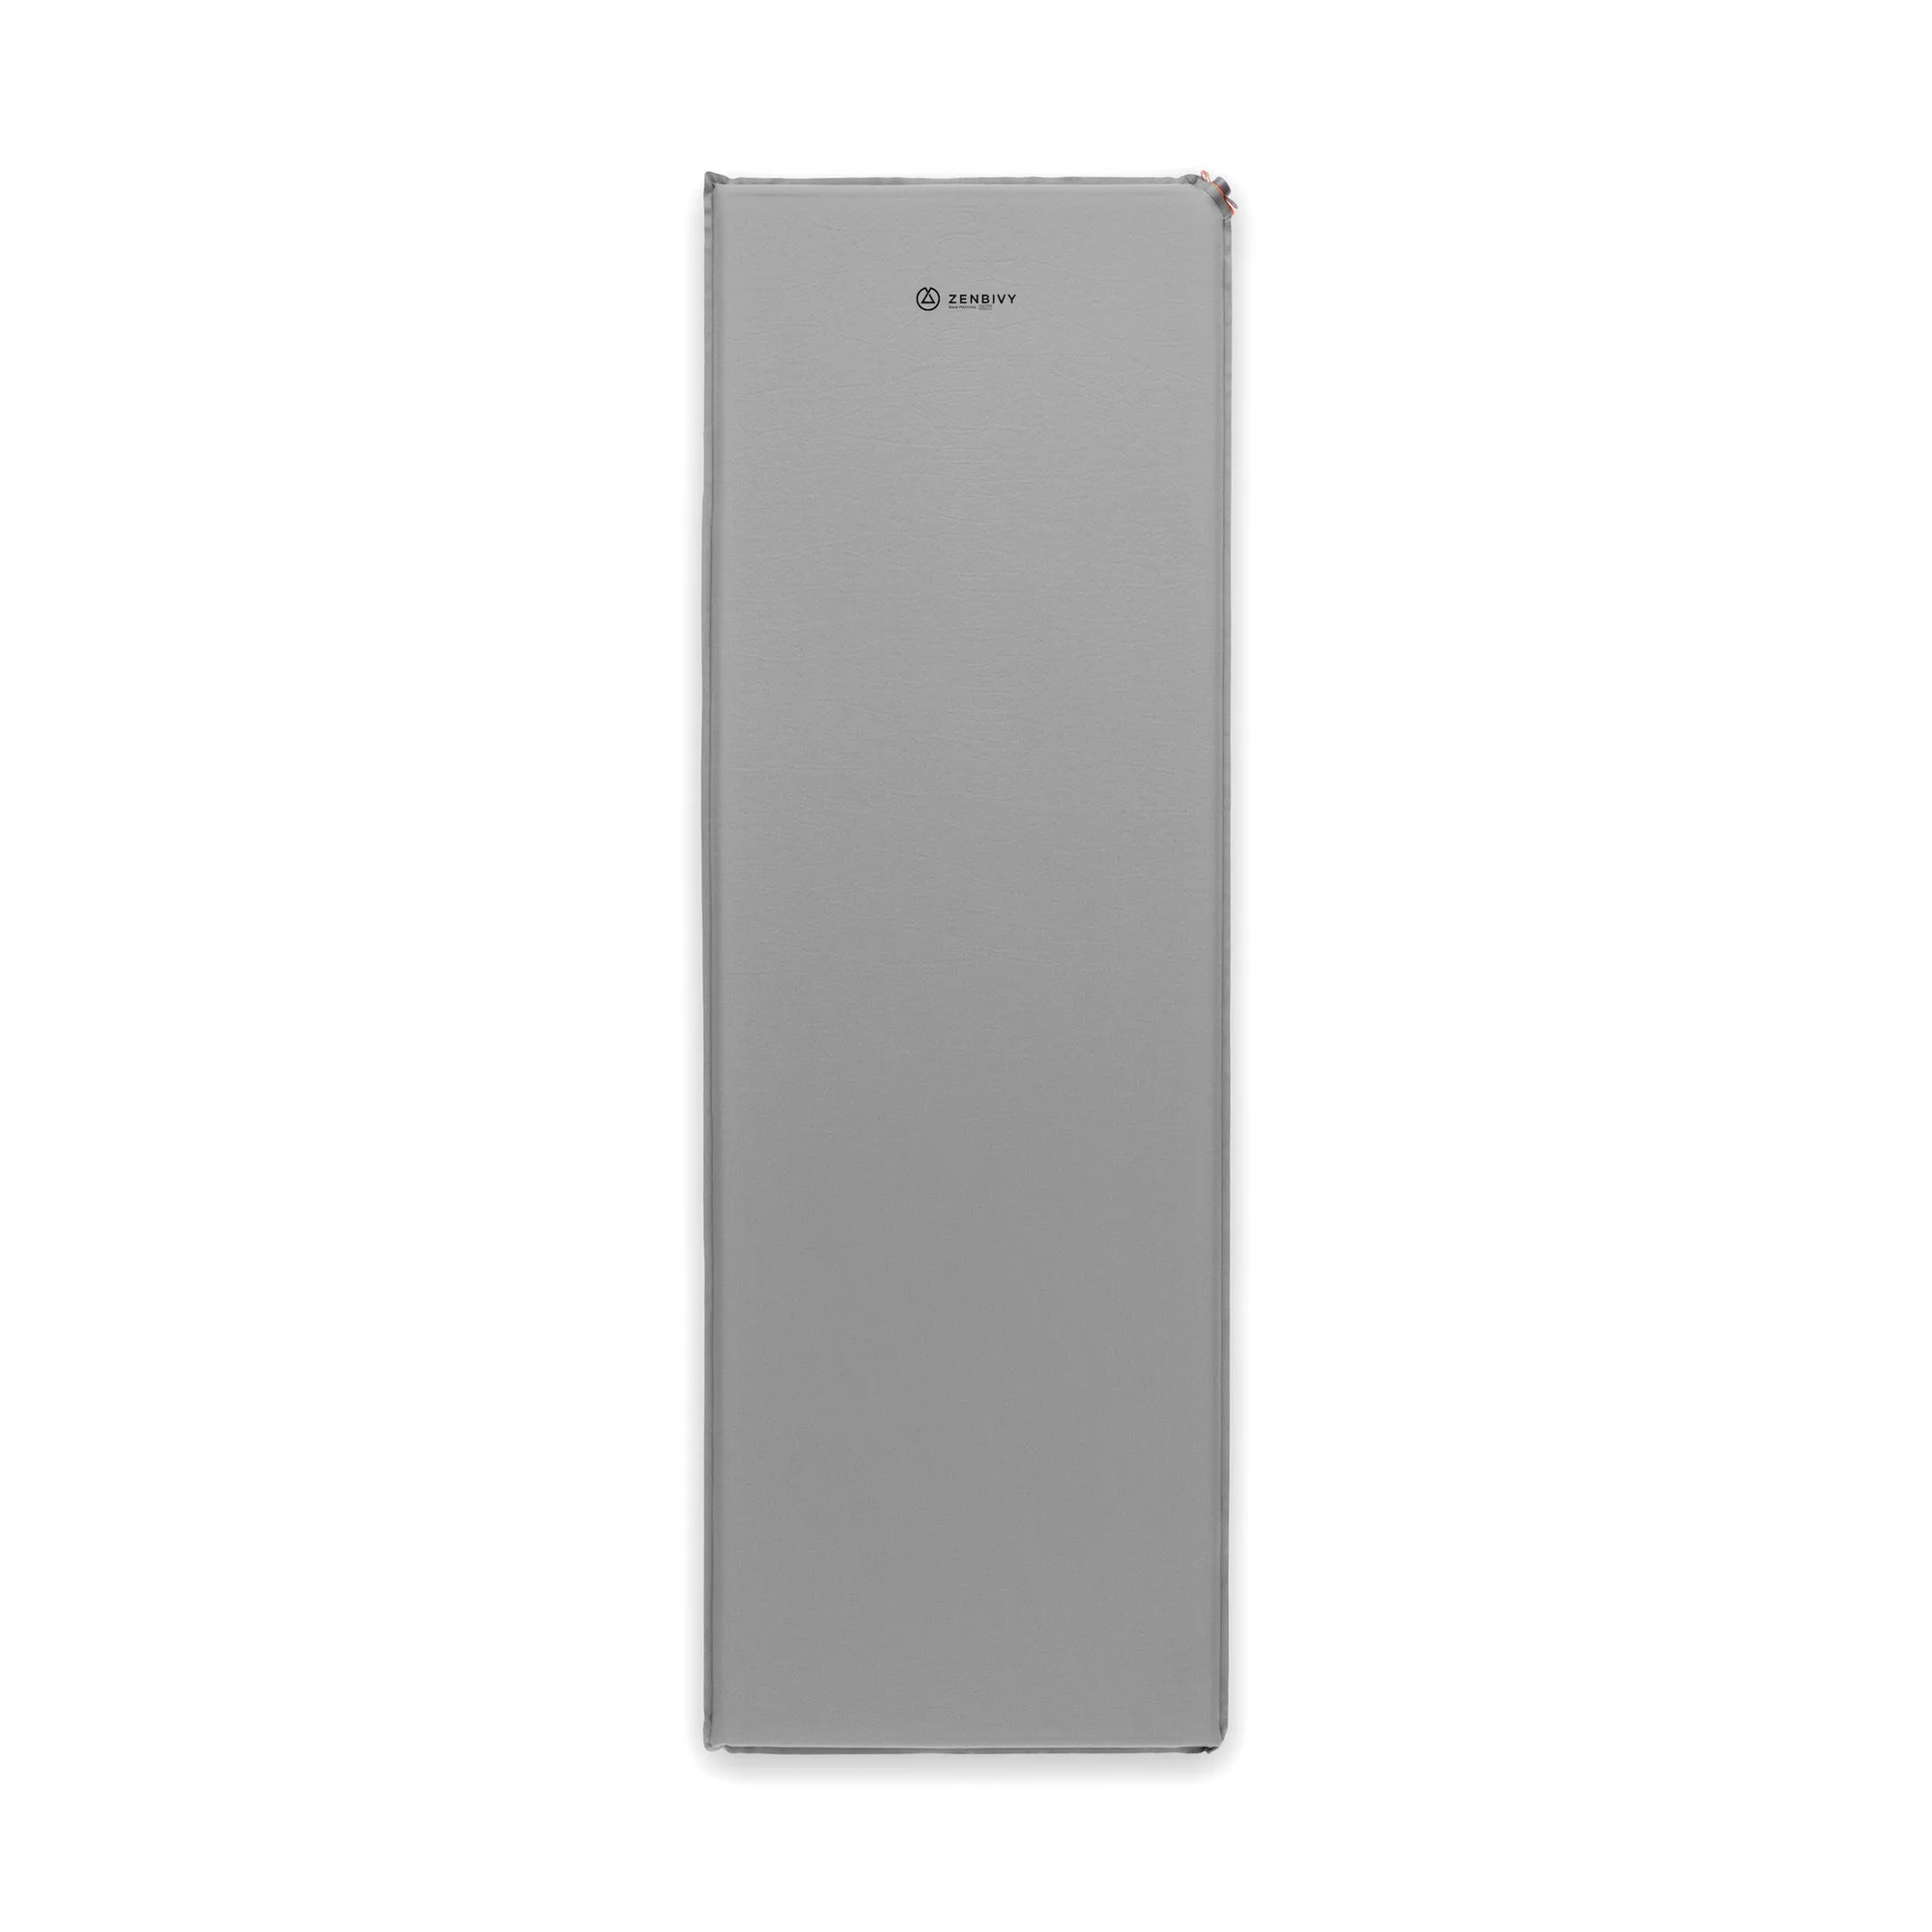
Back and stomach sleepers usually need a firmer, more supportive surface; side sleepers need enough cushioning to keep the shoulder and hip from bottoming out. A drop-stitch base paired with memory foam gives you both structure and pressure relief, which is why the Hest Sleep System combines a durable outdoor-ready drop-stitch base with temperature-resilient memory foam.
If you already own a compatible mattress, you can add the pillow and bedding layers separately. If you are starting fresh, the Hest Sleep System includes the mattress and a packable memory foam pillow, so you solve support and neck alignment in one step.
- Checkpoint: lie on the mattress for at least ten minutes at home before you commit to a full night outdoors.
Step 3: Add a pillow that keeps your neck neutral
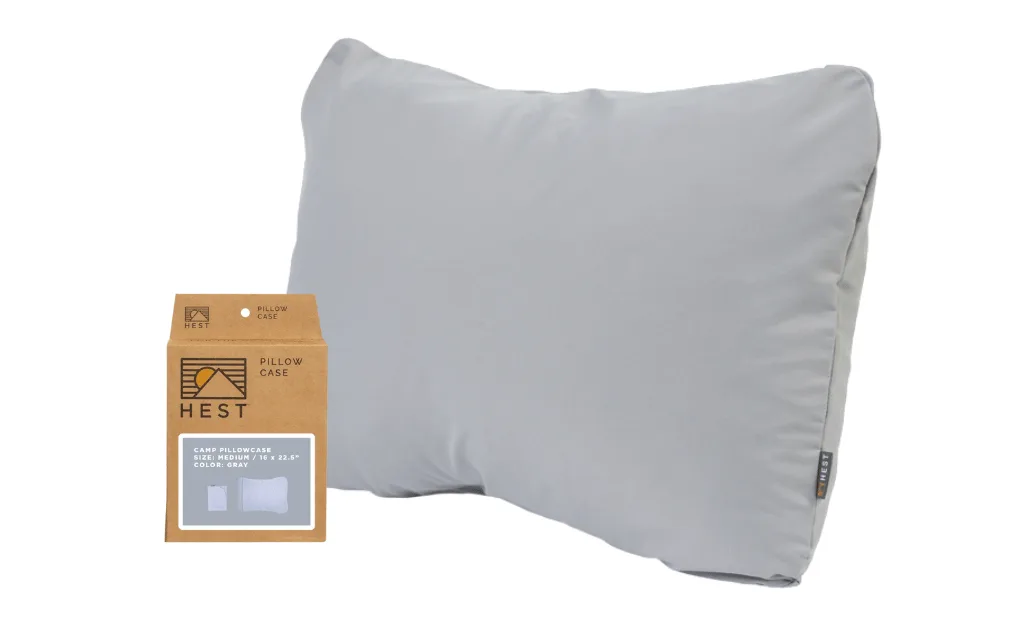
A pillow that is too thick pushes your chin toward your chest; too thin and your neck bends backward. The right height depends on whether you sleep on your back, side, or stomach. A packable memory foam pillow holds its shape better than an air pillow, which tends to bottom out and shift during the night.
If you bought the Hest Sleep System, the included pillow is already matched to the mattress height. If you are building around an existing pad, test your pillow at home on that pad, not on your bed, because mattress thickness changes the angle of your neck.
- Mistake to avoid: assuming your home pillow will work the same on a thinner camping mattress.
Step 4: Layer bedding for temperature, not just warmth
Camping bedding has two jobs: trap warmth when the temperature drops and move heat away when you overheat. A comforter alone can leave you sweaty against the mattress, while a fitted sheet alone will not keep you warm. The fix is a system: a fitted sheet against the mattress, a top sheet for warm nights, and a comforter for cold ones.
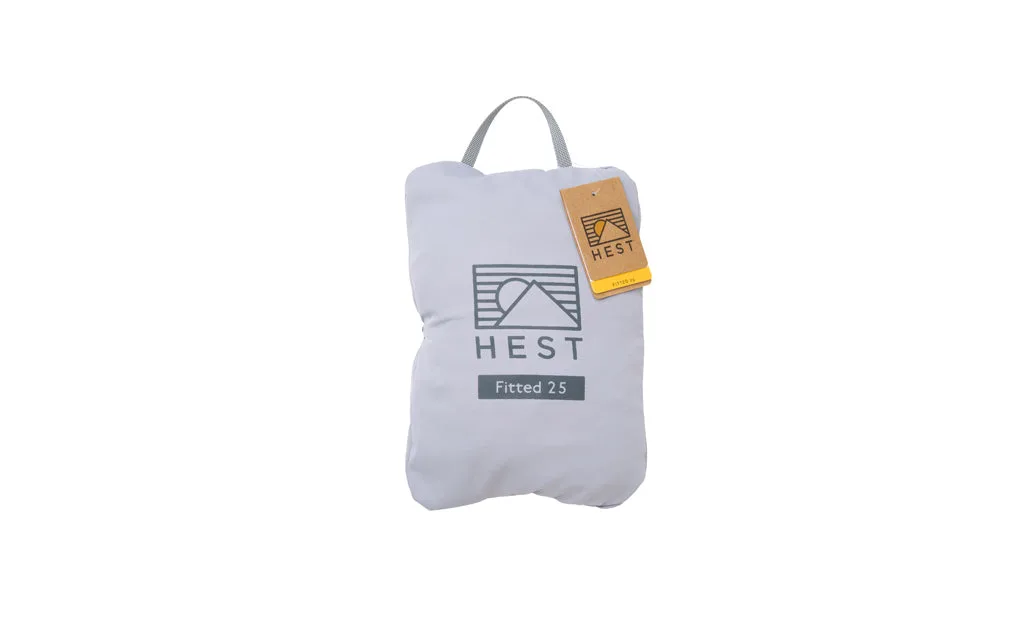
The Single Bedding Pack bundles a single comforter, a duvet, a cooling fitted sheet, a cooling top sheet, and a tote for single-person mattress setups. The Dually Bedding Pack does the same for most Dually or two-person setups with a double comforter and double cooling top sheet. Both let you adjust layers as the night changes instead of committing to one temperature.
- Checkpoint: if you wake up damp, add the cooling top sheet before you add another blanket.
Step 5: Test the full setup at home before your trip
Set up the complete system on your floor or in your yard and sleep on it for one night. This exposes problems you cannot feel in a showroom: a mattress that slowly loses firmness, a pillow that slides off the pad, or bedding that bunches at the foot. Fixing these at home is free; fixing them at a campsite is not.
Pay attention to how long inflation takes, how the bedding fits over the corners, and whether the packed size still fits your vehicle. A system that sleeps well but does not pack is not a system you will use.
- Mistake to avoid: skipping the test night and discovering a slow leak or a poor fit after you have driven hours to camp.
Step 6: Pack and store the system so it lasts
Store memory foam uncompressed when you can, and keep bedding dry between trips. A tote keeps the comforter and sheets together, which makes the next setup faster and protects the fabric from dirt and moisture. Label or color-code the tote if you own more than one setup.
Before each trip, inflate the mattress and let it sit for an hour to confirm it holds air. Check that the pillow and sheets are in the tote, not still drying from the last wash. A two-minute check prevents a cold, uncomfortable night.
- Checkpoint: if the mattress loses firmness within an hour, inspect the valve before you assume the mattress is failing.
Your layered camping bed, step by step
- Measure the sleep area: Record the usable rectangle inside your tent, accounting for doors, poles, and gear. Checkpoint: the mattress should fill the space without blocking access.
- Choose the mattress base: Match support to your sleep position and confirm the base works with your tent floor. Checkpoint: ten minutes of lying on it at home reveals pressure points.
- Fit the pillow: Test pillow height on the actual mattress, not your bed at home. Checkpoint: your neck stays roughly parallel to the ground.
- Add bedding layers: Start with a fitted sheet, add a top sheet for warm nights, and keep a comforter for cold ones. Checkpoint: if you wake up damp, add the cooling top sheet first.
- Sleep on it at home: Do one full night on the assembled system before your trip. Checkpoint: note inflation time, fit, and packed size.
- Pack and store: Keep bedding in a tote, store foam uncompressed, and re-test inflation before each trip. Checkpoint: a mattress that loses firmness in an hour needs a valve check.
Products that fit this system
- Hest Sleep System: Flagship mattress combining temperature-resilient memory foam with a supportive, durable outdoor-ready drop-stitch base, paired with a durable, easily packable memory foam pillow. Solves support and neck alignment in one purchase, so you do not have to match a separate pillow to the mattress height.
- Single Bedding Pack: Bundle includes one single comforter, one duvet, one cooling fitted sheet, one single cooling top sheet, and one tote, sized for a Foamy, Sleep System, or similar single-person mattress setup. Gives you a complete layer system for one sleeper, so you can adjust for warm and cold nights without buying pieces separately.
- Top Sheet Cooling: Made with jade-infused performance fabric and designed to pair with single and double HEST mattresses that feature a footbox. Adds a temperature-regulating layer for warm-weather camping, which is often the missing piece when a comforter alone feels too hot.
Build the system in order: mattress first, then pillow, then bedding, then test it at home. That sequence prevents the most common camping sleep problems and keeps you from buying layers that do not work together.