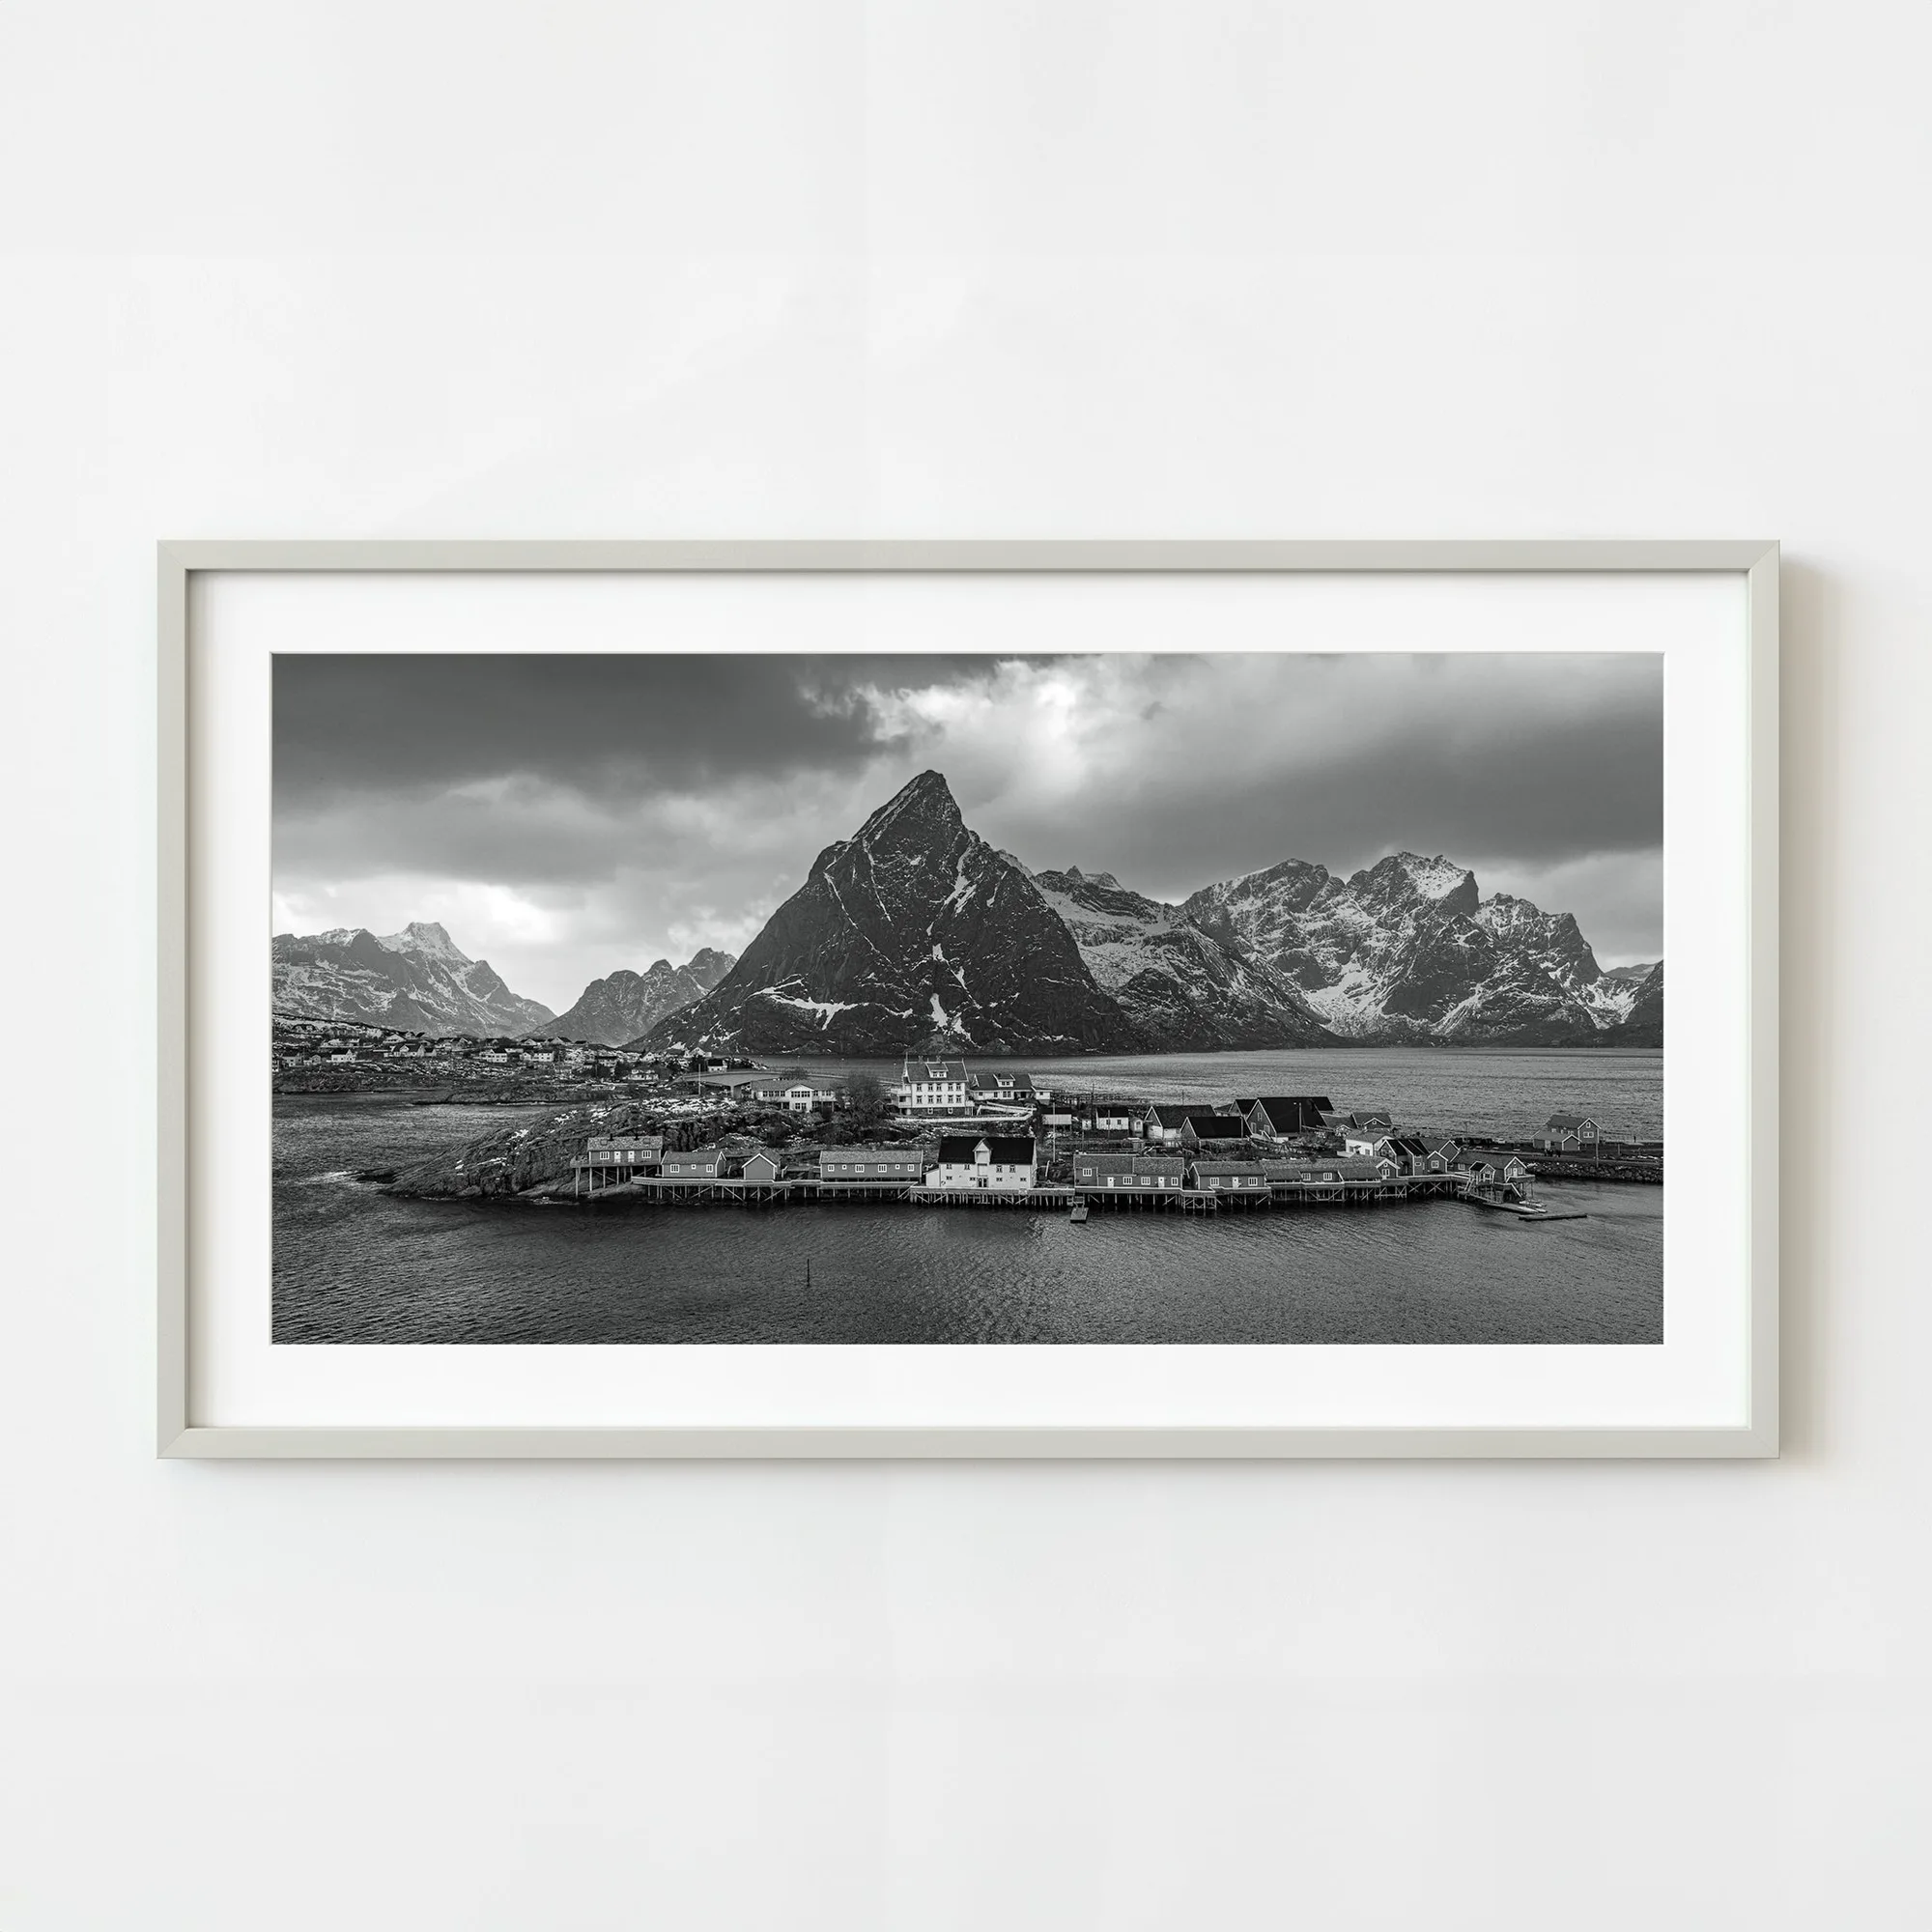
Quick Recommendation
Start by measuring your wall, then plan a balanced grid using Booby Hatch as anchor pieces and Curiosity Cloud as complementary accents. Keep spacing consistent and step back often to catch visual gaps.
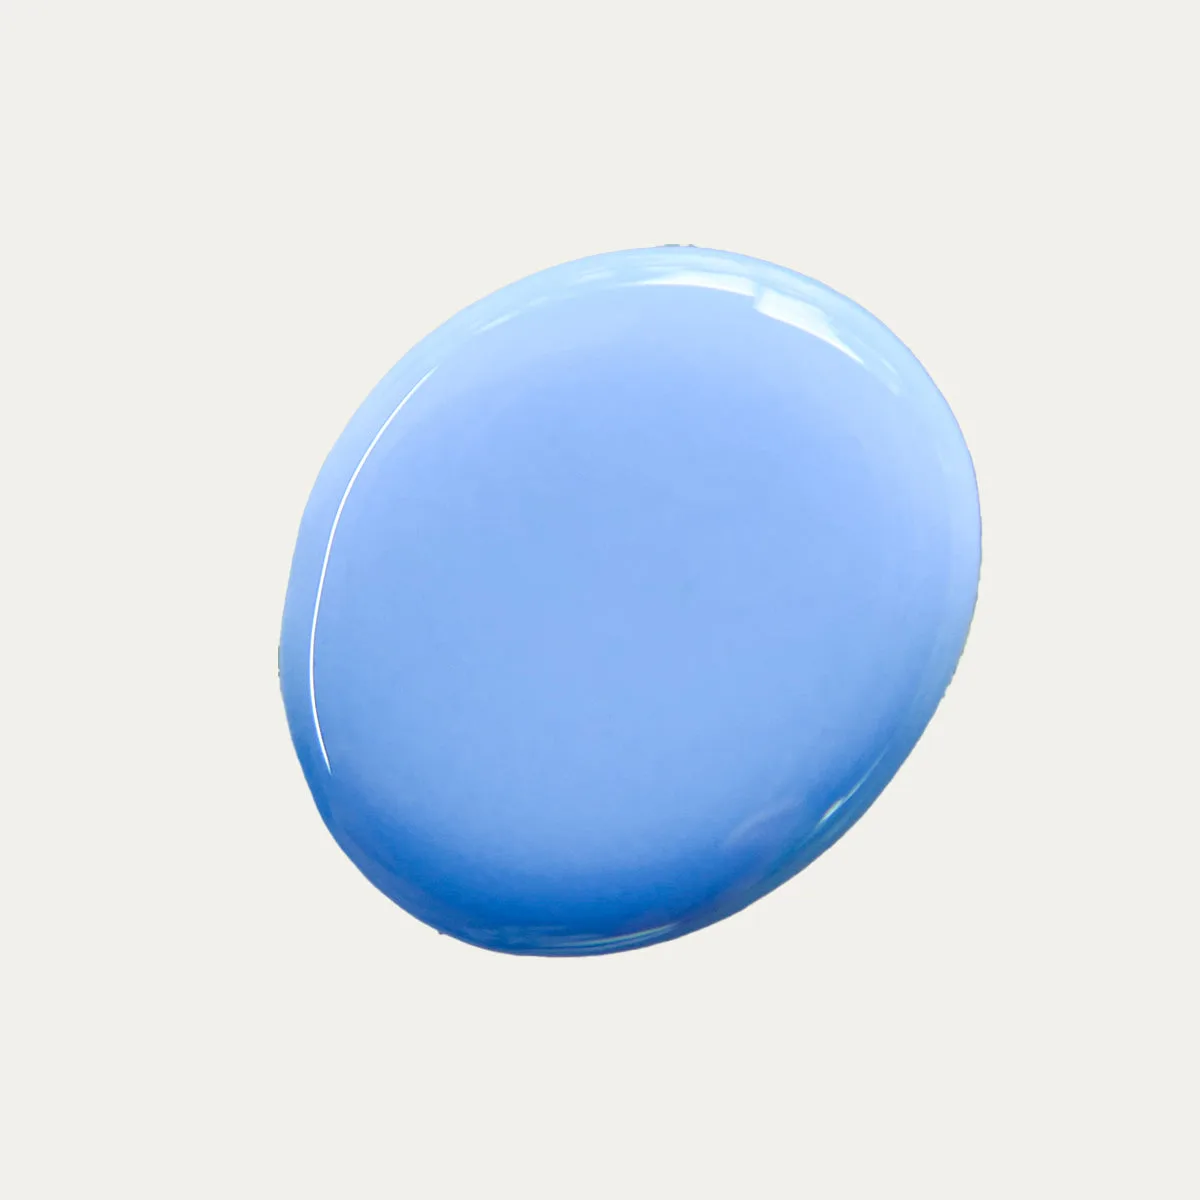
Curiosity Cloud
A gallery wall can turn a blank space into a personal gallery, but mixing wholesale art pieces like Booby Hatch and Curiosity Cloud can feel chaotic without a clear plan.
This guide walks you through measuring, layout, and hanging techniques that ensure the two collections work together, creating a harmonious visual story.
1. Measure and Visualize the Space
Use a tape measure to record the wall’s width and height. Mark the top and bottom boundaries with painter’s tape. Sketch a simple rectangle on paper representing the wall, then cut out paper templates the same size as each art piece. This lets you experiment with placement without committing to nails.
A common mistake is skipping the template step, which often leads to uneven spacing and the need to re‑hang pieces. Check that the total width of your chosen arrangement plus the desired gaps stays within the wall limits before moving forward.
- Aim for 2‑3 inches of gap between frames for a clean, gallery‑like feel.
2. Choose Anchor Pieces and Accents
Select one or two Booby Hatch works as focal points—they usually have bold colors or striking compositions that draw the eye. Position Curiosity Cloud pieces around them to add texture and contrast, creating visual rhythm.
Avoid clustering all bold pieces together; the mistake of placing every anchor side‑by‑side can make the wall feel heavy. Instead, distribute them evenly, using Curiosity Cloud as visual bridges.
- Balance large and small frames to prevent one side from dominating.
3. Level, Hang, and Fine‑Tune
Transfer the paper template layout onto the wall using a level and a pencil. Start with the highest anchor piece, nail it, then work outward. After each frame is up, step back and assess the overall composition.
A frequent checkpoint is to verify that all frames are level after each addition. Skipping this can result in a crooked wall that looks unprofessional.
- Use removable hooks for lightweight pieces to protect the wall.
Your Step‑by‑Step Checklist
- Measure & Template: Measure wall dimensions, cut paper templates matching each piece, and arrange them on the floor. Mistake to avoid: forgetting to account for spacing gaps, which can cause mis‑alignment later.
- Select Anchors & Accents: Pick Booby Hatch as focal points, place Curiosity Cloud around them for contrast. Checkpoint: ensure no two bold pieces sit side‑by‑side; distribute evenly.
- Hang & Level: Transfer layout to wall, start with top anchor, use a level for each nail. Mistake to avoid: skipping the level check after each nail, leading to a crooked display.
Nail‑Polish Accents to Complement Your Gallery Wall
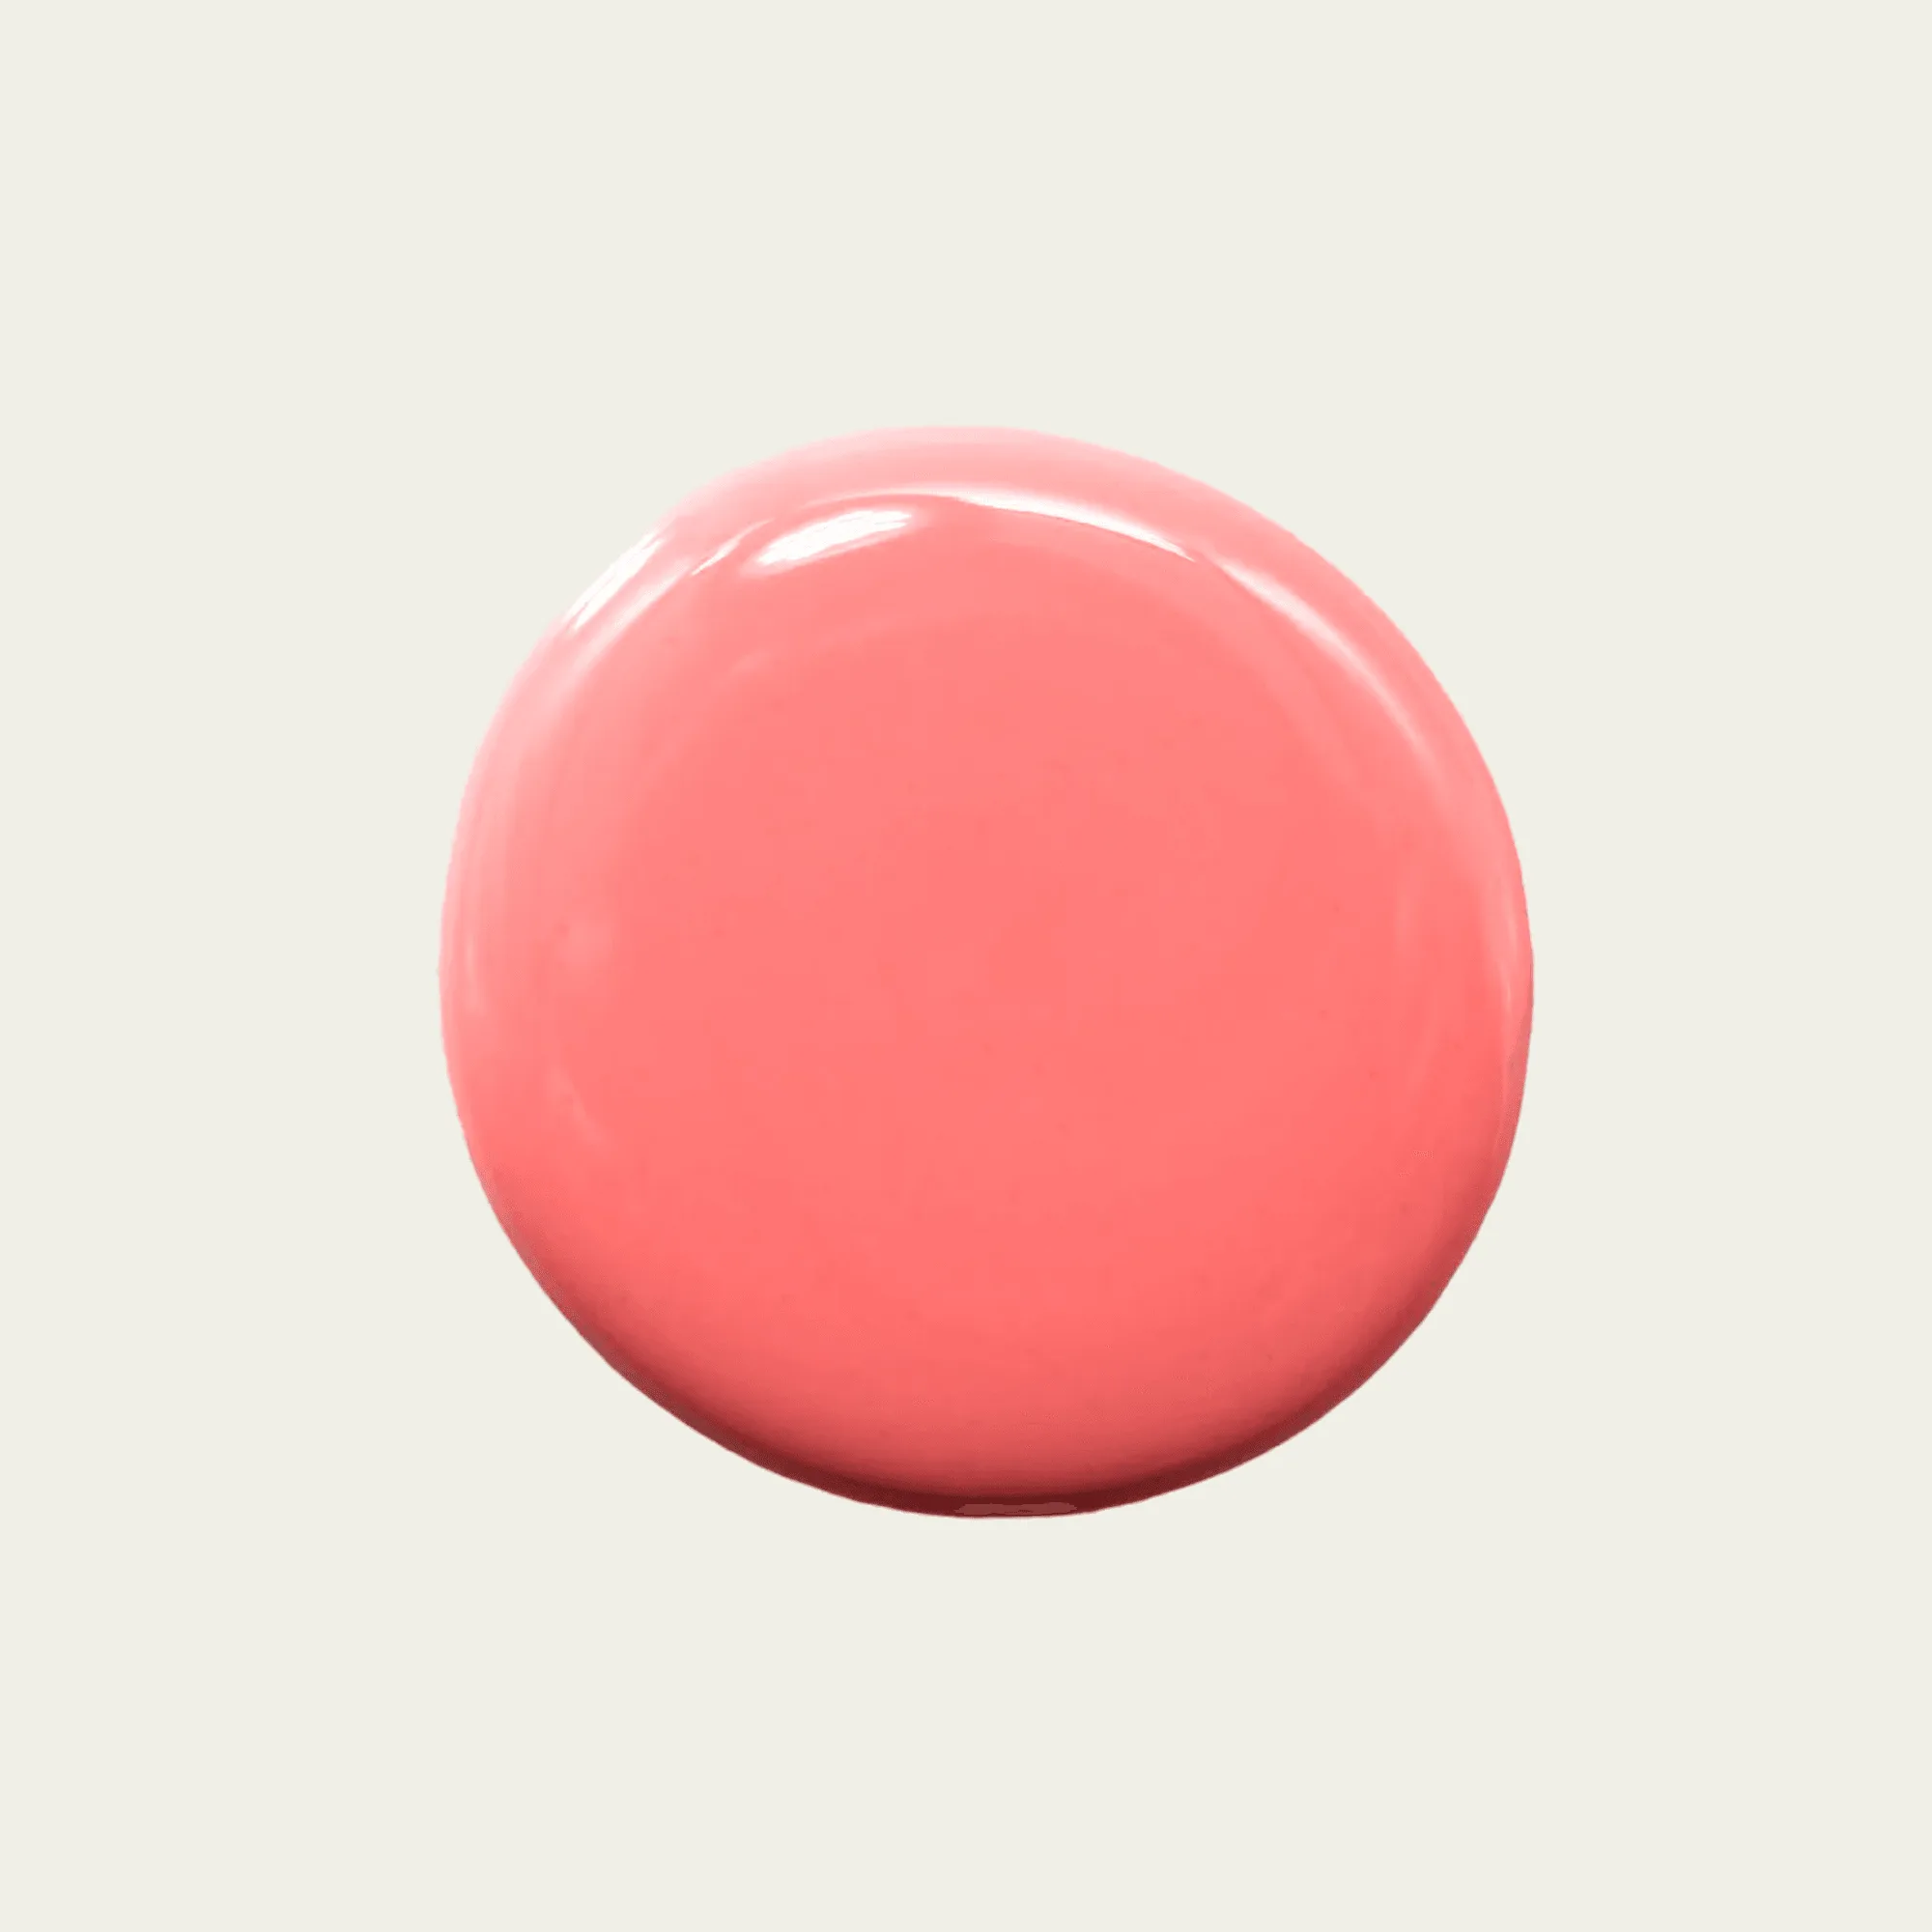
- azalea-copy-b1c2463ffcd7614f43d0eccb-2481784">AZALEA (Wholesale): An earthy pink clay with a smooth, full-coverage crème finish. 10‑free, vegan, cruelty‑free, nontoxic. Comes with a removable handmade decorative bronze cap. The soft pink hue can be used on picture‑frame trims or decorative hardware, adding a subtle color echo that ties the wall art to your nail‑care routine.
By measuring carefully, planning anchor points, and checking level after each nail, you’ll turn Booby Hatch and Curiosity Cloud into a cohesive gallery wall that feels intentional and stylish.