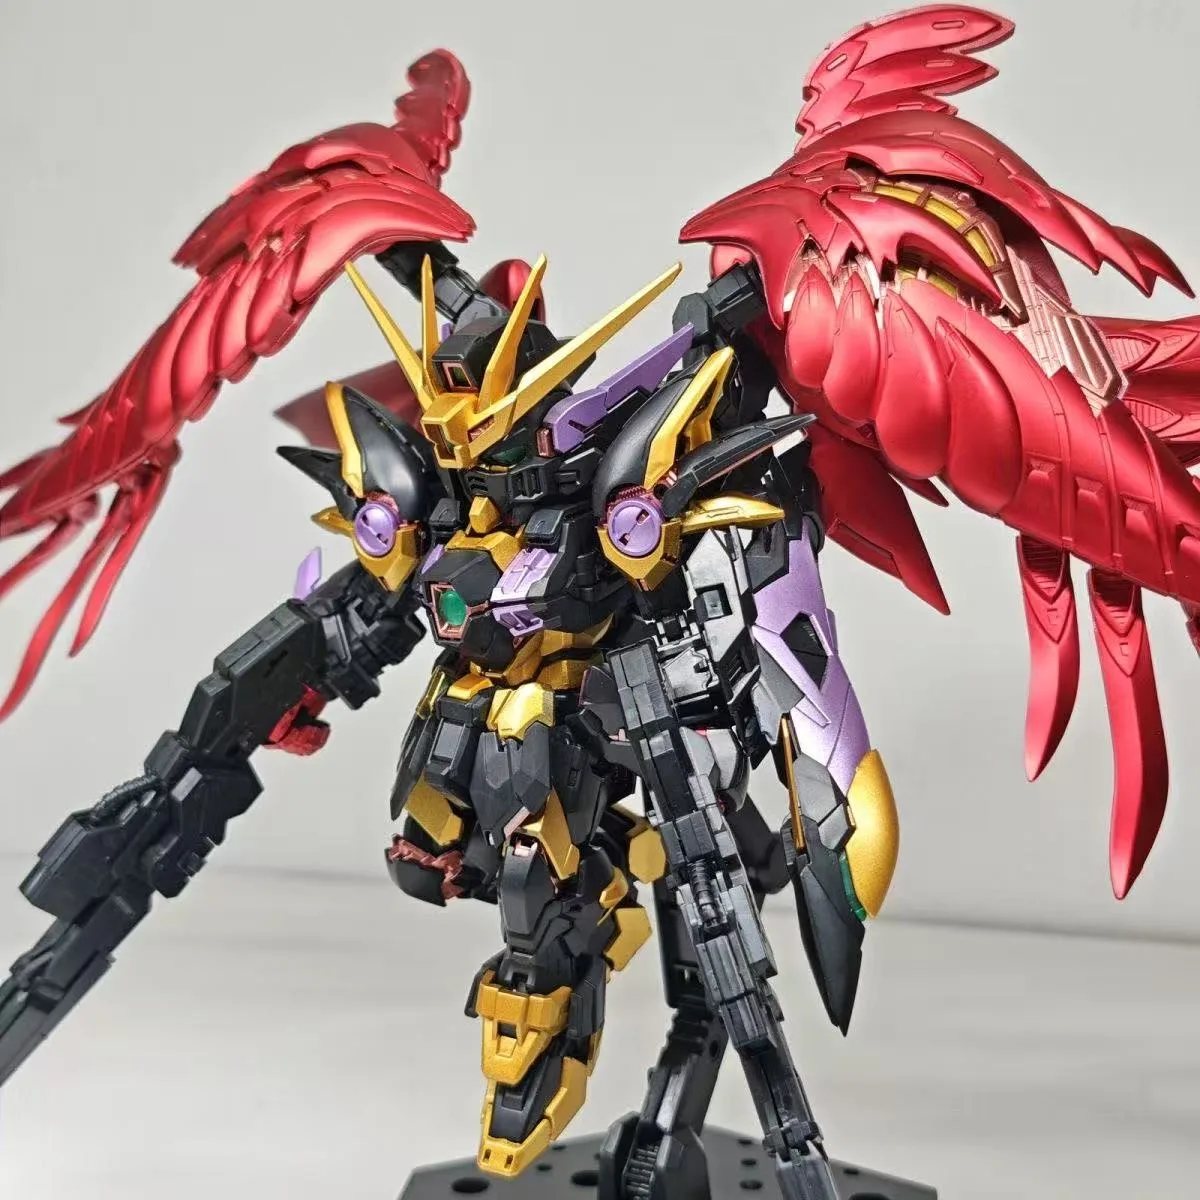
The Divine Beast MGEX Banshee is one of the most anticipated third-party model kits to hit the market. With its striking gold and black color scheme, it offers a unique take on the iconic Unicorn Gundam Banshee. However, building this kit with its integrated LED unit can be daunting for even experienced builders. This guide will walk you through every step, from unboxing to final assembly, ensuring your Divine Beast MGEX Banshee looks spectacular.
Whether you're a seasoned Gunpla builder or new to third-party kits, this comprehensive tutorial covers everything you need to know. We'll focus on the LED unit installation, which is the most complex part, and provide tips to avoid common pitfalls. By the end, you'll have a centerpiece for your collection that rivals official Bandai releases.
Unboxing and Parts Overview
When your Divine Beast MGEX Banshee arrives, the first thing you'll notice is the impressive box art. Inside, you'll find multiple runners, a manual, and the LED unit components. Take your time to inventory all parts against the manual. Third-party kits sometimes have slight molding imperfections, so check for any defects before starting.
The kit includes a mix of ABS and PS plastic, with gold-plated parts for the transformation frame. The LED unit consists of several small components, including a battery pack, wires, and LEDs. Familiarize yourself with the layout and test the LED unit before assembly to ensure it works.
- Organize parts by runner number to streamline assembly.
- Use a parts separator for safe removal from runners.
Preparing the LED Unit
The LED unit is the heart of this kit. Begin by carefully removing the LED components from their sprues. The wires are delicate, so avoid pulling them directly. Use a hobby knife to cut the gates, leaving a small nub to prevent damage.
Test the LED unit by inserting batteries and checking that all lights illuminate. If any LED fails, contact the seller for a replacement. Once verified, route the wires through the designated channels in the body. This step requires patience, as the wires must align with the internal structure to avoid stress during transformation.
- Use tweezers to guide wires through narrow channels.
- Secure wires with small amounts of adhesive tape to prevent movement.
Assembling the Inner Frame
The inner frame of the Divine Beast MGEX Banshee is where the LED unit integrates. Start with the chest and torso, as this is the central hub for wiring. Follow the manual's order, but be prepared to adjust if the wires interfere with part fitting. Use a hobby file to sand down any tight spots.
Pay special attention to the arms and legs. The transformation mechanism requires precise alignment. If parts feel too tight, apply a small amount of silicone grease to the joints. This reduces friction and prevents stress marks on the plastic.
- Apply grease to joints to ease transformation.
- Test the LED connections before closing the torso.
Installing the LED Unit in the Body
Now it's time to install the LED unit into the assembled body. Start with the chest LED, which illuminates the psycho-frame. Carefully insert the LED into the designated slot, ensuring the wires route through the channels. The head LED is next; it requires precise placement to align with the clear parts.
The arms and legs have LEDs that light up the psycho-frame panels. These are the most challenging to install because the wires must run through the joints. Take your time and use a parts separator to open the joints slightly for wire routing. Once all LEDs are in place, close the body and test the unit again.
- Test the LEDs at each stage to catch issues early.
- Use a small screwdriver to adjust wire placement in tight areas.
Armor Assembly and Finishing Touches
With the LED unit installed, you can now attach the armor pieces. The gold-plated parts are prone to scratching, so handle them with gloves. Use a parts separator to avoid stress marks. The armor fits snugly, but if any piece feels loose, apply a small amount of cement to secure it.
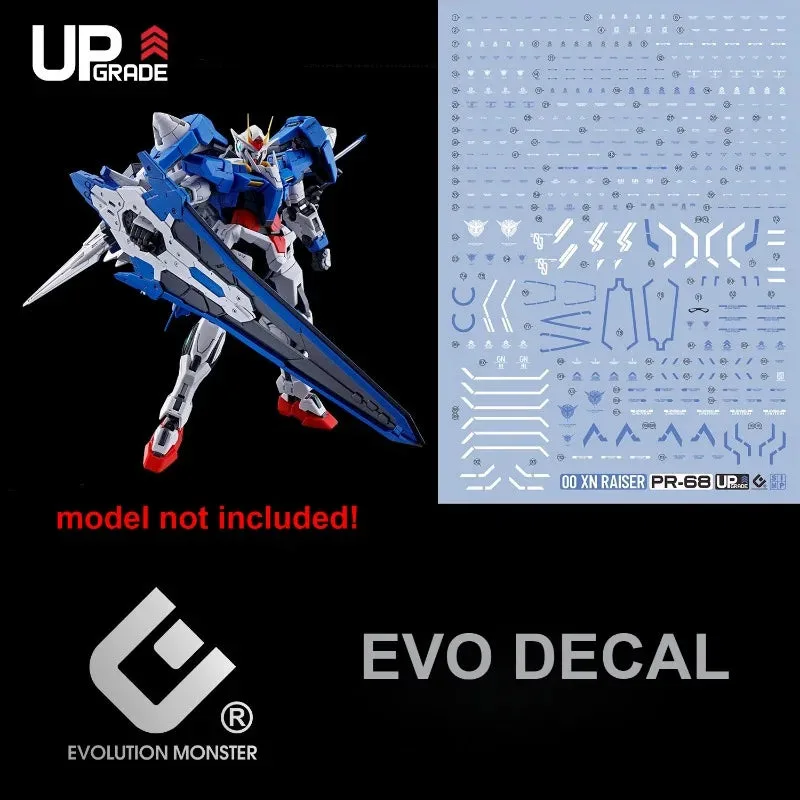
After assembly, apply any included decals. The kit includes marking stickers and dry transfers. For a cleaner look, consider using water decals, which are sold separately. For example, the 1/60 PG Unleashed Nu Gundam EVO Water Decal offers high-quality markings, though it's designed for a different kit. For this Banshee, look for third-party decals that match its theme.
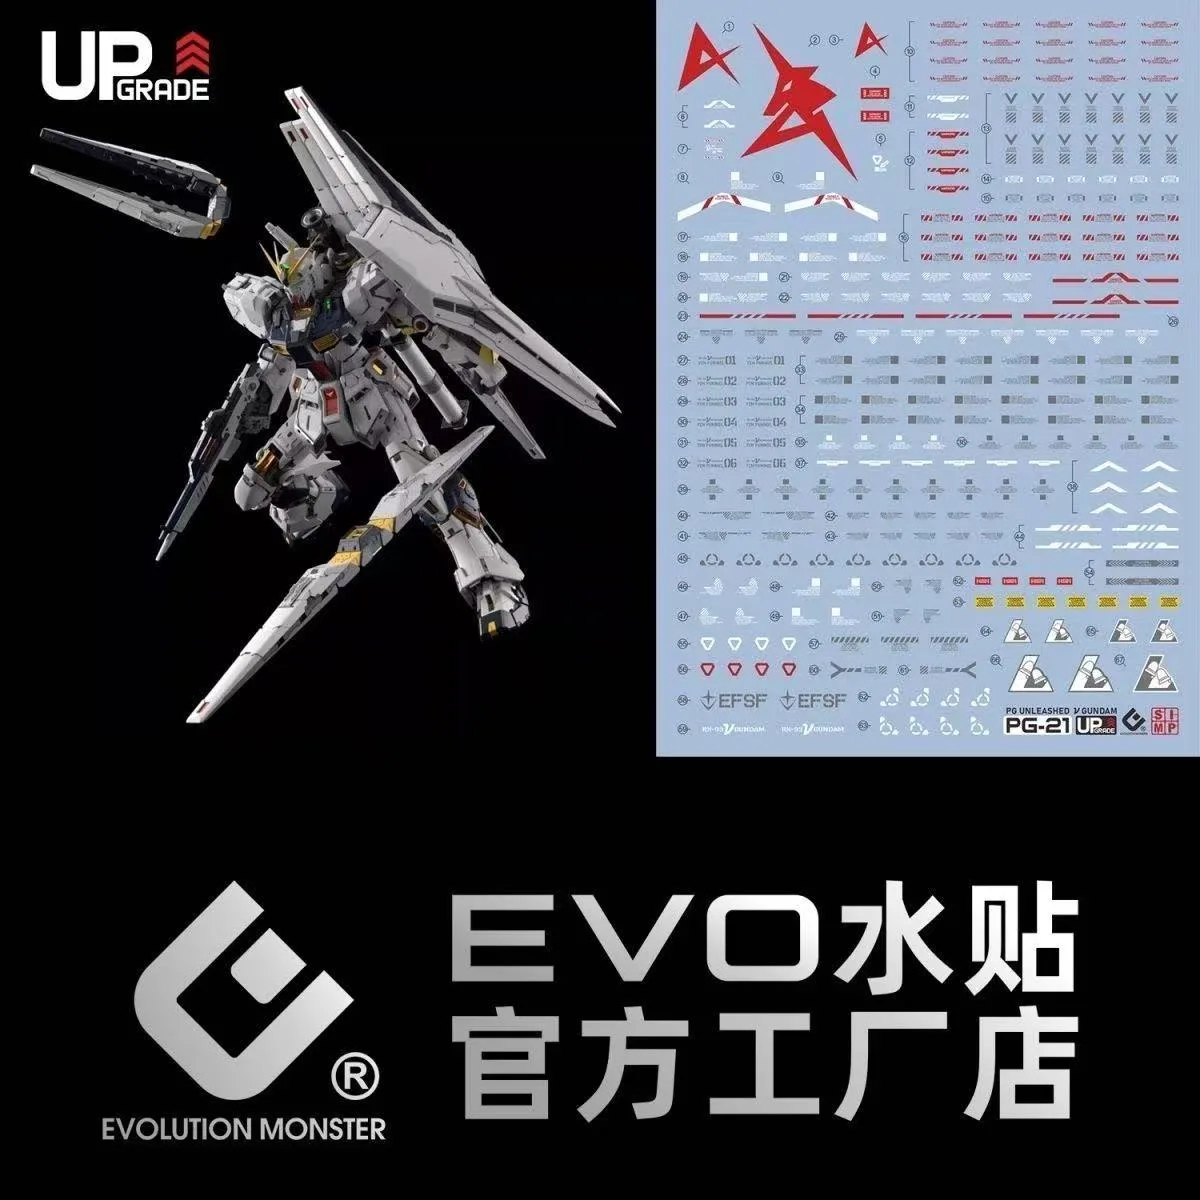
1/60 PG Unleashed Nu Gundam EVO Water Decal
- Use gloves to prevent fingerprints on gold parts.
- Apply a topcoat to protect the finish and decals.
Displaying Your Divine Beast MGEX Banshee
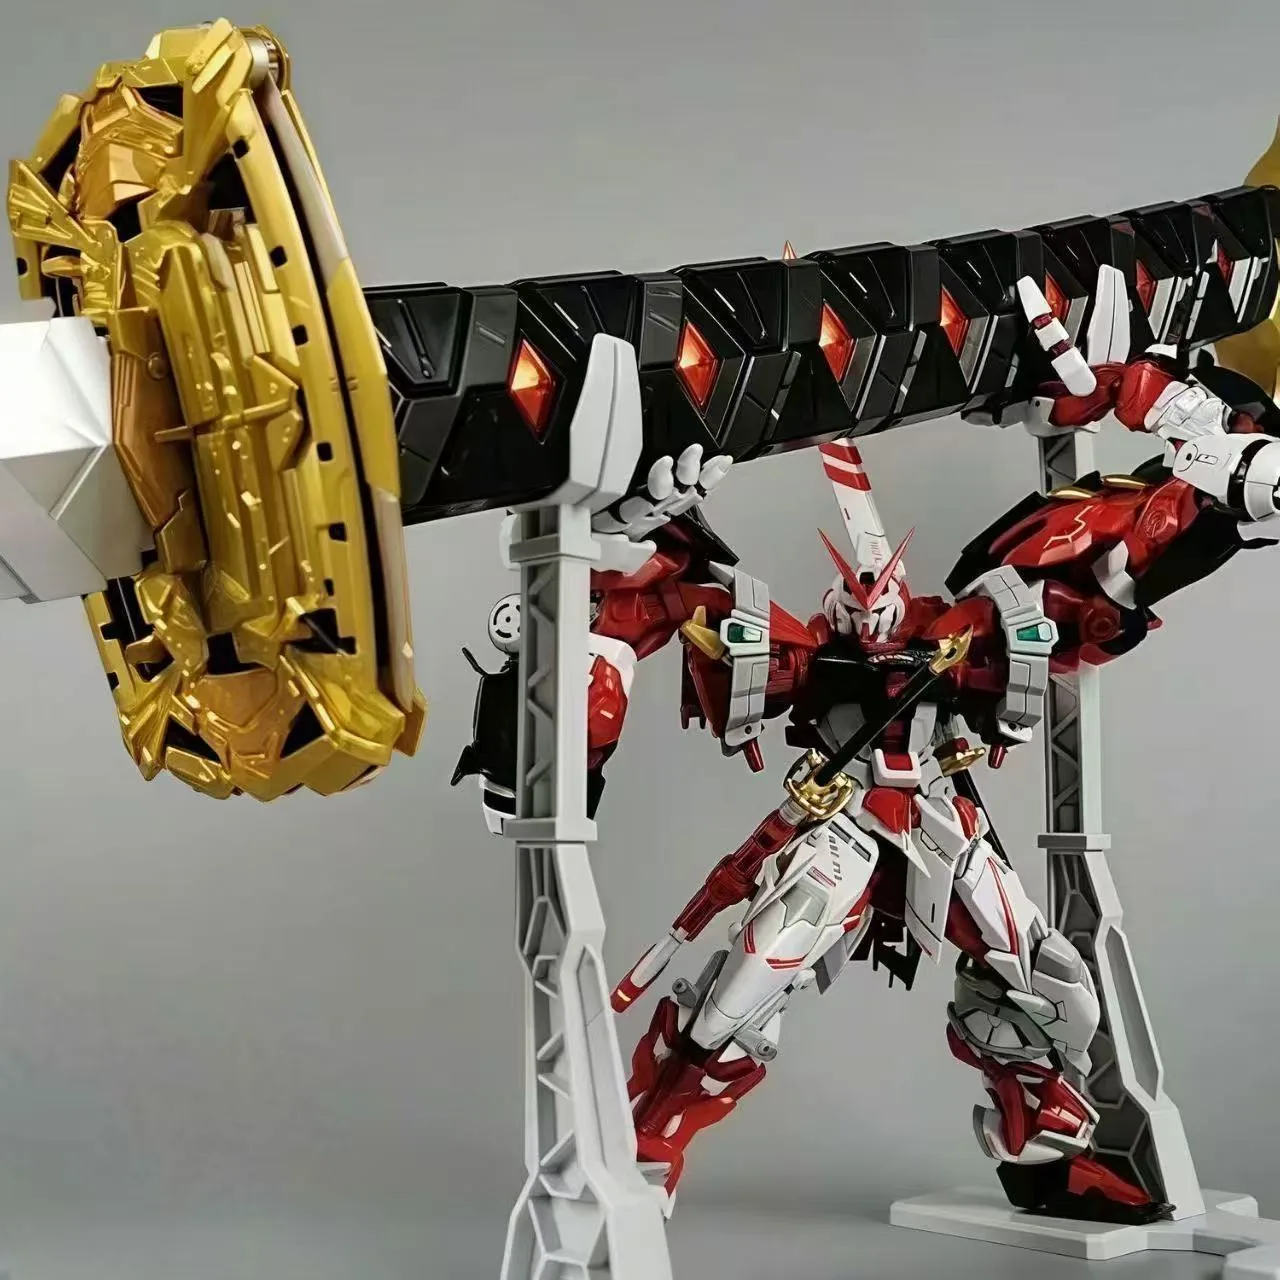
Once complete, your Divine Beast MGEX Banshee deserves a proper display. The kit includes a base, but you might want to upgrade to a dedicated action base. For a dynamic pose, consider the Playman Studio Snake Bone Action Base Stand Black for PG 00 Raiser 1/60, which provides excellent support and adjustability.

Playman Studio Snake Bone Action Base Stand Black for PG 00 Raiser 1/60
Alternatively, if you're building the PG Unicorn Gundam, the Playman Studio Snake Bone Action Base Stand Black for PG Unicorn Gundam 1/60 is a perfect match. Whichever you choose, ensure the base can support the weight of the kit, especially with the LED unit and full armor.
- Pose the Banshee in its Destroy Mode to showcase the LEDs.
- Use a dust cover to keep your model clean.
Building the Divine Beast MGEX Banshee is a rewarding experience that results in a stunning display piece. By following this guide, you'll master the LED unit installation and assembly, avoiding common mistakes. For more Gunpla tools and accessories, check out our store's collection, including the Playman Studio Snake Bone Action Base Stand Black for PG Unicorn Gundam 1/60, to complete your setup.