Quick Answer
To build a DIY paper toy postcard, gather basic tools like scissors, a craft knife, and glue, then carefully cut, fold, and assemble the pieces following the numbered tabs and slots. Patience and precision are key, especially for intricate parts.
Why Paper Toy Postcards Are Worth the Effort
Paper toy postcards from Monkey Design are more than just a craft project—they're a unique collectible that you assemble yourself. The designers create quirky, universal designs that appeal to both kids and adults. Each kit comes as a postcard, so you can even mail it flat before building.
The main trade-off is the level of difficulty: some models are simple enough for beginners, while others require significant patience and precision. Check the packaging or product description for difficulty hints if you're buying for a child or a first-timer.
Tools You'll Need Before You Start
The Monkey Design kits require knife, scissors, glue, and patience. A craft knife with a sharp blade gives you the cleanest cuts, especially for small or curved parts. Scissors are useful for larger, straight cuts. Use a glue stick or liquid glue that dries clear and doesn't warp the paper.
Work on a self-healing cutting mat to protect your table and keep your blade sharp. Have a ruler handy for scoring straight folds—this makes crisp, neat creases that improve the final look.
Step-by-Step Assembly Guide
- Prepare Your Workspace and Tools: Clear a flat, well-lit surface. Gather a craft knife, scissors, glue, a ruler, and a cutting mat. Make sure your blade is sharp—dull blades tear paper. Check that you have all tools before starting to avoid interruptions.
- Cut Out the Pieces: Carefully cut along the solid outlines. Use scissors for long straight lines and a craft knife for tight corners or small parts. Cut just outside the line to avoid removing the printed edge. Take your time—rushed cuts lead to ragged edges that affect fit.
- Score the Fold Lines: Use a ruler and the back of your craft knife (or a scoring tool) to lightly score along the dashed fold lines. This creates a clean, crisp fold and prevents the paper from cracking. Always score on the side that will be the inside of the fold.
- Fold and Pre-crease: Fold along the scored lines, using your fingernail or a bone folder to sharpen the crease. Pre-fold all pieces before gluing—this makes assembly smoother. Check that folds align perfectly before applying glue.
- Assemble the Base Structure: Start with the main body or base pieces. Apply a thin layer of glue to the tabs and press them into the corresponding slots. Hold each joint for 10-15 seconds to let the glue set. Use minimal glue to avoid warping or visible residue.
- Attach Details and Finishing Touches: Add smaller parts like fins, wings, or facial features last. This prevents them from getting in the way during the base assembly. Use tweezers for tiny pieces. Let the model dry completely before handling to avoid parts shifting.
Featured Paper Toy Postcards
-
Black Faced Spoonbill DIY Paper Toy Postcard #119: The Black Faced Spoonbill DIY Paper Toy Postcard #119 is a Monkey Design creation from Taiwan, known for quirky and universal 3D paper models. This model offers a fun, collectible project that results in a unique desktop decoration, but be prepared for intricate assembly that requires patience.
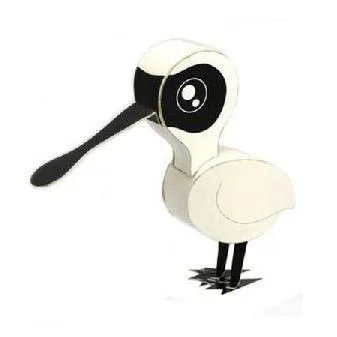
Black Faced Spoonbill DIY Paper Toy Postcard #119
-
Globefish DIY Paper Toy Postcard #041: The Globefish DIY Paper Toy Postcard #041 is another Monkey Design kit, featuring their distinctive playful style. A great choice for those who enjoy a challenge and want a distinct, whimsical piece to display after assembly.
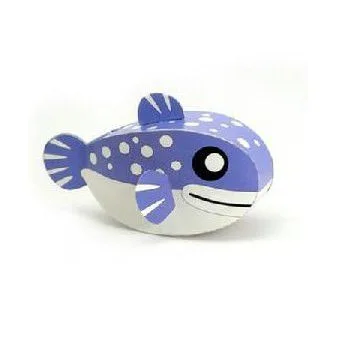
Globefish DIY Paper Toy Postcard #041
-
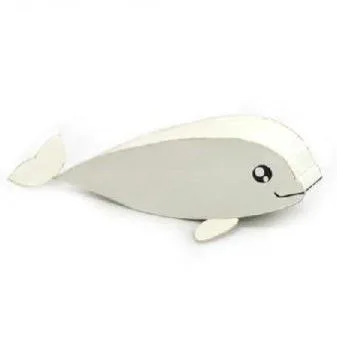
Beluga DIY Paper Toy Postcard #058: The Beluga DIY Paper Toy Postcard #058 is part of the Monkey Design line, known for creative and fun 3D paper models. This kit offers a charming aquatic theme that stands out in any collection, though the detailed parts may require steady hands.