Quick answer
Build your forest encounter in three layers: a base of open floor tiles for movement, painted tree terrain clustered to create cover and sightline breaks, and a few raised elements to keep the fight from feeling flat. Place trees in odd-numbered clusters rather than evenly spaced rows, and leave at least one clear lane so ranged characters and monsters still have decisions to make.
A forest fight goes wrong when the table looks like a tree farm. Rows of evenly spaced trunks give players nothing to think about, and a flat green mat turns every turn into the same charge forward. The fix is not more trees. It is a deliberate layout that uses painted tree terrain to break sightlines, create cover, and reward movement.
This guide walks through the build order we use at the table, from laying the base footprint to stacking elevation and finishing the edges. Each step includes the mistake that most often ruins the result, so you can catch it before your players sit down.
Start with the footprint, not the trees
Lay out your floor tiles first and decide the shape of the encounter before a single trunk goes down. A forest battle map reads best when the playable area has an irregular outline, because a perfect rectangle tells players exactly where the interesting parts end. Aim for a footprint that covers roughly the area your party can cross in two or three rounds of movement, then sketch where the main path runs through it.
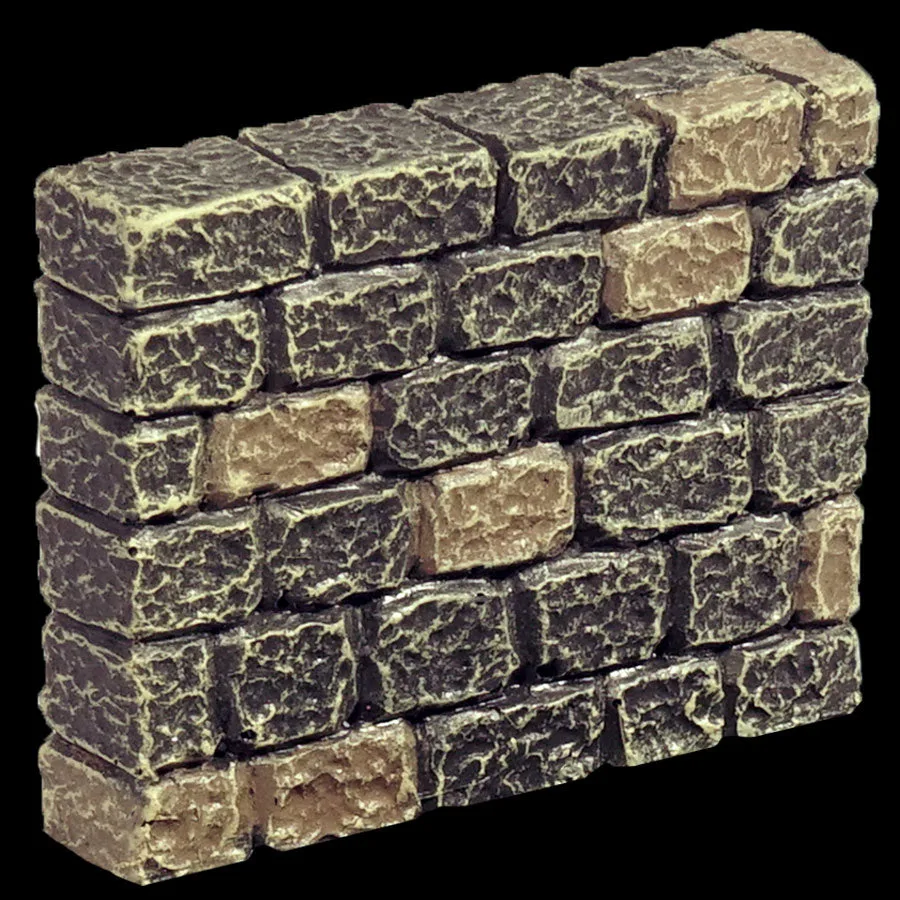
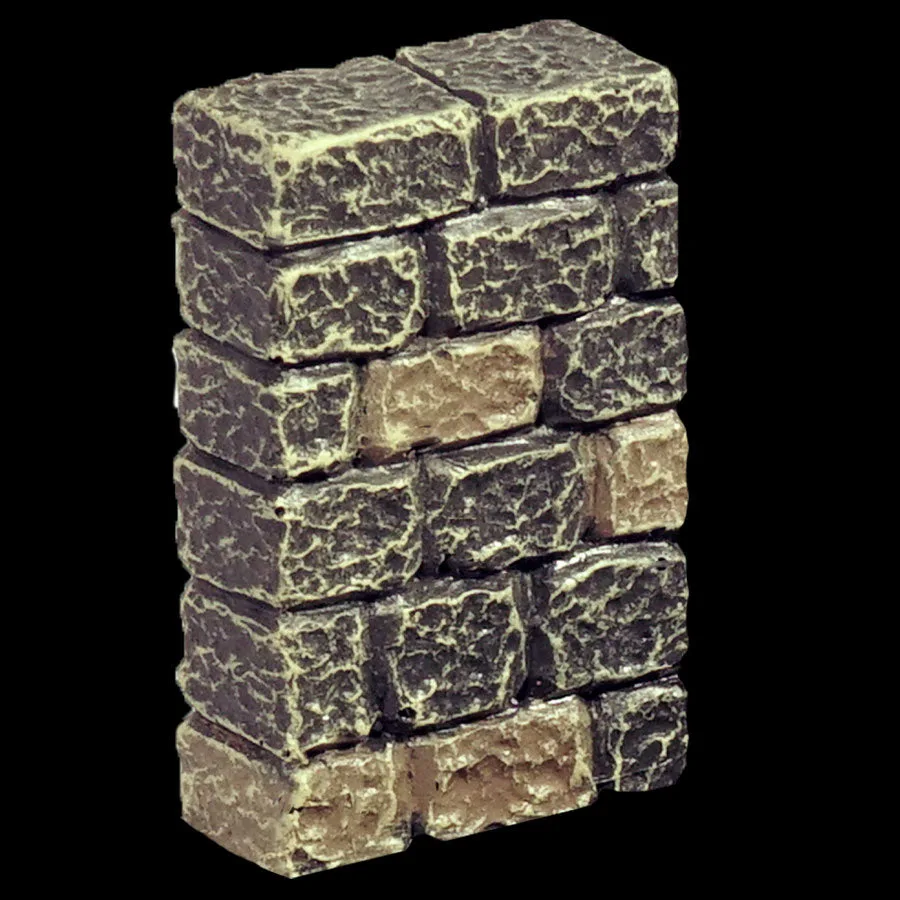
If you are building on a budget, individual pieces let you shape that footprint without buying a full set. The Narrow Freestanding Wall (Unpainted) is a useful example: it is a single Dwarvenite piece from the Dungeons line, so you can add one wall segment to define a clearing edge without committing to a whole layout. The tradeoff is that unpainted pieces need finishing before they match painted tree terrain, so plan that time into your prep.
- Checkpoint: if you can trace a straight line from one table edge to the other without hitting terrain, your footprint is too open.
Cluster trees in odd numbers
Trees work hardest when they come in groups of three, five, or seven rather than as single trunks. Odd clusters look natural and create small pockets of cover that players can move between. Place one large cluster near the center of the map to anchor the encounter, then two or three smaller clusters toward the edges to frame the space.
Leave deliberate gaps. A forest with no clear lanes forces every fight into the same melee scrum, and ranged characters end up with nothing to do. Two wide lanes and a couple of narrow squeeze points give you the tactical variety that makes how to use tree terrain actually interesting.
- Common mistake: placing trees directly on grid intersections. Offset them slightly so miniatures still fit in the squares around them.
Add elevation before you add more trees
Verticality does more for a forest encounter than another dozen trunks. A raised platform, a fallen log, or a small ridge gives you a place for archers, a goal for climbing checks, and a visual break in the canopy. Build elevation early, because it changes where your tree clusters should sit.
The Catwalk & Pipeline Elevation (Unpainted) set is designed for exactly this kind of vertical play, using pylons and terminus pieces to bring height to catwalks and pipelines. It is a sci-fi-flavored set, so it suits a Starforged woodland outpost better than a classic fantasy glade. If your forest is pure fantasy, use rocks, roots, or stacked tiles instead, and keep the elevation low enough that miniatures do not topple.
- Checkpoint: every raised surface should be reachable in one movement from at least two directions.
Use insert pieces to add story
A forest encounter feels memorable when the terrain tells you something happened here. Insert panels and small individual pieces let you drop in details without rebuilding the whole map. The Exposed Cables - Insert Panel (Unpainted) is a single unpainted piece from the Starforged sci-fi line, designed to slot into compatible terrain including trapdoors and false floors. In a woodland ruin or crashed-vessel encounter, that is a fast way to hint at a hidden entrance.
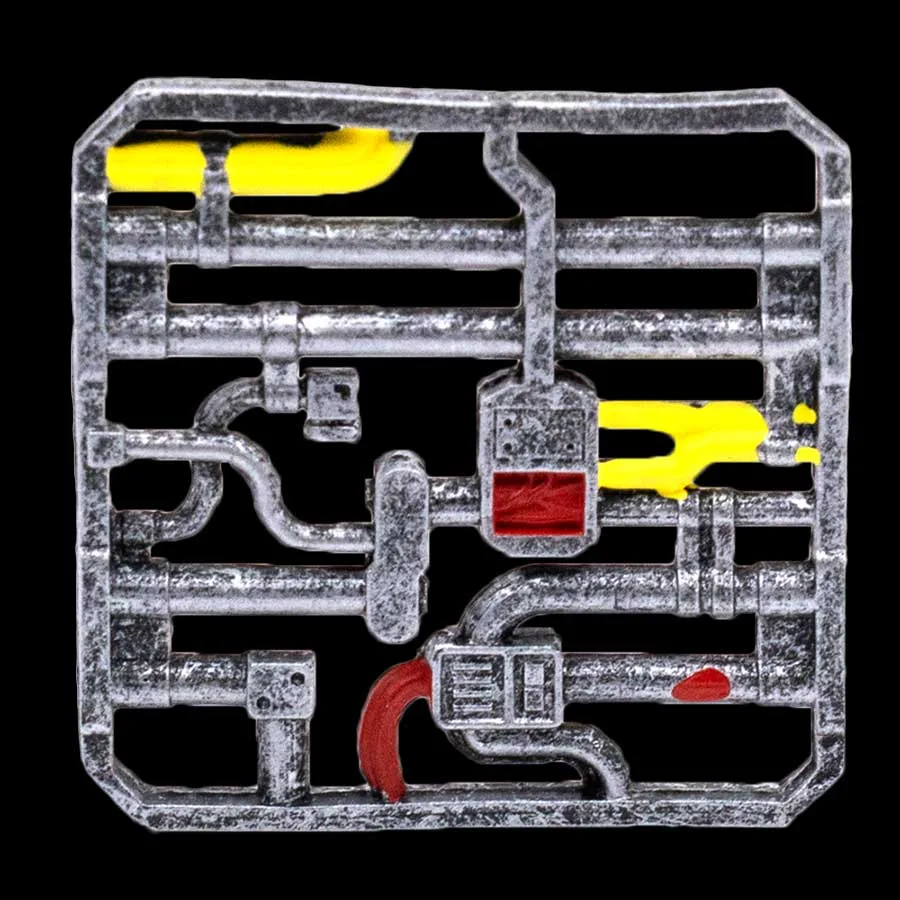
Exposed Cables - Insert Panel (Unpainted)
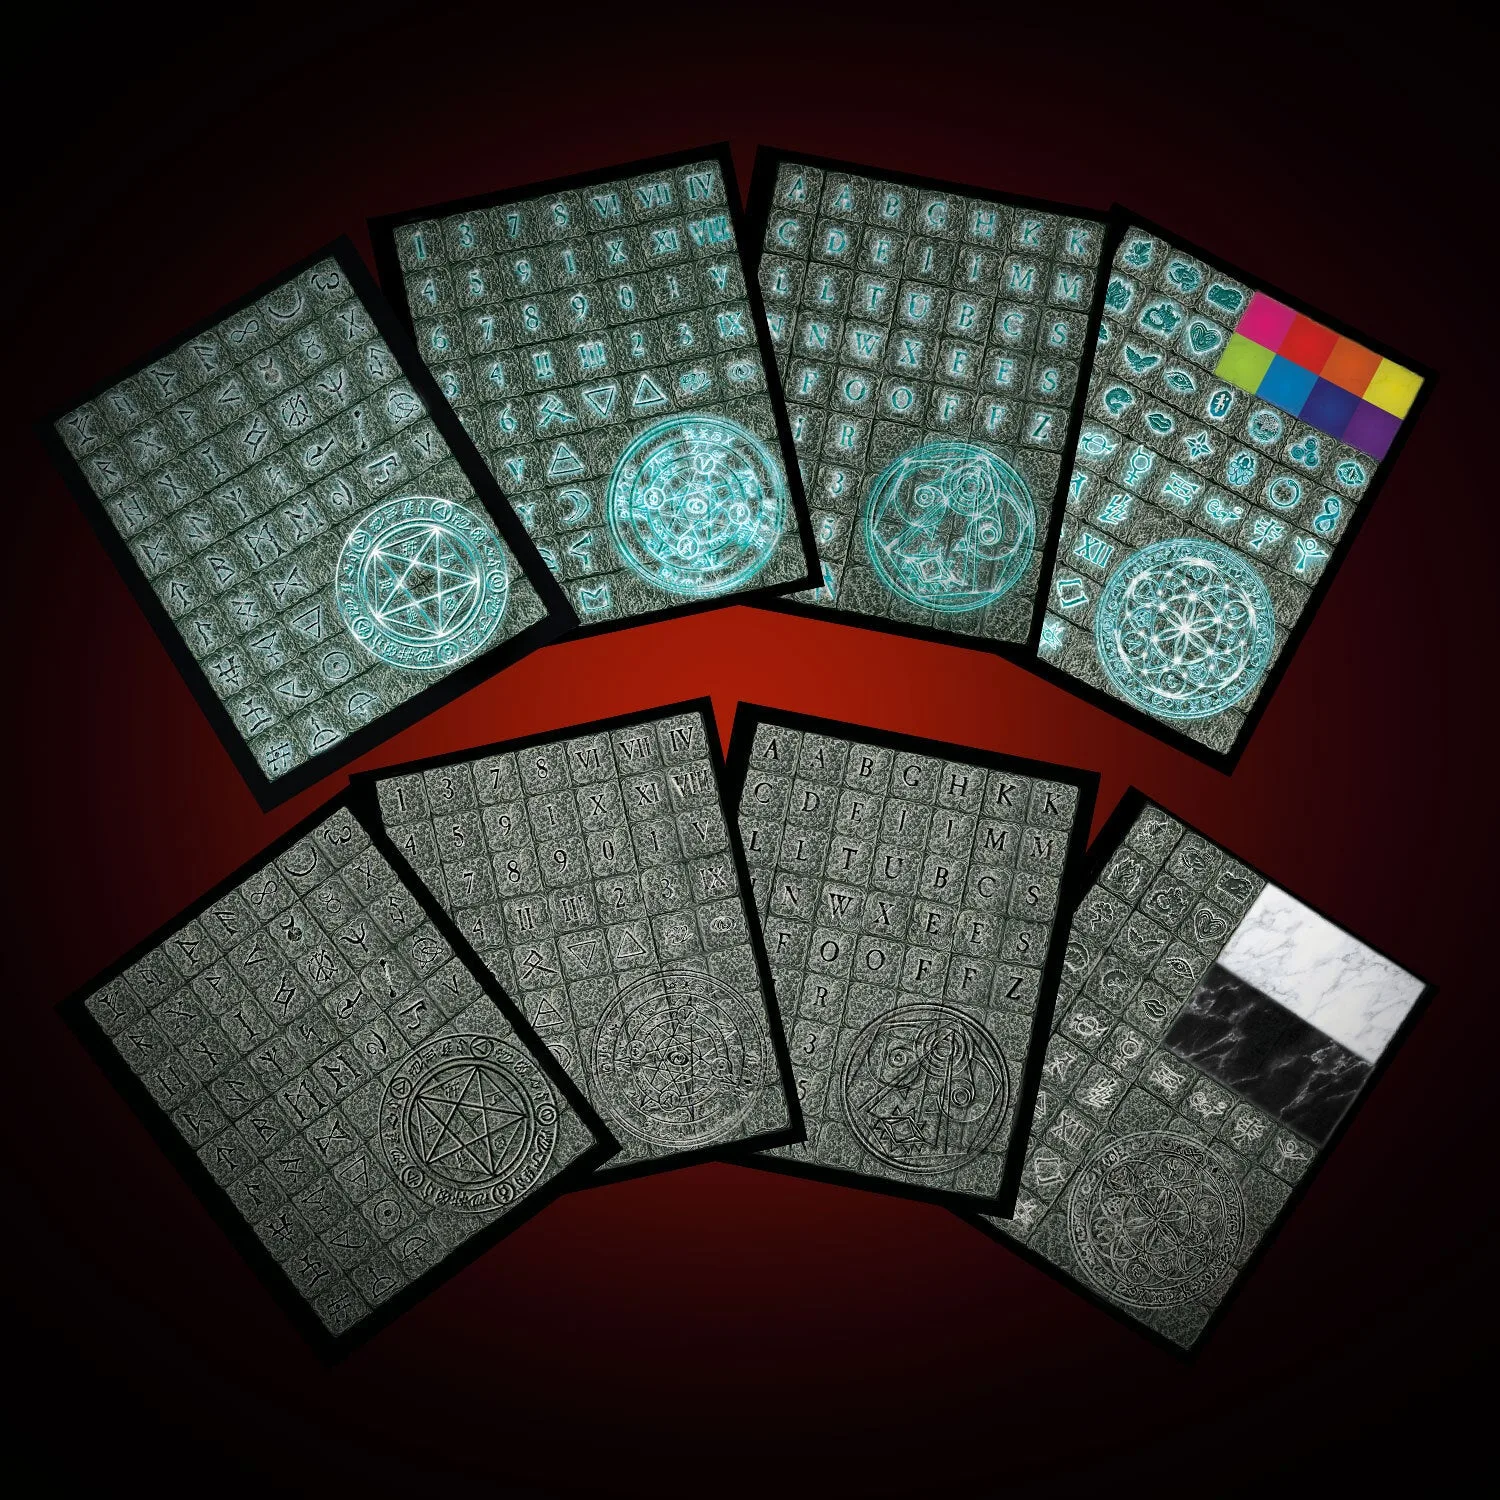
Keep the count low. One or two story pieces per encounter is enough; more than that and the table reads as a diorama instead of a playable space. If you want a puzzle element, the Puzzle Floor Decal Sheets include eight unique decal sheets and are replacement decals for Puzzle Floor Tiles, with a free reference guide available for the symbols.
- Common mistake: hiding a required objective under a piece players cannot see. Put story pieces where they will be noticed.
Finish the edges and test the lanes
Before you call it done, walk the perimeter. The outer ring of your forest is what players see first, so it should look intentional rather than like the tiles ran out. Scatter a few loose trunks and undergrowth along the edge, and let the tree line thin out toward the open side of the table.
Then test movement. Pick two miniatures and move them from opposite corners toward the center objective. If either one can reach it in a single round with no decisions to make, add a cluster or shift a lane. This two-minute check catches most layout problems before the session starts.
- Checkpoint: at least one route to the objective should pass through cover, and at least one should be exposed.
Forest encounter build order
- Step 1: Lay the base footprint: Place floor tiles in an irregular shape sized to two or three rounds of party movement, and mark where the main path runs. Checkpoint: no straight line should cross the whole map unobstructed.
- Step 2: Place tree clusters: Set painted tree terrain in odd-numbered groups of three to seven, with one large cluster near the center and smaller ones at the edges. Common mistake: even spacing turns the forest into a grid.
- Step 3: Build elevation: Add raised surfaces such as platforms, roots, or stacked tiles before adding more trees, and keep heights low enough for stable miniatures. Checkpoint: every raised surface is reachable from two directions.
- Step 4: Drop in one or two story pieces: Use an insert panel or decal sheet to suggest a hidden entrance, rune, or objective, and place it where players will notice it. Common mistake: hiding required objectives under terrain.
- Step 5: Finish edges and test lanes: Thin the tree line toward the open table edge, then move two miniatures from opposite corners to the objective to check the layout. Checkpoint: one route through cover, one route exposed.
Pieces that fit a forest build
- Narrow Freestanding Wall (Unpainted): An unpainted individual piece from the Dungeons (KS1) range, made of Dwarvenite and designed as a freestanding wall element for tabletop terrain setups. Its freestanding design means you can drop it into a clearing to define an edge or a ruined structure without rebuilding your floor layout.
- Exposed Cables - Insert Panel (Unpainted): An unpainted individual piece from the Starforged sci-fi line, designed as an insert panel for use with compatible terrain, including trapdoors and false floors. Useful when your woodland encounter includes a crashed vessel or hidden hatch, since it slots into compatible terrain rather than sitting on top of it.
- Puzzle Floor Decal Sheets: Replacement decals for Puzzle Floor Tiles, including 8 unique decal sheets, with a free downloadable reference guide for the symbols. Lets you add a rune or puzzle objective to a forest ruin without buying new tiles, and the reference guide keeps the symbols consistent at the table.
- Catwalk & Pipeline Elevation (Unpainted): A set that brings verticality to catwalks and pipelines using pylons and terminus pieces, and includes biscuits. Best suited to sci-fi or Starforged woodland outposts; for classic fantasy forests, use low natural elevation instead.
A forest encounter works when the terrain forces choices, not when it simply looks dense. Build the footprint first, cluster your painted tree terrain in odd groups, add elevation early, and test the lanes before your players arrive. That order keeps the build fast and the fight interesting.