Quick Answer
To build a Gundam model kit, start by prepping your tools and workspace, then carefully cut each part from the runner, sand nubs, dry-fit, and assemble section by section. Finish with panel lining and a topcoat for a clean, professional look. Always follow the manual's order and take your time to avoid mistakes.
Building a Gundam model kit, also known as Gunpla, is a rewarding hobby that combines precision, patience, and creativity. Whether you're a fan of the anime or just love intricate models, the process is accessible to beginners with the right guidance. This tutorial breaks down the entire assembly into clear, manageable steps.
Before you start, gather a few essential tools: a hobby knife, nippers (side cutters), sandpaper or a glass file, and a cutting mat. You don't need expensive equipment; a basic set will do. Also, pick a well-lit, clean workspace where small parts won't get lost. With these ready, you're set to build your first Gundam.
Step 1: Prepare Your Workspace and Tools
Set up a clean, flat surface with good lighting. Organize your tools—nippers, hobby knife, sandpaper, and a cutting mat—so they're within reach. Keep a small container or tray to hold loose parts and prevent them from rolling away.
Read the instruction manual thoroughly before starting. Familiarize yourself with the part numbers and assembly order. This prevents confusion later. A common mistake is skipping this step and then having to disassemble parts to correct an error.
- Use a dedicated cutting mat to protect your table and your blades.
- Check that your nippers are sharp; dull blades crush plastic instead of cutting cleanly.
Step 2: Cut Parts from the Runners
Using your nippers, cut each part from the runner, leaving a small margin of plastic (about 1-2mm) away from the part. This prevents stress marks and damage. Cut at a slight angle to avoid gouging the part.
A common mistake is cutting too close to the part, which can chip or stress the plastic. Always cut away from the part, then trim the remaining nub with a hobby knife or sand it down. This two-step cutting method is the foundation of clean Gunpla assembly.
- Cut in a well-lit area so you can see the exact cutting point.
- If you're using a hobby knife, always cut away from your fingers.
Step 3: Clean Up Nubs and Gate Marks
After cutting, use a hobby knife to shave off the remaining nub, then sand the area with fine-grit sandpaper (400-600 grit) to smooth it out. For a more polished finish, you can use a glass file, which leaves a smooth surface without much effort.
Take care not to sand too aggressively, as this can remove surrounding detail or round off sharp edges. A common mistake is skipping this step, which leaves visible nubs that ruin the look. Check each part under good light to ensure the surface is even before moving on.
- Use a sanding stick or sponge for better control.
- For colored plastic, sanding can lighten the color; a topcoat later will even it out.
Step 4: Dry-Fit and Assemble Sections
Before applying any glue (if required), dry-fit the parts to ensure they fit together properly. Most modern Gunpla kits snap together without glue, so this step is about checking alignment. Assemble each section—arms, legs, torso—according to the manual.
A common mistake is forcing parts together. If a joint feels tight, check for leftover nubs or misalignment. Sand or trim as needed. Also, be mindful of the orientation of parts; some are similar but not symmetrical. Refer to the manual's diagrams carefully.
- Use a pair of tweezers for tiny parts to avoid losing them.
- If a part is too loose, you can apply a tiny drop of glue or use a layer of clear nail polish to thicken the peg.
Step 5: Panel Line for Detail
Panel lining is an optional but highly recommended step that adds depth to your model. Use a fine-tip Gundam marker or panel line accent color to trace the recessed lines on the parts. Wipe away excess with a cotton swab or eraser.
A common mistake is applying too much ink, which can pool and smudge. Work in small sections and clean up immediately. For beginners, a gray or black marker works well on light-colored plastic. This step dramatically improves the look without much effort.
- Practice on a spare runner first to get a feel for the marker.
- Let the ink dry completely before handling the part.
Step 6: Apply Decals (Optional)
Many kits come with stickers or dry-transfer decals. For beginners, stickers are easiest. Use tweezers to place them precisely. Dry-transfer decals require rubbing the backing onto the part; follow the manual's instructions.
A common mistake is placing decals on curved surfaces, which causes wrinkles. Try to apply them on flat areas whenever possible. If you make a mistake, gently lift the decal with tweezers and reposition it before it sets.
- Use a cotton swab to press down decals and remove air bubbles.
- Seal decals with a topcoat to prevent peeling.
Step 7: Topcoat for Protection and Finish
A topcoat (clear spray) protects the plastic from scratches and UV damage, and it also gives a matte, gloss, or semi-gloss finish. Apply in a well-ventilated area, holding the can about 15-20 cm away. Use light, even coats to avoid drips.
A common mistake is applying too thick a coat, which can cause pooling and a cloudy finish. Start with a light mist, let it dry, then apply another coat if needed. Topcoating also helps decals adhere better and gives the model a more cohesive look.
- Test the spray on a spare part first to check the finish.
- Avoid spraying in humid or dusty conditions.
Beginner's Checklist: 7 Steps to Your First Gunpla
- Prepare tools and workspace: Gather nippers, hobby knife, sandpaper, and a cutting mat. Ensure good lighting and a clean area. Checkpoint: You have all tools within reach and a safe cutting surface.
- Cut parts from runners: Use nippers to cut each part, leaving a small margin. Trim the nub with a knife or sand. Checkpoint: No parts are damaged from cutting too close.
- Clean nubs and gate marks: Sand or file the nub area until smooth. Avoid over-sanding that removes detail. Checkpoint: Part surfaces are even and ready for assembly.
- Dry-fit and assemble: Test fit parts before final assembly. Follow the manual's order and check alignment. Checkpoint: Sections fit snugly without forcing.
- Panel line for detail: Use a fine marker to trace panel lines. Wipe away excess for a clean look. Checkpoint: Lines are crisp and no smudges remain.
- Apply decals: Place stickers or decals with tweezers. Position on flat surfaces to avoid wrinkles. Checkpoint: Decals are straight and well-adhered.
- Topcoat for finish: Spray a clear coat in light, even layers. Let dry between coats. Checkpoint: Finish is even and protects the model.
Tools and Products to Consider
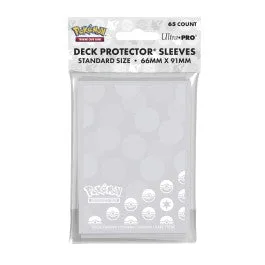
- Ultra PRO: Standard 65ct Pokemon Sleeves - Energy Colorless Type: The Energy - Colorless Type Deck Protector sleeves for the Pokemon Trading Card Game feature vibrant artwork inspired by the iconic Energy type. Ultra PRO Deck Protector Sleeves are made with our proprietary ChromaFusion Technology to prevent peeling. Archival-safe materials ensure you can sleeve your cards with confidence. Sized for standard size trading cards measuring 2.5 in. x 3.5 in. While these sleeves are for trading cards, they're useful for storing small Gunpla parts or decals during assembly, keeping them organized and protected. They're also great for storing any collectible cards you might have.
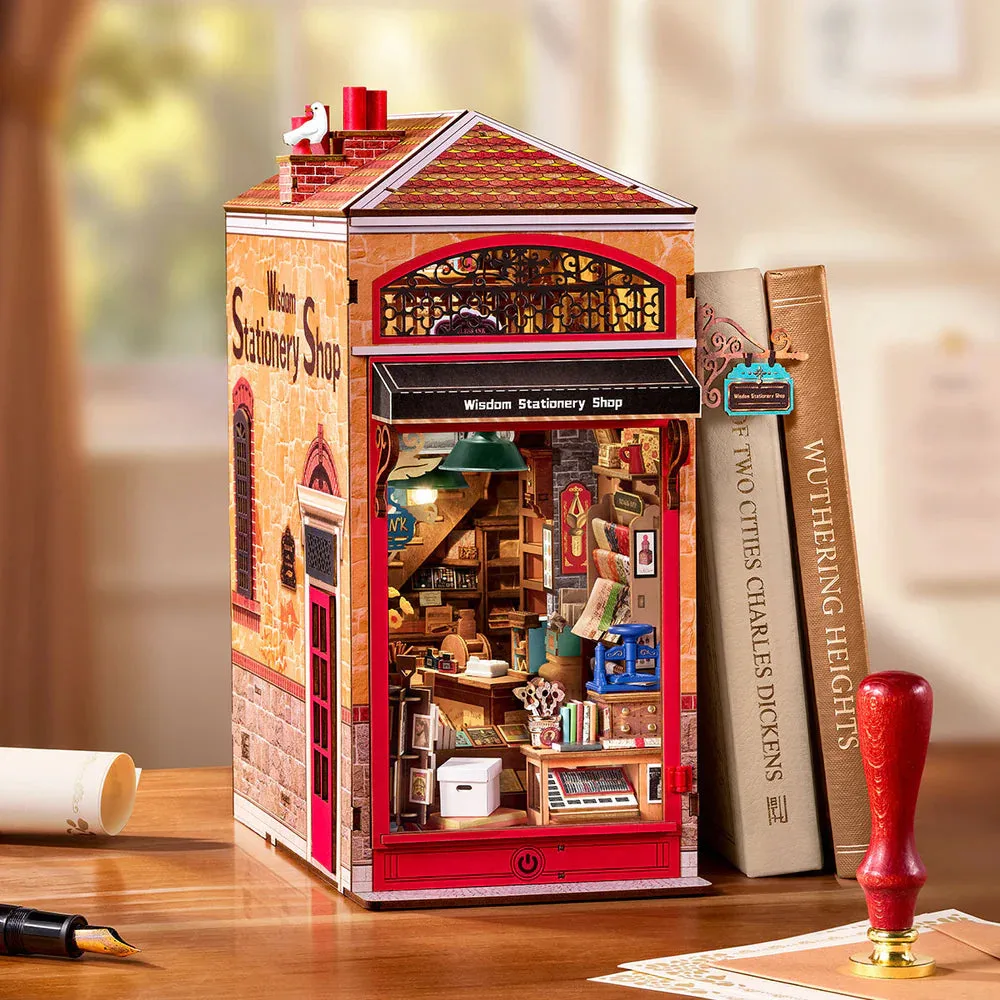
- Rolife Wisdom Stationery Shop DIY Book Nook: Step into a world of miniature charm with the Rolife Wisdom Stationery Shop DIY Book Nook by Robotime! This beautifully detailed DIY miniature bookshelf insert recreates a cozy vintage stationery shop complete with warm LED lighting, intricate brick facade, wrought iron window details, and dozens of hand-assembled miniature furnishings — books, lamps, a printing press, and more. Brand: Rolife by Robotime Model:... If you enjoy the hands-on assembly process of Gunpla, this DIY book nook offers another satisfying build with a completely different theme. It's a great way to expand your building skills and create a unique display piece.
Building your first Gundam model kit is a satisfying experience that improves with practice. Follow these steps, take your time, and don't be afraid to make mistakes—they're part of the learning process. Before long, you'll be ready to try more advanced techniques like painting and customizing. Happy building!