The MG Hyaku-Shiki Ver 2.0 is one of the most striking Master Grade kits ever released, with its signature gold plating and sleek design. For beginners, building this kit can be both exciting and intimidating, but with the right approach, you'll create a stunning centerpiece for your collection. This step-by-step guide will walk you through the entire process, from gathering tools to applying decals, ensuring a smooth and enjoyable build.
Whether you're new to Gunpla or have built a few High Grades and want to step up, this guide covers everything you need to know. We'll also touch on how to care for the special plating, avoid common mistakes, and get the most out of your build. Let's dive in and turn those runners into a masterpiece.
Tools and Materials You'll Need
Before you start, gather the essential tools. A good pair of nippers is crucial for clean cuts from the runners. Invest in a hobby knife for precise nub removal. Sanding sticks or fine-grit sandpaper (400-1000 grit) will help smooth out any rough spots. A cutting mat protects your work surface, and a panel line marker or wash adds detail. For the gold-plated parts, consider using a glass file or very fine sandpaper to avoid scratching.
You'll also want a clean, well-lit workspace. Tweezers are handy for small parts and decals. If you plan to apply the included stickers or water-slide decals, have a cotton swab and water handy. For a more advanced finish, you might use a topcoat, but be careful with plated parts—use a gloss topcoat specifically designed for plated surfaces.
- Use sharp nippers to cut parts away from the runner, leaving a small nub.
- Trim the nub with a hobby knife, then sand lightly with fine grit to avoid scratching the plating.
- Work in a well-lit area to see small details and avoid losing tiny parts.
Preparing the Runners and Parts
Start by sorting your runners. The MG Hyaku-Shiki Ver 2.0 comes with multiple runners, some with the iconic gold plating. Carefully cut each part from the runner, following the runner layout in the manual. For plated parts, cut away from the part to minimize stress on the plating. Use a glass file or fine sandpaper to clean the nubs, but avoid over-sanding as it can remove the plating.
As you cut, organize parts by section (head, torso, arms, legs, backpack) in small containers or trays. This makes assembly smoother. Double-check the manual for any parts that need to be pre-painted or have stickers applied before assembly. For the Hyaku-Shiki, the gold parts are already shiny, but you may want to touch up the inner frame with a metallic marker for extra detail.
- Keep plated parts separate to avoid scratching them.
- Use a glass file for clean, smooth nub removal on plated surfaces.
- Label your containers to stay organized.
Step-by-Step Assembly
Begin with the head and torso. The Hyaku-Shiki has a complex inner frame, so follow the manual carefully. Fit the inner frame pieces together, ensuring they snap securely. Then attach the armor plates. The gold plating is delicate, so handle parts by the edges. For the head, be careful with the camera eye—use a fine-tipped marker to paint it if needed.
Next, build the arms and legs. The Ver 2.0 has impressive articulation, so take your time to ensure joints move smoothly. Sand any tight joints lightly to avoid stress marks. Attach the backpack, which includes the iconic wings. Finally, assemble the weapons, such as the beam rifle and shield. Pose the finished kit to check articulation before applying decals.
- Follow the manual's order: head, torso, arms, legs, backpack.
- Test joint movement before final assembly to avoid forcing parts.
- Use a hobby knife to trim any flash or excess plastic.
Panel Lining and Decals
Panel lining adds depth and realism. For the Hyaku-Shiki, use a gray or brown panel line marker to avoid darkening the gold too much. Apply the marker along panel lines, then clean up with a cotton swab or eraser. For the inner frame, a black or dark gray wash works well. Be careful not to let the ink bleed onto the plated surfaces—use a fine-tipped marker for precision.
Apply the included stickers or water-slide decals. If using water-slides, cut out each decal, soak in water, then slide onto the surface. Use a cotton swab to press out air bubbles and position it. For stickers, use tweezers to place them accurately. Seal with a topcoat if desired, but test on a runner first to ensure it doesn't cloud the plating.
- Use gray panel line for gold parts to keep a subtle look.
- For water-slide decals, use a setting solution for better adhesion.
- Let decals dry completely before handling.
Final Touches and Display
Once decals are dry, reassemble any parts you removed. Give your MG Hyaku-Shiki Ver 2.0 a final inspection—check for loose joints, excess nubs, or smudges. You can add a matte topcoat to the inner frame for contrast, but leave the gold plating glossy to preserve its shine. If you have an action base, display your kit in a dynamic pose.
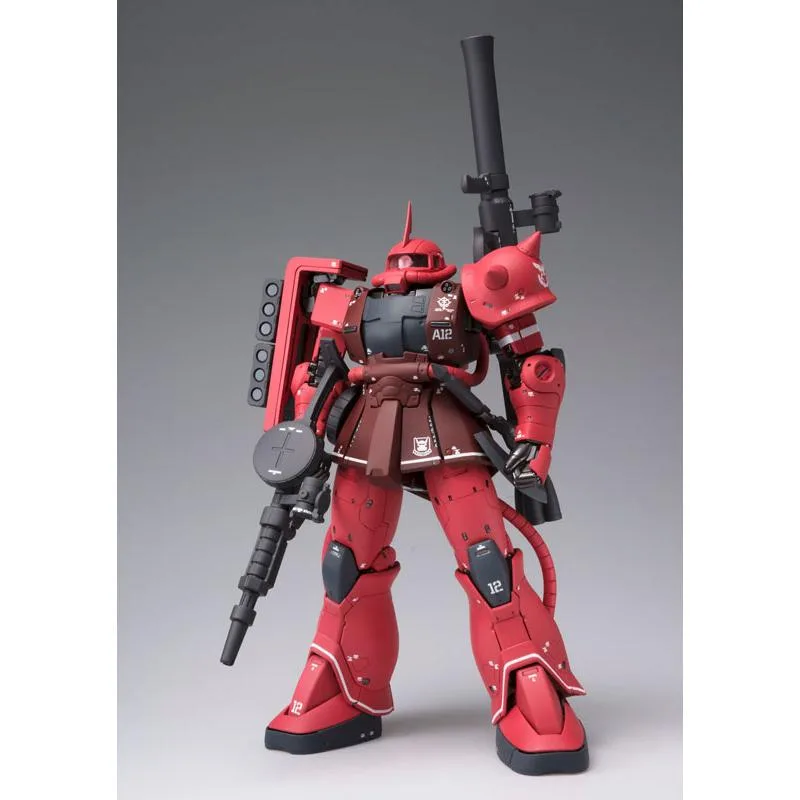
For inspiration, consider pairing your Hyaku-Shiki with other Gundam kits from your collection. The gold finish stands out among other Master Grades, making it a centerpiece. If you're looking for more builds, check out the Gundam Fix Metal Composite Mobile Suit Gundam: The Origin - MS-06S Char Zaku II for a different style, or the Bandai Evangelion RG - Evangelion Production Model EVA Unit-00 for a non-Gundam mecha challenge.
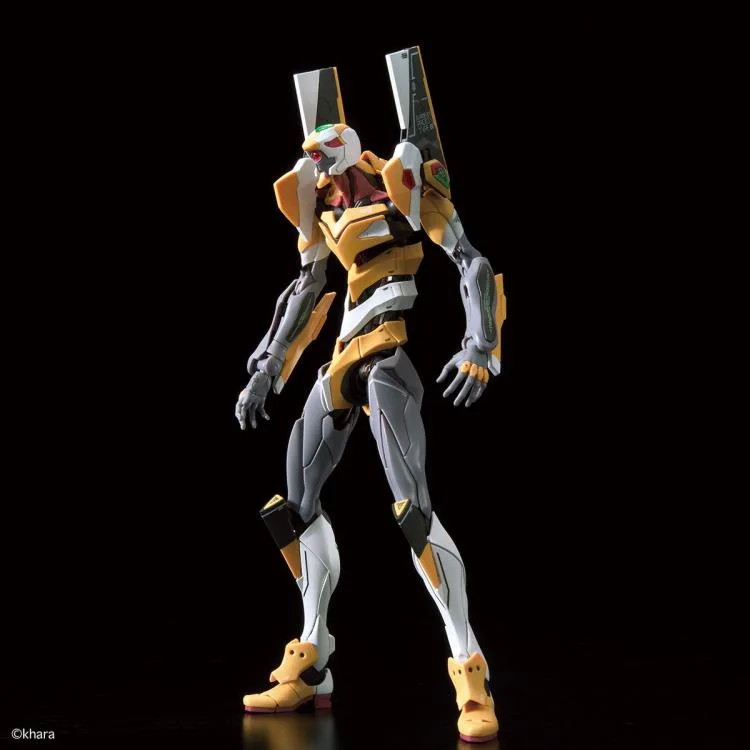
Bandai Evangelion RG - Evangelion Production Model EVA Unit-00
- Use an action base to display in flight poses.
- Dust your display case regularly to keep the gold shiny.
- Consider a glass display case to protect from scratches.
Building the MG Hyaku-Shiki Ver 2.0 is a rewarding experience that teaches you the fundamentals of Master Grade assembly while delivering a stunning result. With patience and the right techniques, you'll have a golden masterpiece that stands out in any collection. For more Gundam building adventures, explore ToyDojo's wide range of model kits and accessories.