Quick answer
Build the Model Set T-34-76 Model 1940 in this order: wash and dry-fit the sprues, assemble the lower hull and running gear, close the upper hull, build the turret with its 7.62 cm gun, fit the vinyl chain tracks last, then paint and weather. Keep the turret separate until after painting so the rotating tower stays free, and test-fit the vinyl tracks before you commit to a stance.
What is in the box and what you still need
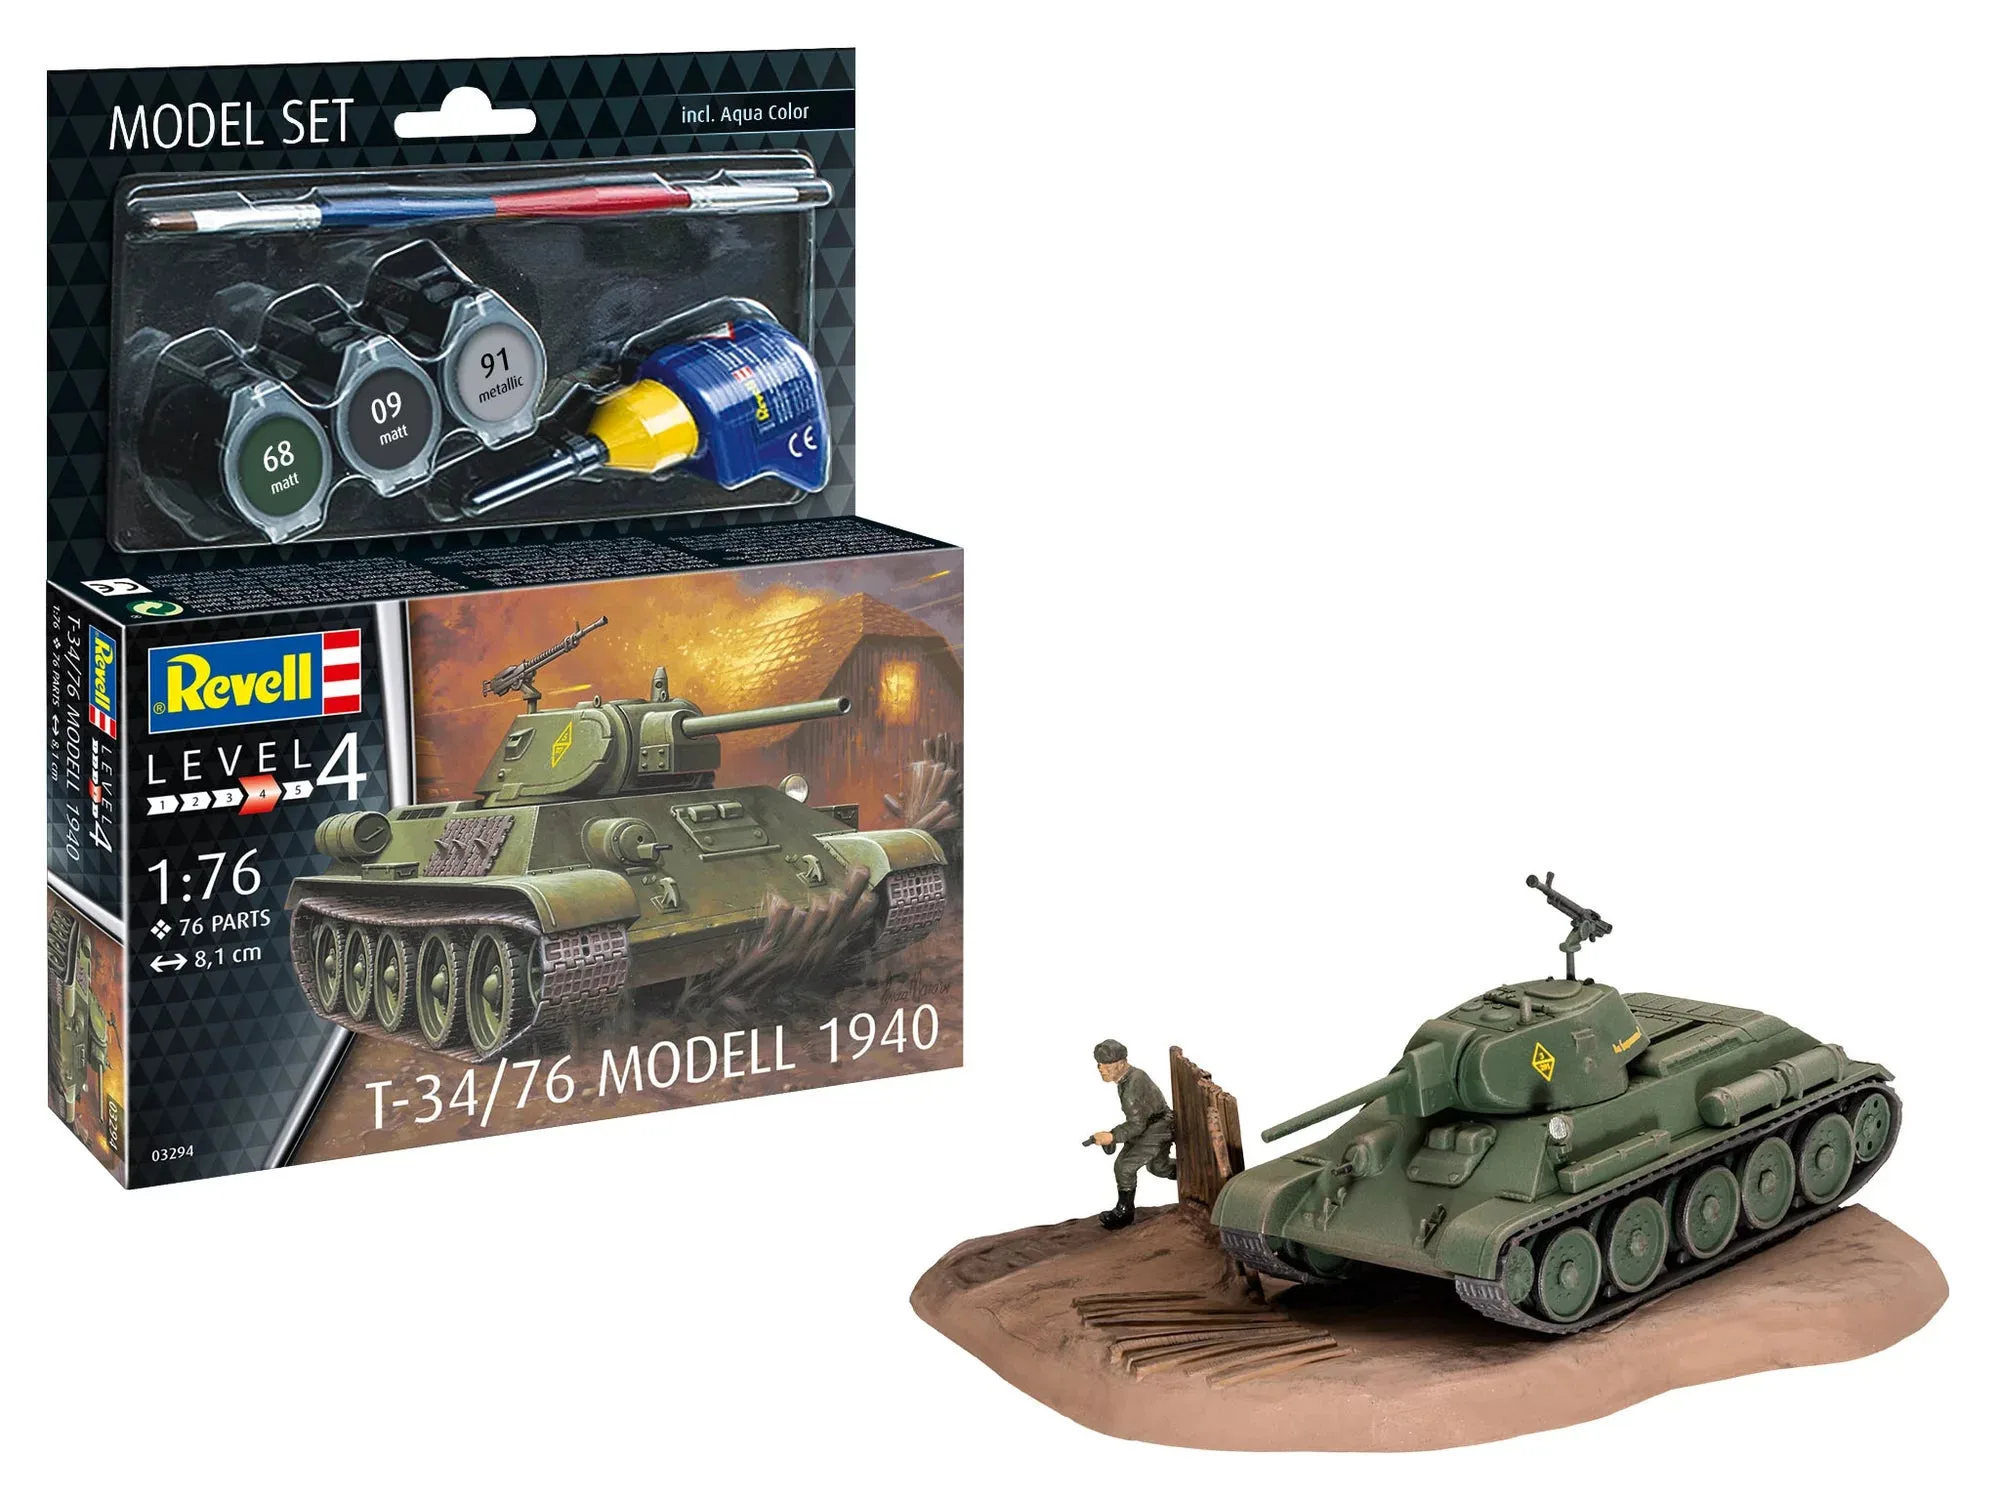
The Model Set T-34-76 Model 1940 is a full set: basic colors, glue and brushes are included, so you can start without a separate paint order. It also contains a diorama plate, a rotating tower, vinyl chain, and two decal versions. That combination is unusual for a kit at this price point and it is the main reason this set works as a first Soviet tank build.
You still need a few things the set does not cover: side cutters or sprue nippers, a hobby knife, fine sanding sticks or a sanding sponge, and a shallow dish for washing parts. If you want to weather the finished tank, add a dark brown or rust-toned wash and a matte clear coat. None of these are optional extras in practice; cutting parts free with a knife alone risks gouging the plastic.
Prep the sprues before you glue anything
Wash the sprues in lukewarm water with a drop of dish soap, rinse, and let them air-dry completely. Mold release residue is the most common reason paint beads up later, and it is far easier to remove now than after assembly. While the parts dry, read the instructions once from start to finish and highlight every step that involves the turret and the tracks, because those two areas drive the order of everything else.
Do a dry-fit pass on the large hull parts before touching the glue. Line up the lower hull, upper hull and rear plate without cement and check for gaps or flash on the mating edges. If a part needs trimming, trim now. Once cement is applied, the joint sets fast and forcing a misaligned hull only creates a seam you will sand for an hour.
Build the lower hull and running gear
Start with the lower hull tub, then add the road wheels, drive sprockets and idlers. Keep the wheel pairs on their axles and check that each one sits square to the hull side; a single tilted road wheel is visible from every angle and throws off the track line later. Leave the suspension arms to dry fully before you handle the hull, because soft joints shift under light pressure.
The Model 1940 hull is the early-war shape, so the running gear is simple compared with later T-34 variants. That simplicity is a benefit here: fewer parts means fewer alignment traps. Work one side at a time, let it cure, then repeat on the other side so you always have a stable reference to compare against.
Close the upper hull and add the details
Fit the upper hull to the lower hull and check the front glacis joint before the cement grabs. Then add the smaller details: hatches, grab handles, tow cables and the external fittings shown in the instructions. These parts are thin and easy to knock off, so handle the hull from underneath once they are on.
This is also the point to decide how much of the interior, if any, you want visible. The kit is designed to be built closed up, and leaving hatches open without interior detail usually looks emptier than a clean closed hull. If you are unsure, build it closed and keep the focus on the exterior finish.
Assemble the turret and the 7.62 cm gun
Build the turret as a separate sub-assembly and keep it off the hull until after painting. The set includes a rotating tower, which means the turret ring is designed to turn rather than be cemented solid. Test the rotation before you paint, then remove the turret again so paint does not glue the ring in place.
The 7.62 cm gun is the defining feature of this early T-34, and the barrel is the part most likely to end up crooked. Fit the mantlet and barrel, sight down the barrel from the front, and adjust before the joint cures. A barrel that is visibly off-axis is the first thing anyone notices on a finished tank.
Fit the vinyl chain tracks
The kit uses vinyl chain rather than individual link tracks, which keeps the build short and the cost low. Warm the vinyl briefly in lukewarm water to make it more flexible, then drape it around the wheels and sprockets and check the length before you fix anything. Vinyl has a small amount of stretch, so a track that looks slightly short cold often fits once warmed.
Join the ends where the instructions indicate and make sure the track sits on the top of the road wheels rather than floating above them. If the run looks slack, adjust the idler position rather than cutting the vinyl. Save any trimming as a last resort, because you cannot add material back.
Paint, decal and weather the finished model
Paint the hull and turret separately, then join them once the paint is fully cured. The set includes basic colors, so start with the base green and build it in thin coats rather than one heavy pass. Thin coats preserve the surface detail on the hull plates and around the hatches; a single thick coat fills them in.
Apply the decals from one of the two supplied versions over a gloss or semi-gloss surface, use a setting solution if you have it, then seal them with a clear coat before weathering. For weathering, keep it restrained on an early-war T-34: a dark wash in the panel lines and around the running gear, light dust on the lower hull and wheels, and a matte coat to finish. Mud caked over the whole tank hides the shape that makes this kit worth building.
Build order at a glance
- 1. Wash and dry-fit the sprues: Wash in lukewarm soapy water, rinse, air-dry fully, then dry-fit the hull halves and trim any flash before touching cement. Checkpoint: no paint beading and no gaps when the hull halves are pressed together dry.
- 2. Build the lower hull and running gear: Assemble the tub, then add road wheels, sprockets and idlers one side at a time, letting each side cure before starting the other. Common mistake: handling the hull before the suspension joints set, which tilts the wheels.
- 3. Close the upper hull and add details: Join upper and lower hull, check the glacis seam, then attach hatches, handles and fittings, handling the model from underneath. Checkpoint: the glacis joint is tight and no small parts have been knocked loose.
- 4. Assemble the turret and 7.62 cm gun separately: Build the turret as a sub-assembly, test the rotating tower, and sight down the barrel to confirm it is straight before the joint cures. Common mistake: cementing the turret ring solid, which kills the rotation.
- 5. Fit the vinyl chain tracks: Warm the vinyl, drape it around the wheels, check the length, then join the ends and adjust the idler rather than cutting. Checkpoint: the track rests on the road wheels with no floating gap at the top run.
- 6. Paint, decal and weather: Paint hull and turret separately in thin coats, apply one of the two decal versions over a gloss surface, seal it, then add a restrained wash and dust before a matte coat. Common mistake: one heavy paint coat that fills hatch and plate detail.
Kit facts that shape the build
- Model Set T-34-76 Model 1940: Model kit of the legendary Soviet T-34 tank, which with its 7.62 cm gun was superior to any German tank of its time, supplied with a diorama plate, rotating tower, vinyl chain and two decal versions, plus basic colors, glue and brushes. The included paints, glue and brushes mean you can start the build the day the box arrives, and the diorama plate gives you a display base without buying one separately.
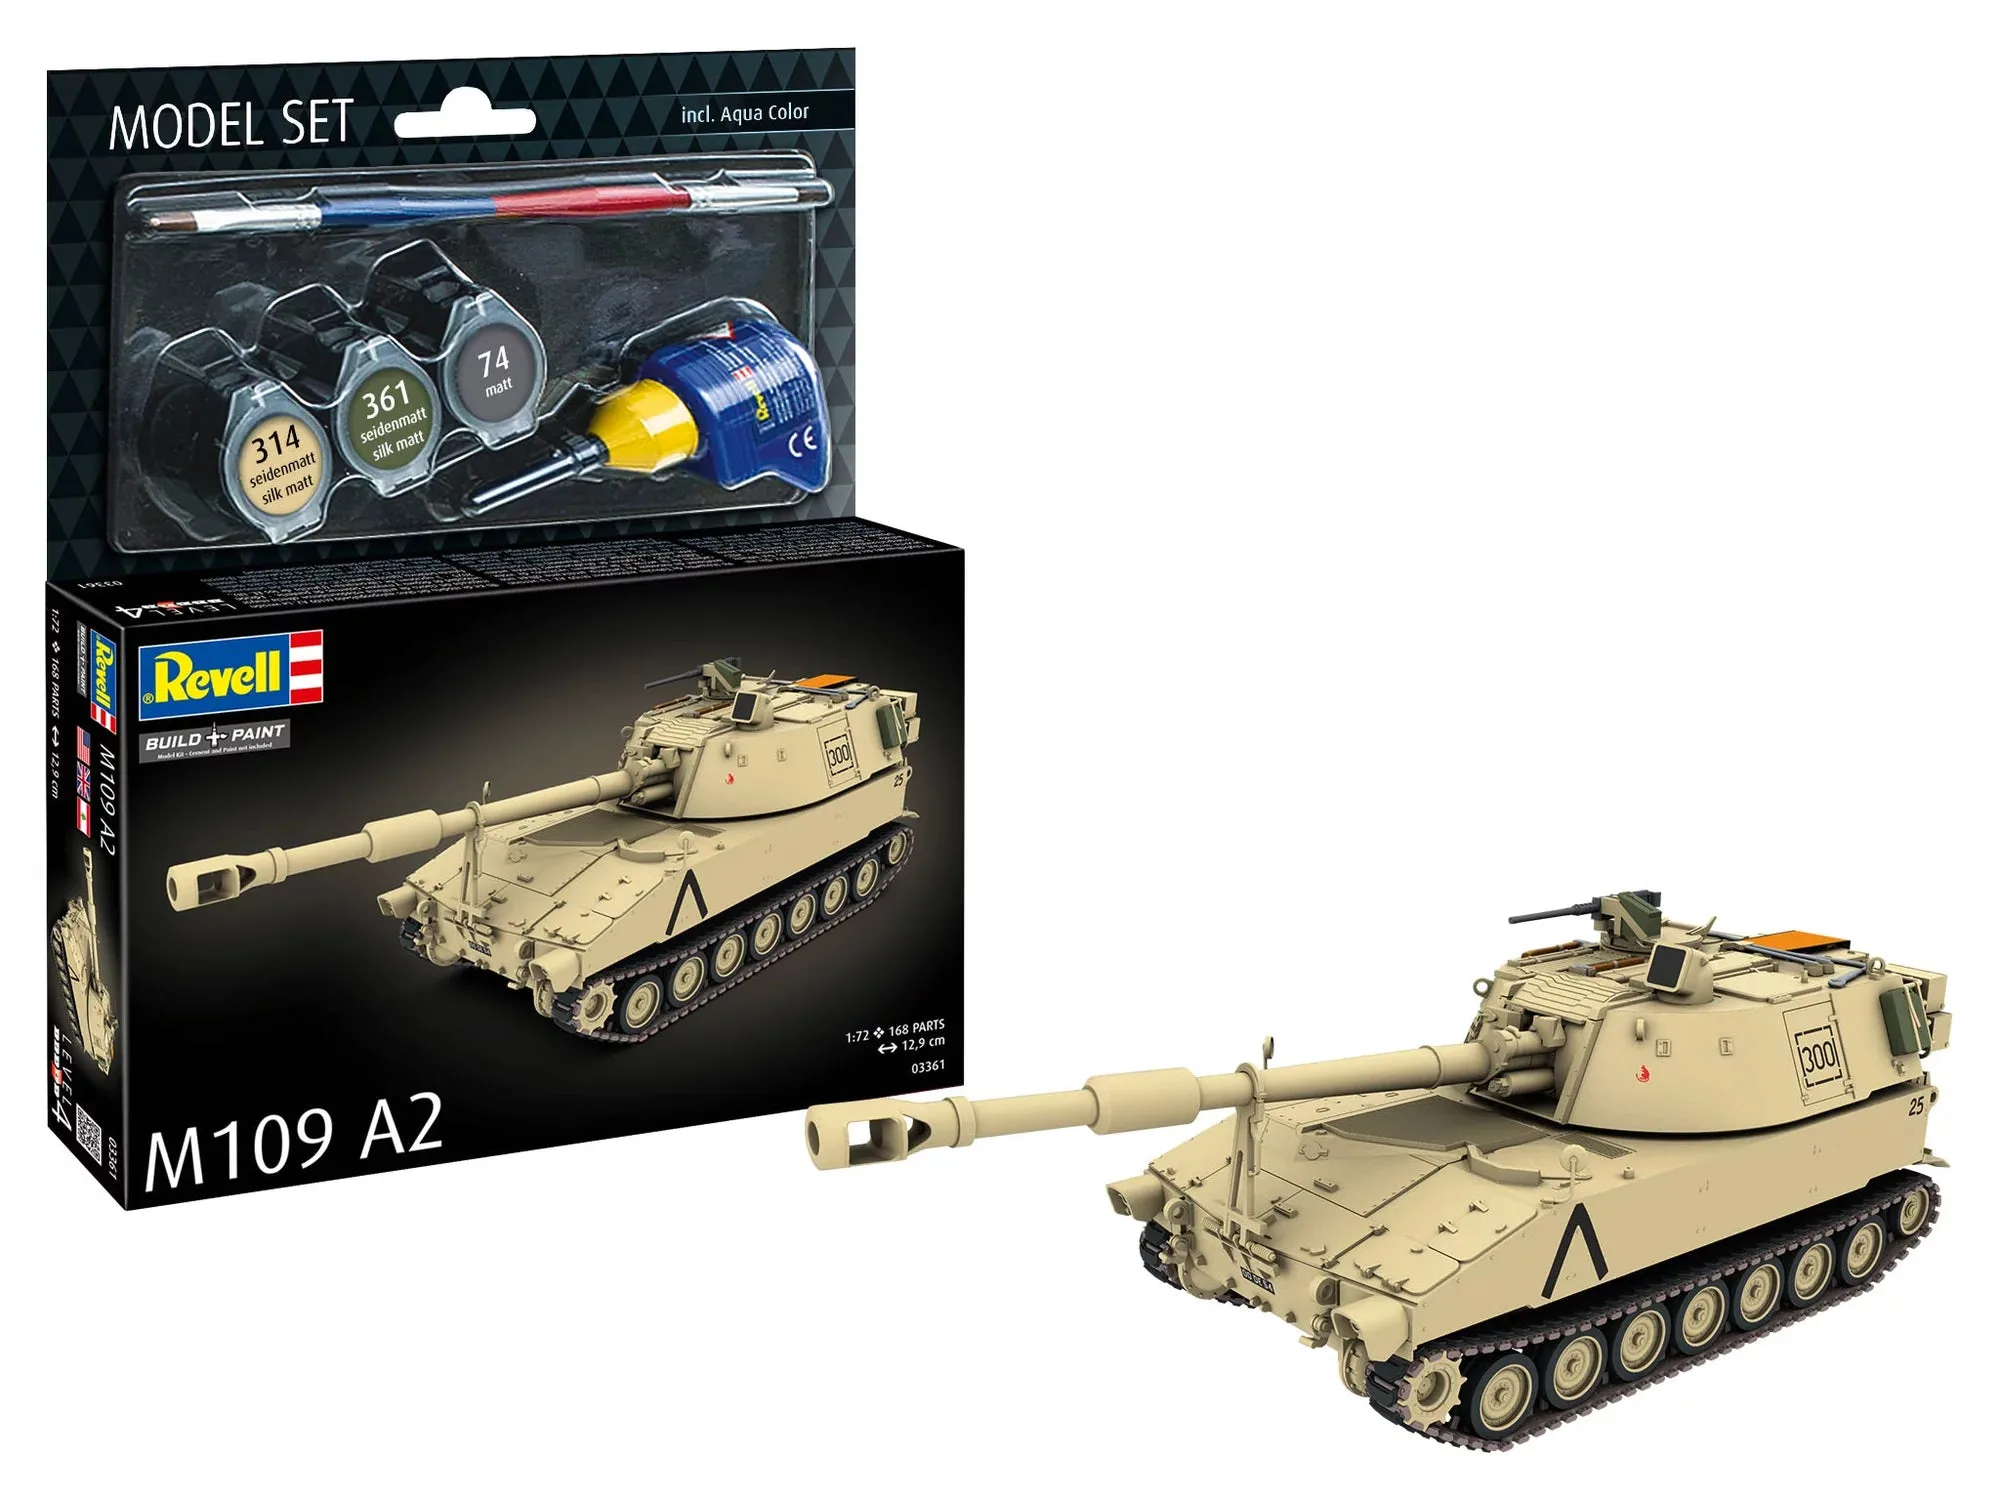
- Model set M109 A2: Model kit of the M109A2 self-propelled howitzer in a 2025 edition, with marking options including a US Army Europe REFORGER 85 vehicle at Fulda and a 40th Regiment Royal Artillery vehicle. If you finish the T-34 and want a second build with modern markings and a different assembly rhythm, this is a natural next project from the same catalog.