Quick answer
Build your kit around three situations, not a pile of products: an early-stage blemish you feel coming, a visible pimple you need to cover during the day, and a chin breakout you want to treat overnight. Pack one patch format for each, keep them in a flat case, and restock when you get home.
Match each patch format to a real moment
A travel kit works only when every patch in it has a job. Early-stage blemishes need a patch designed to act at the first sign, before a breakout fully forms. Daytime pimples need something clear and thin enough to wear while you talk to clients or sit in a meeting. Chin-area breakouts, including clusters and whiteheads, need a shape that stays put through talking, eating, smiling, or sleeping.
If two patches in your kit do the same job, you are carrying weight for no reason. Pick one per scenario and learn how it behaves on your skin before you rely on it away from home.
Pack a flat case, not a pouch
Patches bend, crease, and lose adhesion when they slide around loose in a bag. A flat, rigid case keeps them stacked and protected, and it lets you see how many you have left before a trip. If you already organize patches by count, keep that system and simply shrink it for travel: a few of each format rather than a full box.
Check the case against your actual bag before you commit. A case that fits a carry-on but not your work tote will get left behind, and the kit only helps if it is with you.
Prep skin so the patch holds
Patch adhesion depends on what is under it. Cleanse, dry the area completely, and apply the patch to bare skin rather than over moisturizer, sunscreen, or makeup. If you are applying at a desk or in an airport bathroom, blot the spot first and give it a moment to dry.
This is also the step where skin type matters. Some patch formats are suitable for normal, oily, dry, and combination skin but not recommended for sensitive skin, so read the patch guidance rather than assuming every format suits you.
Set a removal and restock routine
Decide in advance when a patch comes off: at the end of the workday, after a flight, or in the morning after overnight use. Having a rule prevents the common mistake of leaving a patch on far too long because you forgot it was there.
Restock the kit when you unpack, not when you next travel. That single habit is what keeps an emergency kit from becoming an empty case you discover at the worst possible time.
Build the kit in six steps
- 1. List your three blemish scenarios: Write down the situations you actually face: a blemish forming before a meeting, a visible pimple during a workday, and a chin breakout overnight. This list becomes your packing list. Checkpoint: if a patch format does not map to one of the three, leave it out.
- 2. Choose one patch per scenario: Pick an early-stage patch for the first-sign scenario, a clear thin patch for daytime, and a chin-shaped patch for overnight. Keep the formats distinct so you never hesitate over which to use. Common mistake: packing three versions of the same job and no answer for the other two.
- 3. Count for the length of the trip: Estimate two to three patches per scenario for a short trip and add a small buffer. Patch count options make it easy to buy a size that matches how long you will be away. Checkpoint: a kit with fewer than two patches per scenario will run out mid-trip.
- 4. Move them into a flat, rigid case: Stack patches flat so they stay unbent, and keep the case small enough to live in your work bag as well as your luggage. Common mistake: loose patches in a soft pouch, which crease and lose adhesion.
- 5. Add the two prep essentials: Include a way to cleanse or blot the spot and something to dry the skin, because patches go on bare, dry skin rather than over product or makeup. Checkpoint: if you cannot apply a patch on clean dry skin, the patch will not stay put.
- 6. Set the removal rule and restock on unpack: Agree with yourself when patches come off — end of workday or morning after overnight use — and refill the case the day you get home. Next step: put a restock reminder in your calendar for the day after you return.
Patch formats worth knowing
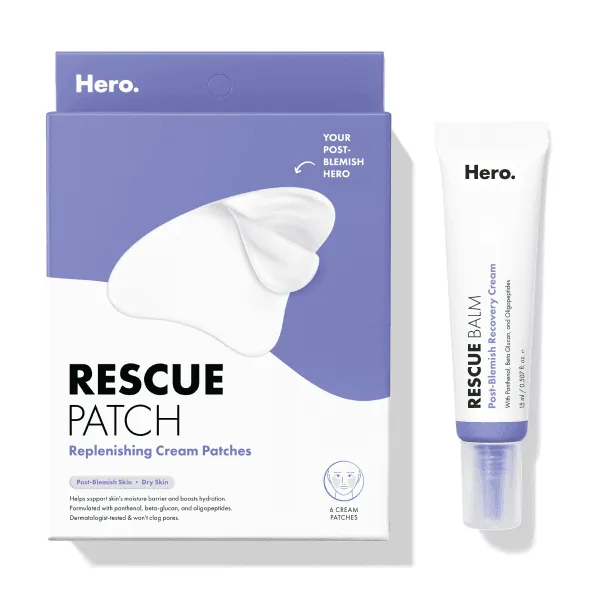
- Mighty Patch™ for Early-Stage Blemishes: Formulated for early-stage blemishes to address them at the first sign; suitable for combination, dry, normal, and oily skin types; not recommended for sensitive skin. This is the patch to reach for when you feel a blemish forming, so keep it at the top of the case where you can grab it fast.
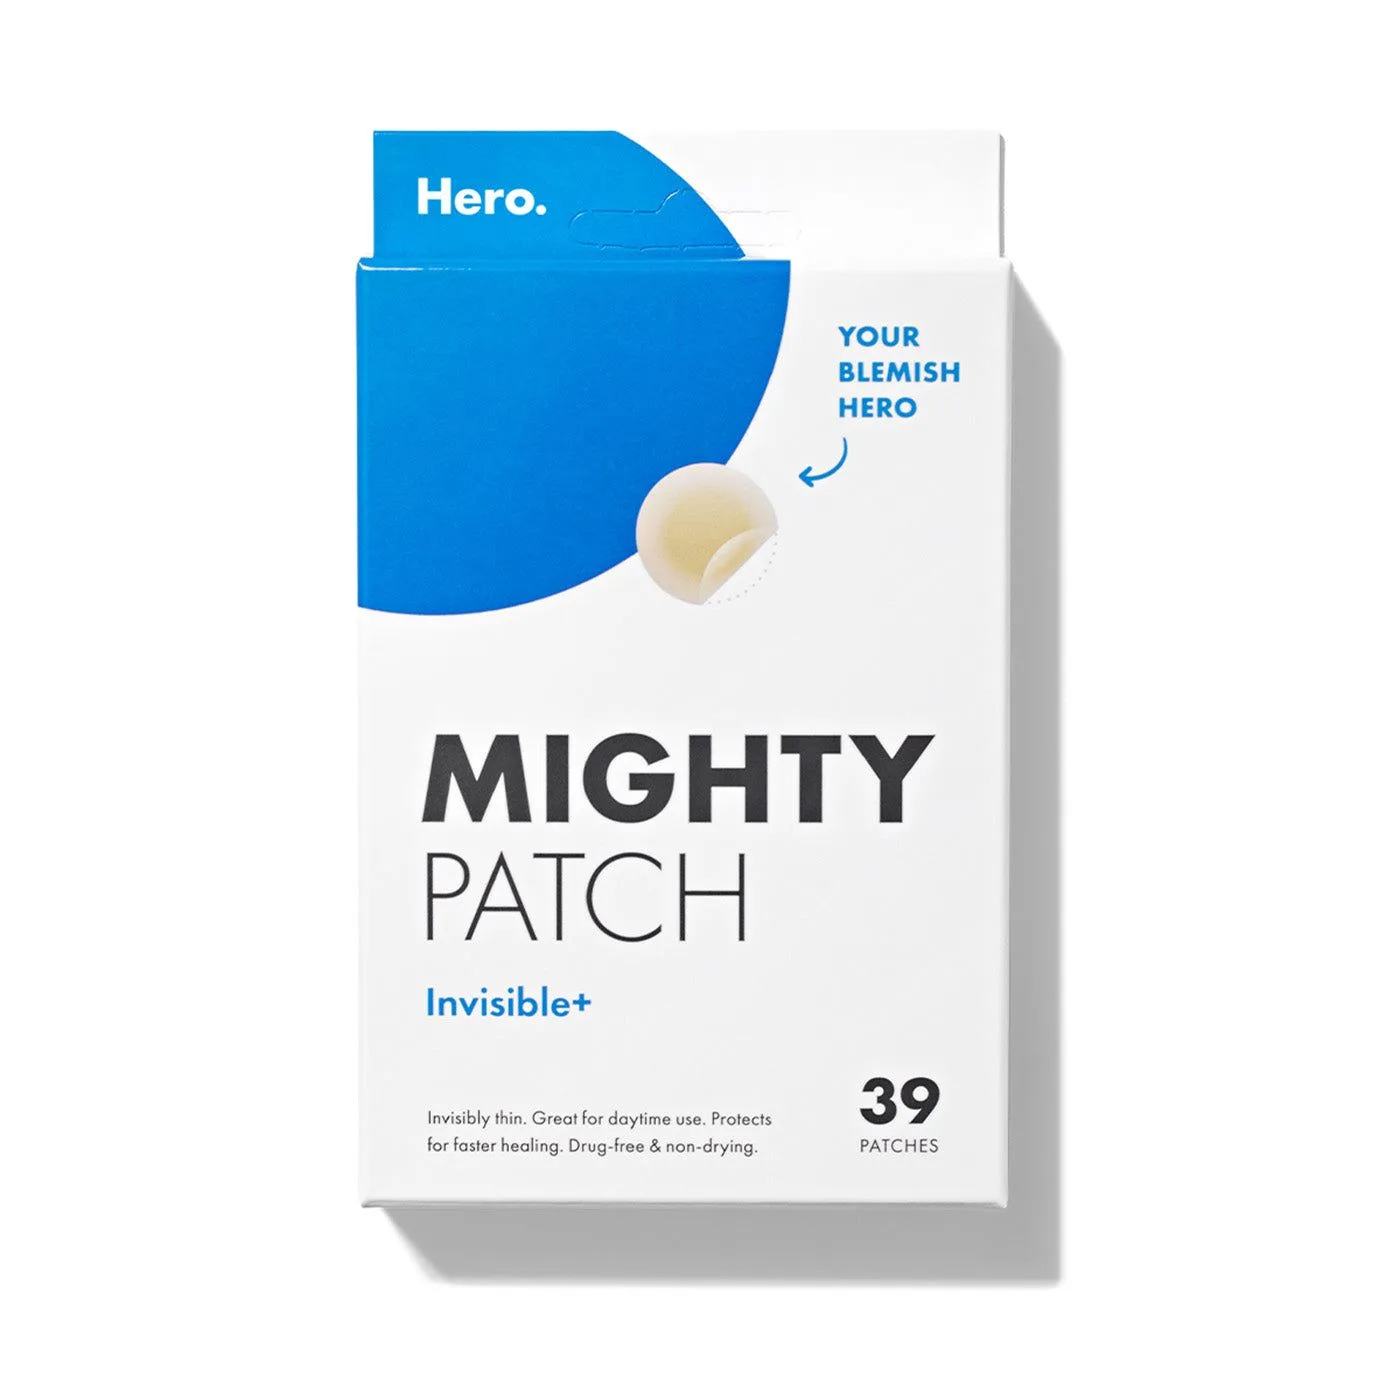
- Mighty Patch™ Invisible+ patch: Clear, super-thin, and comfortable enough to forget it is there; available by patch count. The daytime option for work and travel, and the count option lets you size the kit to a short trip or a longer one.
- Mighty Patch™ Chin patch: Designed for chin-area breakouts, including clusters and whiteheads; suitable for all skin types; ideal for nighttime use or as part of a pimple care and aftercare routine. Covers the overnight slot and the chin shape, so you are not improvising with a patch made for a different area.