Quick answer
Build your RC CLAAS Axion 960 tractor from the Advent Calendar by opening one door each day, following the included instructions, and checking each subassembly before moving on.
Why the daily build approach works
The Advent Calendar is designed to be built over 24 days, with each day revealing a new part or subassembly. This staggered approach helps you focus on one small step at a time, reducing the chance of missing a critical component.
If you prefer to build the entire tractor in one sitting, you can do so, but be careful to keep the small parts organized and refer to the instruction sheet for each day's contents.
Tools you may need
The kit includes most of what you need, but having a small pair of tweezers and a hobby knife on hand can help with removing small parts from sprues and aligning delicate components.
A clean, well-lit workspace with a white or light-colored surface makes it easier to spot tiny screws and pins.
Step-by-step assembly guide
- Open day 1 and organize parts: Remove the parts from the first door. Check them against the instruction sheet for that day. Lay them out on your work surface in order of assembly. Don't skip the parts check – a missing piece now is easier to spot than later.
- Assemble the chassis frame: Follow the day-by-day instructions to snap or screw the main chassis rails together. Ensure all joints are fully seated before tightening any screws. A loose chassis rail can cause alignment issues for the rest of the build.
- Install the drivetrain components: As you open later doors, add the motor, gears, and axle assemblies. Test the drivetrain by hand to confirm it rotates freely before enclosing it in the frame. If the drivetrain feels stiff, check for debris or a misaligned gear before proceeding.
- Attach the steering linkage: Connect the steering servo and linkage according to the instructions. Center the servo before attaching the linkage to ensure straight tracking. An off-center servo will make the tractor pull to one side – adjust before final assembly.
- Mount the body panels and cab: Snap or screw the Claas body panels, cab, and decals into place. Work from the bottom up to avoid scratching painted surfaces. Decals are easier to apply with tweezers and a drop of water for repositioning.
- Install the RC receiver and battery: Place the receiver and battery in the designated compartments. Connect the motor and servo wires, ensuring they are not pinched by the body panels. A pinched wire can cause intermittent control – route wires along the frame channels.
- Test all functions before final closure: Power on the tractor and test drive forward, backward, and steer left and right. Verify that all wheels rotate and the steering responds correctly. If something doesn't work, double-check wire connections and battery charge before assuming a defect.
Product details
-
Advent Calendar "RC CLAAS Axion 960 Tractor": This Advent Calendar lets you build a detailed, remote-controlled Claas tractor piece by piece, with a new surprise every day. It combines the fun of a daily Advent surprise with the satisfaction of assembling a fully functional RC model.
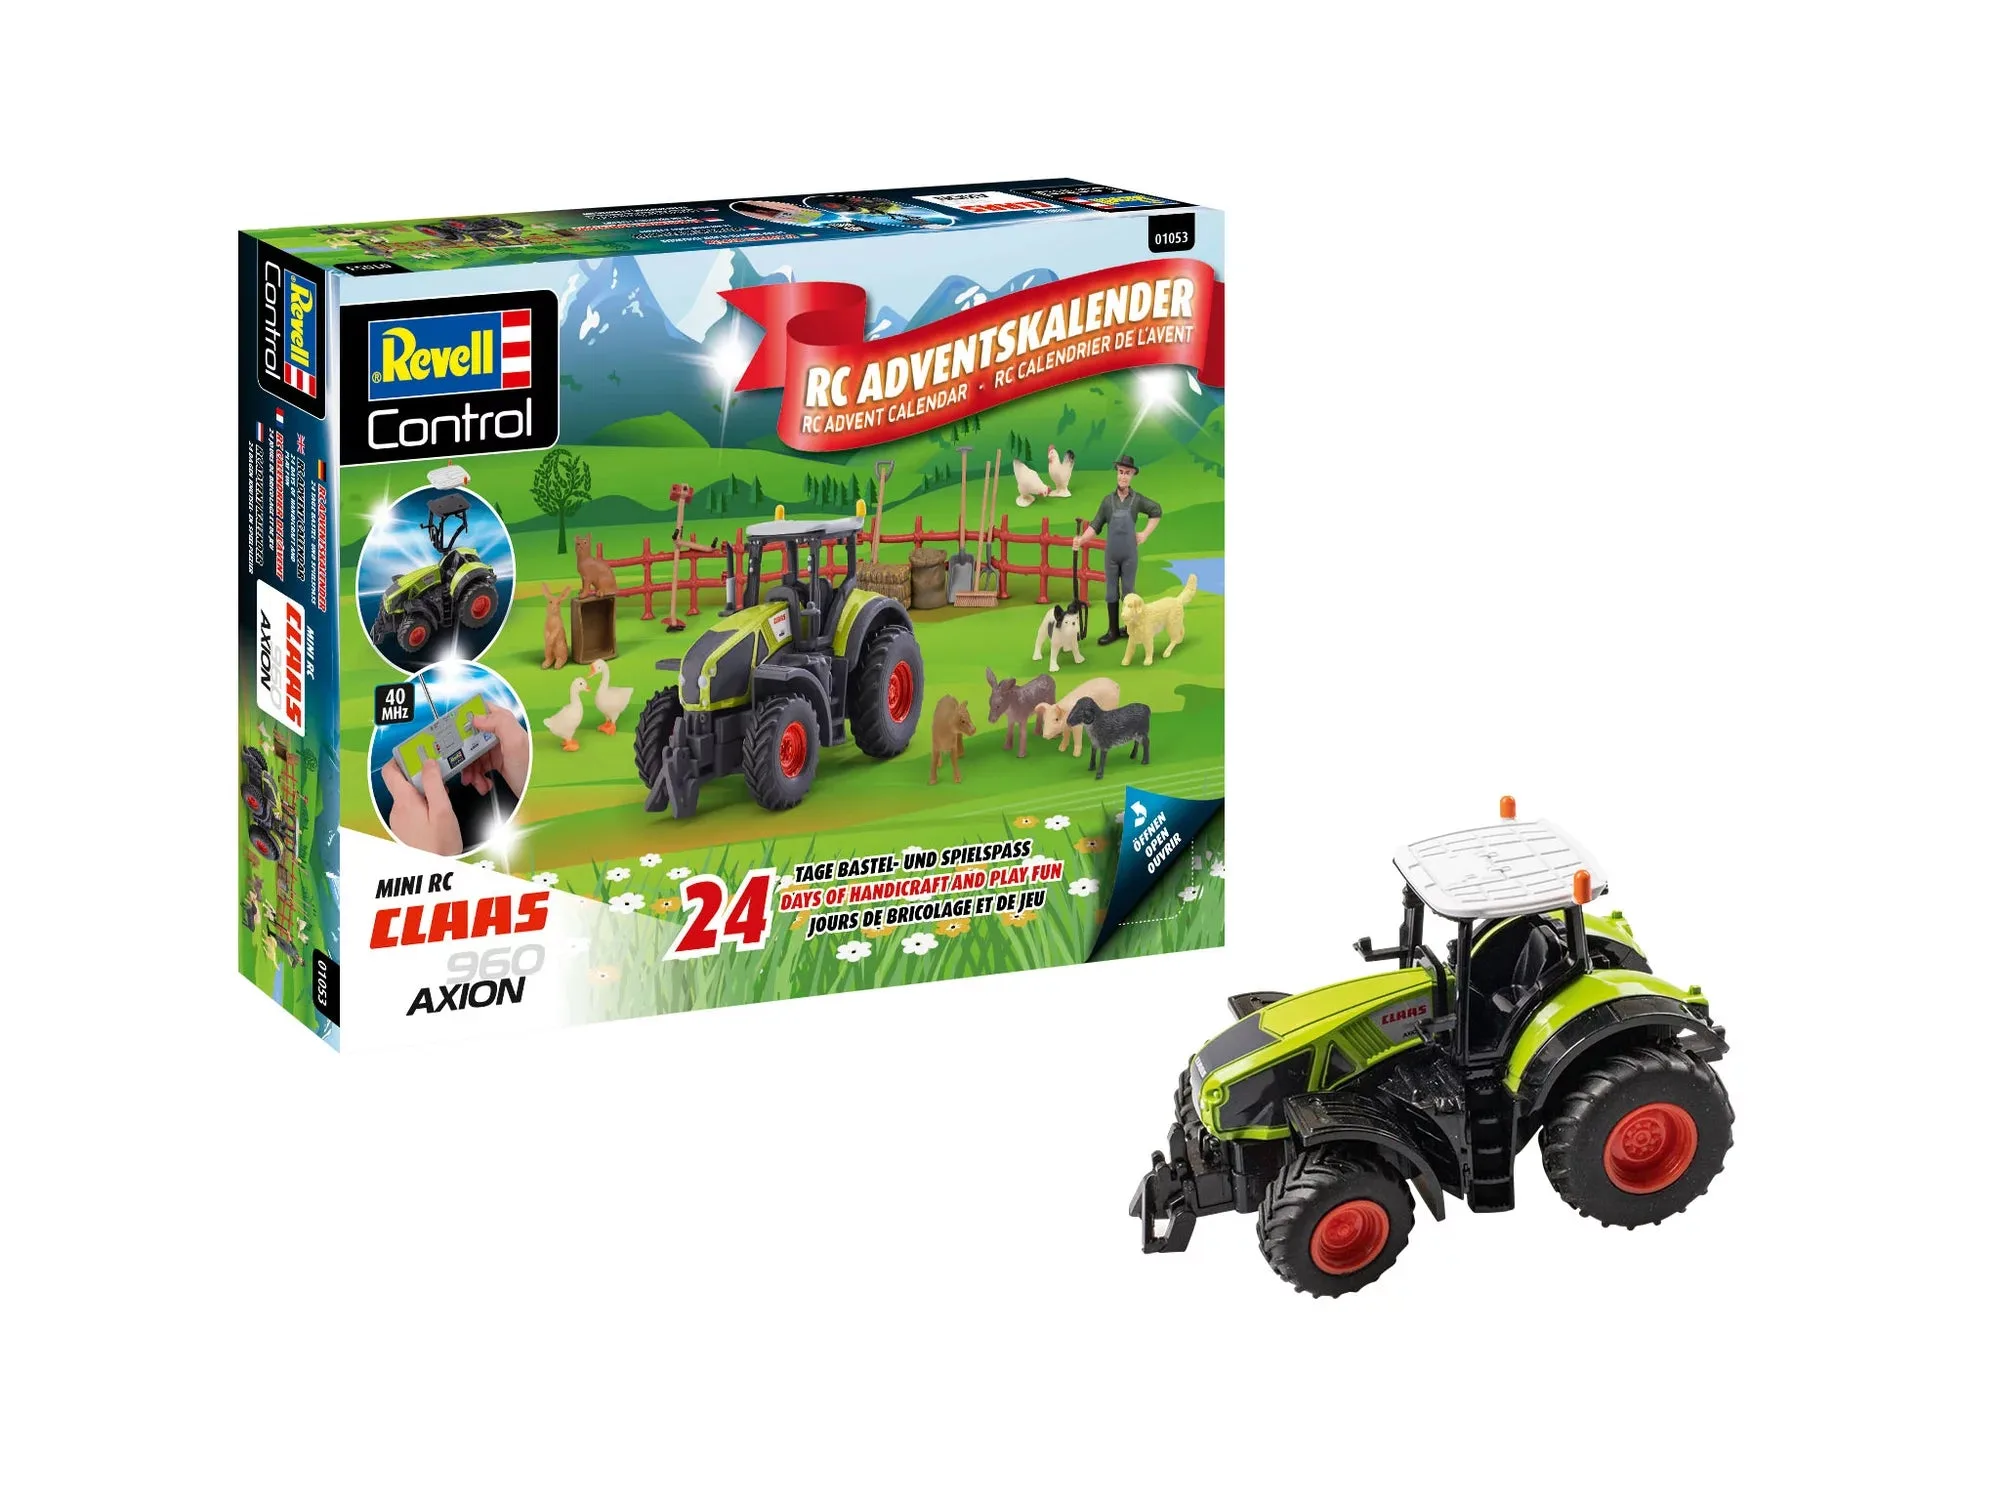
Advent Calendar "RC CLAAS Axion 960 Tractor"