Quick Answer
The 1/550 BIG-ZAM is a snap-fit Bandai kit that assembles in under an hour with no glue or paint required. Follow these steps for a clean, stable build.
Why This Kit Is Great for Beginners
The 1/550 BIG-ZAM is one of Bandai's simplest Gunpla kits, making it an ideal entry point for new builders. Its large parts and snap-fit design mean you can finish it in one sitting without special tools. The trade-off is limited articulation and surface detail compared to larger-scale kits, but the iconic mobile armor silhouette still looks impressive on a shelf.
Tools You Actually Need
You only need a pair of side cutters (nippers) to remove parts from the runners. A hobby knife or sanding stick can clean up nubs, but the kit's gate placement is forgiving. No glue or paint is required—the colored plastic matches the anime appearance well enough for a display piece.
Step-by-Step Assembly Guide
- Prepare Your Workspace and Tools: Clear a flat surface with good lighting. Have your nippers ready. Open the box and check that all runners are present—the BIG-ZAM has only a few sprues, so inventory takes seconds. Double-check you have both the main body runner and the small parts runner before cutting anything.
- Cut Parts from the Runners: Use your nippers to cut each piece away from the runner, leaving a small nub. Do not cut flush to the part—trim the nub later with a hobby knife or sanding stick to avoid stressing the plastic. Cut about 1-2 mm away from the part, then trim the nub in a second cut. This prevents white stress marks.
- Assemble the Main Body: Follow the instruction sheet order: start with the central torso halves, then attach the side armor panels. Press firmly until you hear a click. The snap-fit tabs are sturdy, but align them carefully to avoid breaking a tab. If a joint feels too tight, gently sand the peg with fine-grit sandpaper rather than forcing it.
- Attach the Legs and Arms: The BIG-ZAM has short legs and two large beam cannon arms. Each leg snaps into a socket on the underside—make sure the orientation matches the instruction diagram. The arms attach to the side panels with a simple peg joint. The arms can rotate, but they will not hold a pose if the kit is picked up by them. Display it on a flat surface.
- Add the Final Details: Attach the head/command pod on top and the two small wing-like fins at the rear. These are small parts, so handle them over your work surface in case you drop one. The kit includes a small sticker sheet for the mono-eye and other markings. Use tweezers to apply stickers precisely. A drop of water on the sticker lets you slide it into position before pressing down.
Kit Highlights
-
1/550 BIG-ZAM: This 1/550 scale BIG-ZAM model kit from Bandai Hobby is designed as a snap-fit kit for straightforward assembly. No glue or paint needed, so you can complete the build in under an hour even if it's your first Gunpla.
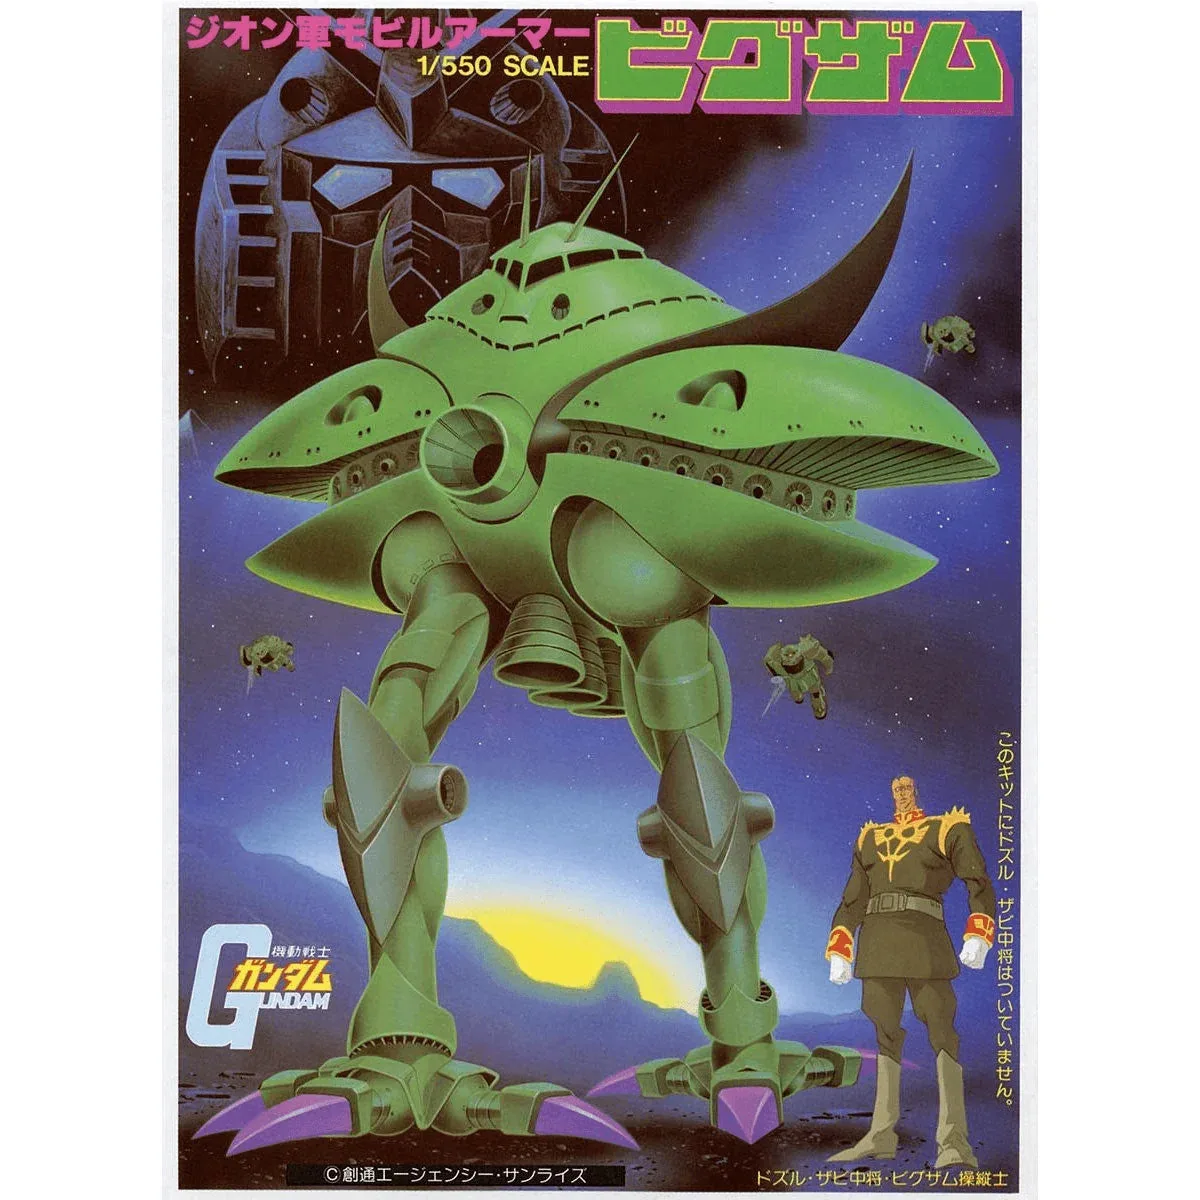
1/550 BIG-ZAM