Quick answer
Assemble the Gundvolva by trimming parts from runners, cleaning nubs, and following the manual's order. Pay extra attention to the ball joints in the neck and waist for smooth posing.
Why the Gundvolva is a good HG kit to start with
The Gundvolva from The Witch from Mercury is a High Grade (HG) 1/144 scale kit. It has a manageable parts count and a straightforward build, making it a solid choice for beginners or a quick weekend project for experienced builders. The ball joints in the neck and waist give it a good range of motion for dynamic poses.
Assembly steps
- Step 1: Prepare your tools and workspace: Gather side cutters, a hobby knife, sanding sticks or files, and tweezers for decals. Work in a well-lit area. A common mistake is using dull cutters that crush the plastic; use sharp single-blade nippers for cleaner cuts.
- Step 2: Cut parts from runners and clean nubs: Cut each part with a small sprue gate left, then trim flush with a knife. Sand or file the nub area until smooth. Check the manual for under-gate parts—some nubs are hidden on the back of the piece, so sand carefully.
- Step 3: Assemble the head and torso: Follow the manual to build the head, then the torso. The neck ball joint snaps into the torso—test fit before gluing if you want it extra tight. The neck joint can be loose; a tiny drop of clear nail polish on the ball can tighten it without permanent bonding.
- Step 4: Build the arms and legs: Snap together the shoulder, upper arm, forearm, and hands. Repeat for the legs, paying attention to left/right markings. The waist ball joint also allows forward/backward tilt—don't glue it if you want the poseable feature.
- Step 5: Attach the backpack, shield, and weapons: Clip the backpack into the back peg. The shield mounts on the arm, and the beam saber/rifle store behind it. The shield peg can be tight; gently sand the peg if it won't fit, rather than forcing it.
- Step 6: Apply stickers and panel line (optional): Use tweezers to place the included foil stickers. For panel lining, use a fine-tipped marker along recessed lines and clean excess with a cotton swab. Stickers are thin and can tear if repositioned too many times—place them once for best results.
Kit features
-
Gundam 1/144 HG WFM #24 The Witch From Mercury EDM-GB Gundvolva Model Kit: The ball joints in the neck and waist allow the model to tilt forward and back. This gives the Gundvolva a natural, expressive stance without needing major modifications.
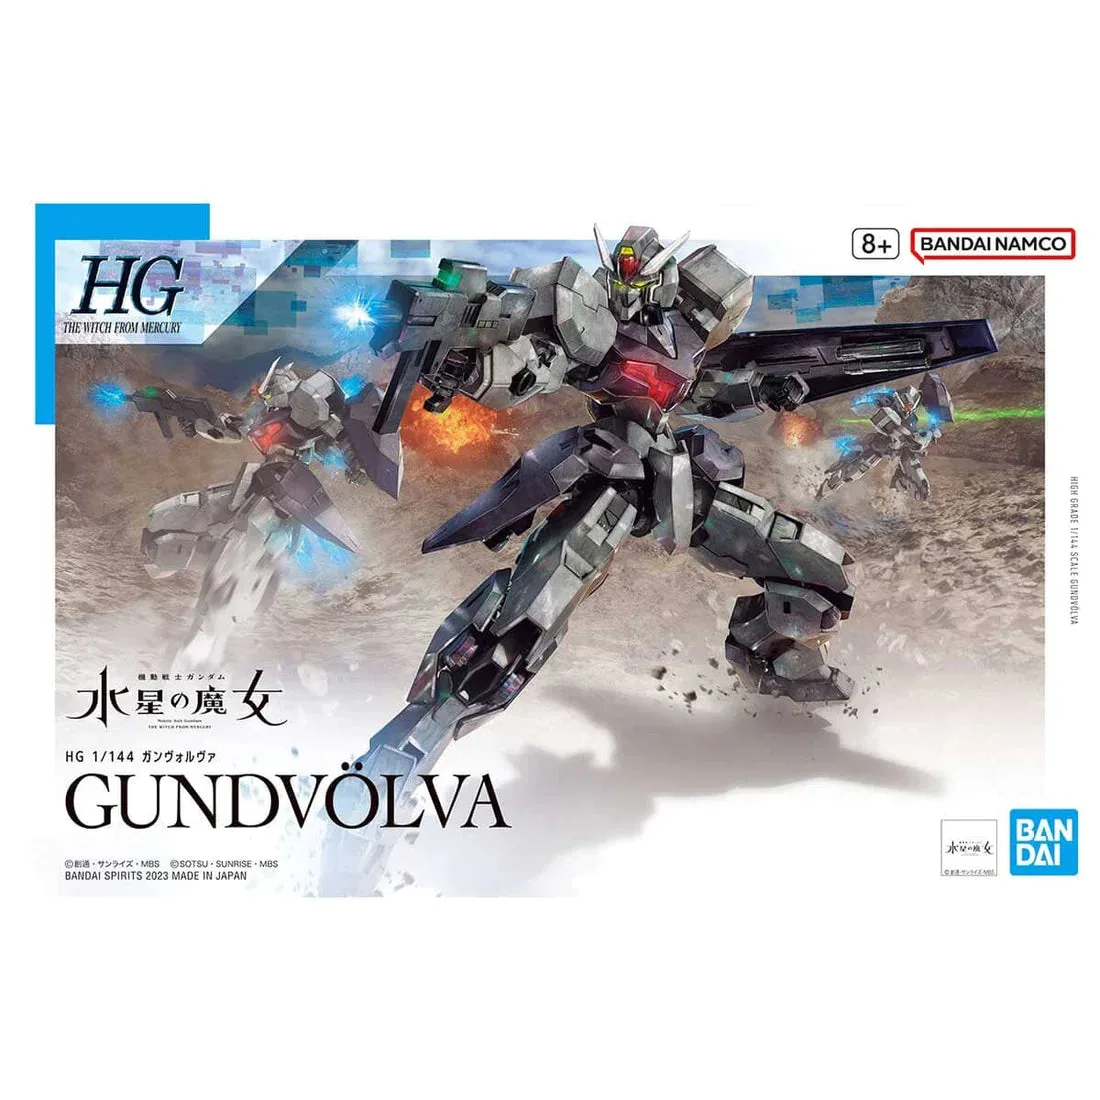
Gundam 1/144 HG WFM #24 The Witch From Mercury EDM-GB Gundvolva Model Kit
-
Gundam 1/144 HG WFM #24 The Witch From Mercury EDM-GB Gundvolva Model Kit: It can store the beam saber and beam rifle behind its shield. You can display the kit with all weapons attached, saving shelf space and reducing loose parts.