Quick Answer
To build a Warhammer Combat Patrol, start by organizing your sprues, then assemble each model in sub-assemblies for easier painting. Follow the instructions, but plan your weapon loadouts before gluing. Use plastic glue for strong bonds and clean mold lines with a hobby knife. Base your models after assembly for a finished look.
What You Need Before You Start
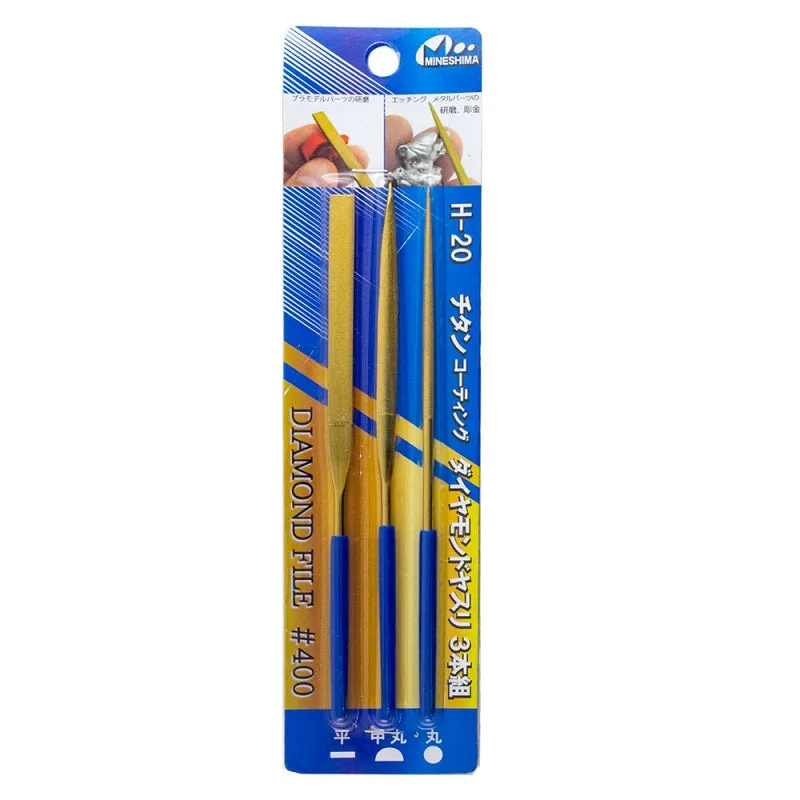
Before opening your Combat Patrol box, gather basic tools: a sharp hobby knife, plastic glue or super glue, sprue cutters, and a file or sanding stick. A cutting mat protects your work surface. Optional but helpful: a pin vise for drilling barrels, and poster tack for holding parts during painting. Having these ready makes the build smoother and reduces frustration.
Understanding Your Combat Patrol Box
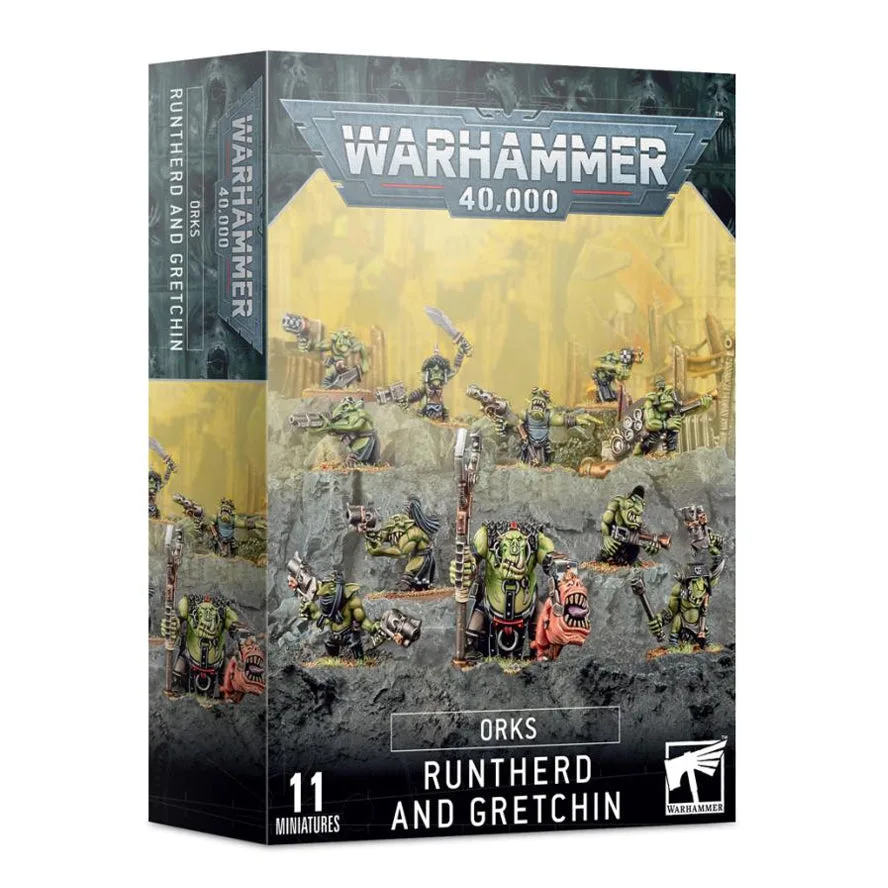
Each Combat Patrol box contains multiple sprues for a balanced force. For example, the Ork Stormboyz set (product ID 523016) includes 5 multipart plastic models with 10 head options and rokkit packs. You'll also find a transfer sheet and assembly instructions. The instructions show recommended builds, but you can customize weapon choices. Note that some boxes, like the T'au Empire Crisis Battlesuits (product ID 523264), include optional drones and support systems—plan your loadout before gluing.
Prepping for Paint: Sub-Assemblies and Mold Lines
Painting becomes much easier if you leave certain parts separate. For example, with the Ork Stormboyz, keep the rokkit pack and arms off the torso so you can reach the chest and back. For the Crisis Battlesuits, leave the weapons and drones separate. Always scrape mold lines before gluing—a dull knife blade works well. Check each piece under good light. Missing this step leads to visible seams after painting.
Step-by-Step Assembly Process
- Step 1: Organize and Inspect: Lay out all sprues and check the instruction sheet. Identify each part and confirm you have all pieces. Use sprue cutters to remove parts, cutting flush but not into the plastic. Common mistake: cutting too close and damaging the part. Leave a tiny nub and trim with a knife.
- Step2: Clean Mold Lines and Flash: Scrape mold lines with the back of a hobby knife or use a file. Pay special attention to flat surfaces and edges. For Ork models, mold lines often run along the jaw and shoulder pads. Checkpoint: run your fingernail over the area—if it catches, keep scraping.
- Step3: Dry-Fit Before Glue: Assemble each model without glue first. This reveals fit issues and helps you decide on pose. For the Stormboyz, test the rokkit pack angle and arm positions. Mark any adjustments with a pencil. Common mistake: gluing a part in the wrong orientation. Dry-fitting prevents this.
- Step4: Glue in Sub-Assemblies: Apply plastic glue sparingly to join parts you want to paint together. For example, glue the torso and legs, but leave arms, head, and backpack separate. Use a small amount—too much glue melts plastic and creates ugly seams. Checkpoint: hold the joint for 10-15 seconds until the glue sets. Don't move on too fast.
- Step5: Base the Model: Glue the assembled model to its base using plastic glue or super glue. Add texture paint or sand to the base before priming if you want a finished look. For Stormboyz, the base is included in the kit. Common mistake: forgetting to add base texture before priming. Do it now, not after painting.
- Step6: Prime and Prepare for Paint: Once all sub-assemblies are dry, prime the parts with a spray primer. Use a light, even coat from about 20 cm away. Let dry completely before painting. Store primed parts in a box to avoid dust. Checkpoint: if the primer looks grainy, you sprayed from too far or in humid weather. Shake the can well.
Products Used in This Guide
- Warhammer 40000: Orks: Stormboyz: Warhammer 40000: Orks: Stormboyz box set contains 5 multipart plastic Ork Stormboyz, including 10 head options and rokkit packs. This kit shows typical Combat Patrol complexity: multiple build options and sub-assemblies for painting. The rokkit packs are a great example of a part best left off until after painting.
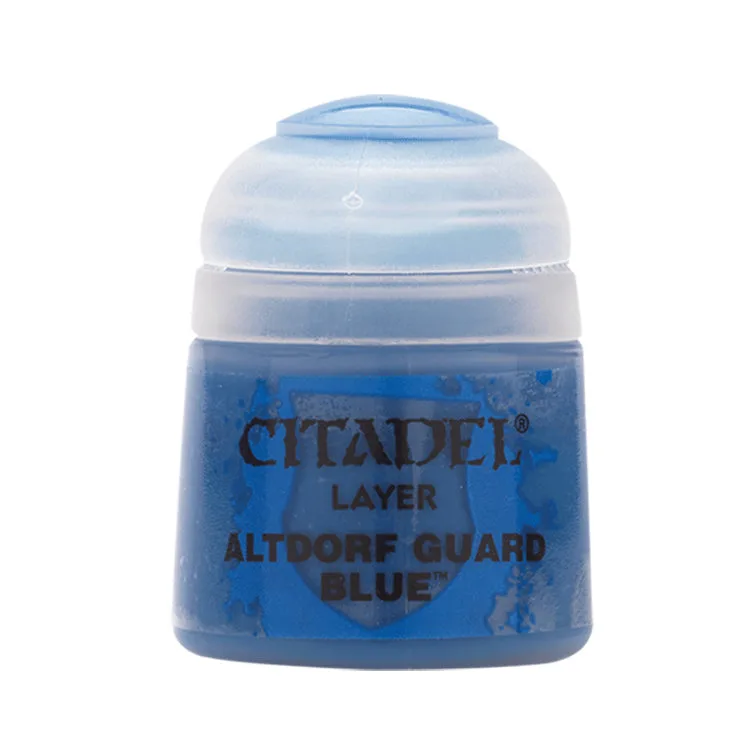
- Citadel Layer: Elysian Green 12ml: Citadel Layer: Elysian Green 12ml is a water-based layer paint with a smooth matt finish, formulated for crisp highlights and building up layers. After assembly, you'll need paints for highlights. Elysian Green is ideal for layering on Ork skin or T'au armor panels, giving a smooth finish over your base coat.