Quick answer
Loosen the razor head, rinse the blade and cap under warm water, and let everything air-dry fully before you reassemble it. Change the blade when it starts tugging rather than when it looks rusty, and store the razor standing up or hanging outside the shower spray. The single biggest cause of a short-lived safety razor is trapped water, not shaving.
A safety razor is one of the few shaving purchases that gets cheaper the longer you own it, but only if you keep water and residue out of the head. Most razors that "wear out" early were never damaged by shaving, they were damaged by sitting wet in a closed, humid spot.
This routine takes about two minutes per shave and maybe ten minutes once a month. It covers blade changes, cleaning a reusable razor, safety razor storage tips, and how the whole thing fits into a zero waste shaving routine you can actually maintain.
Understand what actually wears a safety razor out
The blade is a consumable, and the razor itself is not. Stainless steel, chrome-plated, and brass handles can last decades, but the threaded post and the blade edges are where problems start. Soap scum, hard water minerals, and leftover shaving cream collect in the gap between the cap and the base plate, holding moisture against the blade.
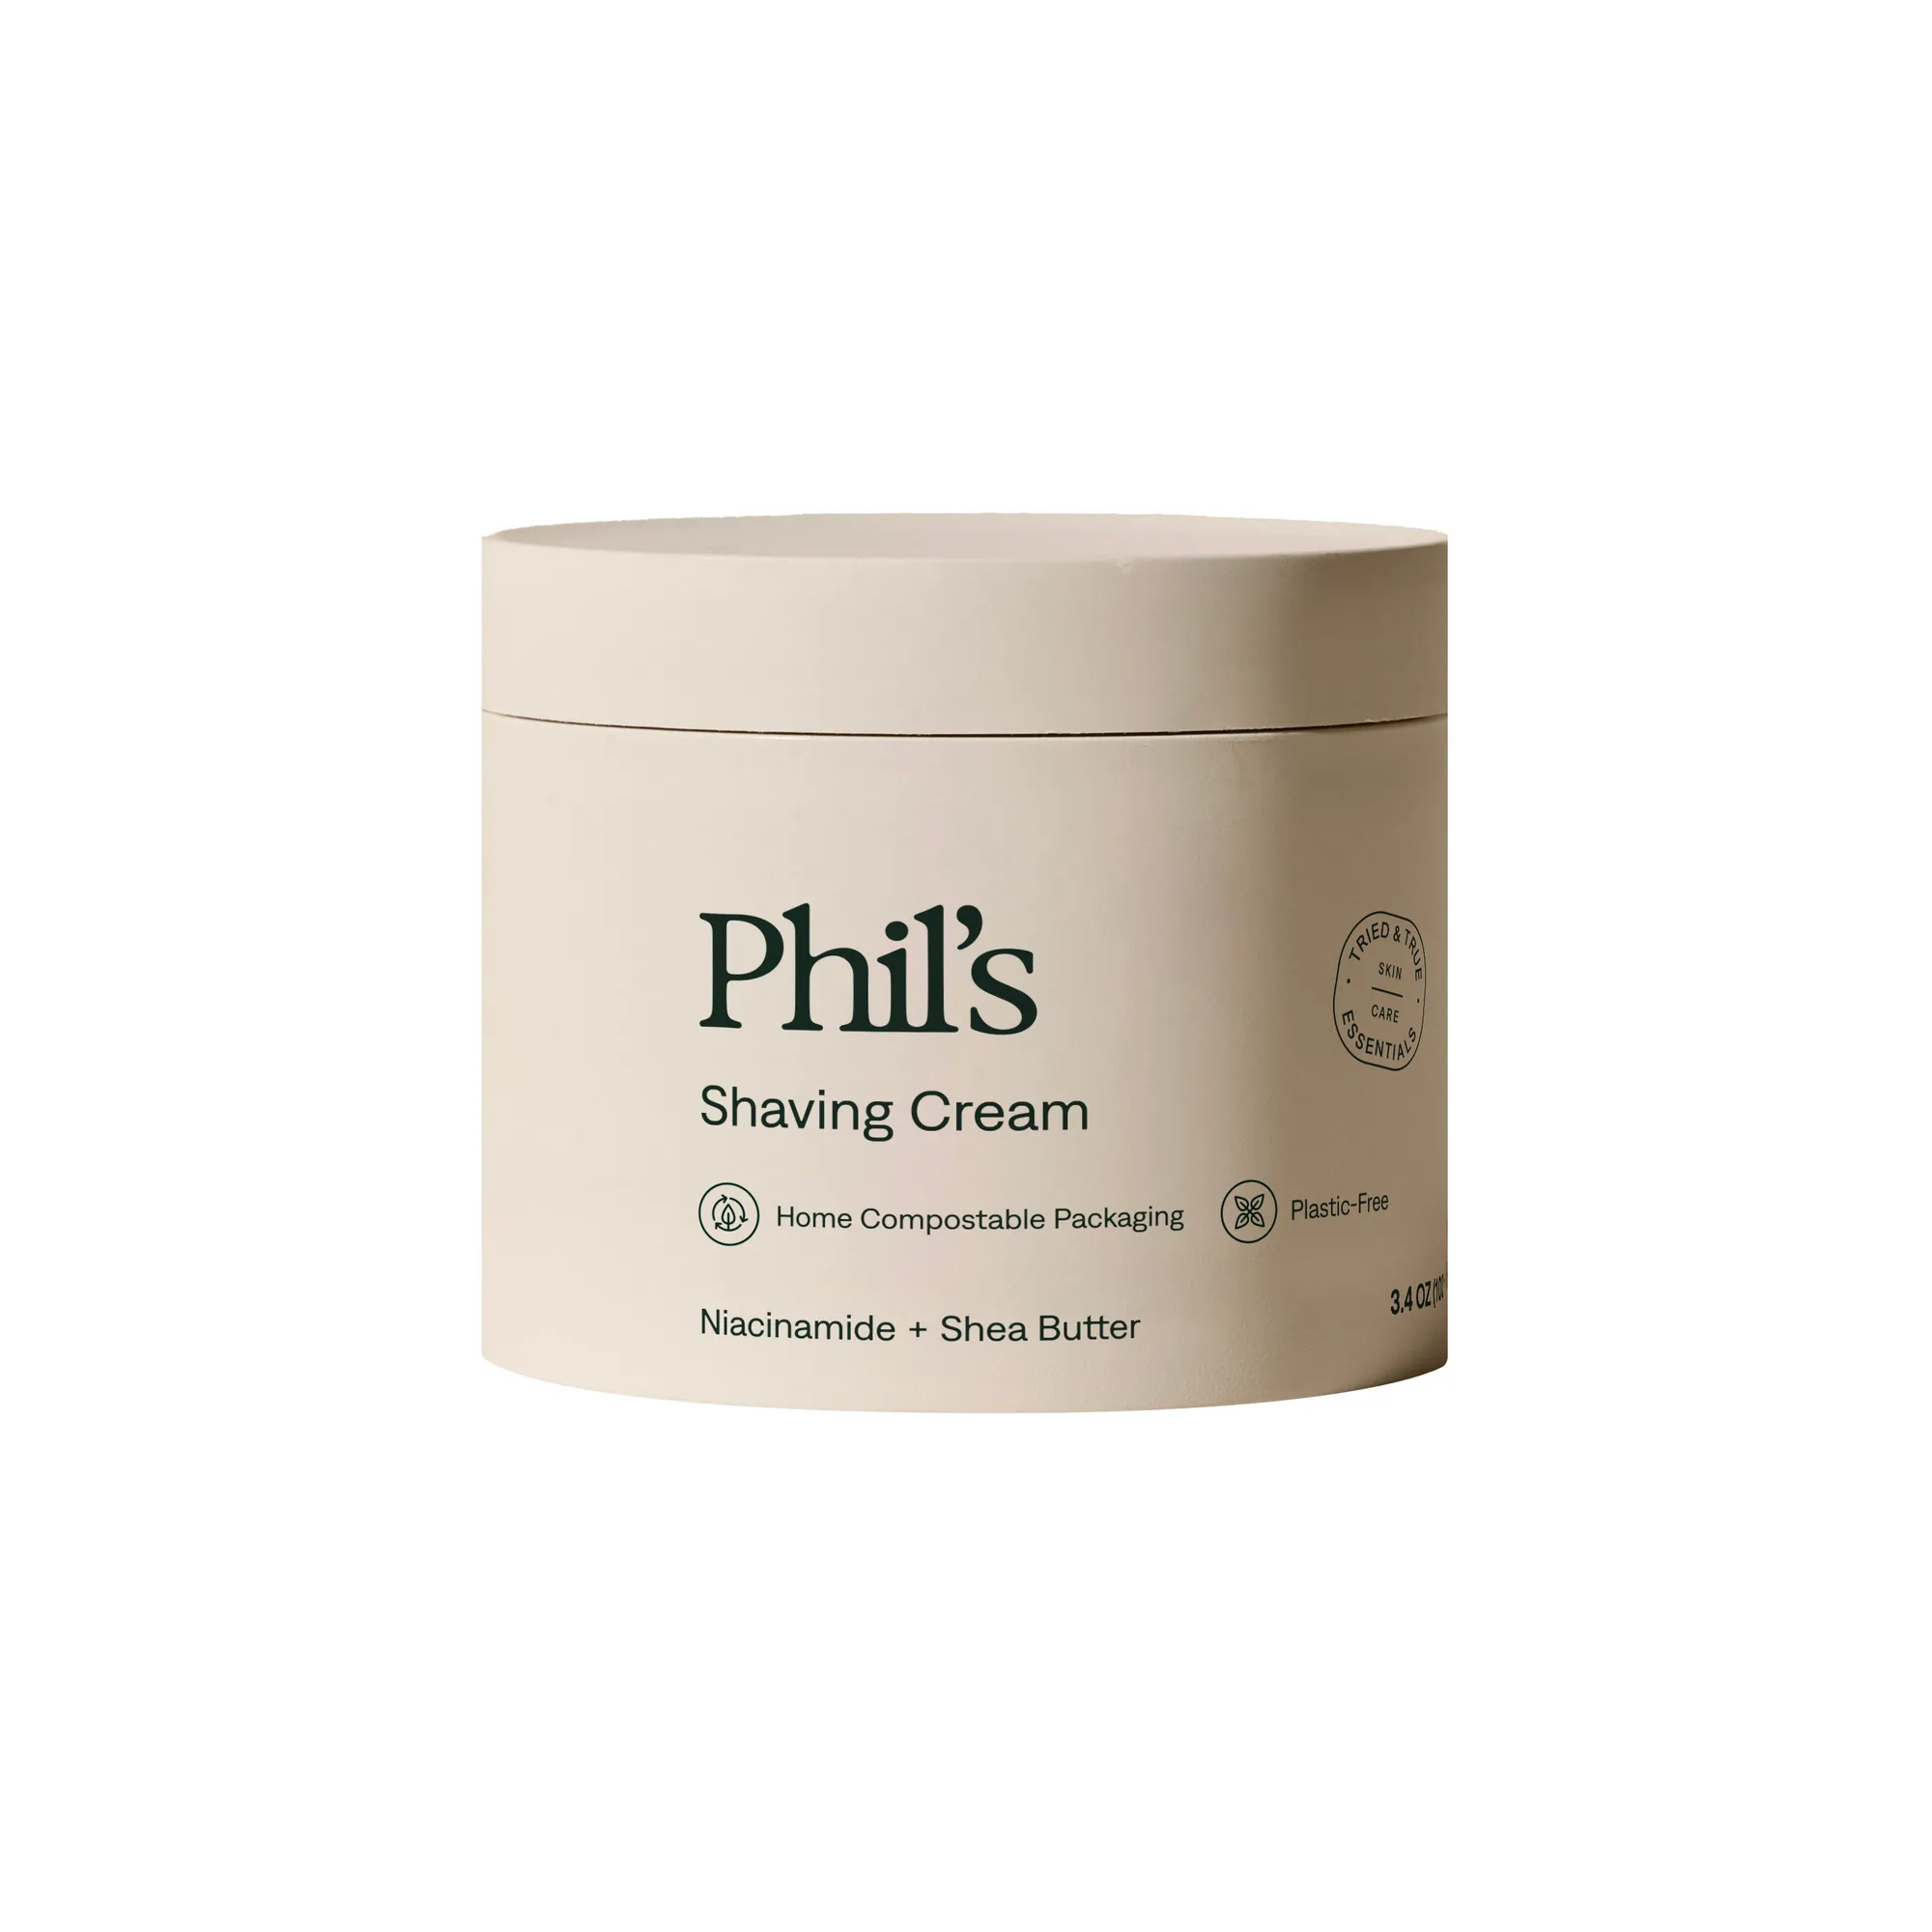
shaving cream
That trapped moisture does two things: it dulls the blade edge faster, and over time it can pit the plating or seize the threads. If your razor head feels gritty when you unscrew it, that is dried residue, not a manufacturing defect. Cleaning it out is the whole job.
- Never store a razor head-tight while wet, even for a few hours.
- If your razor has a butterfly or twist-to-open mechanism, rinse it open so water reaches the hinges.
- Skip boiling water on plated razors, since sudden heat can stress the finish.

stress
Change the blade on a schedule, not on a calendar
Blade life depends on your hair thickness, how often you shave, and how well you dry the razor between uses. A reasonable starting point is three to seven shaves per blade, then adjust based on feel. The reliable signal is tugging or skipping, not visible rust, since a blade can be dull well before it discolors.
When you swap blades, do it somewhere you can see, away from the sink drain. Hold the old blade by its ends or use the wrapper it came in. If your razor uses a standard double-edge blade, most of them fit most razors, but check that the blade sits flat and centered before you tighten the head.
- Common mistake: tightening the head unevenly, which bends the blade and causes one side to cut closer than the other.
- Checkpoint: after loading, the blade edges should be parallel to the cap with even exposure on both sides.
- Keep spent blades in a rigid container, like a small metal tin, until you can recycle them.
Clean the razor weekly and deep-clean monthly
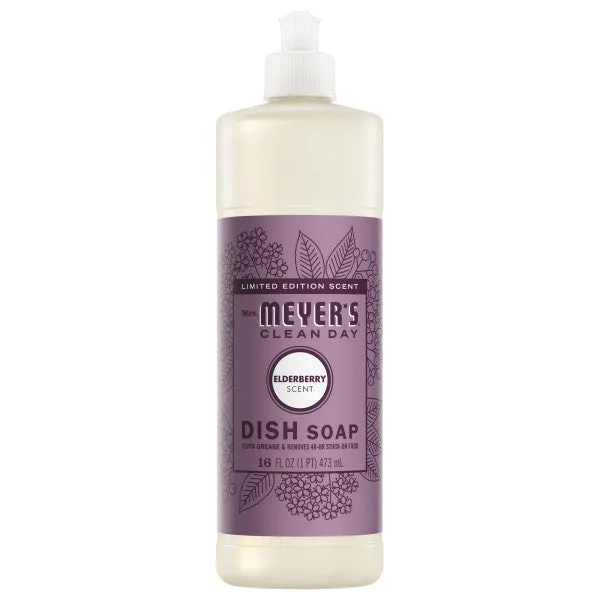
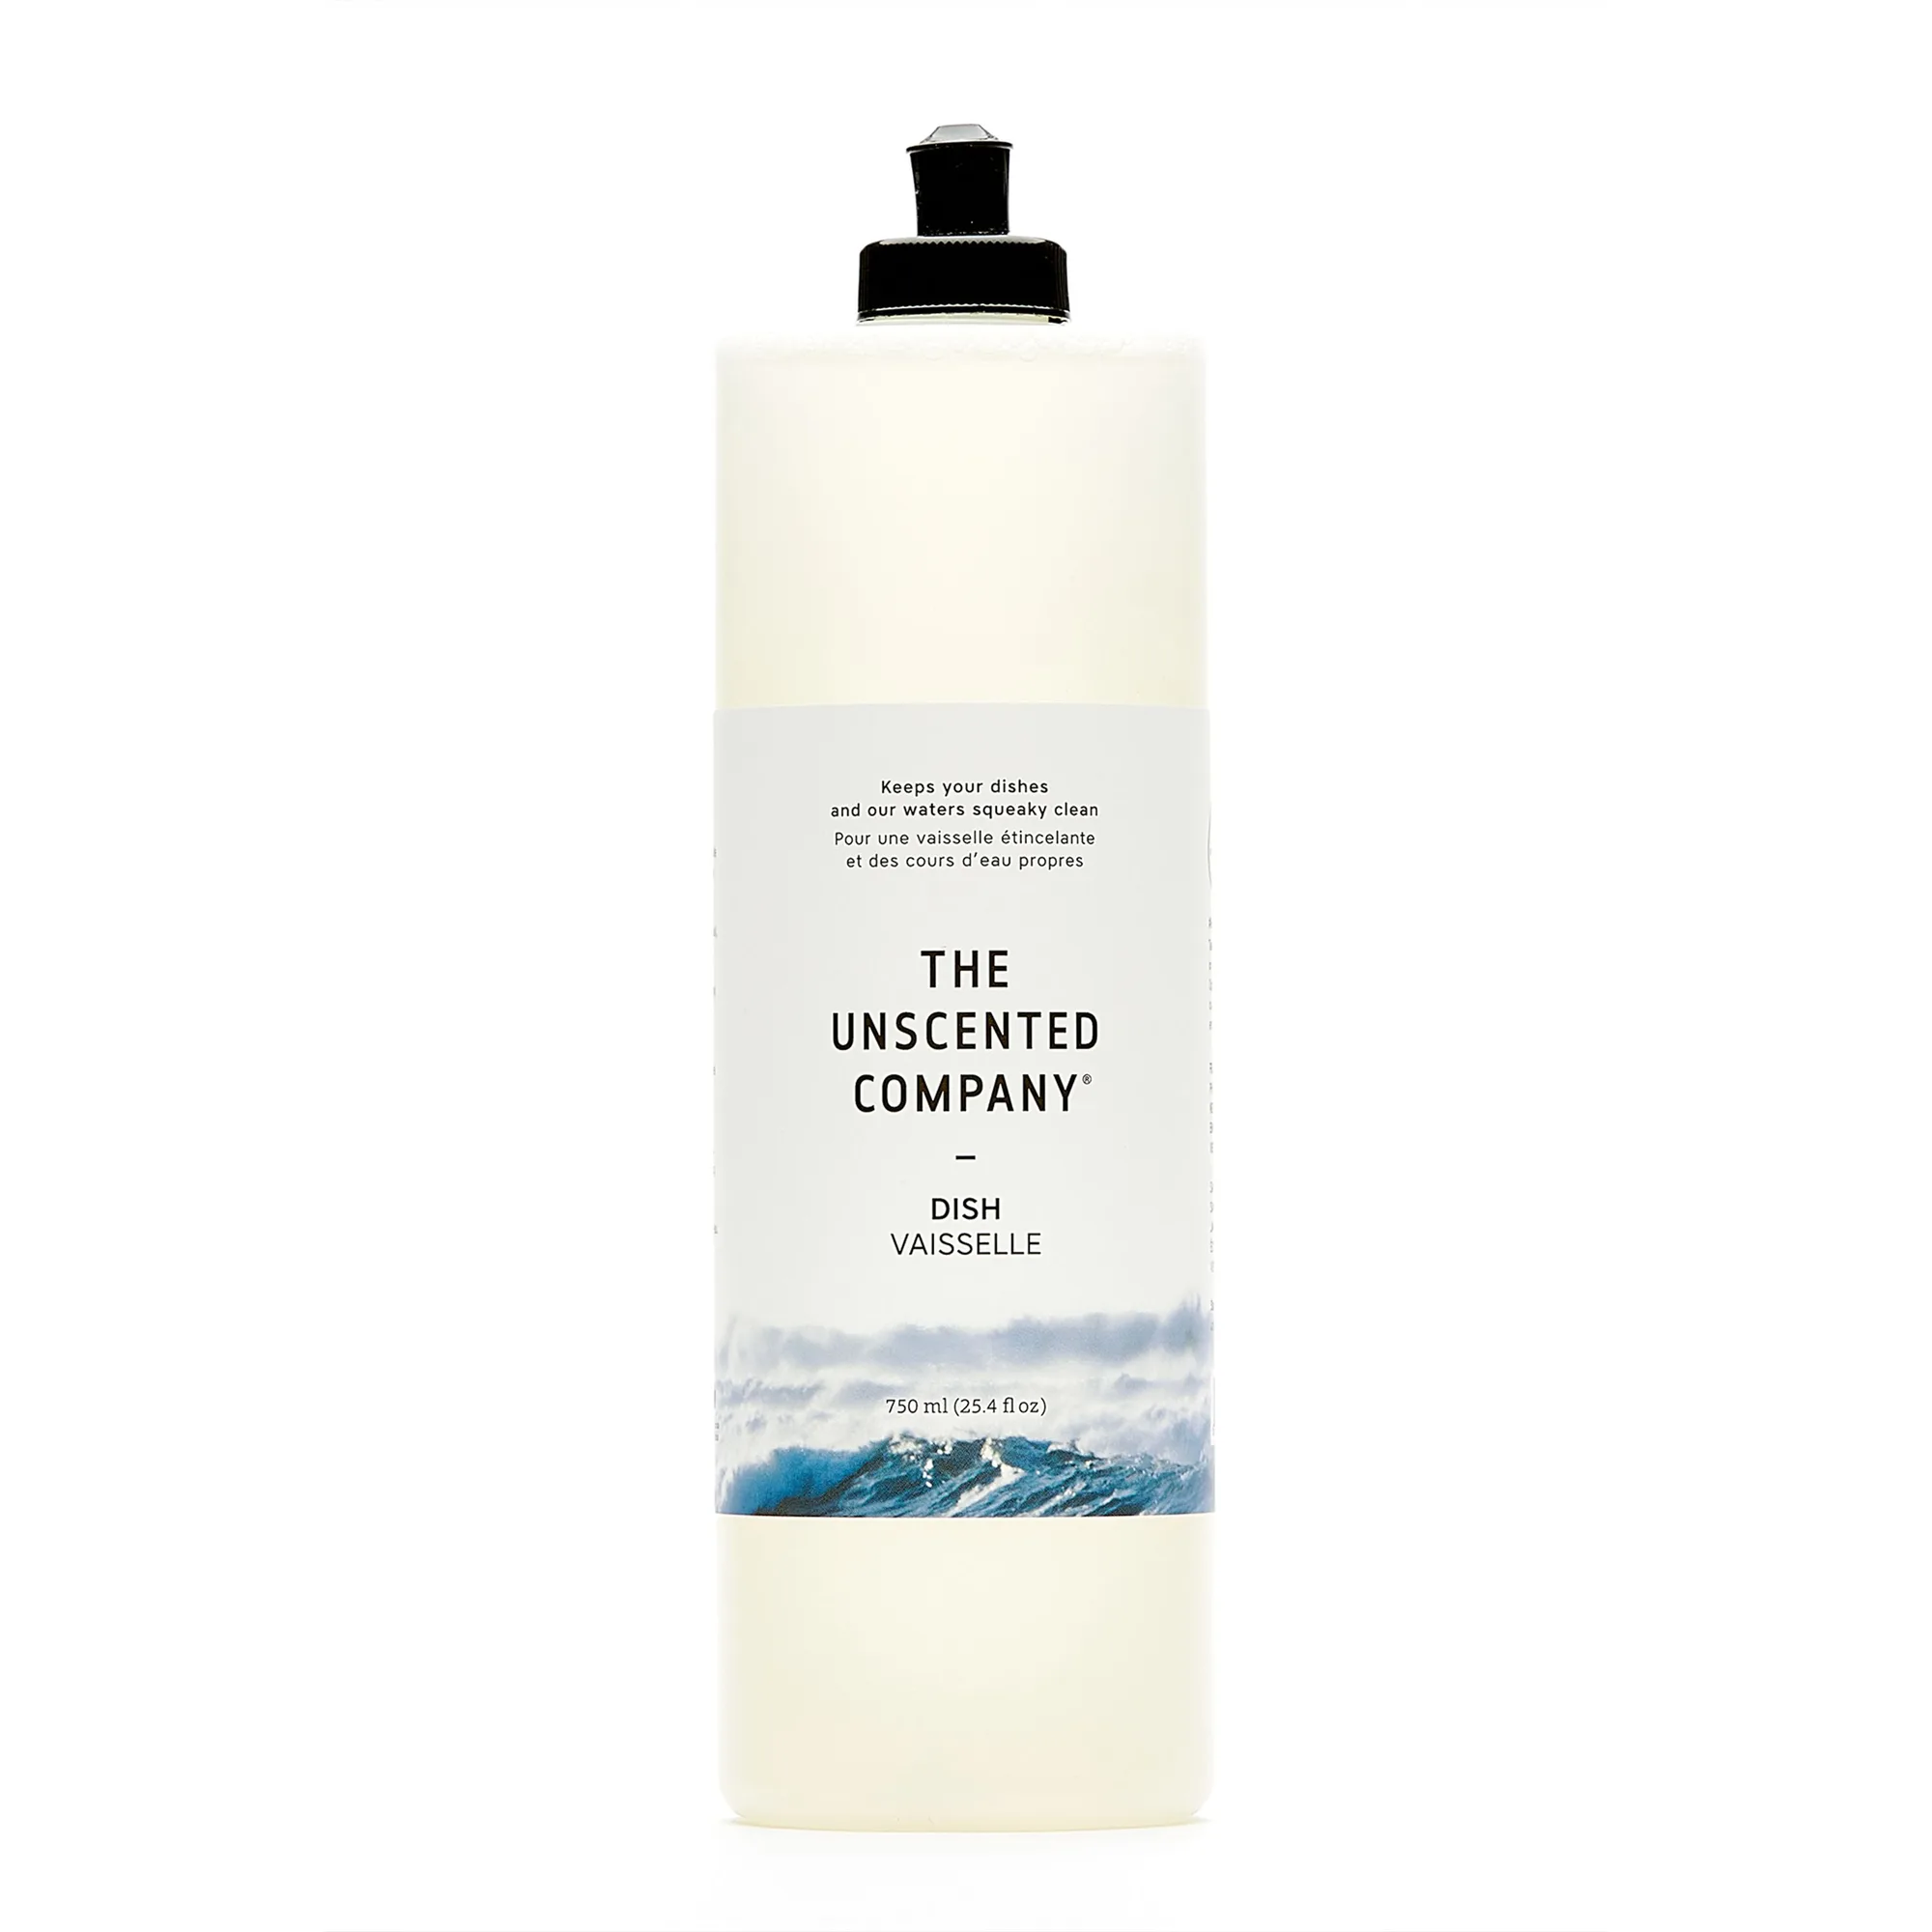
For a weekly clean, unscrew the head, remove the blade, and rinse all three pieces under warm running water. Use an old toothbrush to scrub the inside of the cap and the base plate where scum builds up. A drop of https://groveujh.com/products/mrs-meyers-dish-soap-fe5a2c1758faa9b9834f6b43-1892820https://groveujh.com/products/dish-soap-unscented-ae35f675df1c65fa943cea62-1892825dish soap helps break down shaving cream residue without scratching the finish.
Once a month, or whenever the threads feel stiff, soak the metal parts in warm water with a little dish soap for ten to fifteen minutes, then scrub and rinse. If you have hard water, a short soak in a diluted white vinegar solution can dissolve mineral buildup, but rinse thoroughly afterward and dry immediately, since acid left on plating is worse than the minerals.
- Do not put a safety razor in the dishwasher, since heat and detergent can dull the finish and damage the blade.
- Never wipe the blade edge with a cloth or your fingers, as it will cut you and ruin the edge.
- If the handle is textured or coated, avoid abrasive scouring pads that wear through the grip.
Dry and store it so rust never starts
After every shave, shake the razor firmly and stand it upright with the head up so water drains away from the blade. If your razor came with a stand, use it. If not, a small cup or a suction hook works fine as long as air moves around the head. Avoid laying it flat on a wet shower shelf.
If you shave in the shower, consider keeping the razor on a hook outside the direct spray or on a shelf above splash height. A closed travel case is for travel only, not daily storage, because it traps humidity. A quick pat dry on the handle is fine, but leave the head alone and let it air out.
- Best spot: a ventilated shelf or hook at eye level, away from the shower stream.
- Worst spot: a closed cabinet, a zipped toiletry bag, or a puddle on the tub ledge.
- If you travel often, dry the razor completely before it goes in the case.
Build a zero waste shaving routine around the razor
The razor is the anchor, but the routine is what keeps it going. Pair it with a shaving soap or cream that rinses cleanly, since heavy, oily formulas leave more residue in the head. A shaving brush helps lift hair and spread product evenly, which means fewer passes and less wear on the blade.
For a genuinely low-waste setup, look for refillable or bar-format products and skip disposables entirely. Small swaps add up: a reusable swab for cleanup, a bar soap instead of a plastic bottle, and a blade bank for spent blades. None of these are required, but each one reduces what you throw away.
- Rinse the razor head thoroughly after every shave, not just at the end of the week.
- Store blades in a dry place, since moisture in the wrapper can dull them before first use.
- Track how many shaves you get per blade for a month, then set your own change interval.
The two-minute safety razor care routine
- Rinse after every shave: Unscrew the head slightly, run warm water through the cap and base plate, then shake off excess water. Checkpoint: no visible cream or stubble left in the gap.
- Air-dry head-up: Stand the razor upright on a ventilated shelf or hook, away from the shower spray and any standing water. Common mistake: laying it flat on a wet ledge, which keeps the blade sitting in moisture.
- Change the blade when it tugs: Swap in a new blade at the first sign of pulling or skipping, and dispose of the old one in a rigid blade bank. Checkpoint: a fresh blade should glide, not drag.
- Deep-clean monthly: Soak the disassembled metal parts in warm soapy water for 10 to 15 minutes, scrub with a soft brush, rinse, and dry completely. Common mistake: reassembling while still damp, which traps water against the blade.
- Store dry and open: Keep the razor out of closed cases and damp cabinets between shaves, and let the head breathe. Next step: if the threads feel stiff, clean and dry them before they seize.
Products that support the routine
- LastSwab Original Reusable Swab: Reusable cotton swab designed to be reused 1,000 times, with textured tips on both ends. Useful for cleaning tight spots around the razor head, sink, and blade bank without adding single-use waste.
- Utensil Set - Stainless Steel Fork and Spoon: Made from premium food-grade stainless steel with rounded fork tines and smooth handles. A reminder that stainless steel care habits, like drying after washing, apply to your razor too.
A safety razor rewards a little attention. Rinse it, dry it head-up, change the blade when it tugs, and deep-clean it once a month. Do that, and the handle you buy this year can still be the handle you shave with a decade from now.