Quick answer
Dust your acrylic platelight or lightbox weekly with a soft microfiber cloth, clean smudges with lukewarm water and a drop of mild dish soap, and never use paper towels or ammonia-based glass cleaner. For scratches, start with a plastic polish and work up to wet sanding only if the mark is deep. Handle panels by the edges, keep them out of direct sun, and always unplug the light source before you clean.
Acrylic platelights and LED lightboxes are display pieces, not sealed appliances. Dust, fingerprints, and the occasional accidental bump can dull the artwork or leave marks that are hard to ignore once the backlight is on. The good news is that acrylic is forgiving if you treat it like the soft plastic it is, not like glass.
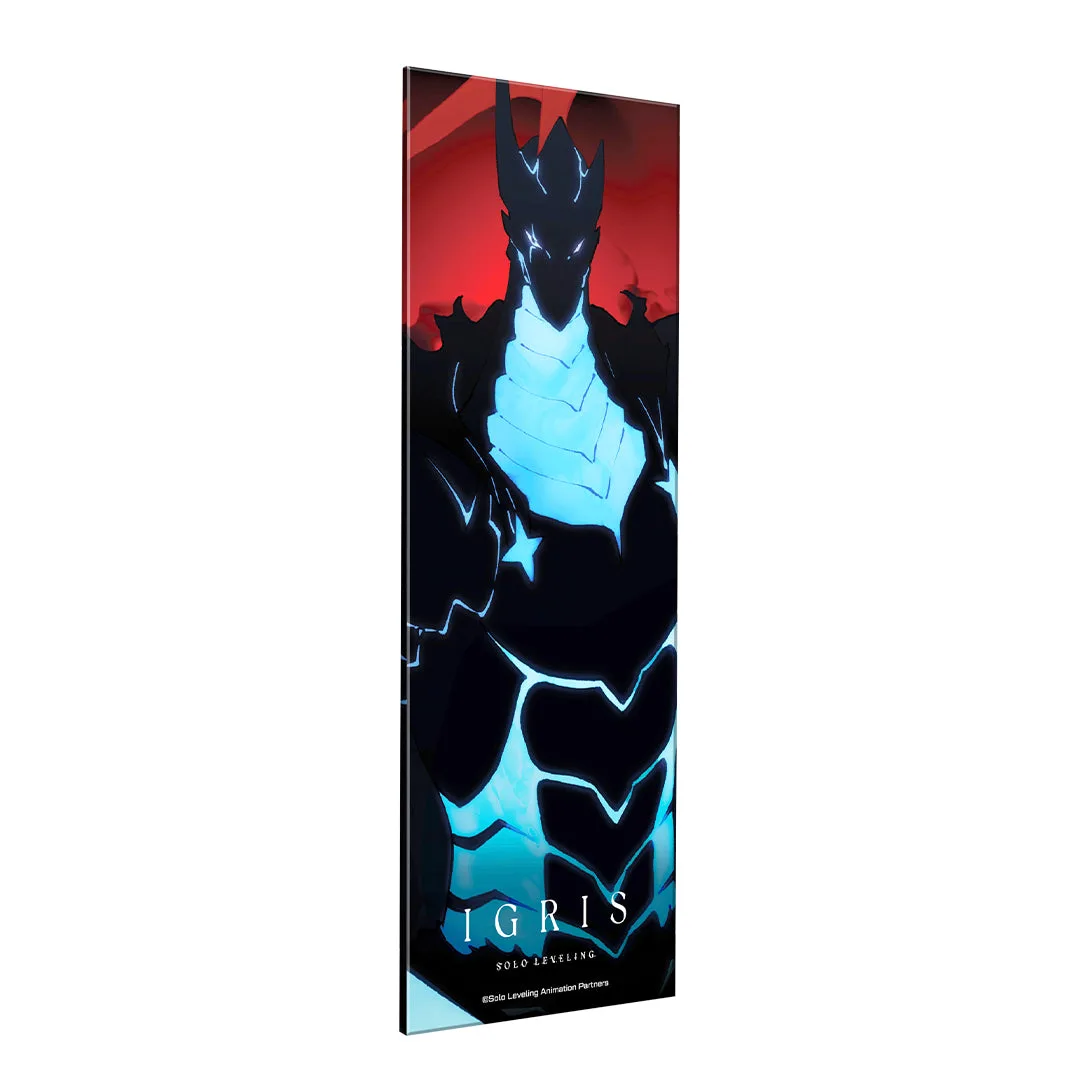
This guide walks through a safe, repeatable care routine: weekly dusting, spot cleaning, deep cleaning, scratch removal, and the handling habits that prevent most damage in the first place. It applies to any acrylic panel that diffuses light from a Platelight or similar LED lightbox, including licensed art like Sky on Fire or Sung Jinwoo - Solo Leveling Platelight Acrylic.

Sung Jinwoo - Solo Leveling Platelight Acrylic
Gather the right supplies before you touch the panel
You do not need a specialty kit, but you do need the right basics. A clean microfiber cloth, a second microfiber for drying, a spray bottle of lukewarm water, a drop of mild dish soap, and a can of compressed air or a soft camera brush will cover almost every situation. Avoid paper towels, bathroom tissue, and any cloth that has been washed with fabric softener, because the fibers and residues can leave fine scratches or streaks.
For deeper cleaning, add a plastic-safe acrylic cleaner or a diluted solution of one part isopropyl alcohol to ten parts water. Never use ammonia-based glass cleaner, acetone, bleach, or abrasive pads. These can cloud the acrylic surface or attack the printed artwork, and the damage is usually permanent.
- Keep two microfiber cloths: one for wet cleaning, one for drying.
- Label your spray bottle so no one refills it with glass cleaner.
- Work in a well-lit area so you can see streaks and dust as you go.
Step 1: Unplug the light source and remove the panel
Before any cleaning, turn off and unplug the Platelight or lightbox. Acrylic and water are fine together when you are careful, but electricity and water are not. If your panel sits inside a computer case, shut the system down completely and give the light a minute to cool. Then release the panel from its mount or frame according to the manufacturer's instructions.
Lay the panel flat on a clean, soft surface such as a microfiber towel or a clean cotton T-shirt. Working flat prevents flex, and flex is what causes hairline cracks at the corners. If the panel is large, support the whole surface rather than letting it hang off the edge of a table.
- Common mistake: cleaning the panel while it is still mounted and powered.
- Checkpoint: the panel should be cool to the touch and fully supported before you start.
Step 2: Dust first, always
Dust is abrasive. If you spray liquid onto a dusty panel and start wiping, you are essentially sanding the surface with grit. Use compressed air at a low angle or a soft brush to lift loose dust from the artwork side and the back. Work from the center outward so you push debris off the edges rather than into the corners.
For stubborn dust that clings, a microfiber cloth used dry with very light pressure will pick it up. Do not press hard, and do not scrub in circles. Acrylic scratches more easily than glass, and a single gritty wipe can leave a visible swirl that shows up under backlight.
- Hold compressed air upright to avoid propellant spitting onto the panel.
- If you feel grit under the cloth, stop and re-dust before continuing.
Step 3: Spot clean fingerprints and smudges
For everyday marks, dampen one microfiber cloth with lukewarm water and wipe gently in straight lines. If the smudge is oily, add one small drop of mild dish soap to a cup of water and dampen the cloth with that solution. Wipe once, then switch to a clean, dry microfiber and dry immediately. Letting water air-dry leaves mineral spots that look like scratches under LED light.
Avoid spraying liquid directly onto the panel. Spray the cloth, not the acrylic, so you control how much moisture reaches the edges and the printed artwork. If liquid does run, blot it with a dry cloth right away rather than wiping it across the surface.
- Common mistake: spraying cleaner directly on the panel and letting it sit.
- Checkpoint: the surface should be dry within a few seconds of wiping.
Step 4: Deep clean the whole panel when needed
If the panel has accumulated film or sticky residue, fill a clean sink or plastic tub with lukewarm water and a few drops of mild dish soap. Submerge the acrylic only if the artwork is printed on the back and the manufacturer allows it; otherwise, clean in place with a damp cloth. Wash gently with your fingertips or a microfiber cloth, never a sponge or brush.
Rinse with lukewarm water, then dry with a clean microfiber cloth. Do not use hot water, because heat can warp thin acrylic and soften the bond between the panel and any printed layer. Do not lean the panel against a wall to dry; lay it flat so it cannot slide or flex.
- Skip the dishwasher and the sink sprayer; both are too rough.
- If the printed art looks like it could lift, stick to surface cleaning only.
Step 5: Remove light scratches with plastic polish
For fine swirls and scuffs, apply a small amount of plastic polish or acrylic scratch remover to a clean microfiber cloth and work it into the scratch in a straight line, not a circle. Follow the product's directions, then buff off the residue with a second clean cloth. Most light scratches disappear or become invisible once the backlight is on.
Test any polish on a hidden corner first, especially on panels with printed artwork. Some polishes contain solvents that can dull a printed surface. If the scratch is deep enough to catch a fingernail, polishing alone will not fix it, and aggressive sanding risks making the panel look worse than the scratch.
- Common mistake: using toothpaste or baking soda as a DIY polish; both are too abrasive.
- Checkpoint: if the scratch still catches your nail after polishing, stop and consider replacing the panel.
Step 6: Handle, store, and display to prevent the next scratch
Most damage happens during handling, not cleaning. Pick up panels by the edges with clean hands, and never slide them across a desk or stack them against each other. When a panel is not in use, store it in a microfiber sleeve or between two soft cloths in a flat box. Keep it out of direct sunlight and away from heat vents, because UV and heat can yellow acrylic over time.
If your panel lives inside a computer case, check that airflow is not pulling dust directly across the surface. A quick dusting every week or two keeps the artwork clear and reduces how often you need to wet-clean. For desk-based lightboxes, keep drinks and lotions away from the panel; oils are the most common cause of stubborn smudges.
- Never use paper towels, even for a quick wipe.
- Store panels flat, not leaning, to avoid warping.
Your acrylic platelight care routine at a glance
- Unplug and lay flat: Power down the Platelight or lightbox, let it cool, and set the acrylic panel on a clean microfiber towel so it is fully supported. Checkpoint: no power, no flex, no edges hanging off the table.
- Dust before you wipe: Use low-angle compressed air or a soft brush to lift loose dust from both sides of the panel, working from the center outward. Common mistake: spraying liquid onto a dusty panel and grinding grit into the acrylic.
- Spot clean with water first: Dampen a microfiber cloth with lukewarm water, add a drop of mild dish soap only if needed, wipe in straight lines, and dry immediately with a second cloth. Checkpoint: the surface is dry within seconds, with no air-dried water spots.
- Deep clean only when necessary: For film or sticky residue, wash gently in lukewarm soapy water or clean in place, then rinse and dry flat. Never use hot water, ammonia, or abrasives. Skip this step if the panel has printed art that could lift; surface cleaning is safer.
- Polish light scratches: Apply plastic polish to a microfiber cloth and work in straight lines, then buff off. Test on a hidden corner first if the panel has printed artwork. If the scratch catches a fingernail, polishing will not fix it; replace the panel instead of sanding aggressively.
- Store and display smart: Handle by the edges, store flat in a soft sleeve, keep out of direct sun and heat, and dust weekly if the panel lives inside a PC case. Most scratches happen during handling, not cleaning, so prevention is the cheapest care.
Product facts that affect how you clean
- Sky on Fire: Made of high quality, durable acrylic, these panels allow light from our Platelight to diffuse through, creating a gorgeous backlit piece of art, right inside of your computer. Because the panel is designed to diffuse light, any scratch or smudge shows up as a bright spot when the Platelight is on, so dusting before wet cleaning matters more than it would on a matte surface.
- Sung Jinwoo - Solo Leveling Platelight Acrylic: Bundle with a Platelight below to complete the set. If you own the acrylic panel but not the light source, you can still clean and store it the same way; just remember that the panel alone does not light up, so inspect it under a lamp to spot streaks.
- Kyoraku - Bleach: Thousand-Year Blood War Platelight Acrylic: Made of high quality, durable acrylic, these panels allow light from our Platelight to diffuse through, creating a gorgeous backlit piece of art, right inside of your computer. Durable acrylic still scratches, so the handling and storage steps in this guide apply even though the material is tougher than standard display plastic.
- Kaiju No. 8: Made of high quality, durable acrylic, these panels allow light from our Platelight to diffuse through, creating a gorgeous backlit piece of art, right inside of your computer. Panels installed inside a computer case collect dust from airflow, so add a quick dry dusting to your monthly PC maintenance routine to keep the artwork clear.
Acrylic platelights and LED lightboxes reward a gentle, consistent routine: dust weekly, clean with water and mild soap, polish only light scratches, and handle panels by the edges. Do that, and the artwork stays bright and clear for years, whether it is mounted inside a computer or sitting on your desk.