Quick answer
Keep fabric scissors sharp by cutting only fabric, wiping the blades after every session, storing them closed in a dry place, and having them professionally sharpened once they start chewing instead of slicing. Skip the foil-and-sandpaper tricks and the glass-cutting shortcuts; those damage the edge and shorten the life of the tool.
Fabric scissors are one of the few tools in your sewing room that get worse with every shortcut. A pair of dressmaker shears that glides through four layers of quilting cotton today can start chewing fabric within a year if it is used on paper, left open on the table, or sharpened with a kitchen gadget.
The good news is that sewing scissor maintenance takes about two minutes per session and one professional sharpening every year or two. This guide walks through a repeatable routine: clean, check, store, and sharpen at the right moment. Each step includes the mistake that quietly ruins edges, so you can avoid it.
Start with a fabric-only rule
The single biggest factor in how long fabric scissors stay sharp is what you cut with them. Quilting cotton, flannel, and lightweight home-decor fabric are all fine. Paper, cardboard, wire-edged ribbon, and the plastic clamshell on a new pack of needles are not. Paper contains clay and mineral fillers that dull a steel edge quickly, and one sheet of printer paper can do more damage than a full afternoon of cutting cotton.
Set up a separate pair of paper scissors and keep them in a different drawer. If you sew with a rotary cutter for long strips and scissors for trimming, label each tool so nobody in the house grabs the good shears for wrapping gifts. It sounds fussy, but it is the cheapest maintenance habit you can build.
- Cut fabric only with your fabric scissors; keep a second pair for paper and templates.
- Never cut over pins, zippers, or hook-and-loop tape; metal nicks the edge.
- If someone else in the house sews or crafts, label your shears clearly.
Clean the blades and pivot after each session
Lint, starch, and fabric sizing build up on the blades and work into the pivot screw. That grit creates friction, which makes the scissors feel dull even when the edge is still fine. Wipe both blades with a dry microfiber cloth after each cutting session, then open and close the scissors a few times to check that the action is smooth.
If you use fusible web, adhesive spray, or heavily starched fabric, add a second step: wipe the blades with a cloth lightly dampened with isopropyl alcohol, then dry them immediately. Do not soak the whole tool in water. Moisture around the pivot is the main cause of stiff, squeaky scissors, and it can rust the screw over time.
- Wipe from the pivot toward the tip, not back toward the screw.
- Dry the blades right away; never leave scissors sitting in water.
- A single drop of sewing machine oil at the pivot once a month is enough.
Store scissors closed and protected
A loose pair of shears in a drawer bangs against rulers, pins, and other tools. Those small collisions roll the fine edge, which shows up later as skipped cuts and snagging. Store scissors closed, and if they came with a sheath or case, use it. A simple fabric sleeve or a dedicated drawer divider works just as well.
Keep the storage spot dry. Bathrooms and damp basements are hard on steel. If you live in a humid climate, a small silica packet in the drawer is a reasonable safeguard. For dressmaker shears with a bent handle, store them flat rather than hanging them by one loop, which can put uneven pressure on the pivot over time.
- Store closed, in a sheath or a divided drawer.
- Avoid hanging heavy shears by one handle loop for long periods.
- Keep a silica packet in humid storage areas.
Test the edge before you sharpen
Not every dull-feeling pair needs sharpening. Sometimes the issue is lint in the pivot or a slightly loose screw. Before you send scissors out, clean them, tighten the pivot screw just until the blades meet with light resistance, and test on a scrap of quilting cotton. If the scissors slice cleanly through the scrap without folding or chewing the fabric, the edge is fine.
If the blades push the fabric instead of cutting it, or if you have to open the scissors wide and use only the back of the blades, the edge needs attention. That test takes thirty seconds and can save you the cost of an unnecessary sharpening.
- Test on a scrap of the fabric you cut most often.
- A clean slice means the edge is fine; a chewed edge means it is not.
- Tighten the pivot screw only until the blades meet, not until they bind.
Choose the right sharpening method
For quality dressmaker shears, professional sharpening is the safest option. A sharpener who understands sewing tools will preserve the blade angle and the bevel that lets the scissors glide through fabric. Many fabric and quilt shops offer sharpening days, and a good sharpening typically lasts a year or more for a home sewist.
Pull-through sharpeners and the foil-folding trick remove metal unevenly and can round the edge. If you want to maintain an edge between professional sharpenings, a fine ceramic rod used lightly at the original bevel angle is the least risky home option. When in doubt, wait and have the scissors professionally sharpened rather than experimenting on a tool you rely on.
- Professional sharpening preserves the blade angle best.
- Avoid pull-through sharpeners and foil-cutting shortcuts.
- A light touch with a ceramic rod is the only home method worth trying.
Match the tool to the task
Even well-maintained scissors wear faster when they are used for the wrong job. Small snips are for thread, not for trimming multiple layers of quilting cotton. Heavy shears are for fabric, not for cutting through batting and foam. Using the right tool for the task spreads the wear and keeps each pair sharp longer.
If you cut a lot of strips and shapes, a rotary cutter takes most of the wear off your scissors. The two tools work together: rotary cutter for long straight cuts, scissors for trimming, curves, and clipping. That division of labor is one of the simplest ways to extend the life of dressmaker shears.
- Use small snips for thread and light trimming only.
- Reserve heavy shears for fabric, not batting or foam.
- Let a rotary cutter handle long straight cuts.
Your six-step scissor care routine
- Step 1: Cut fabric only: Keep a separate pair of scissors for paper, templates, and packaging. Reserve your dressmaker shears for fabric. Checkpoint: if you cannot remember the last time your good scissors cut paper, you are on track.
- Step 2: Wipe blades after every session: Use a dry microfiber cloth and wipe from the pivot toward the tip. Add isopropyl alcohol only for adhesive residue, then dry immediately. Checkpoint: the blades should feel smooth and dry before you put the scissors away.
- Step 3: Oil the pivot once a month: Place one drop of sewing machine oil at the pivot screw and open and close the scissors a few times to distribute it. Checkpoint: the action should feel smooth, not stiff or squeaky.
- Step 4: Store closed and dry: Use a sheath or a divided drawer, and keep the storage area dry. Add a silica packet in humid climates. Checkpoint: scissors should not rattle against other tools in the drawer.
- Step 5: Test before sharpening: Clean the scissors, tighten the pivot screw until the blades meet, and cut a scrap of quilting cotton. Checkpoint: a clean slice means no sharpening is needed yet.
- Step 6: Sharpen professionally when the test fails: If the blades chew or push fabric, have them professionally sharpened rather than using a pull-through sharpener. Checkpoint: a good sharpening should last a year or more for most home sewists.
Fabric care notes that affect scissor wear
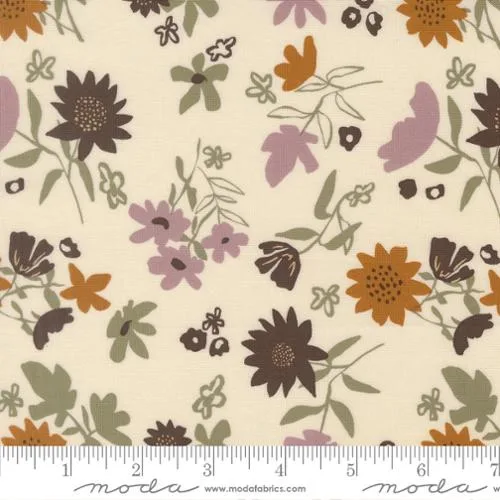
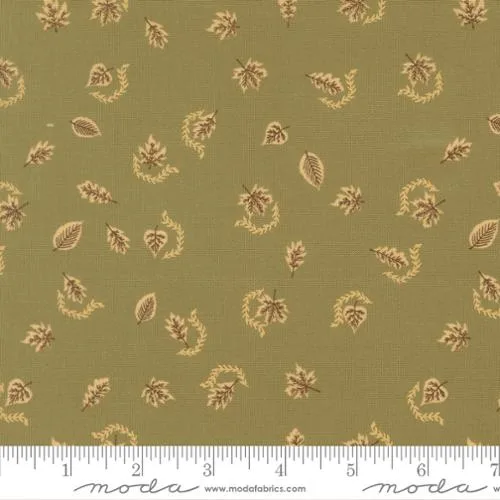
- Moda Windfall - Eggshell Wildflowers 1/2 yd: 100% quilting cotton, 44/45" wide, from the Windfall collection by Stephanie Sliwinski for Moda Fabrics. Quilting cotton like this is easy on scissor edges, so it is a good fabric to test your blades on after cleaning.
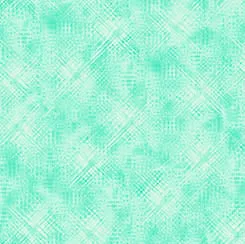
- Vertex – Aquamarine (29513-HQ) 1/2 Yard: Quilting-weight 100% cotton, 44/45" wide, from QT Fabrics Studio. A smooth weave blender cuts cleanly and gives you a reliable reference for whether your scissors are slicing or chewing.
- Notches 60" x 70" Quilt Kit: Includes pattern, coordinated fabric, and binding for a 60" x 70" quilt. A kit like this means many cutting sessions, so a consistent cleaning and storage routine matters more than a one-time sharpening.
Sewing scissor maintenance comes down to a few small habits: cut fabric only, wipe the blades, store them closed and dry, and sharpen professionally when the edge actually fails. Do that, and your shears will keep slicing cleanly through quilting cotton for years instead of months.