Quick answer
Clean cutting mats with a soft damp cloth and mild soap, never solvent, and store them flat and out of direct sun. Brush dies free of paper dust, keep them dry, and store them on a magnetic sheet. Stamp photopolymer and clear stamps after every session with a stamp cleaner or warm water, then air dry before storing. Replace a tool when the damage is structural, not surface-level.
Most craft tools do not fail suddenly. They get slower, stickier, or less precise over weeks of use, and the cause is usually something small you can fix in a few minutes. The trick is knowing which symptom points to which cause.
This guide covers the three tools that take the most daily punishment in papercraft: cutting mats, dies, and stamps. For each one, you will find the symptom, the likely cause, the corrective action, and the point where repair stops being worth it.
Cutting mat care: when sticky and scarred is still fine
A cutting mat that grabs your cardstock or leaves residue is usually dirty, not worn out. Wipe it with a soft cloth and mild soapy water, rinse, and let it air dry flat. Avoid alcohol, acetone, and household solvents, which break down the self-healing surface and make future cuts ragged. If adhesive from tape or foam pads is the culprit, a little warm water and a plastic scraper lifts it without gouging the mat.
Deep score lines and a fuzzy surface are normal with heavy use. Rotate the mat regularly and cut in different areas so wear spreads evenly. Store mats flat, away from radiators and sunny windows, because heat warps them and a warped mat will not hold a straight cut. If the mat no longer self-heals and cuts start wandering, replacement is the honest answer.
- Clean after every few sessions rather than waiting for visible grime.
- Never submerge a mat or dry it standing up.
- Keep mats away from heat sources and direct sunlight.
Die maintenance: stop paper dust before it stops your cut
If a die that used to cut cleanly now leaves fuzzy edges or needs an extra pass, paper dust and tiny fibres are usually packed into the cutting channel. Brush the die with a soft brush or a dry, clean toothbrush after each use, and pick out stubborn bits with a pokey tool or tweezers. Do not rinse metal dies in water unless the manufacturer says they are coated for it; trapped moisture causes rust, and rust dulls the cutting edge.
Store dies flat on a magnetic sheet or in a binder so the cutting edge is not pressed against other metal. Stacking dies loose in a box chips the thin blades over time. If a blade is visibly bent, chipped, or rusted, or if the die cuts unevenly even when clean and shimmed, it is done. Replacement blades and new dies cost less than ruined cardstock and wasted sessions.
- Brush dies after every cutting session, not just when they misbehave.
- Keep dies dry and store them flat on magnetic sheets.
- Use a shim only after you have confirmed the die is clean.
Stamp cleaning tips: clean the residue, protect the image
Stamps fail in two ways: they stop transferring a crisp image, or the surface starts to break down. The first is almost always dried ink or glitter residue sitting in the fine lines. Clean clear and photopolymer stamps with a dedicated stamp cleaner or warm water and a soft cloth, working gently so you do not tear the delicate edges. For pigment and solvent inks, use the cleaner recommended for that ink type rather than water alone.
The second failure is caused by harsh scrubbing, hot water, or leaving stamps stuck to acrylic blocks for weeks. Let stamps air dry completely before returning them to their storage sheet, and keep them out of direct sunlight. Storing stamps in a cool, dark place protects the tacky surface that holds them to the block. If a stamp has lost its tack or the image is permanently clogged, replace it rather than fighting it.
- Clean stamps immediately after use, before ink dries in the fine lines.
- Air dry fully before storage to prevent mould and tack loss.
- Store away from heat and sunlight to protect the stamp surface.
How to clean craft tools without damaging them
The same three rules apply across your kit. First, match the cleaner to the material: mild soap for mats, dry brushing for dies, and ink-specific cleaner for stamps. Second, dry everything completely before storage, because moisture is the common cause of rust, mould, and tack loss. Third, store tools so their working surfaces are not compressed or scratched by other tools.
A five-minute routine after each session prevents most of the problems in this guide. If you are unsure whether a product is safe for a specific tool, test on a small corner first. When in doubt, gentle and dry beats fast and wet every time.
- Match the cleaner to the tool material.
- Dry completely before storing.
- Test any new cleaner on a small area first.
Symptom checker: fix it or replace it?
- Cutting mat feels sticky or leaves residue on card: Likely cause: dried adhesive, glitter, or ink on the surface. Action: wipe with a soft cloth and mild soapy water, rinse, and air dry flat. Do not use solvents. If the mat still grabs after cleaning, the surface is breaking down and it is time to replace it.
- Die leaves fuzzy edges or needs multiple passes: Likely cause: paper dust packed into the cutting channel, or a bent or chipped blade. Action: brush the die clean, check the blade under good light, and try a shim only after cleaning. If the blade is visibly damaged or the die still cuts unevenly when clean and shimmed, replace the die.
- Stamp image is patchy or the stamp will not stick to the block: Likely cause: dried ink in the fine lines, or tack lost from heat, sunlight, or long-term storage on a block. Action: clean with the correct cleaner for your ink type, air dry fully, and store in a cool dark place. If the image is permanently clogged or the stamp no longer holds, replace it rather than risking a ruined project.
Tools that make care easier
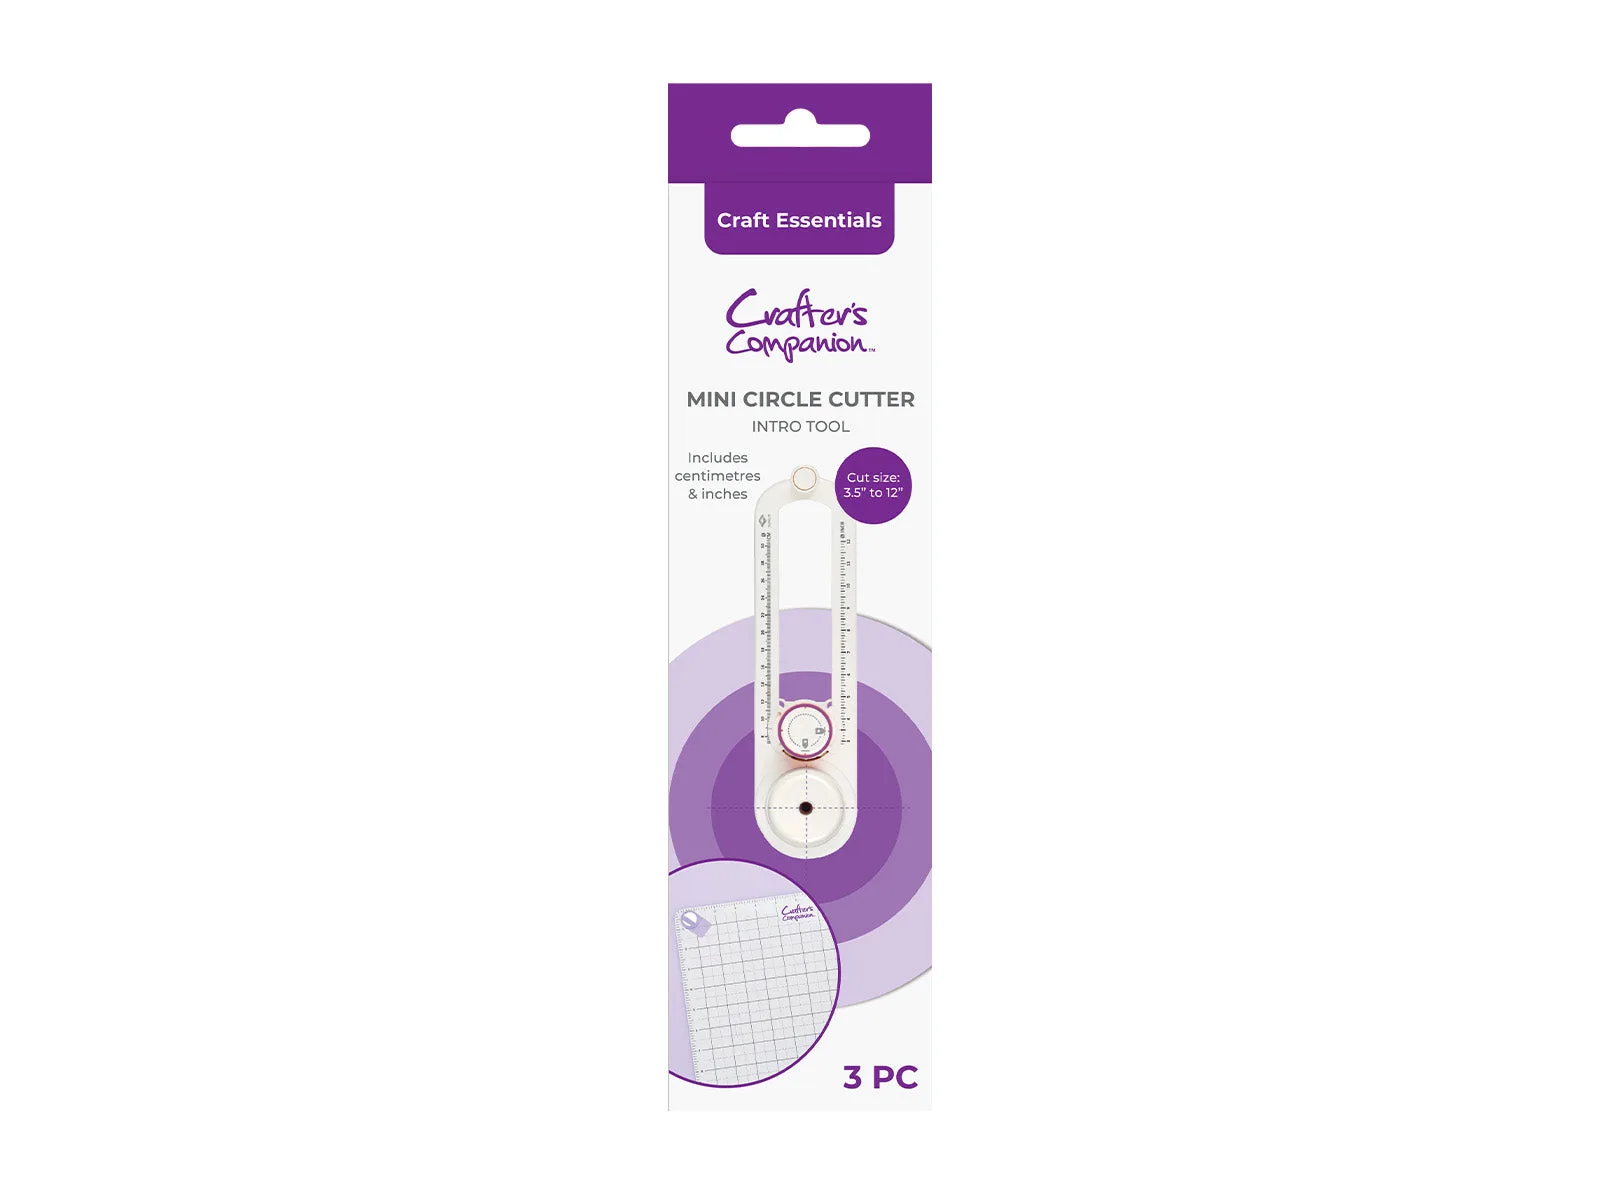
- Mini Circle Cutter Tool: The Mini Circle Cutter Tool has a magnetic base designed to work with a Magnetic Craft Mat, keeping your project firmly in place while you cut circles from 3.5" to 12". A stable, magnetic setup reduces the hand pressure and slipping that damage both your mat and your cut edges, so your mat lasts longer and your circles stay clean.
- Crafter's Companion Duet ColourBloom Shimmer Inkpad - Neptune: Duet ColourBloom Shimmer Inkpads hold a curated colour combination with shimmer; you can apply water to let the shades separate and bloom, or dry with a heat tool first for a stronger colour contrast. Knowing how an ink behaves tells you how to clean it: water-reactive ink lifts more easily with water-based cleaners, while heat-set ink needs the appropriate stamp cleaner to avoid residue building up in fine stamp lines.
A few minutes of cleaning and correct storage after each session will keep your cutting mats, dies, and stamps working for years. When a tool is structurally damaged, replacing it is cheaper than fighting it, so save your effort for the projects that matter.