Quick answer
For most ironing board pads, vacuum or brush off loose debris weekly, spot clean stains with a mild detergent and cool water, and let the pad air-dry completely before putting the cover back on. If the pad is scorched, compressed, or smells musty, replace it.
A good ironing board pad does two jobs: it gives you a smooth pressing surface and it protects the board from heat and moisture. When the pad gets dirty, damp, or flattened, those jobs suffer. You may notice steam marks, sticking, or a bumpy surface that makes pressing slower.
You don't need special products to keep a pad in good shape. A regular routine of removing debris, spot cleaning, and thorough drying will extend ironing board pad life and keep your pressing results consistent. Here's how to do it step by step.
Why ironing board pad care matters
The pad sits between the cover and the board. It absorbs steam, cushions the fabric, and helps heat distribute evenly. When it gets clogged with starch, lint, or mineral deposits, it can't do those things well. A dirty pad may transfer marks to light fabrics or cause the cover to slip. A damp pad can lead to rust on a metal board or mildew in the padding.
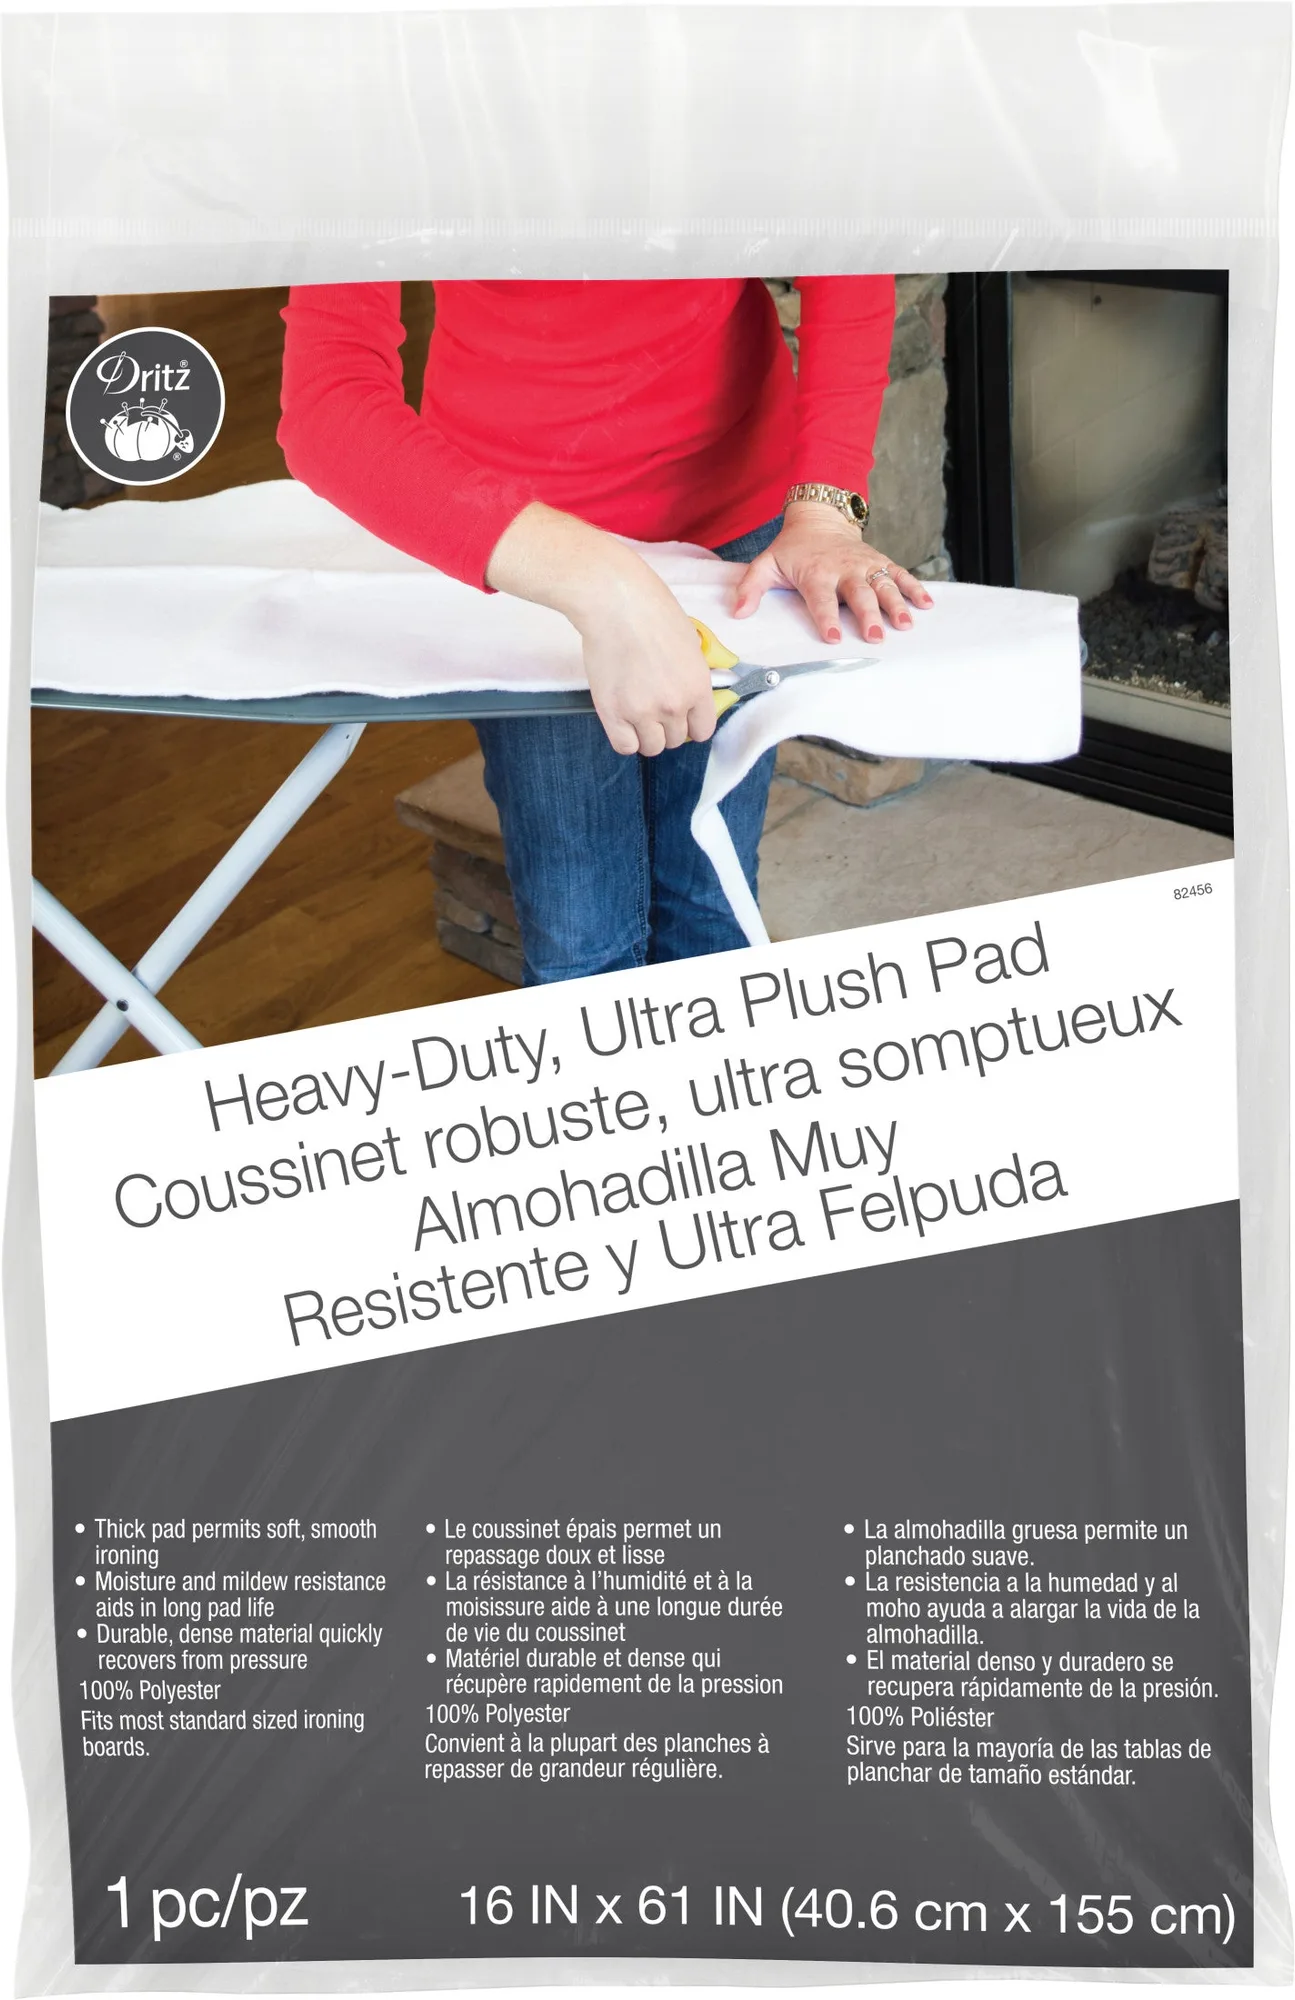
Regular care also saves money. A pad that's cleaned and dried properly keeps its loft longer, so you replace it less often. That's especially true for a https://prymamerica.com/products/82456-21213cd21dce2429dc636581-1316245premium ironing board pad with a thicker felt or fiber layer.
- Check the pad monthly for stains, flattening, or odors.
- Always let the pad dry completely before replacing the cover.
Step 1: Remove loose debris after every few uses
Start by taking the cover off and lifting the pad from the board. Shake it outside or over a trash can to remove lint, thread, and dried starch flakes. For a more thorough clean, run a vacuum hose with a brush attachment over both sides on low suction. This step prevents buildup that can stain fabric later.
Common mistake: skipping this step and going straight to washing. Loose debris can turn into a paste when wet and work deeper into the fibers. Checkpoint: the pad should look and feel free of surface grit before you move on.
- Use a soft brush or vacuum brush attachment, not a stiff scrub brush.
- If the pad is heavily soiled, do this outside to avoid spreading dust indoors.
Step 2: Spot clean stains with mild detergent and cool water
Most ironing board pad stains come from starch, fusible web, or scorch marks. Mix a few drops of mild liquid detergent in cool water. Dampen a clean white cloth, blot the stain, and work from the outside toward the center to avoid spreading. Don't rub aggressively, which can pill the surface. Rinse the cloth and blot again with plain water to remove soap residue.
Common mistake: using hot water or strong cleaners. Heat can set protein stains, and harsh chemicals may break down the pad's fibers. Checkpoint: after rinsing, the stain should be visibly lighter and no soap should remain.
- Test any cleaning solution on a hidden corner first.
- For scorch marks, a paste of baking soda and water can help, but rinse thoroughly.
Step 3: Hand wash only when the whole pad is soiled
If the entire pad is dirty or smells musty, hand wash it in a sink or tub with cool water and a small amount of mild detergent. Gently squeeze the water through the pad; don't wring or twist it, which can distort the shape. Rinse until the water runs clear. This is the safest way to wash an ironing board pad without damaging its layers.
Common mistake: putting the pad in a washing machine. Agitation can tear the batting or cause it to clump. Checkpoint: after rinsing, the pad should still be flat and evenly thick, with no lumps.
- Never use bleach or fabric softener, which can leave residue that transfers to fabric.
- If the care label gives different instructions, follow the label.
Step 4: Air-dry completely before reassembling
Lay the pad flat on a drying rack or hang it over a shower rod. Air-dry away from direct heat or sunlight, which can shrink or stiffen the fibers. Depending on humidity, drying may take several hours or overnight. Don't put the pad back on the board until it's fully dry to the touch on both sides.
Common mistake: rushing the process with a hair dryer or iron. High heat can scorch the pad and create a fire risk. Checkpoint: press a dry paper towel against the pad; if it comes away damp, keep drying.
- Rotate the pad once during drying to expose both sides to air.
- If the pad still smells musty after drying, it's time to replace it.
Step 5: Reassemble and check for fit and flatness
Once the pad is dry, place it back on the board and smooth out any wrinkles. Put the cover back on, pulling it snug. A pad that's bunched or folded will create uneven pressing. If the pad has lost its loft or no longer covers the board evenly, it won't cushion properly.
Common mistake: ignoring a pad that has compressed or torn. A flat pad can cause the cover to wear faster and may let heat reach the board. Checkpoint: run your hand across the surface; it should feel smooth and slightly cushioned, with no ridges.
- If the pad slides around, consider a new pad with a secure fit.
- Replace the pad if it has thin spots or exposed batting.
How often to replace your ironing board pad
Even with good care, pads wear out. Replace yours when it stays stained after cleaning, has a burnt smell, feels flat and hard, or shows tears or thin spots. A typical pad lasts one to three years with regular use, depending on how often you iron and what products you use. Keeping a spare on hand means you're never stuck with a poor pressing surface.
If you use a lot of starch or fusible products, check your pad more often. Those products can build up quickly and are harder to remove over time.
- Write the purchase date on the pad with a fabric marker to track its age.
- Consider a premium ironing board pad if you iron frequently or need extra cushioning.
Ironing board pad care steps at a glance
- Remove loose debris: Shake or vacuum the pad after every few uses to remove lint, thread, and starch flakes. Checkpoint: pad feels free of surface grit.
- Spot clean stains: Blot with mild detergent and cool water, working from the outside in. Rinse with plain water. Checkpoint: stain is lighter and no soap residue remains.
- Hand wash when needed: Wash the whole pad in cool water with mild detergent. Gently squeeze; never wring or twist. Checkpoint: pad stays flat and evenly thick.
- Air-dry completely: Lay flat or hang to dry away from direct heat. Wait until both sides are dry to the touch. Checkpoint: a paper towel pressed on the pad comes away dry.
- Reassemble and check fit: Smooth the pad on the board, replace the cover snugly, and check for wrinkles or thin spots. Checkpoint: surface feels smooth and slightly cushioned.
- Replace when worn: If the pad is scorched, musty, flat, or torn, replace it. Don't wait for it to fail completely. A fresh pad protects your board and improves pressing results.
Products that help with pad care and pressing
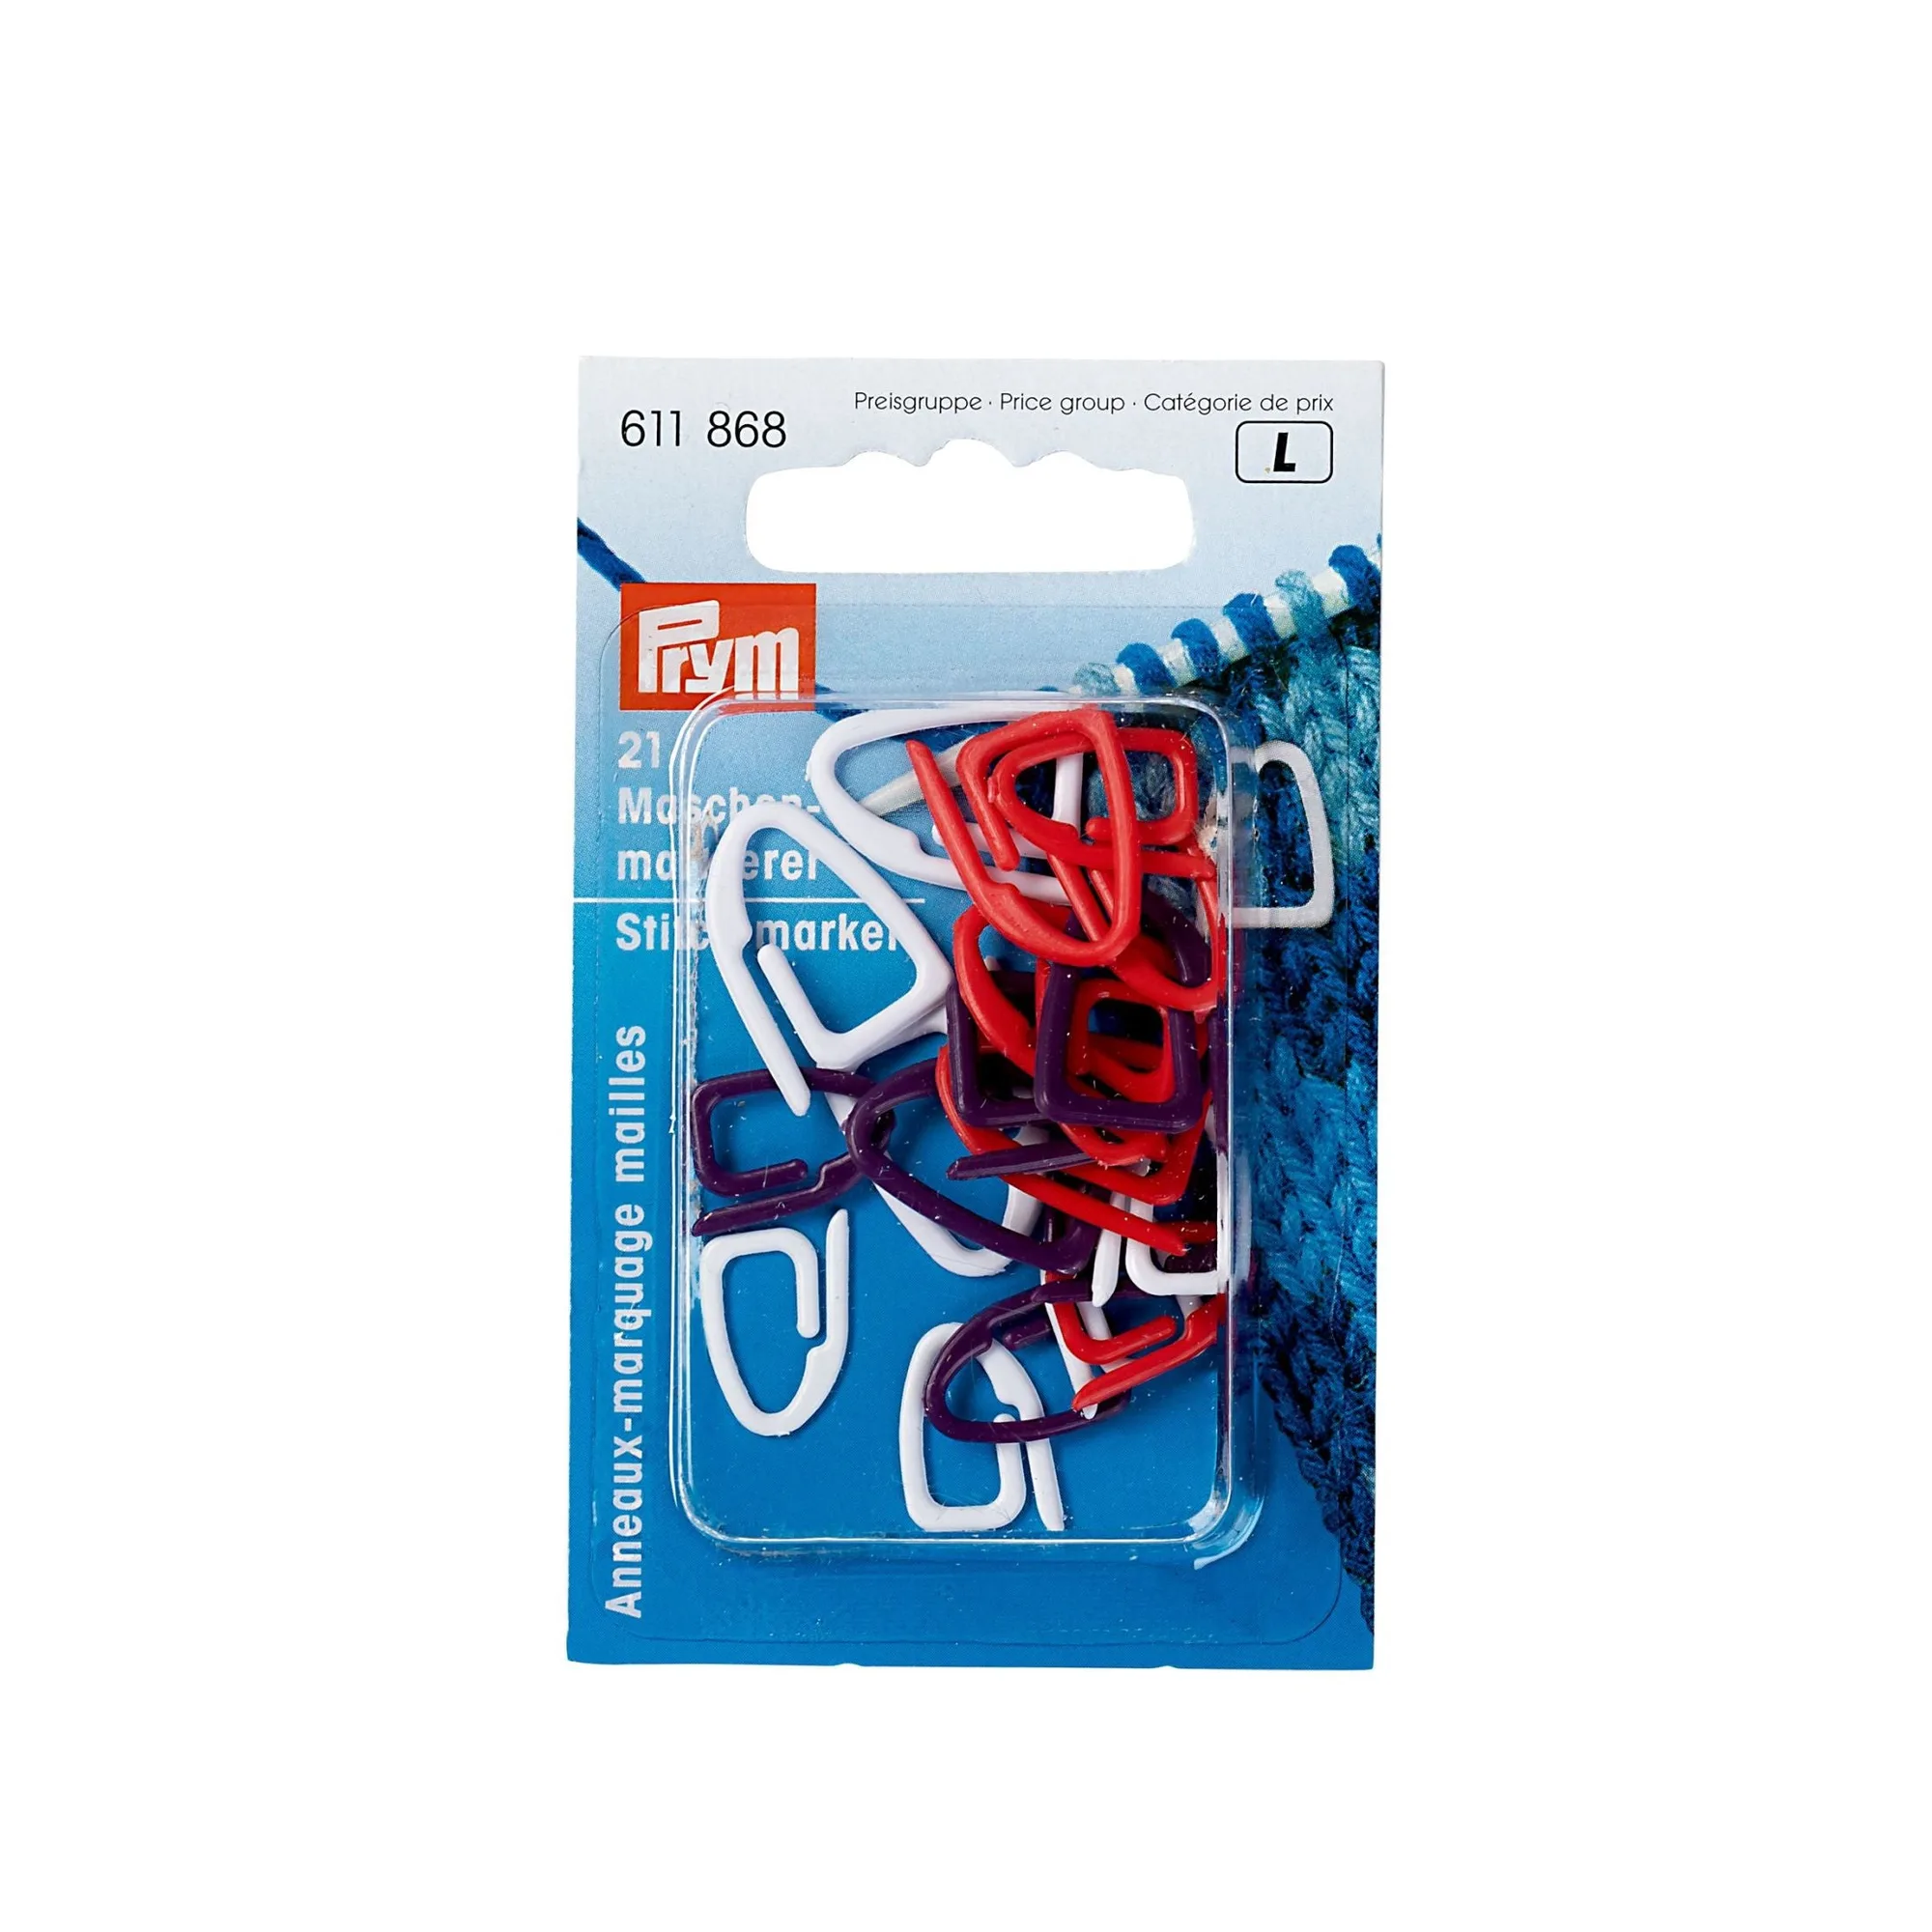
- https://prymamerica.com/products/611868-d6717d782fe50bdffae73886-1316391Stitch Markers: These small plastic clips by Prym can be gently and easily mounted into the stitch of your choice and make it easier to count stitches and rows when knitting. While not for ironing, they're a reminder that small, well-made notions help you stay organized. If you also sew or knit, keeping a few on hand keeps your projects tidy.
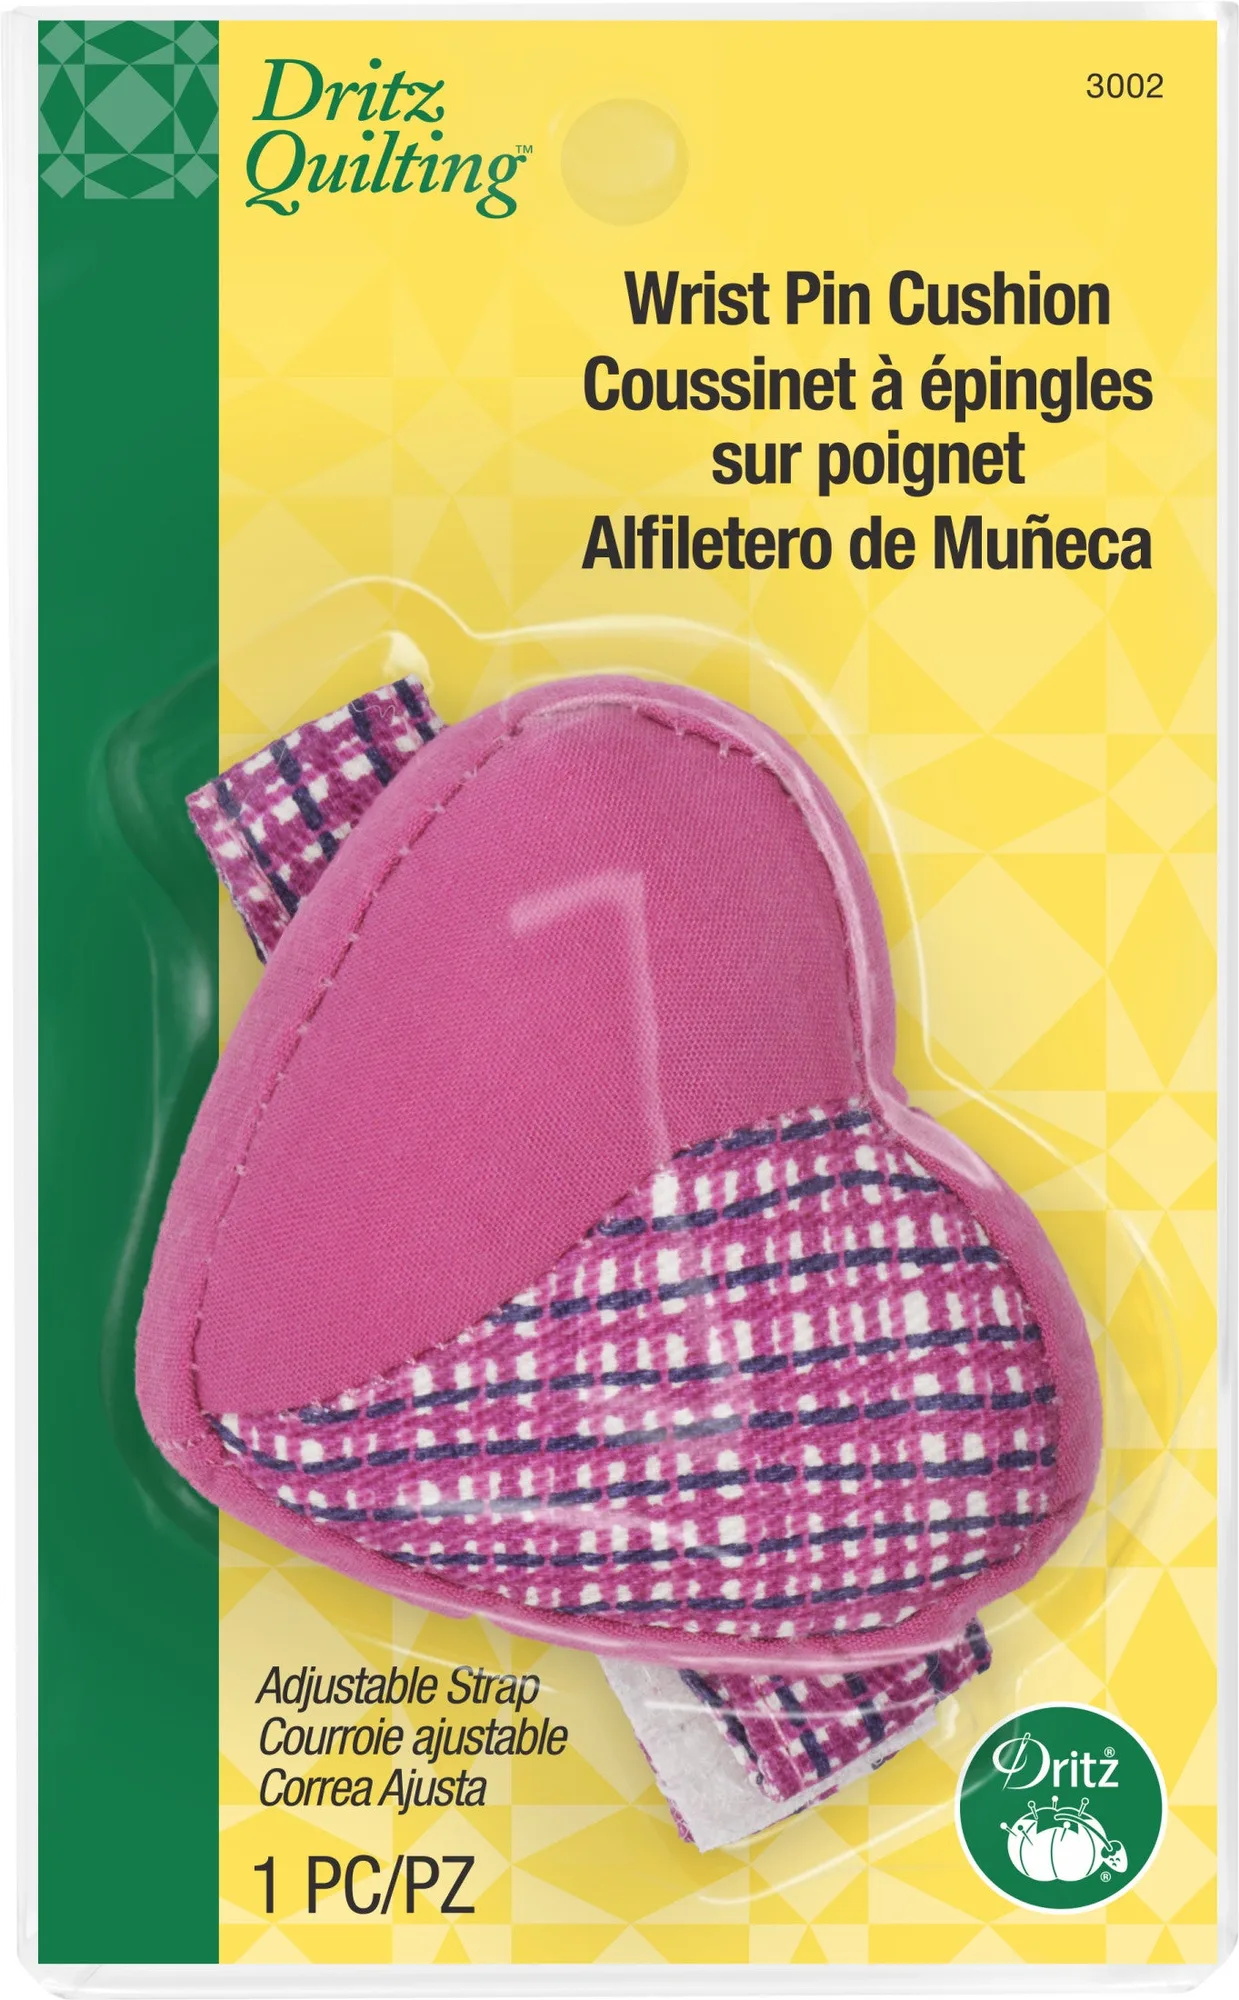
- Heart Wrist Pin Cushion with Adjustable Strap, Assorted Colors: Use a Dritz wrist pin cushion to keep pins and needles within reach while sewing, quilting or crafting. Features a soft, comfortable, adjustable cotton strap; adjusts up to 7". A wrist pin cushion keeps pins off your ironing board and away from your pad, reducing the chance of scratches or snags. It also keeps them within reach while you press seams.
A few minutes of care every few weeks will keep your ironing board pad clean, dry, and supportive. That means smoother pressing, fewer marks on fabric, and more years of use before you need a replacement.