Quick answer
For most travelers, a 25L camera backpack with customizable dividers offers the best balance of gear protection and everyday carry comfort.
Capacity vs. carry-on limits
A 25L backpack fits under most airline seats and in overhead bins, making it ideal for short trips or as a personal item. Larger bags may force you to check your gear, which increases risk of damage or theft.
If you need to bring a laptop, tablet, and a full mirrorless or DSLR kit plus a couple of lenses, 25L is usually sufficient. For longer trips or bulkier telephoto lenses, consider a 30–35L bag, but verify it meets your airline’s carry-on dimensions.
Protection and organization
Look for padded, customizable dividers that let you reconfigure the interior for different gear. A bag that lacks dividers or uses thin foam may not protect your camera from drops or jostling in transit.
Water resistance is important for travel. Many bags include a rain fly or use water-repellent fabric, but check the zippers—exposed zippers can let in moisture. A bag with a dedicated laptop compartment adds versatility without sacrificing camera space.
Comfort and carry style
A travel camera backpack should have padded shoulder straps, a sternum strap, and a hip belt to distribute weight. Without these, a fully loaded bag can become uncomfortable quickly, especially during long walks through airports or cities.
Some bags offer a side-access panel so you can grab your camera without taking the bag off. This is a major convenience for street photography but adds weight and complexity. Decide if quick access matters more than a simpler, lighter design.
How to decide: 4 rules for choosing a travel camera backpack
- Rule 1: Match capacity to trip length: For weekend trips or as a personal item, choose 20–25L. For week-long trips where you need extra clothing or a laptop, go with 25–30L. Avoid bags larger than 35L unless you plan to check them.
- Rule 2: Prioritize padded dividers over fixed compartments: Fixed compartments limit what you can carry. Customizable dividers let you reconfigure the bag for different lens sizes or even remove the camera insert to use the bag as a regular backpack. Check if the dividers are removable and if the bag can be used as a non-camera bag when needed.
- Rule 3: Test the carry system before buying: A bag that feels comfortable empty may become painful when loaded. Look for padded shoulder straps, a sternum strap, and a hip belt. If you can’t try it in person, read reviews about long-term comfort.
- Rule 4: Choose access style based on your photography: If you shoot street or travel photography and need quick access, a side-access panel is valuable. If you mostly shoot at destinations and don’t need to grab the camera on the go, a top-loading bag is lighter and simpler. Side-access adds weight and cost; skip it if you don’t need it.
Product spotlight
-
K&F Concept Urban Wander 03 Camera Backpack 25L: The K&F Concept Urban Wander 03 Camera Backpack 25L features a customizable, protective interior that fits a complete camera setup alongside everyday essentials. This means you can carry your camera gear and travel items in one bag without needing a separate daypack, simplifying security checks and daily outings.
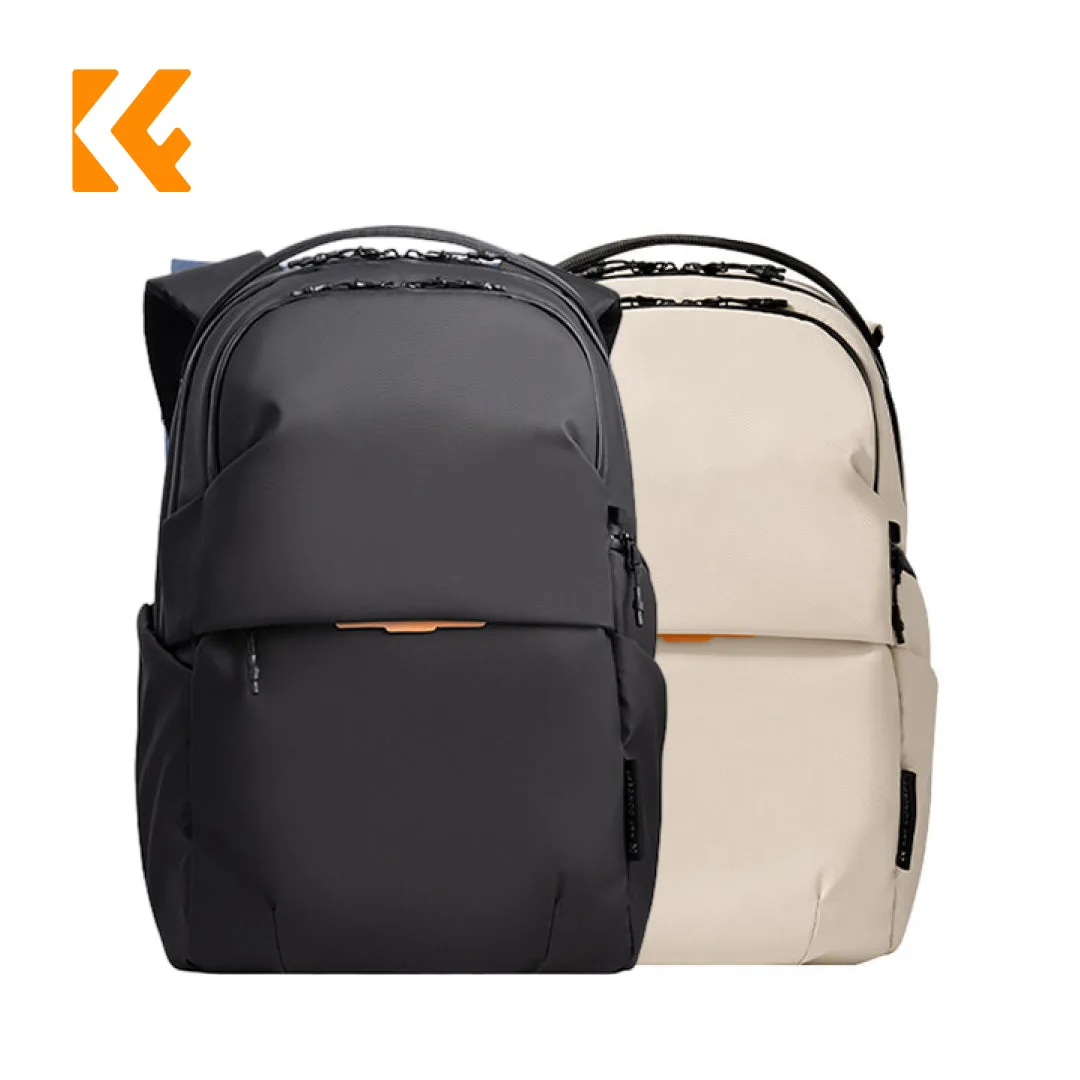
K&F Concept Urban Wander 03 Camera Backpack 25L
Who this buying guide is for
Best for
- Travelers who want a single bag for camera gear and daily essentials
- Photographers who need a carry-on-friendly backpack for short to medium trips
Not ideal for
- Professionals carrying multiple large bodies and telephoto lenses (need 35L+ or a dedicated roller case)
- Hikers who need a technical backpack with hydration sleeve and heavy load suspension