Quick answer
Choose a romper by torso length first, then rise, then fabric drape. If the waist seam sits at your natural waist and the shorts hem clears your fullest thigh point without pulling, the fit works. A defined waistband or belt keeps the silhouette intentional rather than boxy, and fluid fabrics such as silk move with you instead of fighting the cut.
A romper succeeds or fails on one measurement: the distance from your shoulder to your natural waist. Everything else, the rise, the leg opening, the fabric, is easier to adjust once that length is right. Get it wrong and the shorts ride up, the bodice pulls, or the whole thing looks like it was borrowed.
This guide walks through the decisions in the order they matter, from torso length and rise to fabric and styling. It also covers what to do when a romper is close but not perfect, and when a dress or a separate top and short is the better call.
Start with torso length, not size
Rompers are cut for one torso length, usually an average. If your torso is longer than that average, the waist seam sits high and the shorts pull upward. If it is shorter, the waist seam drops toward your hips and the bodice bunches. Neither problem is solved by sizing up or down, because the vertical proportion stays the same.
Measure from the top of your shoulder to your natural waist, the narrowest point above your hip bone. Compare that number to the garment's stated torso length when a brand provides it. If no measurement is listed, use the waist seam position in the product photos as your guide and expect to adjust with a belt or a trip to a tailor.
- Long torso: look for an adjustable or tie waist, or a romper with a defined waist seam placed lower.
- Short torso: a higher waist seam and a shorter rise keep the proportion balanced.
- If the waist seam lands more than about an inch from your natural waist, the fit will not improve with a different size.
Match the rise to how you will wear it
Rise determines where the shorts sit on your hips and how much leg line you get. A higher rise elongates the leg and holds the waist in place, which suits longer torsos and anyone who wants a smoother line under the fabric. A lower rise feels more relaxed and works better on shorter torsos, but it can shift when you sit or bend.
Think about the occasion before you commit. A romper you wear to a seated dinner needs a rise that stays put when you sit down. A romper for a beach walk or a festival can afford a looser, lower cut because movement matters more than polish.
- Sit, squat, and reach overhead in the fitting room. If the shorts climb or the neckline gapes, the rise is wrong for you.
- A slightly higher rise is the safer choice if you plan to wear the romper to work or travel.
Read the fabric before you read the label
Fabric decides whether a romper skims or clings. Fluid silks and bias-cut panels drape over the body and move with it, which flatters most figures and hides small fit imperfections. Crisp cottons and structured satins hold a shape, which is flattering when the cut is precise but unforgiving when it is not.
Stretch matters too. A little give at the waist and bust lets the romper accommodate real movement without pulling. A fabric with no stretch needs a more exact fit, so buy it only when the measurements line up closely.
- Fluid silk or bias-cut fabric: forgiving, elegant, good for evening and warm weather.
- Structured satin or cotton: holds a sculpted line, best when the waist and bust fit are already correct.
- If the fabric has no stretch, prioritize the torso length measurement over everything else.
Use waist definition to avoid a boxy line
A romper joins a top and a bottom into one piece, which removes the natural break at the waist. Without definition, the eye reads the whole garment as a single block. A waistband, a seam, a belt, or a tie restores that break and gives the silhouette a shape to follow.
If your romper has no built-in waist detail, add one. A slim belt in a matching tone, a knotted scarf, or a structured corset worn over the romper all create the same effect. The goal is a visible horizontal line at your natural waist, not a tight cinch.
- Built-in waistband or seam: the easiest option, no styling required.
- Add a belt or scarf when the romper is straight-cut or oversized.
- Layering a structured piece over a fluid romper adds shape without bulk.
Styling romper outfits for day and evening
For daytime, keep the rest of the look simple. Flat sandals or low sneakers, a crossbody bag, and a light layer you can remove as the day warms up. A fluid romper in a solid tone reads casual without looking undone, and it travels well because it is one piece to pack.
For evening, change the shoes and add structure. Heels, a small clutch, and a defined outer layer shift the same romper into a dinner or event look. If the romper is fluid and bias-cut, a structured layer over it creates contrast. If it is already structured, keep the outer layer soft to avoid a stiff, armored effect.
- Day: flat shoes, crossbody bag, light layer, minimal jewelry.
- Evening: heels, clutch, structured or soft layer depending on the romper's own structure.
- One piece means one decision, so spend your styling effort on shoes and the outer layer.
Decision rules for buying a romper
- Rule 1: Torso length decides the size: Measure shoulder to natural waist and compare it to the garment's waist seam position. If the seam lands more than about an inch off your natural waist, choose a different cut rather than a different size. Fit the vertical proportion before you fit the horizontal one.
- Rule 2: Rise follows the occasion: Choose a higher rise for seated events, work, and travel. Choose a lower or looser rise for beach days, festivals, and casual movement. If you sit, bend, and reach without the shorts climbing, the rise is right.
- Rule 3: Fabric sets your margin for error: Fluid silk and bias-cut fabrics forgive small fit gaps. Structured satin and crisp cotton do not, so only buy those when the measurements already line up. No stretch means no room to adjust later.
- Rule 4: Always create a waist line: Use a built-in waistband, a belt, a knotted scarf, or a structured layer over the romper. The horizontal line at your natural waist is what keeps the look intentional. One visible waist line turns a romper from a block into a silhouette.
- Rule 5: Style from the shoes up: Flat shoes and a light layer for day; heels, a clutch, and a defined outer layer for evening. Let the romper stay the constant and change everything around it. One garment, two occasions, minimal effort.
Pieces that show the fit principles in practice
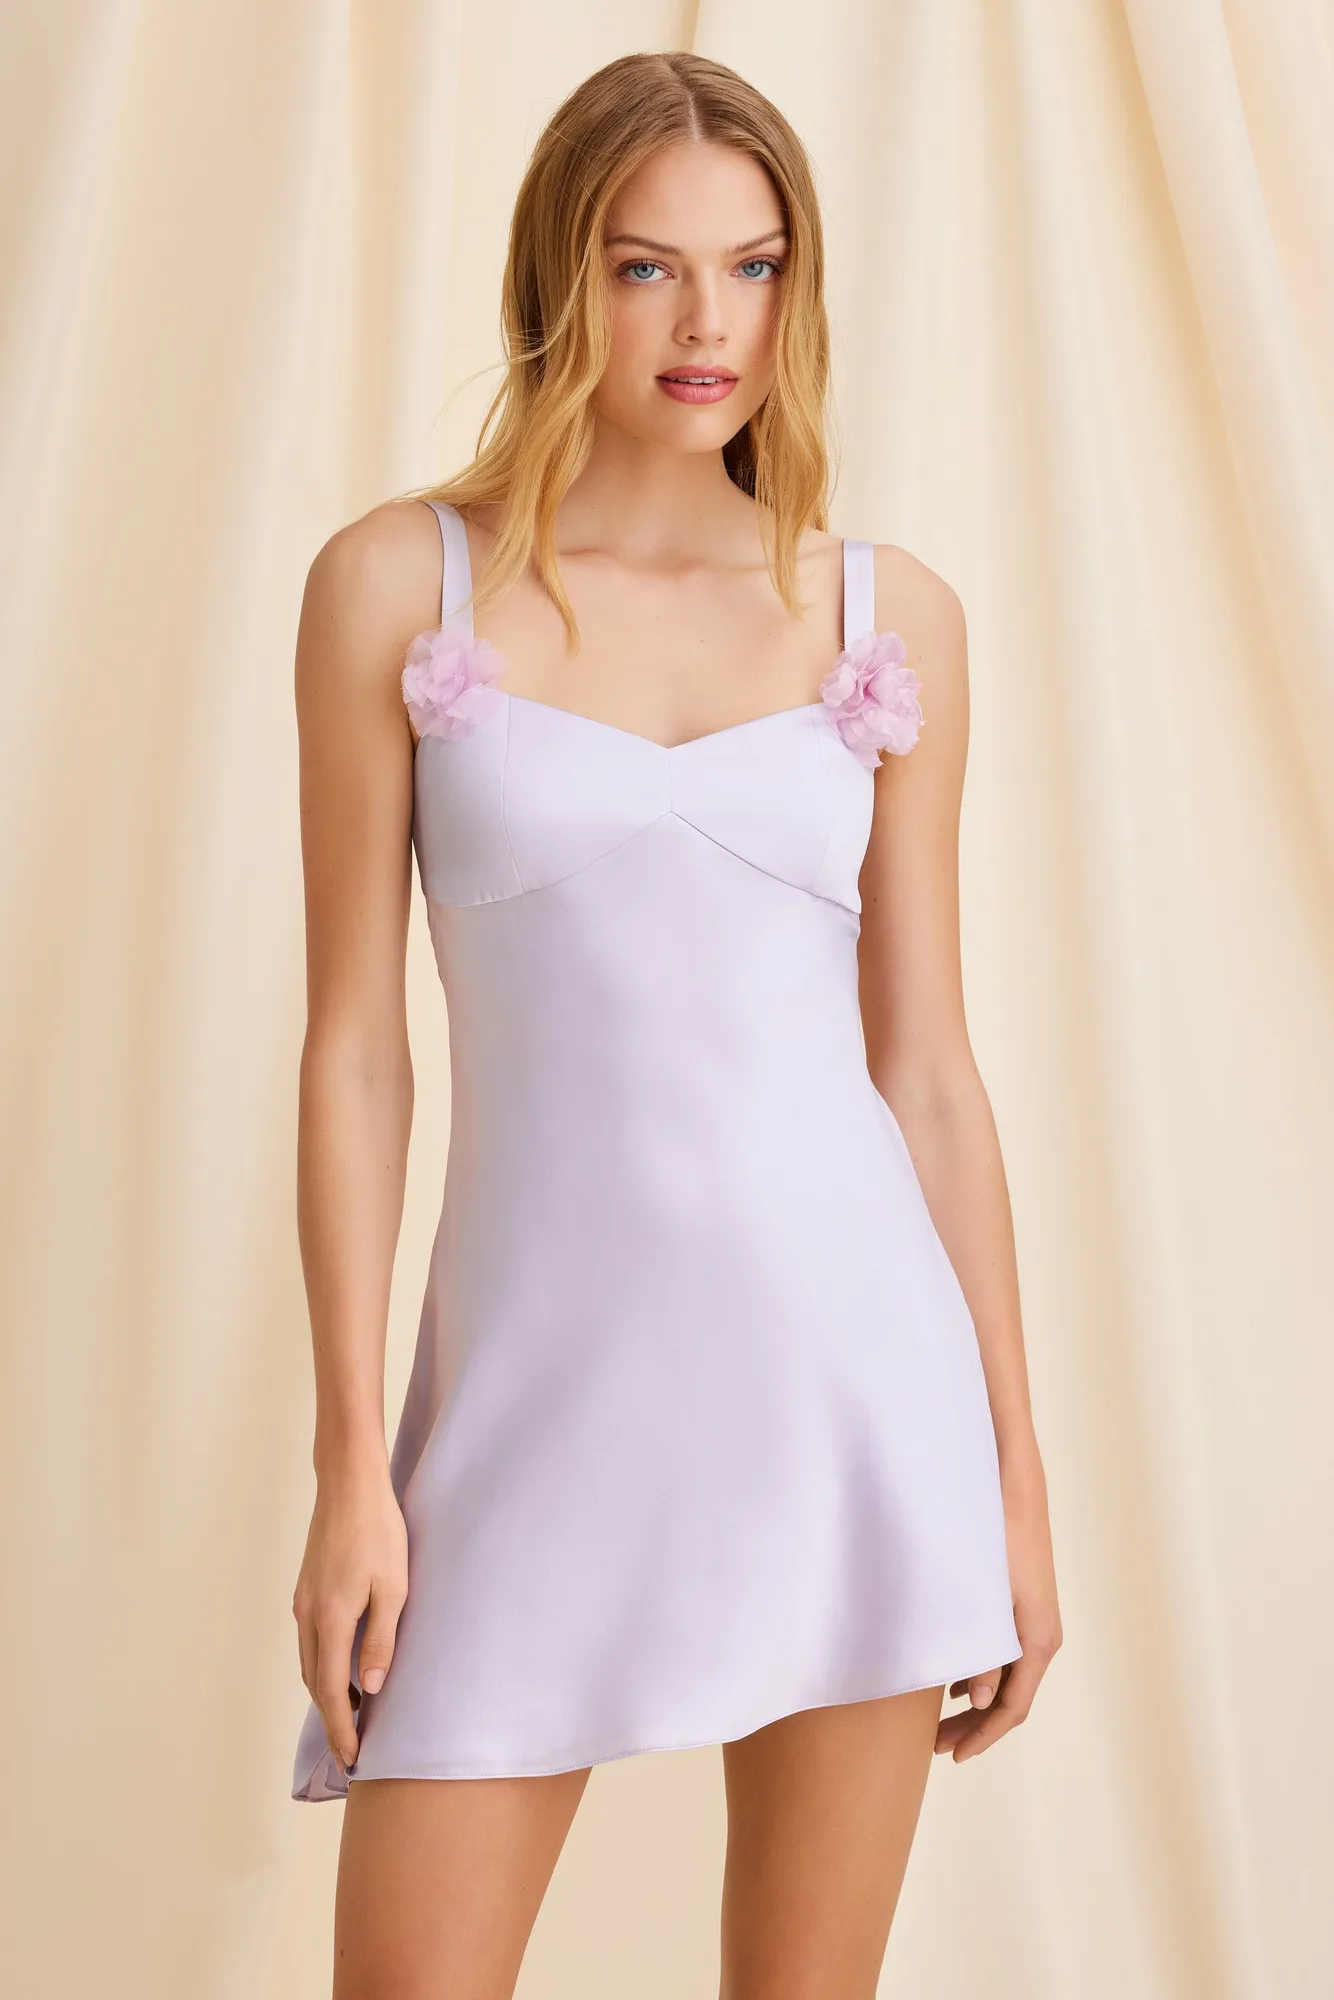
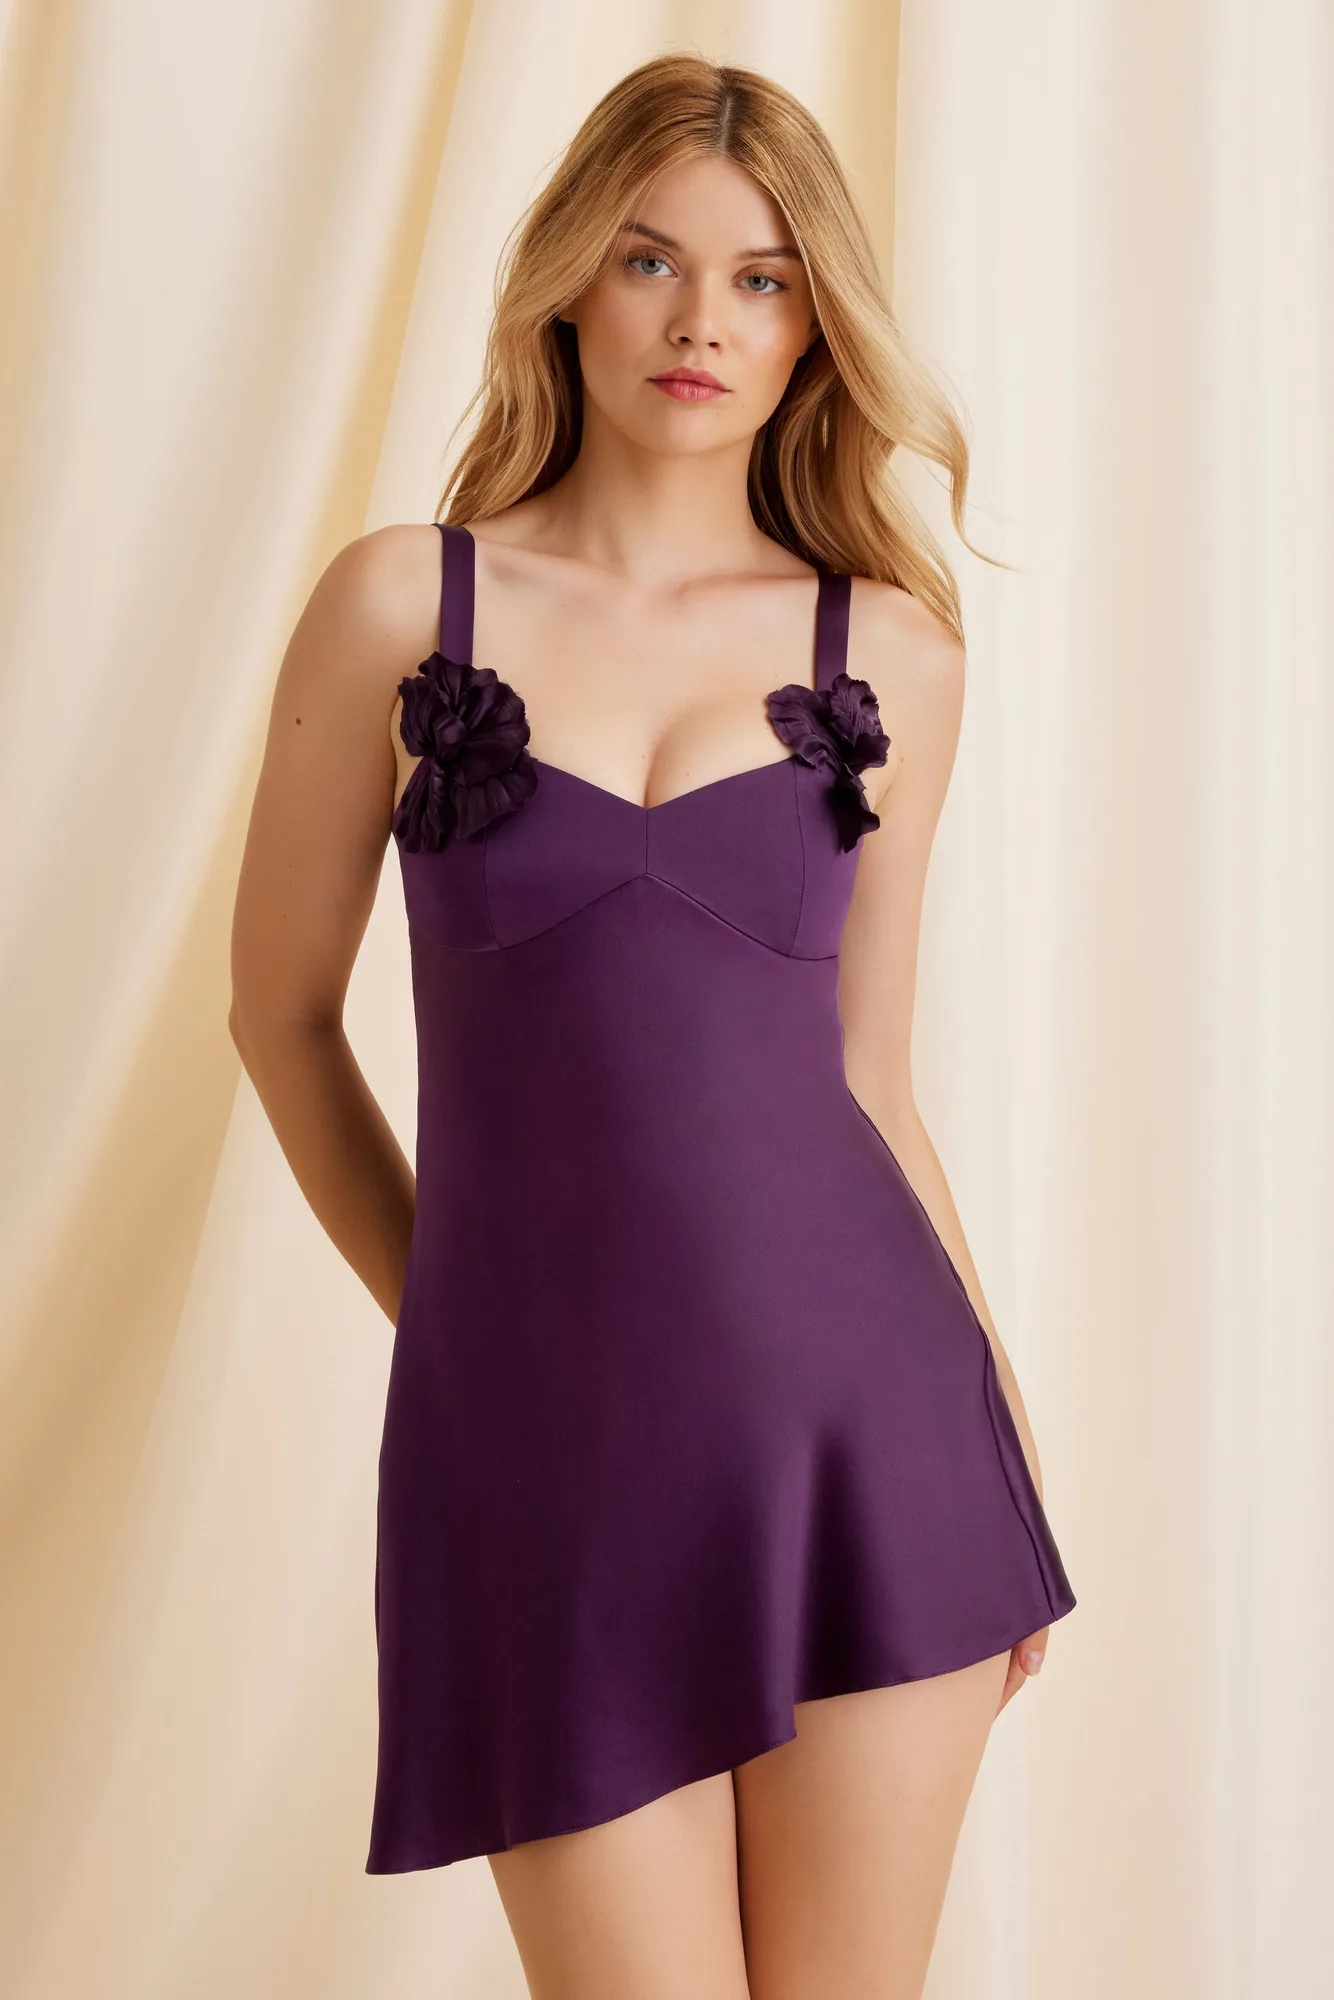
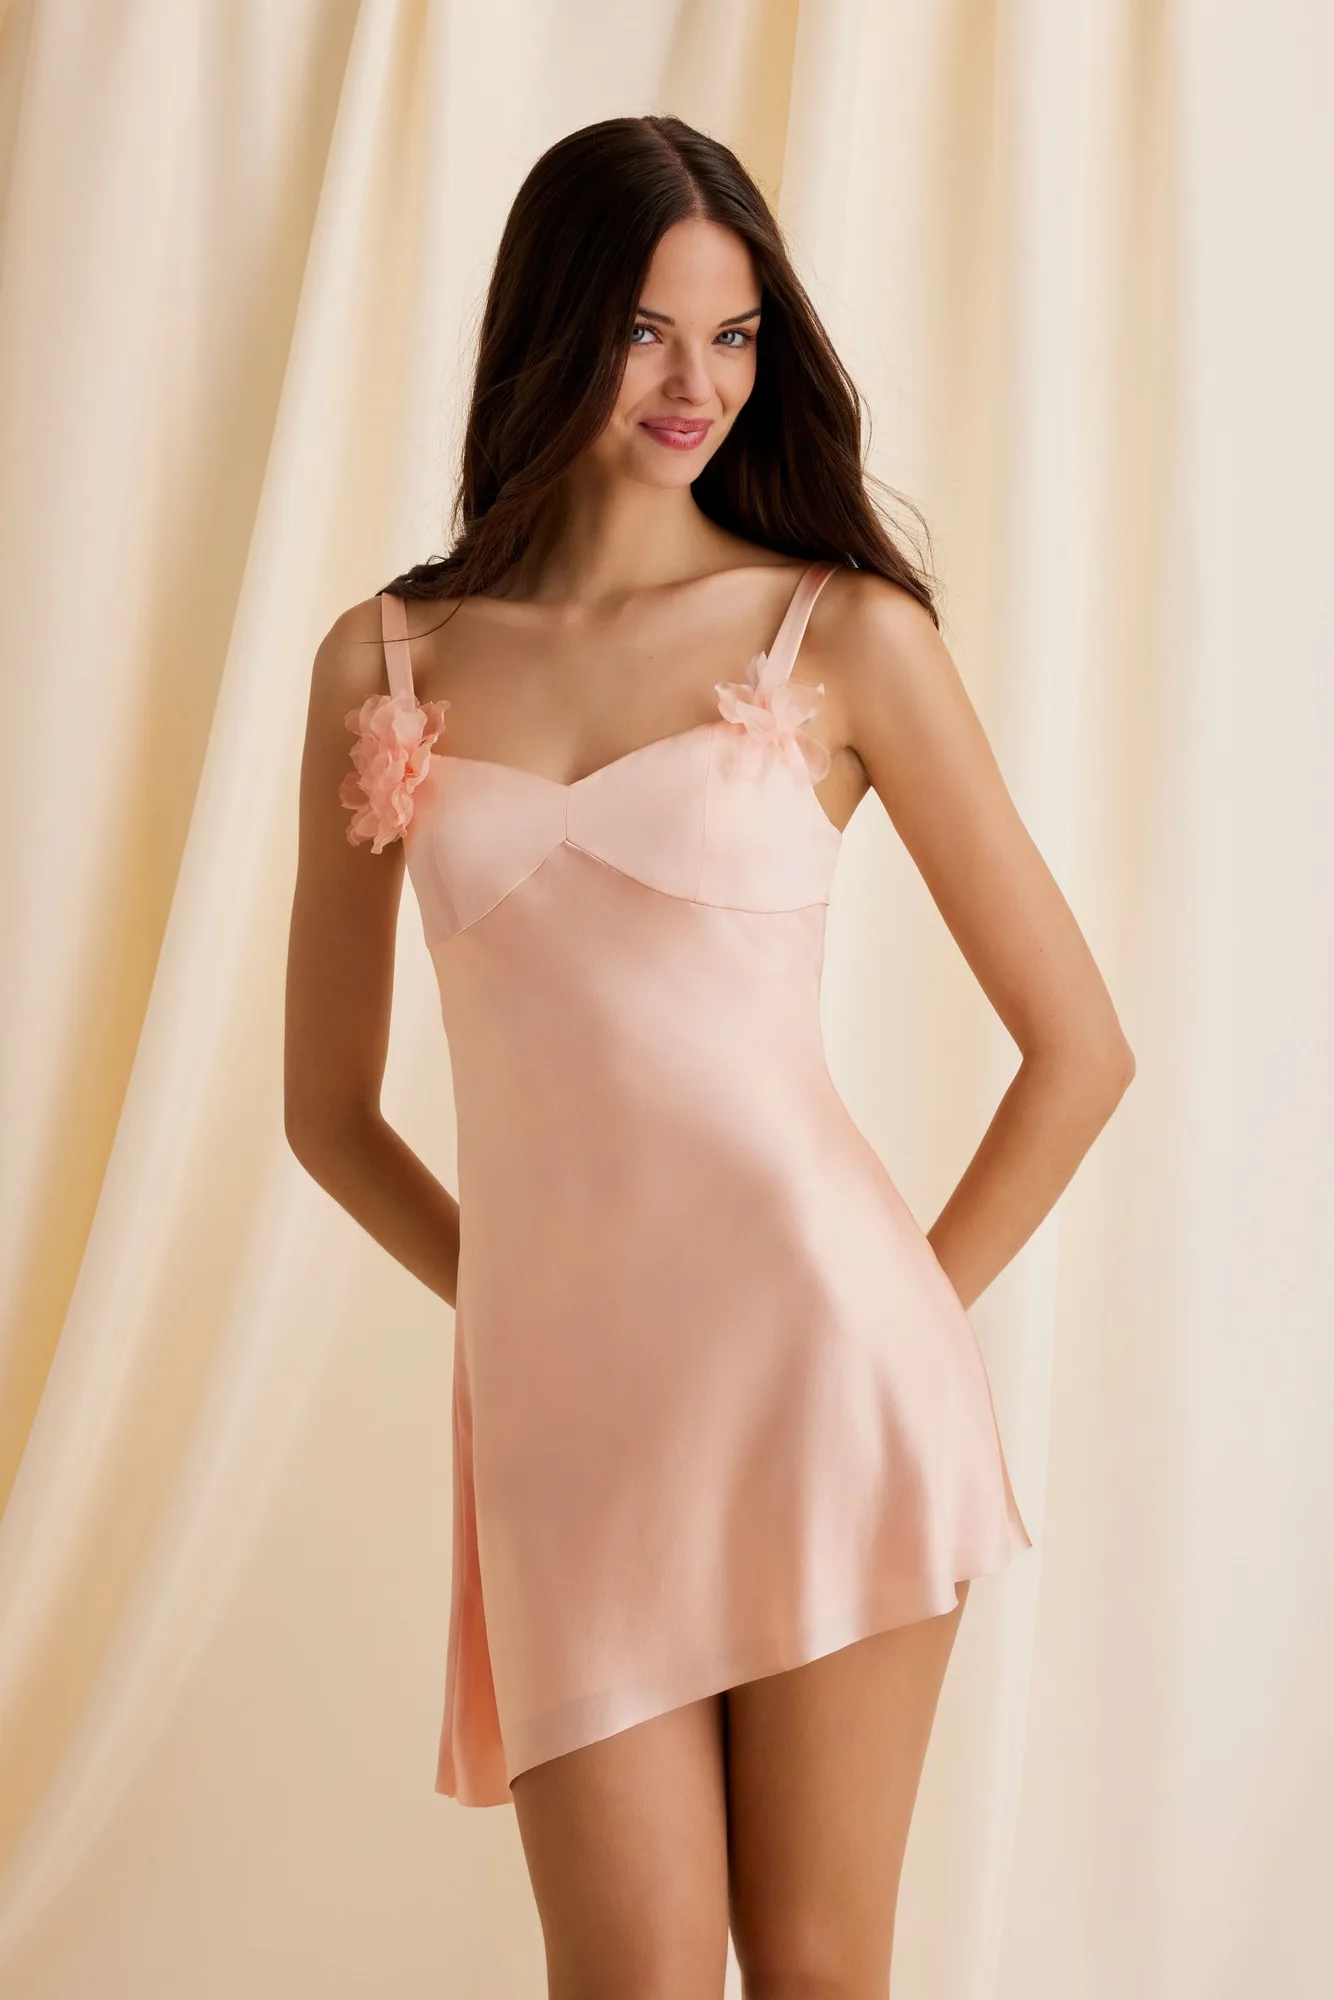
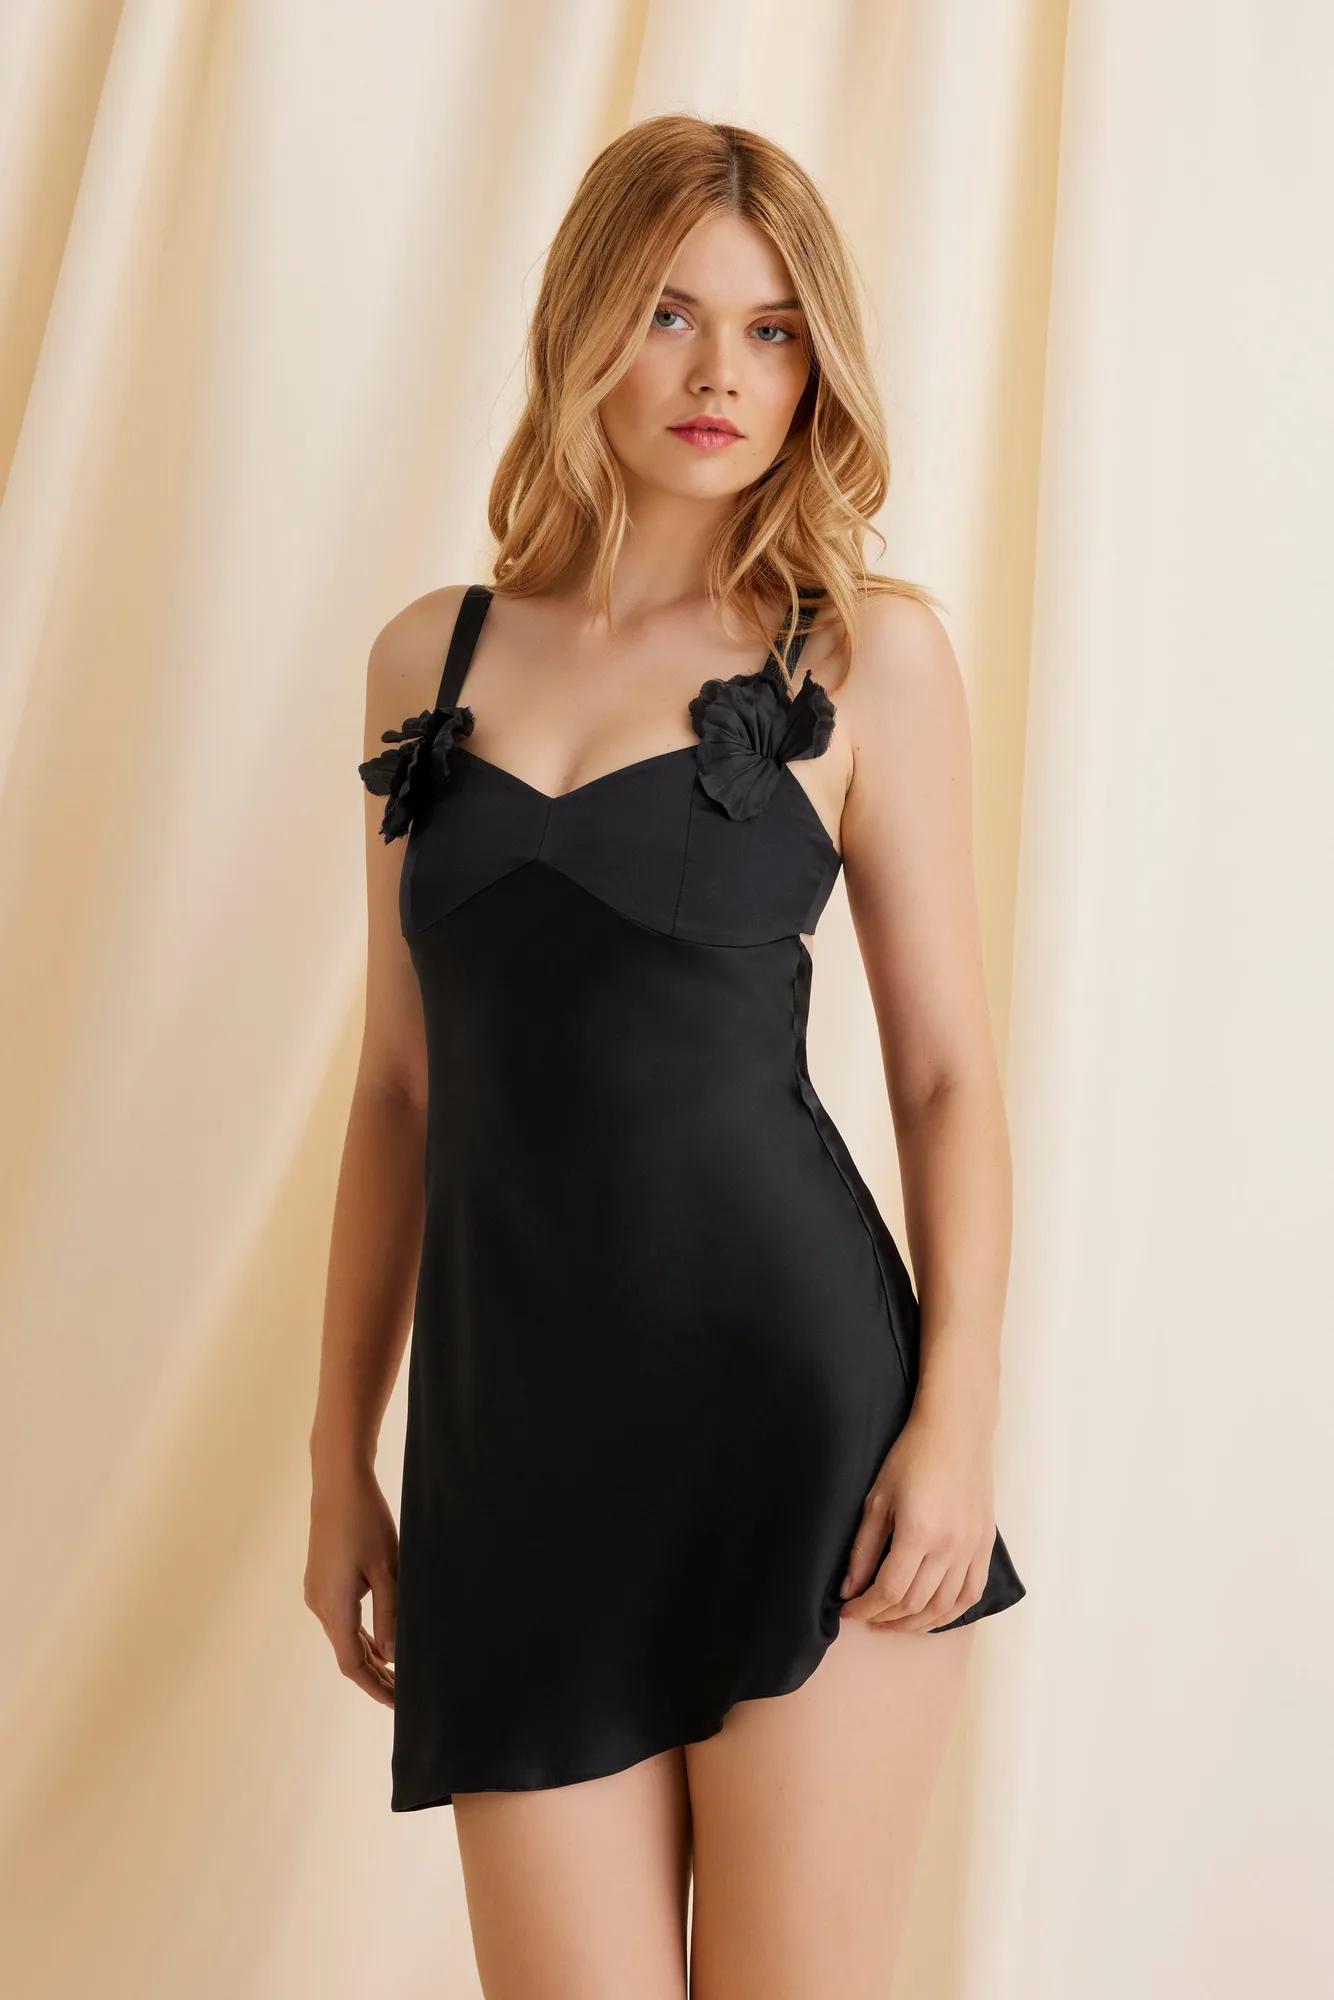
- https://scarlettgasquegz.com/products/temptation-mini-slip-9597ce8da0bc54695afde931-1354865https://scarlettgasquegz.com/products/tempation-mini-slip-plum-58b03766e6dcd75911ea790a-1354870https://scarlettgasquegz.com/products/tempation-mini-slip-8f1fdc0afaea362defe3eec8-1354873https://scarlettgasquegz.com/products/temptation-mini-dress-53a51c82ef416d85ad439beb-1354881TEMPTATION MINI DRESS: Double-layered 100% silk, cut on the bias, with a bra-inspired bodice for gentle shaping and support, finished with hand-sewn silk organza flowers. It shows how a fluid, bias-cut silk garment drapes and moves, which is the same quality to look for in a romper when you want forgiveness at the waist and hips.
- FLORENCE CORSET: Custom-dyed pear sorbet fabric with French lace overlay, spiral steel boning for sculpting support, and a silk charmeuse-lined bust. Worn over a straight-cut or fluid romper, a structured corset adds the waist definition that keeps the silhouette from reading as one block.
- GEMMA CORSET: Structured strapless corset in smooth matte sheen satin with a polka dot print, designed to sculpt and define the silhouette. A structured layer like this gives a soft romper a defined waistline for evening, without needing a belt.
- TALLULAH BRA: Stretch silk charmeuse with demi cups, stretch mesh and discreet side boning for flexible support. Under a romper with a low or open back, a bra with light support and a clean line keeps the fit smooth without adding bulk.
Is a romper the right choice for you?
Best for
- Anyone who wants one-piece dressing for travel, warm weather, or events
- Longer or average torsos that can wear an average waist seam without pulling
- People who will add a belt, scarf, or structured layer to define the waist
- Those who prefer fluid silk or bias-cut fabrics that move with the body
Not for
- Very short torsos where an average waist seam sits at the hips, unless the romper has an adjustable tie waist
- Anyone who needs a precise, no-stretch structured fit and cannot try it on first
- People who want the ease of a separate top and short they can size independently
- Occasions that require a formal floor-length line, where a dress is the simpler choice
A romper works when the torso length, rise, and fabric all agree with your body and your plans. Start with the waist seam position, choose a fabric that gives you the margin you need, and always create a visible waist line. If the fit is close but not exact, a belt or a structured layer over a fluid romper often solves it. If the torso length is off by more than an inch, choose a different cut instead of a different size.