Quick answer
Choose your needlepoint canvas size by starting with the finished design dimensions you want, then add 2–3 inches of margin on every side for stitching and blocking. Match the mesh count to your thread and detail level: 18-mesh for fine detail, 10–14 mesh for faster coverage. If you are buying a kit, the canvas size is already matched to the design and threads.
When you are standing in a needlepoint shop or scrolling online, the canvas size can feel like a minor detail. It is not. The size of your canvas determines how long the project takes, how much thread you need, and whether the finished piece fits a frame, pillow, or ornament. Get it wrong and you will either run out of margin for blocking or spend months on a project you thought would be a weekend stitch.
This guide gives you concrete decision rules for choosing needlepoint canvas size, whether you are buying a blank canvas, a canvas-only design, or a full kit. You will learn how to read dimensions, match mesh count to your goal, and avoid the most common sizing mistakes.
Start with the finished size you want, not the canvas size
The most common mistake is choosing a canvas because the overall measurement sounds right, then discovering the stitched design area is much smaller. Always look for the design size first. For example, a canvas listed as 8" x 10" might have a design area of only 4" x 4". The rest is margin for stitching, blocking, and finishing. If you want a finished ornament that is roughly 4 inches across, you need a design area of about 4 inches, not a canvas that is 4 inches total.
Once you know your target finished size, add margin. A safe rule is 2–3 inches of blank canvas on every side of the design. That extra space lets you stitch comfortably in a frame or hoop, and it gives you room to block the piece later without stitching running off the edge. For small ornaments, 2 inches is usually enough. For a pillow or framed piece, 3 inches is safer.
- Write down your target finished dimensions before you shop.
- Look for the design area measurement, not just the canvas measurement.
- Add 2–3 inches of margin on all sides for stitching and blocking.
Match mesh count to your project goal
Mesh count is the number of holes per inch. It affects how detailed your stitching can be and how quickly the canvas fills. An 18-mesh canvas has 18 holes per inch, so it produces fine detail and a refined look. A 10-mesh canvas has larger holes, so stitches cover more area faster. If you are new to needlepoint or want a quick project, a lower mesh count like 10 or 14 is more forgiving. If you want a detailed floral or a piece that looks delicate, 18-mesh is the better choice.
The mesh count also determines which threads work best. Fine threads like Pepperpot Silk or Appleton's tapestry wool can be used on 18-mesh, while thicker yarns are better on 10–14 mesh. If you are buying a kit, the designer has already matched the canvas, thread, and needle, so you do not have to calculate this yourself.
- 18-mesh: fine detail, slower coverage, best for intricate designs.
- 10–14 mesh: faster coverage, larger stitches, good for beginners and bold designs.
- Kits remove the guesswork by matching mesh, thread, and needle.
How to read canvas dimensions when buying online
Online listings often show the canvas size and the design size in the same line. Read carefully. A product might say 'Design 8" x 10" on 18 holes to the inch mono needlepoint canvas with the edges taped.' That means the stitched area is 8" x 10", and the canvas itself is larger. If the listing only gives one measurement, look for words like 'design area' or 'design size' to confirm which one it is. When in doubt, ask the seller.
Also check what is included. Some canvases come with a needle and a project bag, which is convenient if you are starting from scratch. Others are canvas only, which is ideal if you already have threads and want to use your stash. Knowing what you are buying prevents duplicate purchases and surprises.
- Design size = the stitched area. Canvas size = the full fabric piece.
- If only one measurement is listed, assume it is the design size unless stated otherwise.
- Check whether needles, threads, or a project bag are included.
Canvas size for different project types
Ornaments and small decorative pieces typically have a design area between 3 and 5 inches. These are satisfying, quick projects that do not require a large investment in thread. A 4-inch design on 18-mesh canvas is a classic ornament size and fits standard ornament frames. If you want to stitch a set of matching ornaments, choose a canvas size that gives you at least 2 inches of margin so you can block each one consistently.
Pillows, framed art, and belts need larger designs. A pillow front might be 10 to 14 inches across, which means a canvas of at least 14 to 18 inches to allow for margins. Belts are long and narrow, often 30 to 40 inches, so you will need a canvas that accommodates the full length plus margin. For these larger projects, consider whether you want to stitch on stretcher bars, which require extra canvas for tacking.
- Ornaments: 3–5 inch design area, 2-inch margin.
- Pillows: 10–14 inch design area, 3-inch margin.
- Belts: 30–40 inch length, plus margin for stretcher bars.
When to choose a canvas-only design vs. a full kit
Canvas-only designs are for stitchers who already have a thread stash and enjoy choosing their own colors. They are often more affordable and let you customize the palette. However, you are responsible for calculating how much thread you need, which can be tricky for beginners. If you are comfortable with thread estimation and want a thrifty project, canvas-only is a great choice.
Kits include the canvas, threads, needles, and instructions. They are the easiest way to get the right canvas size because the designer has already done the math. If you are new to needlepoint or want a no-decision project, a kit is the safer bet. The trade-off is less color flexibility and a slightly higher upfront cost, but you save time and avoid leftover thread.
- Canvas-only: best for experienced stitchers with a thread stash.
- Kit: best for beginners or anyone who wants a complete, matched project.
- Kits guarantee the canvas size and thread quantity work together.
Decision rules for choosing canvas size
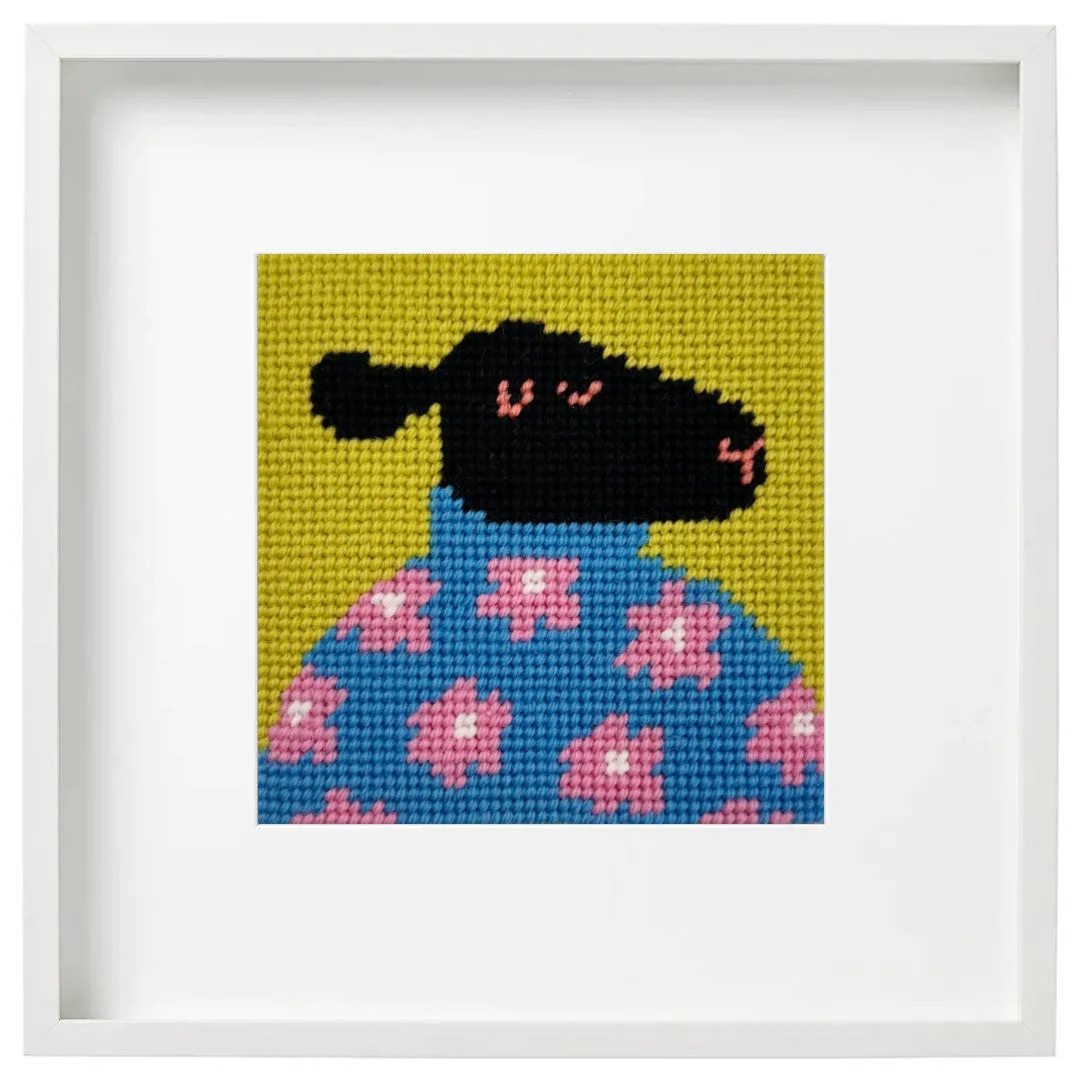
- If you want a quick, beginner-friendly project: Choose a kit or canvas with a lower mesh count (10–14) and a design area of 5 inches or less. Larger holes are easier to see and stitch. Look for kits like Chic Sheep Needlepoint Beginner Kit that include everything.
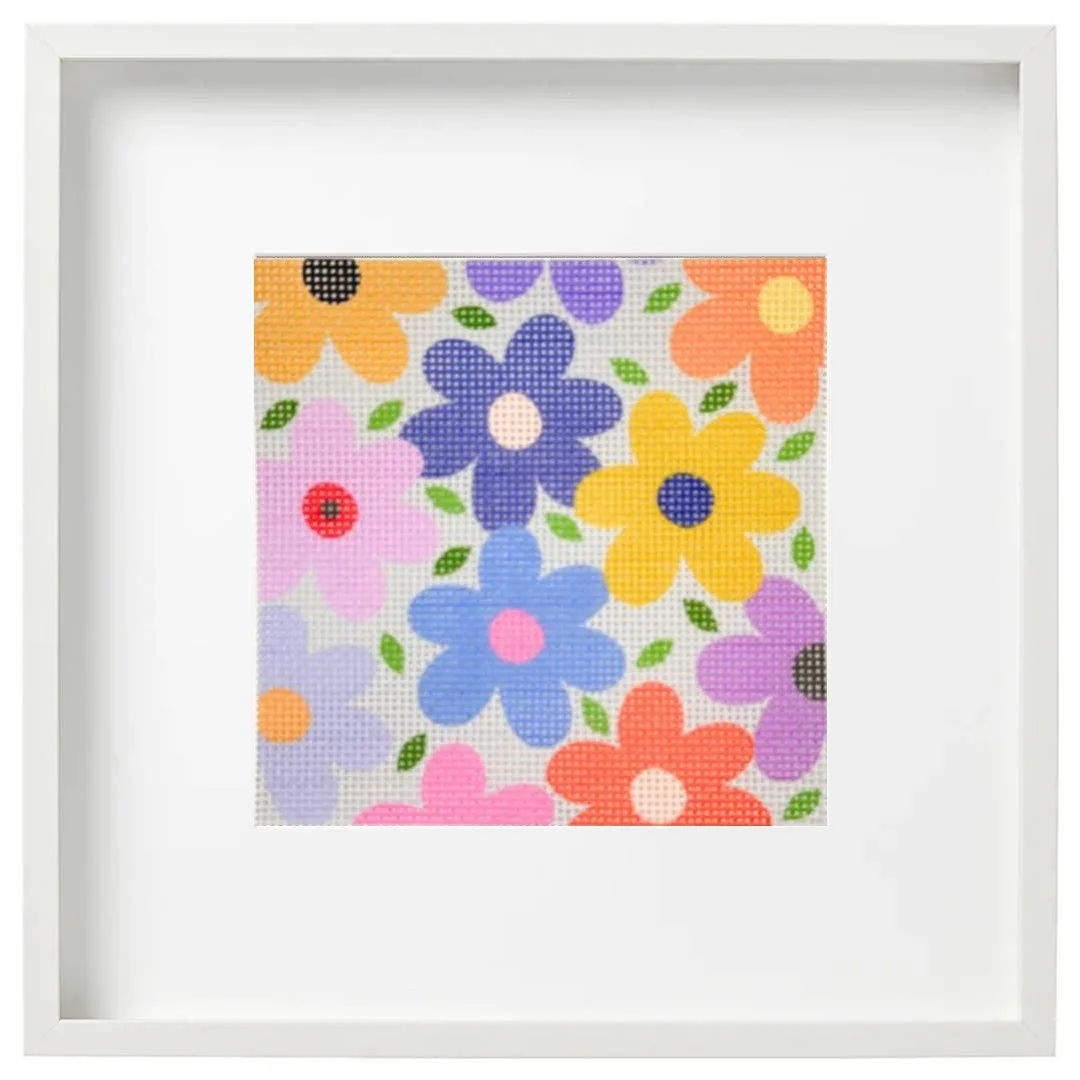
- If you want fine detail and a refined finish: Choose 18-mesh canvas and a design area that matches your target finished size. Add 2–3 inches of margin for blocking. Canvas-only designs like Stash Buster | Flower Power give you control over thread choice.
- If you already have a thread stash: Buy canvas-only designs to save money and customize colors. Check the design size and mesh count before purchasing. Make sure you have enough thread for the design area; when in doubt, buy extra.
- If you are buying a gift or want no guesswork: Choose a full kit. The canvas size, mesh, threads, and needles are already matched by the designer. Kits are the safest way to ensure a successful project for any skill level.
Examples from our catalog
- Stash Buster | Stronger Together Needlepoint CANVAS ONLY: Design 8" x 10" on 18 holes to the inch mono needlepoint canvas with the edges taped. Includes one Bohin stainless steel Size 22 needle and a frosted plastic zippered project bag. Threads are not included. This is a large canvas-only design for stitchers who have their own threads. The 18-mesh count gives fine detail, and the taped edges and included needle make it ready to start.
- Stash Buster | Flower Power Needlepoint Canvas Only: Design area 4" x 4" on 18 holes to the inch canvas, taped, with one Bohin stainless steel Size 22 needle. Fits a 4" x 4" frame. If you want to stitch on stretcher bars, order two pairs of 8-inch bars and thumbtacks. A small, thrifty canvas-only project. The 4-inch design is ideal for an ornament or small framed piece, and the stretcher bar note helps you plan your setup.
- Chic Sheep Needlepoint Beginner Kit: 5" x 5" design on 10-count (large holes) canvas, color-printed and edge-taped. Includes 100% Appleton's tapestry wool yarns and is designed for older kids and adults. The 10-count canvas makes stitching fast and easy to see, which is perfect for a first project. The kit includes everything, so you do not have to calculate canvas size or thread quantity.
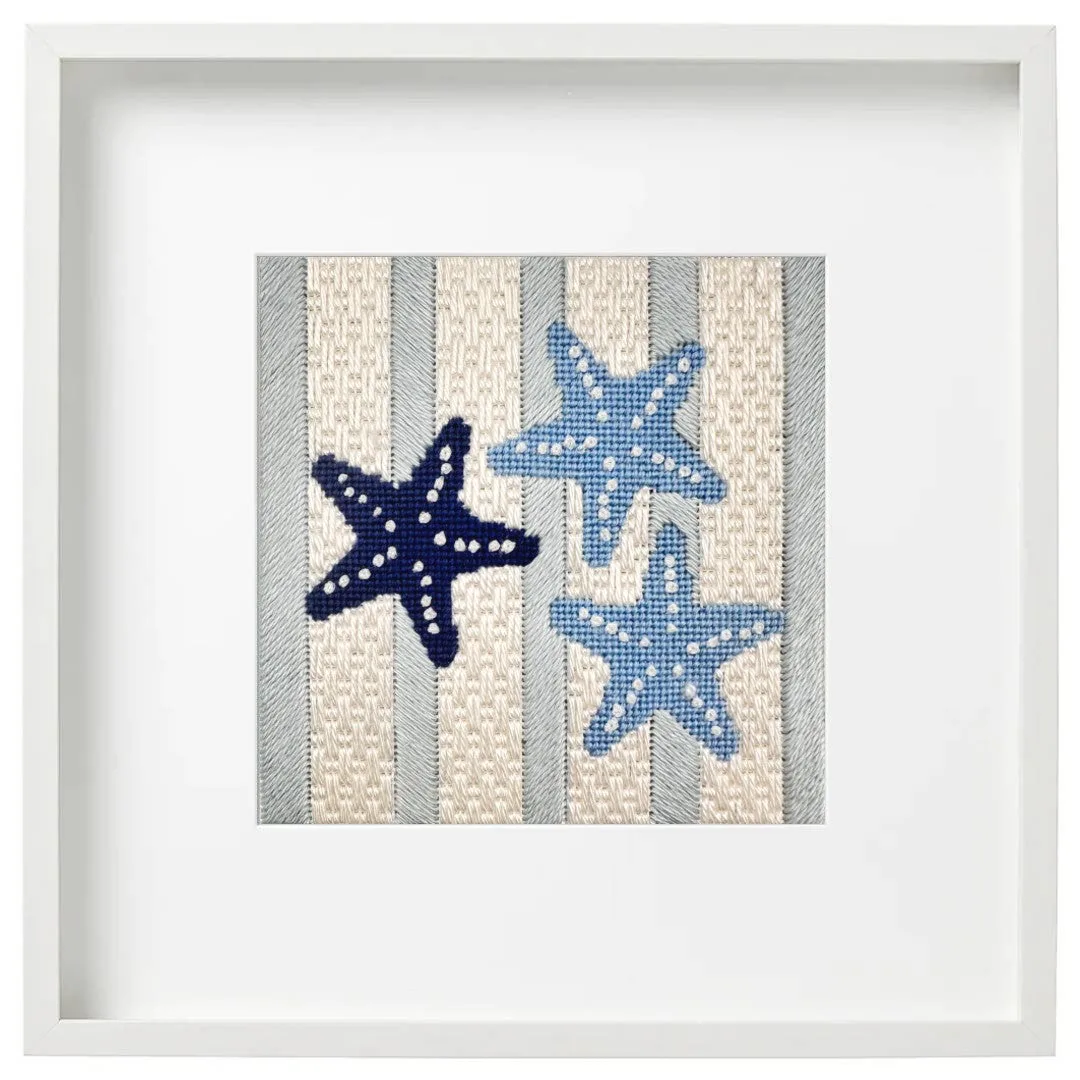
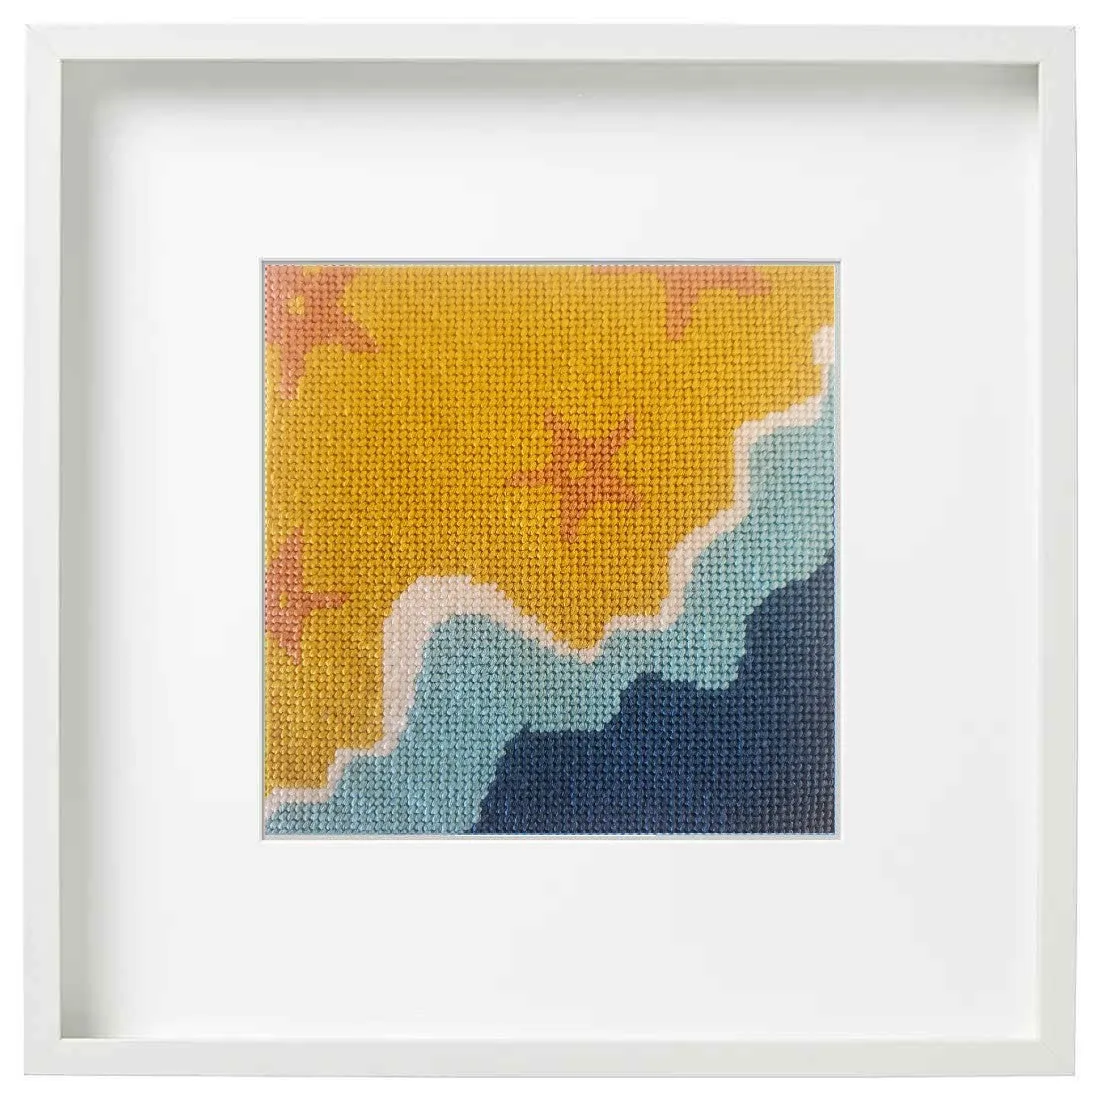
- Seashore Starfish Needlepoint Kit: Design size 4.75" x 4.75" on 18-count color-printed canvas. Includes Pepperpot Silk threads and two Bohin stainless steel size 22 needles. This kit shows how a small design can still use fine 18-mesh canvas for detail. The included silk threads are matched to the canvas, so you get a smooth finish without guesswork.
Is this right for your project?
Best for
- Stitchers who know their target finished size and want to choose canvas accordingly
- Beginners who want a kit with pre-matched canvas and threads
- Experienced stitchers with a thread stash who want canvas-only designs
Not for
- Stitchers who want to stitch without any planning and prefer a fully guided project (choose a kit instead)
- Anyone who needs a specific custom size not available in standard designs (consider designing your own canvas)
Choosing the right needlepoint canvas size comes down to three things: your target finished dimensions, the mesh count that matches your detail and speed goals, and whether you want the convenience of a kit or the flexibility of canvas-only. Start with the design area, add margin, and you will avoid the most common sizing pitfalls. Whether you pick a stash buster canvas or a complete kit, the right size makes stitching more enjoyable from the first stitch to the last.