Quick answer
Match the eyepiece mount to your scope first, then choose magnification based on your typical distance and light, and only then compare eye relief, field of view and weather sealing. If your scope uses a proprietary mount, your realistic options are limited to that maker's eyepieces, so confirm the fitting before you fall in love with a specification.
Why an eyepiece can change more than magnification
The eyepiece is half of your optical system, not an accessory you bolt on at the end. It sets the magnification you actually see, how much of the scene fits in the view, how far your eye sits from the glass, and how comfortable the whole setup is over a long session. Two eyepieces with the same quoted magnification can feel completely different at the eyecup, which is why the numbers on the box only tell part of the story.
This is also where eyepiece compatibility stops being a technicality. A scope body with a fixed, non-removable eyepiece cannot be upgraded at all, while a body that accepts standard-fit eyepieces gives you a genuine choice. Before comparing anything else, work out which of those two you own.
The magnification trade-off nobody warns you about
Higher magnification narrows your field of view and amplifies every weakness in the chain: atmospheric shimmer, a slightly unsteady tripod, and any softness in the scope body itself. On a bright, still day at long distance, more magnification earns its keep. In dull light, heat haze, or when you are tracking something that moves, a moderate magnification often shows you more usable detail than a higher one.
A practical way to decide is to think about your two most common viewing situations rather than your best-case one. If most of your sessions happen in the hour after sunrise or before dusk, lean towards the lower end of the range. If you mostly view static subjects in good light at long range, the higher end becomes far more attractive.
Eye relief, field of view and the glasses question
Eye relief is the distance your eye needs to sit behind the lens to see the full image. Short eye relief forces you to press close, which is tiring and awkward if you wear glasses. Generous eye relief lets you back off, which matters for spectacle wearers and for anyone sharing the scope with a friend or family member who has a different face shape.
Field of view works in the opposite direction to magnification: as magnification climbs, the visible slice of the world shrinks. A wide apparent field of view keeps the view feeling open even at higher power, which makes finding and holding a subject noticeably easier. If you regularly scan for wildlife rather than study a fixed target, prioritise a wide apparent field of view over the last few units of magnification.
Build quality, sealing and long-term value
An eyepiece lives outdoors, so weatherproof construction is not a luxury. Moisture inside an eyepiece is difficult and sometimes impossible to clear, and it tends to appear at the worst moment. Sealed, nitrogen-purged or otherwise weatherproof designs are worth paying for if the scope leaves the house.
Glass and coating quality also show up in ways specifications do not capture. High-refraction, low-dispersion glass is used to keep images bright and high in resolution with minimal distortion, which becomes obvious when you push magnification or view against a bright background. When a specification is not listed, treat that as a gap in the information rather than an assumption in either direction, and ask before buying.
Your step-by-step eyepiece selection process
- Step 1: Confirm the mount before anything else: Identify whether your scope takes a proprietary eyepiece, a standard fitting, or has a fixed eyepiece that cannot be changed. Check the manual or the manufacturer's specification rather than guessing from the barrel. Checkpoint: if the mount is proprietary, your shortlist is limited to that maker's eyepieces. Stop comparing other brands.
- Step 2: Write down your two most common viewing situations: Note the typical distance, the typical light level, and whether your subject is static or moving. This single note eliminates most of the wrong magnification choices before you look at a catalogue. Common mistake: choosing magnification based on your best-ever viewing day instead of your average one.
- Step 3: Pick a magnification range, not a single number: If you view in low light or track moving subjects, favour the lower end. If you study static subjects at long range in good light, the higher end is worth it. Remember that higher magnification narrows field of view and magnifies haze and shake. Checkpoint: if you cannot hold the image steady at your chosen magnification, the magnification is too high for your tripod.
- Step 4: Match eye relief to your eyes and your glasses: If you wear glasses while viewing, or share the scope with others, prioritise generous eye relief so you can see the full image without pressing against the lens. Short eye relief is workable but tiring over a long session. Common mistake: assuming eye relief is a comfort detail. It decides whether you can see the whole field at all.
- Step 5: Weigh field of view against magnification: A wide apparent field of view makes scanning and tracking easier, especially at higher power. If you scan for subjects rather than study a fixed point, accept slightly less magnification in exchange for a wider, more usable view. Checkpoint: a narrow, tunnel-like view at high magnification is a common reason people stop using a scope.
- Step 6: Insist on weatherproof construction: Look for a stated sealing specification rather than a general claim of durability. An eyepiece that fogs or takes on moisture internally is a long-term problem, not an inconvenience. Common mistake: treating sealing as an optional upgrade. It is the difference between a tool and a fair-weather toy.
- Step 7: Ask about any specification that is missing: If field of view, eye relief, glass type or sealing is not listed, treat it as unknown rather than assuming a value. A quick question before purchase is far cheaper than a return. Next step: buy only once the mount, magnification, eye relief and sealing all line up with your own answers from Step 2.
Product facts worth knowing
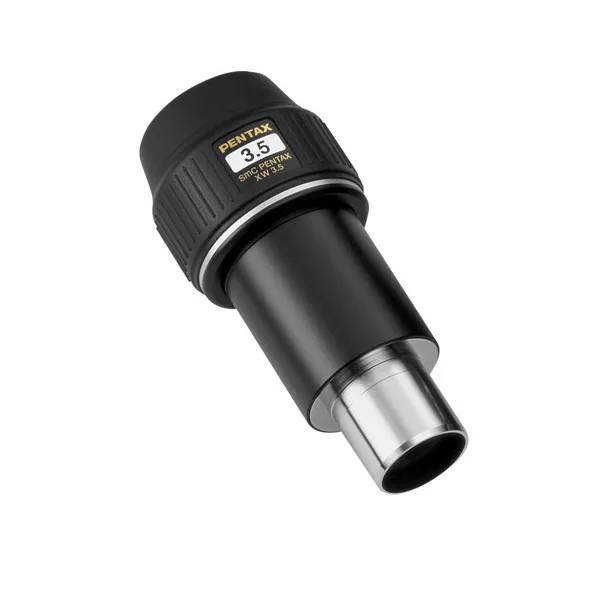
- Pentax SMC XW 3.5mm Eyepiece for Spotting Scope: 70° apparent field of view, 20mm eye relief, weatherproof construction, and designed to fit Pentax spotting scopes. A 70° apparent field of view keeps the image open and easy to scan, while 20mm of eye relief is comfortable for glasses wearers. The Pentax fitting is the critical detail: it is a strong option if your scope accepts it, and not an option at all if it does not.
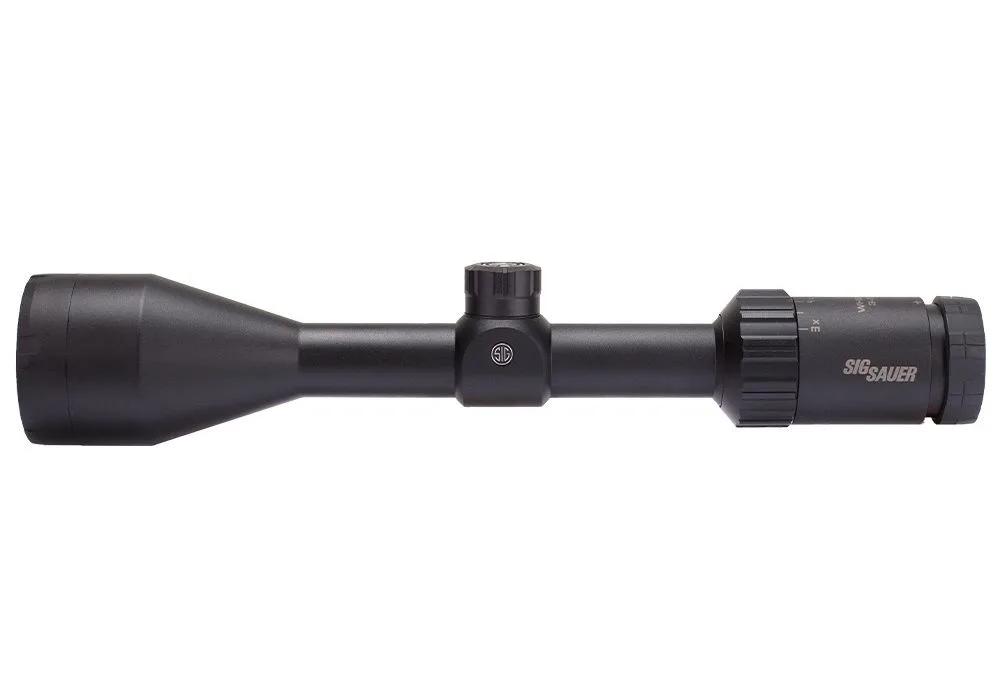
- SIG WHISKEY 3 SCOPE, 3-9X50MM, 1" BDC-1 QUADPLEX RETICLE, 0.25 M: 3-9x magnification in a second focal plane design with low dispersion glass, an IPX-7 waterproof rating for immersion up to 1 metre, and fog-proof performance. Useful as a reference point for how magnification ranges and sealing are described across optics. The IPX-7 rating is a concrete, checkable standard rather than a vague claim of water resistance.
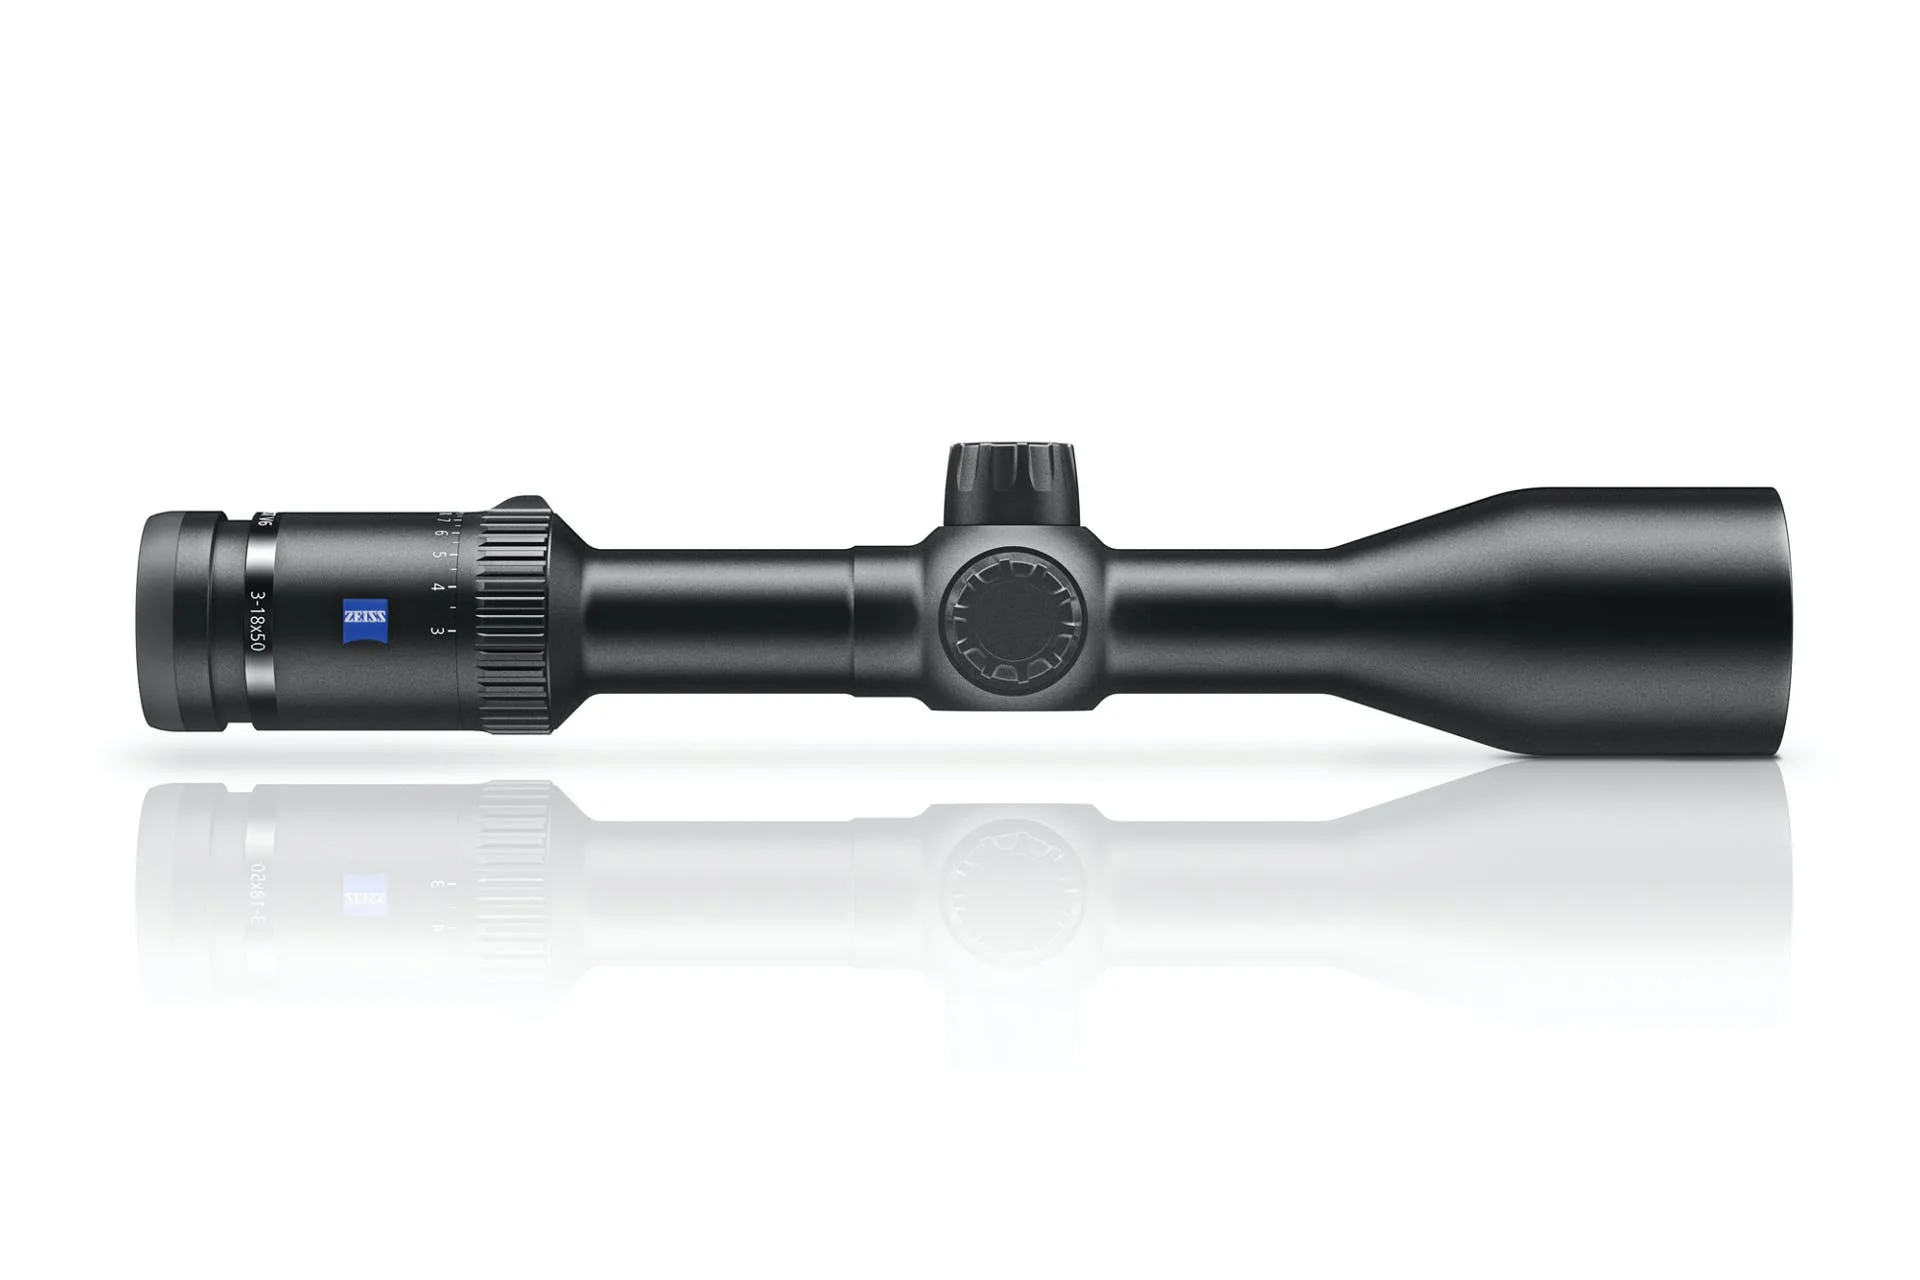
- ZEISS Conquest V6 3-18x50 Ret 94 ZMOA ASV H Riflescope: 6x zoom range, 92% light transmission, ZEISS T* coating, nitrogen-filled, water and fogproof, made in Germany. Shows the top end of what optical coatings and sealing can deliver. If your budget is modest, this is the benchmark to understand rather than the target to chase.