Quick answer
For most machine embroidery on bags, choose a cut away stabilizer that matches your fabric weight: lightweight cut away for cotton canvas and quilt cotton, midweight for faux leather and vinyl, and heavyweight for dense designs on structured bags. Use tear away only on stable, non-stretch fabrics where the back won't be seen or rubbed. Always test on a scrap with your exact fabric, stabilizer, and stitch count.
Embroidery on bags is different from embroidery on a flat hoop. A bag panel has to hold its shape, carry weight, and survive daily use. The wrong stabilizer shows up as puckers, holes, or a saggy front that never recovers. This guide gives you clear decision rules so you can buy the right stabilizer for your project the first time.
You don't need every stabilizer on the market. You need one that matches your fabric, your stitch count, and how the bag will be used. Below, we break down the main types, explain the trade-offs, and help you decide between cut away, tear away, and specialty options.
Why bag embroidery needs a different stabilizer strategy
On a flat garment, the fabric can move a little and still look fine. On a bag, the embroidered panel is often a structural part of the finished piece. If the stabilizer is too light, dense stitches pull the fabric and create puckers that won't press out. If it's too heavy, the bag becomes stiff and the embroidery area feels like a plastic patch. The goal is to support the stitches without changing the hand of the bag more than necessary.
Another difference is abrasion. The inside of a bag rubs against keys, pens, and fabric every time you use it. Tear away stabilizer leaves a fuzzy edge that can pill or catch. Cut away stabilizer stays put and protects the back of the embroidery from friction, which is why it's the safer default for bags that get carried daily.
- Test on a scrap of your exact fabric and stabilizer before stitching the real panel.
- If your design has more than 8,000 stitches or lots of fill, go one weight heavier.
- For bags that will be washed, choose a cut away that can tolerate moisture or a wash-away topping for the front.
Cut away stabilizer: the reliable default for bags
Cut away stabilizer is a non-woven backing that stays in place permanently. It comes in lightweight, midweight, and heavyweight. Lightweight cut away (around 1.5–2 oz) is good for cotton canvas, quilt cotton, and other stable wovens. Midweight (around 2.5–3 oz) handles faux leather, vinyl, and medium canvas. Heavyweight (4 oz and up) is for dense embroidery on structured bags, thick fabrics, or designs with high stitch counts.
The main trade-off is stiffness. A heavyweight cut away will make a bag panel feel boardy, which is fine for a tote bottom but wrong for a soft pouch. Also, cut away adds bulk in seams. If your bag has narrow seam allowances or lots of layers, trim the stabilizer close to the stitching after embroidering to reduce bulk.
- Choose lightweight cut away for soft bags where drape matters.
- Choose midweight cut away for most faux leather and vinyl bag panels.
- Choose heavyweight cut away for dense designs on bags that need to stand up on their own.
Tear away stabilizer: when it works and when it doesn't
Tear away stabilizer is temporary. You stitch through it, then tear it away from the back. It's quick, adds no permanent bulk, and leaves the fabric soft. That makes it tempting for bags. But tear away only works well on stable, non-stretch fabrics with light to medium stitch counts. On stretchy or loosely woven fabric, the stitches can distort when you tear the stabilizer away.
For bags, tear away is best for small, low-density designs on cotton canvas or denim where the back won't be seen or rubbed. If the inside of the bag will be visible or if the embroidery area will flex, use cut away instead. A hybrid approach—tear away as a base plus a lightweight cut away for extra support—can work for medium designs on stable fabric, but test first.
- Use tear away for small monograms or low-stitch-count accents on stable fabric.
- Avoid tear away on stretchy, slippery, or loosely woven bag fabrics.
- If you want a soft hand but need more support, try a lightweight cut away instead of tear away.
Specialty stabilizers: wash-away, stick-on, and fusible
Wash-away stabilizer (also called water-soluble) is useful as a topping on terry cloth or fleece to keep stitches from sinking, and as a backing for lace or free-standing designs. It disappears completely, so it's great for bags that need to stay soft. The downside is that it provides no permanent support, so it's rarely used alone for bag embroidery.
Stick-on (peel-and-stick) stabilizer has a temporary adhesive that holds slippery fabrics like vinyl and faux leather in place without hooping the fabric itself. This prevents hoop marks and keeps small pieces from shifting. Fusible stabilizer attaches to the fabric with an iron, which can be convenient for quilt cotton but risky on vinyl or faux leather that can melt. Always test fusible on a scrap before committing.
- Use wash-away topping on any fabric with pile or texture.
- Use stick-on stabilizer for small, slippery pieces that won't stay hooped.
- Never iron fusible stabilizer onto vinyl or faux leather without testing first.
How to match stabilizer weight to your bag fabric and design
Start with the fabric. Stable wovens like cotton canvas, denim, and quilt cotton can take a lighter stabilizer. Stretchy or slippery materials like faux leather, vinyl, and knit need more support. Then look at stitch count. A design with 5,000 stitches and light coverage needs less stabilizer than a dense 15,000-stitch fill. Finally, consider the bag's structure. A structured tote or backpack can handle a heavier cut away; a soft pouch or crossbody bag needs a lighter one to keep its drape.
A simple rule: if you can pinch the fabric and it shifts easily, go one weight heavier. If the bag needs to fold or flex, go one weight lighter. When in doubt, cut a test square, embroider your design, and check for puckers and stiffness. The extra ten minutes saves a ruined panel.
- Lightweight cut away for soft bags with light embroidery.
- Midweight cut away for most faux leather and vinyl bag panels.
- Heavyweight cut away for dense designs on structured bags that need to stand up.
Decision rules for buying stabilizer
- If your fabric is stable woven (cotton canvas, denim, quilt cotton): Choose lightweight cut away for light designs and midweight cut away for medium to dense designs. Tear away is acceptable for small, low-stitch-count accents if the back won't be seen. Lightweight cut away is the safest all-round choice for stable wovens.
- If your fabric is faux leather, vinyl, or another slippery material: Choose midweight cut away or stick-on stabilizer. Avoid tear away because it can distort the fabric when removed. Test fusible on a scrap first—many vinyls cannot take an iron. Stick-on midweight cut away prevents shifting and hoop marks.
- If your design is dense (over 8,000 stitches or heavy fill): Go one weight heavier than you would for a light design. For structured bags, heavyweight cut away is often necessary to prevent puckering. For soft bags, consider two layers of lightweight cut away instead of one heavy layer. More stitches need more support; don't undershoot on dense fills.
- If the bag will be washed or used outdoors: Choose a cut away stabilizer that can tolerate moisture, or use a wash-away topping on the front to protect stitches. Avoid tear away because it leaves fuzzy edges that can pill when wet. Cut away holds up better to washing and abrasion than tear away.
- If you want the softest possible hand: Use the lightest cut away that still controls puckering, and trim it close to the stitching after embroidering. Wash-away stabilizer can be used as a topping but not as the only backing for bag embroidery. Trim bulk and choose lightweight cut away for drape.
Materials that pair well with stabilizer choices
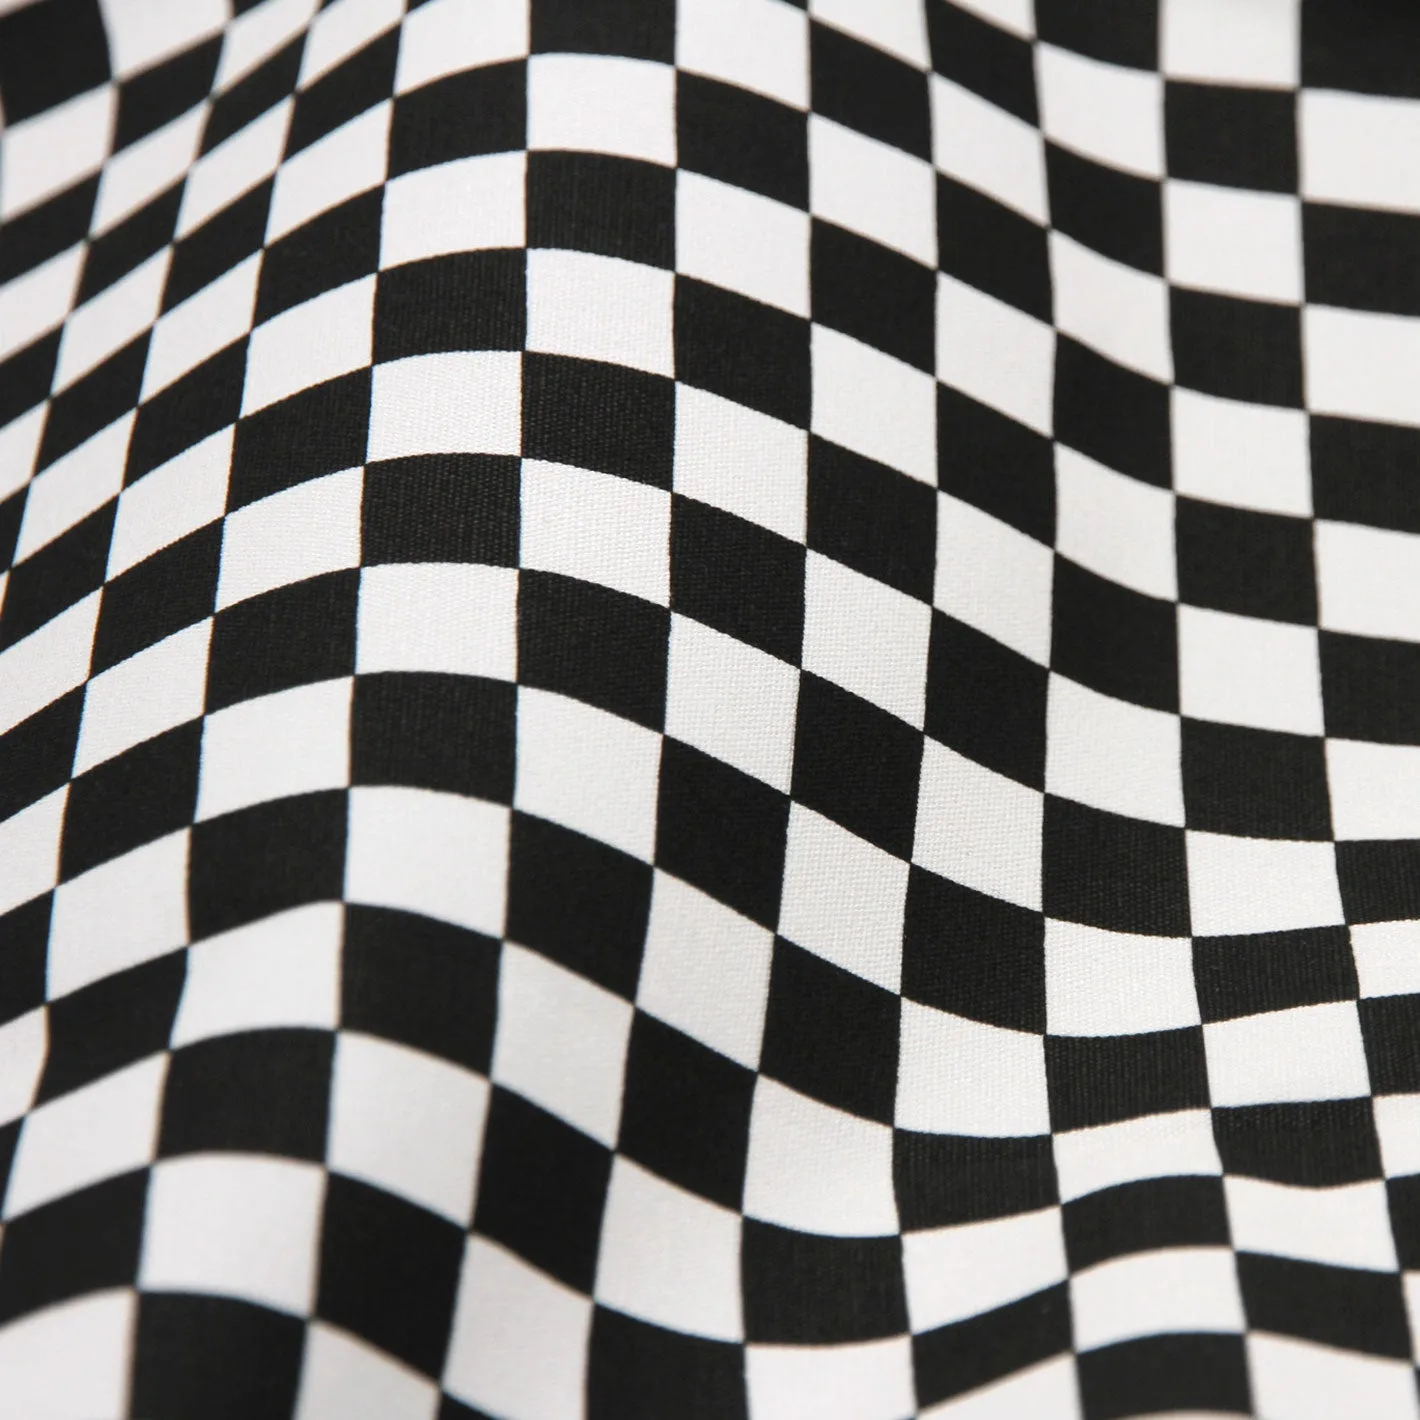
- Classic Checkerboard - Water Resistant Cotton Canvas: Water-resistant cotton canvas with a soft, natural texture and no crunchy coating; water beads up and rolls off. A stable woven like this handles lightweight cut away stabilizer well, and the water-resistant finish means you don't need a heavy backing to protect the embroidery from moisture.
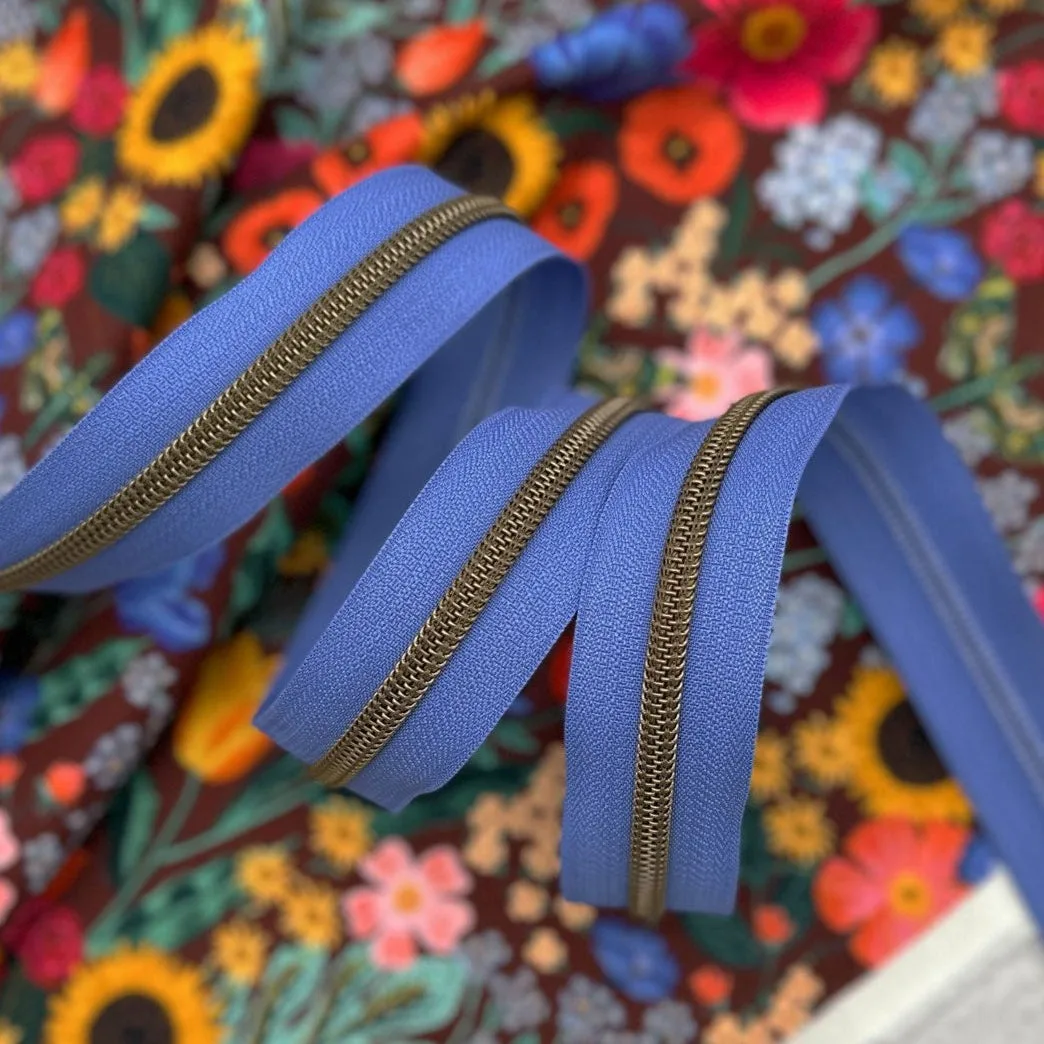
- Blueberry Hill - #5 Bronze Nylon Coil Zipper Tape: Size #5 nylon coil zipper tape with teeth that look like metal but are nylon; can be cut to any length and sewn over without breaking needles. When you add a zipper to an embroidered bag panel, this tape installs cleanly and won't fight the stabilizer bulk in seams.
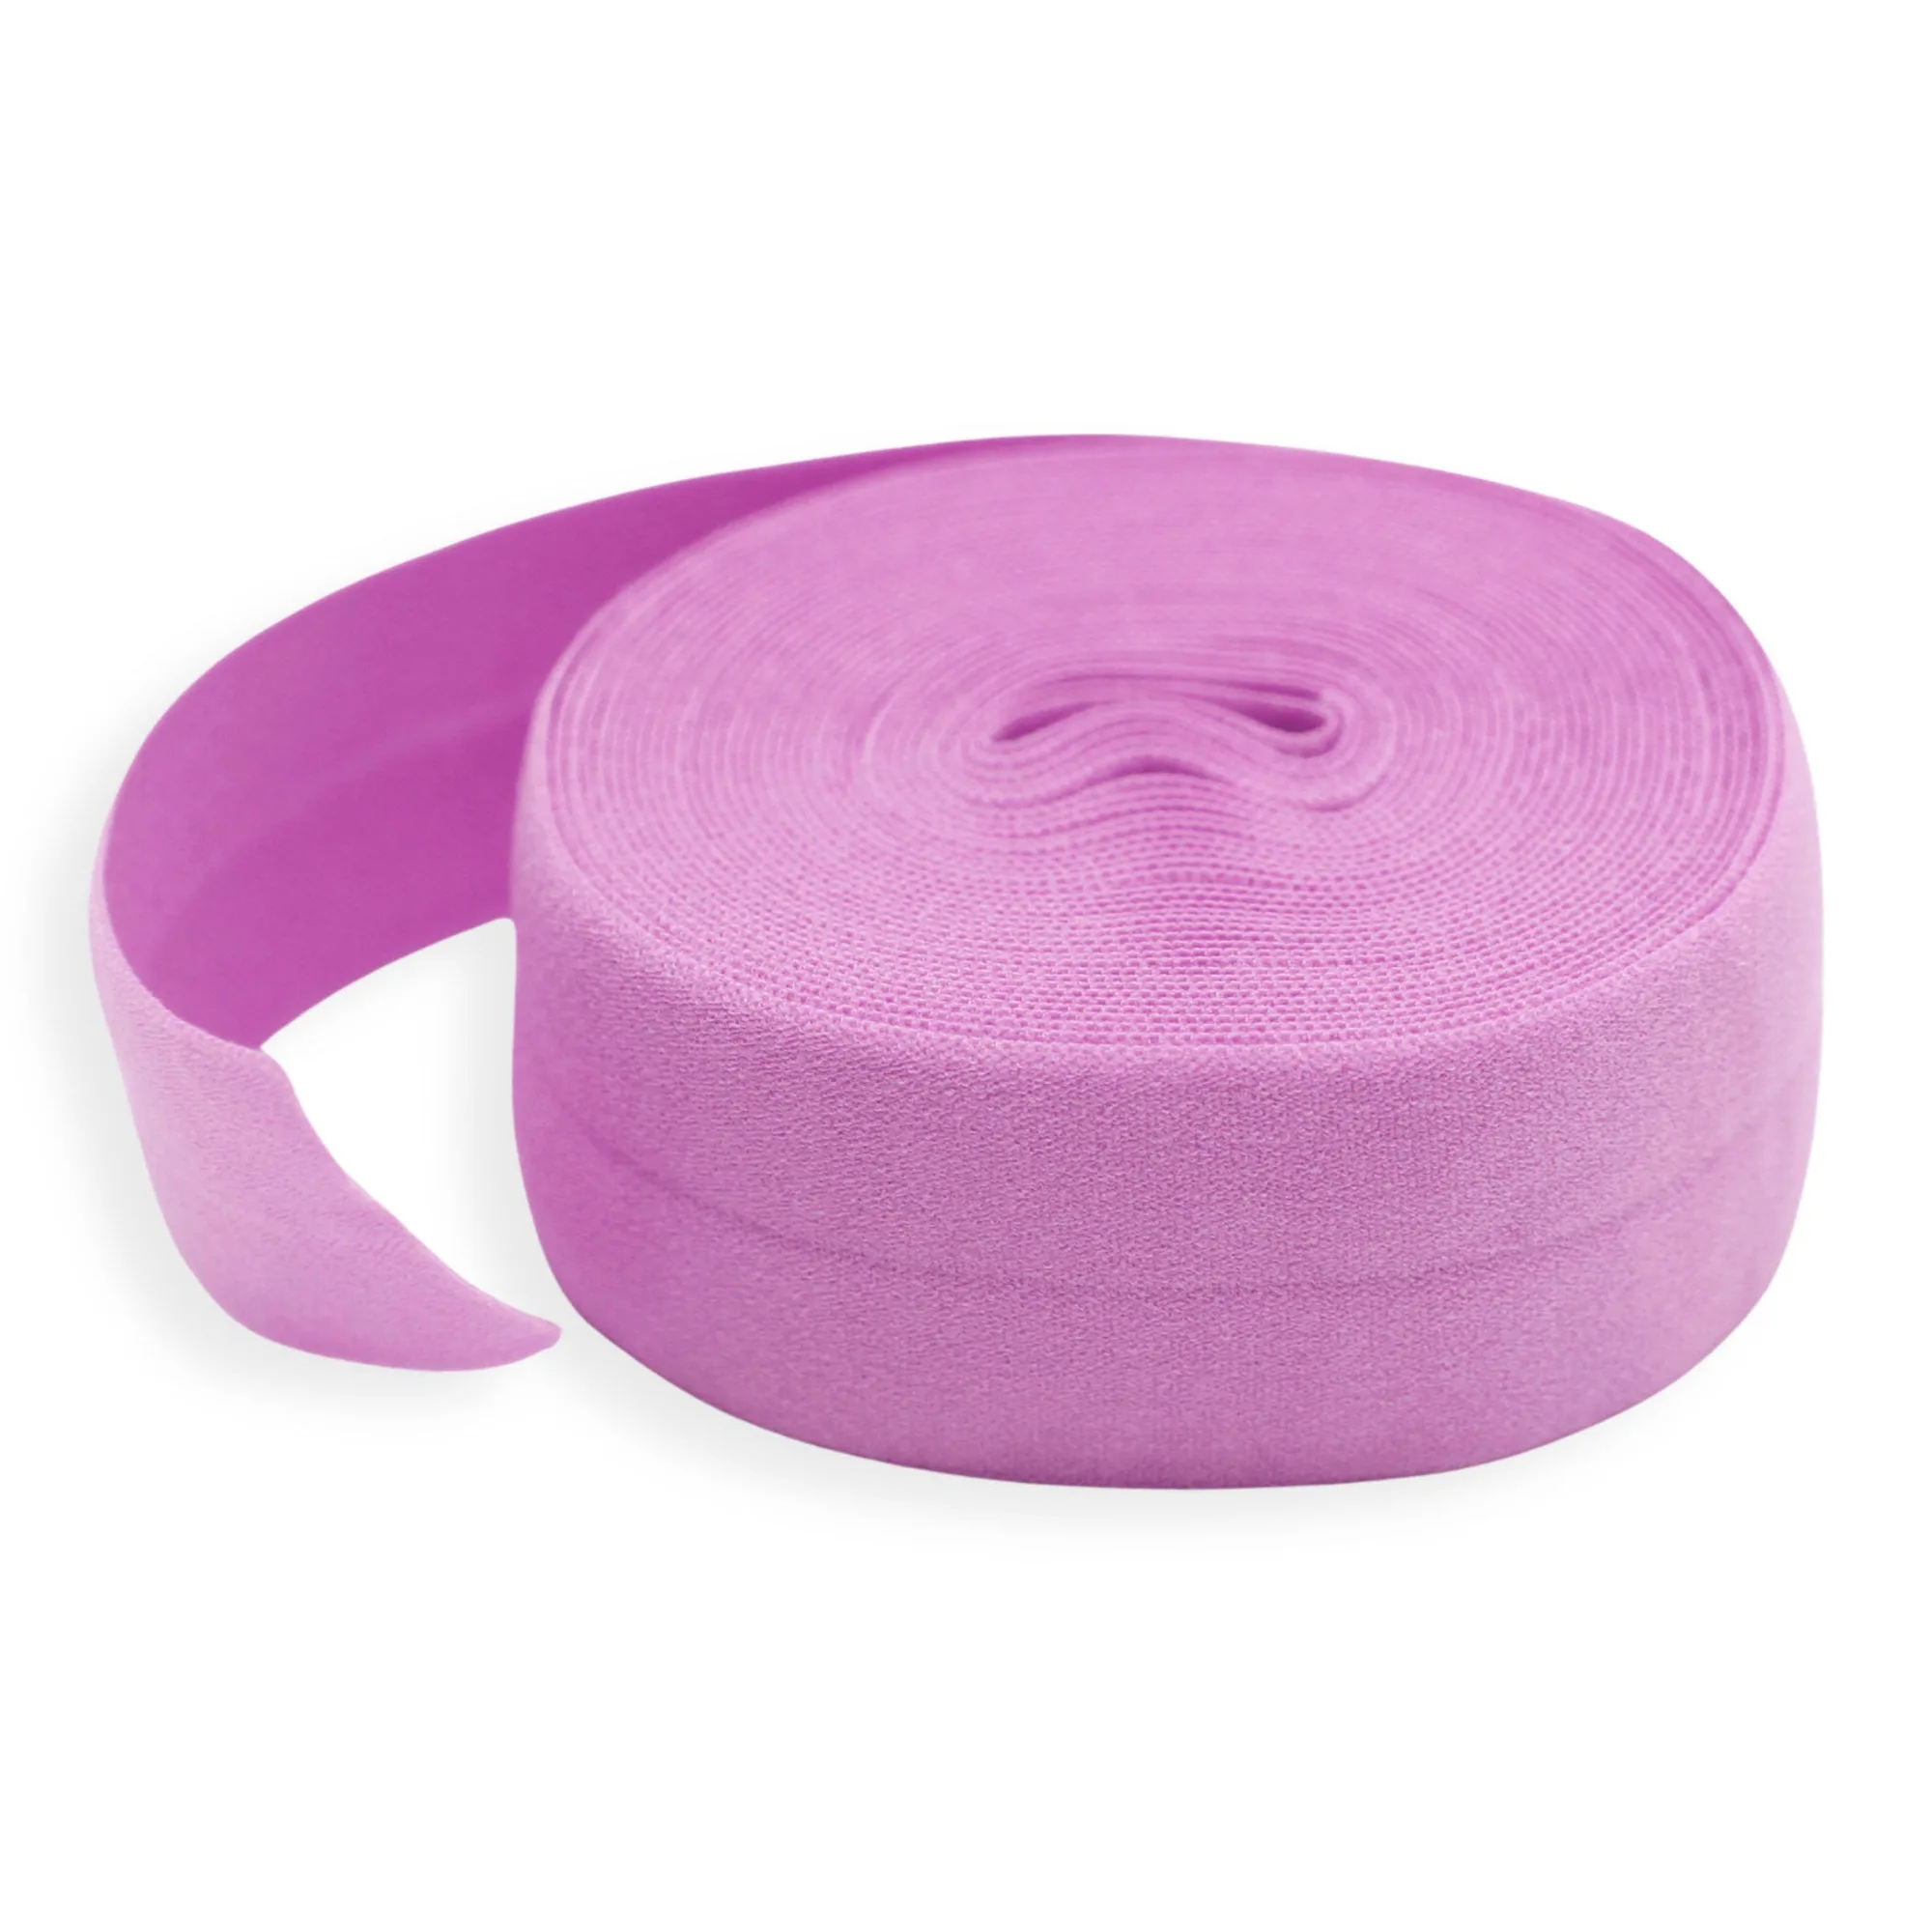
- I Lilac You - Fold-Over Elastic: Fold-over elastic with a center crease that wraps raw edges in one pass; stretches around curves without puckering. Useful for finishing the inside of a bag where tear away stabilizer might leave a fuzzy edge, giving a clean, soft finish.
Who this guide is for
Best for
- Bag makers who are new to machine embroidery and want a clear starting point
- Sewists embroidering on canvas, faux leather, or vinyl bag panels
- Anyone who has struggled with puckering or stiff embroidery on bags
Not for
- Embroidering on garments or flat quilts where different stabilizer rules apply
- Free-standing lace or in-the-hoop projects that need wash-away stabilizer only
- Production embroiderers looking for industrial backing specifications
Choosing the right stabilizer for machine embroidery on bags comes down to three things: your fabric, your stitch count, and how the bag will be used. Start with a cut away stabilizer that matches your fabric weight, test on a scrap, and adjust from there. With the right support, your embroidery will stay smooth and your bag will keep its shape.